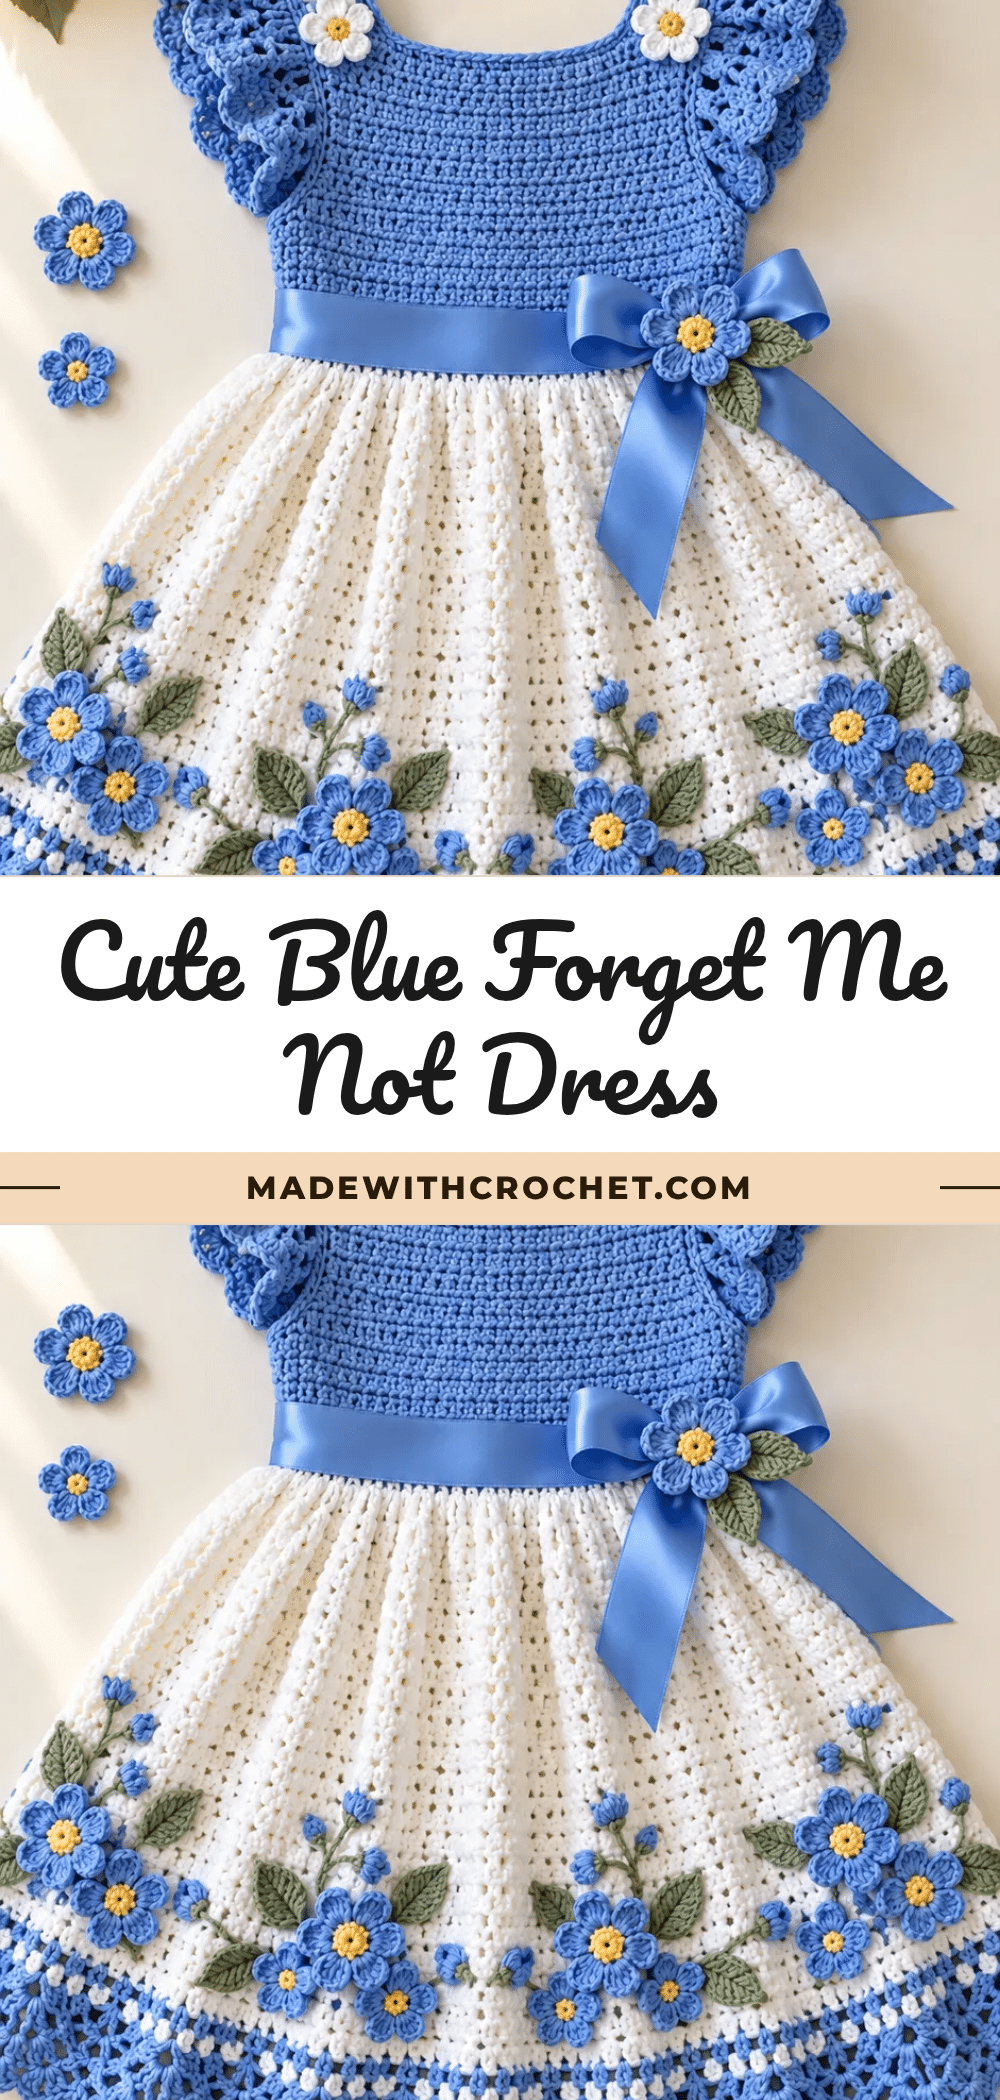
It is completely normal to feel a little intimidated when looking at a complex garment pattern for the first time. Many crocheters worry that they will miscount a stitch, mess up the shaping, or end up with a dress that doesn’t fit. But here is the secret: this Blue Forget Me Not Dress is designed to be approachable. While it is an intermediate to advanced project, the construction is broken down into manageable panels, and the instructions are precise. You don’t need to be a perfectionist to make this work; you just need to take your time, block your pieces, and trust the process. The result is a beautiful, keepsake-quality piece that is well worth the effort.
Maker Notes
When I sat down to design this toddler dress, I had a clear vision in my head. I wanted delicate forget-me-not flowers scattered across a flowing white skirt, flutter sleeves that would make any little girl feel like twirling, and a fitted cornflower blue bodice that looked polished but wasn’t impossible to construct. The whole thing needed to feel like a special occasion piece, something a grandmother might make for a birthday or a flower girl outfit.
I spent hours working out the math for the fan border at the hem, figuring out how to get those flutter sleeves to ruffle just right without being bulky, and designing appliqué flowers that actually look like forget-me-nots. Every stitch count, every increase, every decorative detail was planned with intention. And honestly? I am SO pleased with how this turned out. The blue against the white is exactly the contrast I imagined, and those little golden yellow flower centers add just the right pop of warmth. If you love detailed projects with beautiful results, this one is going to be worth every hour you put into it.
Project Overview
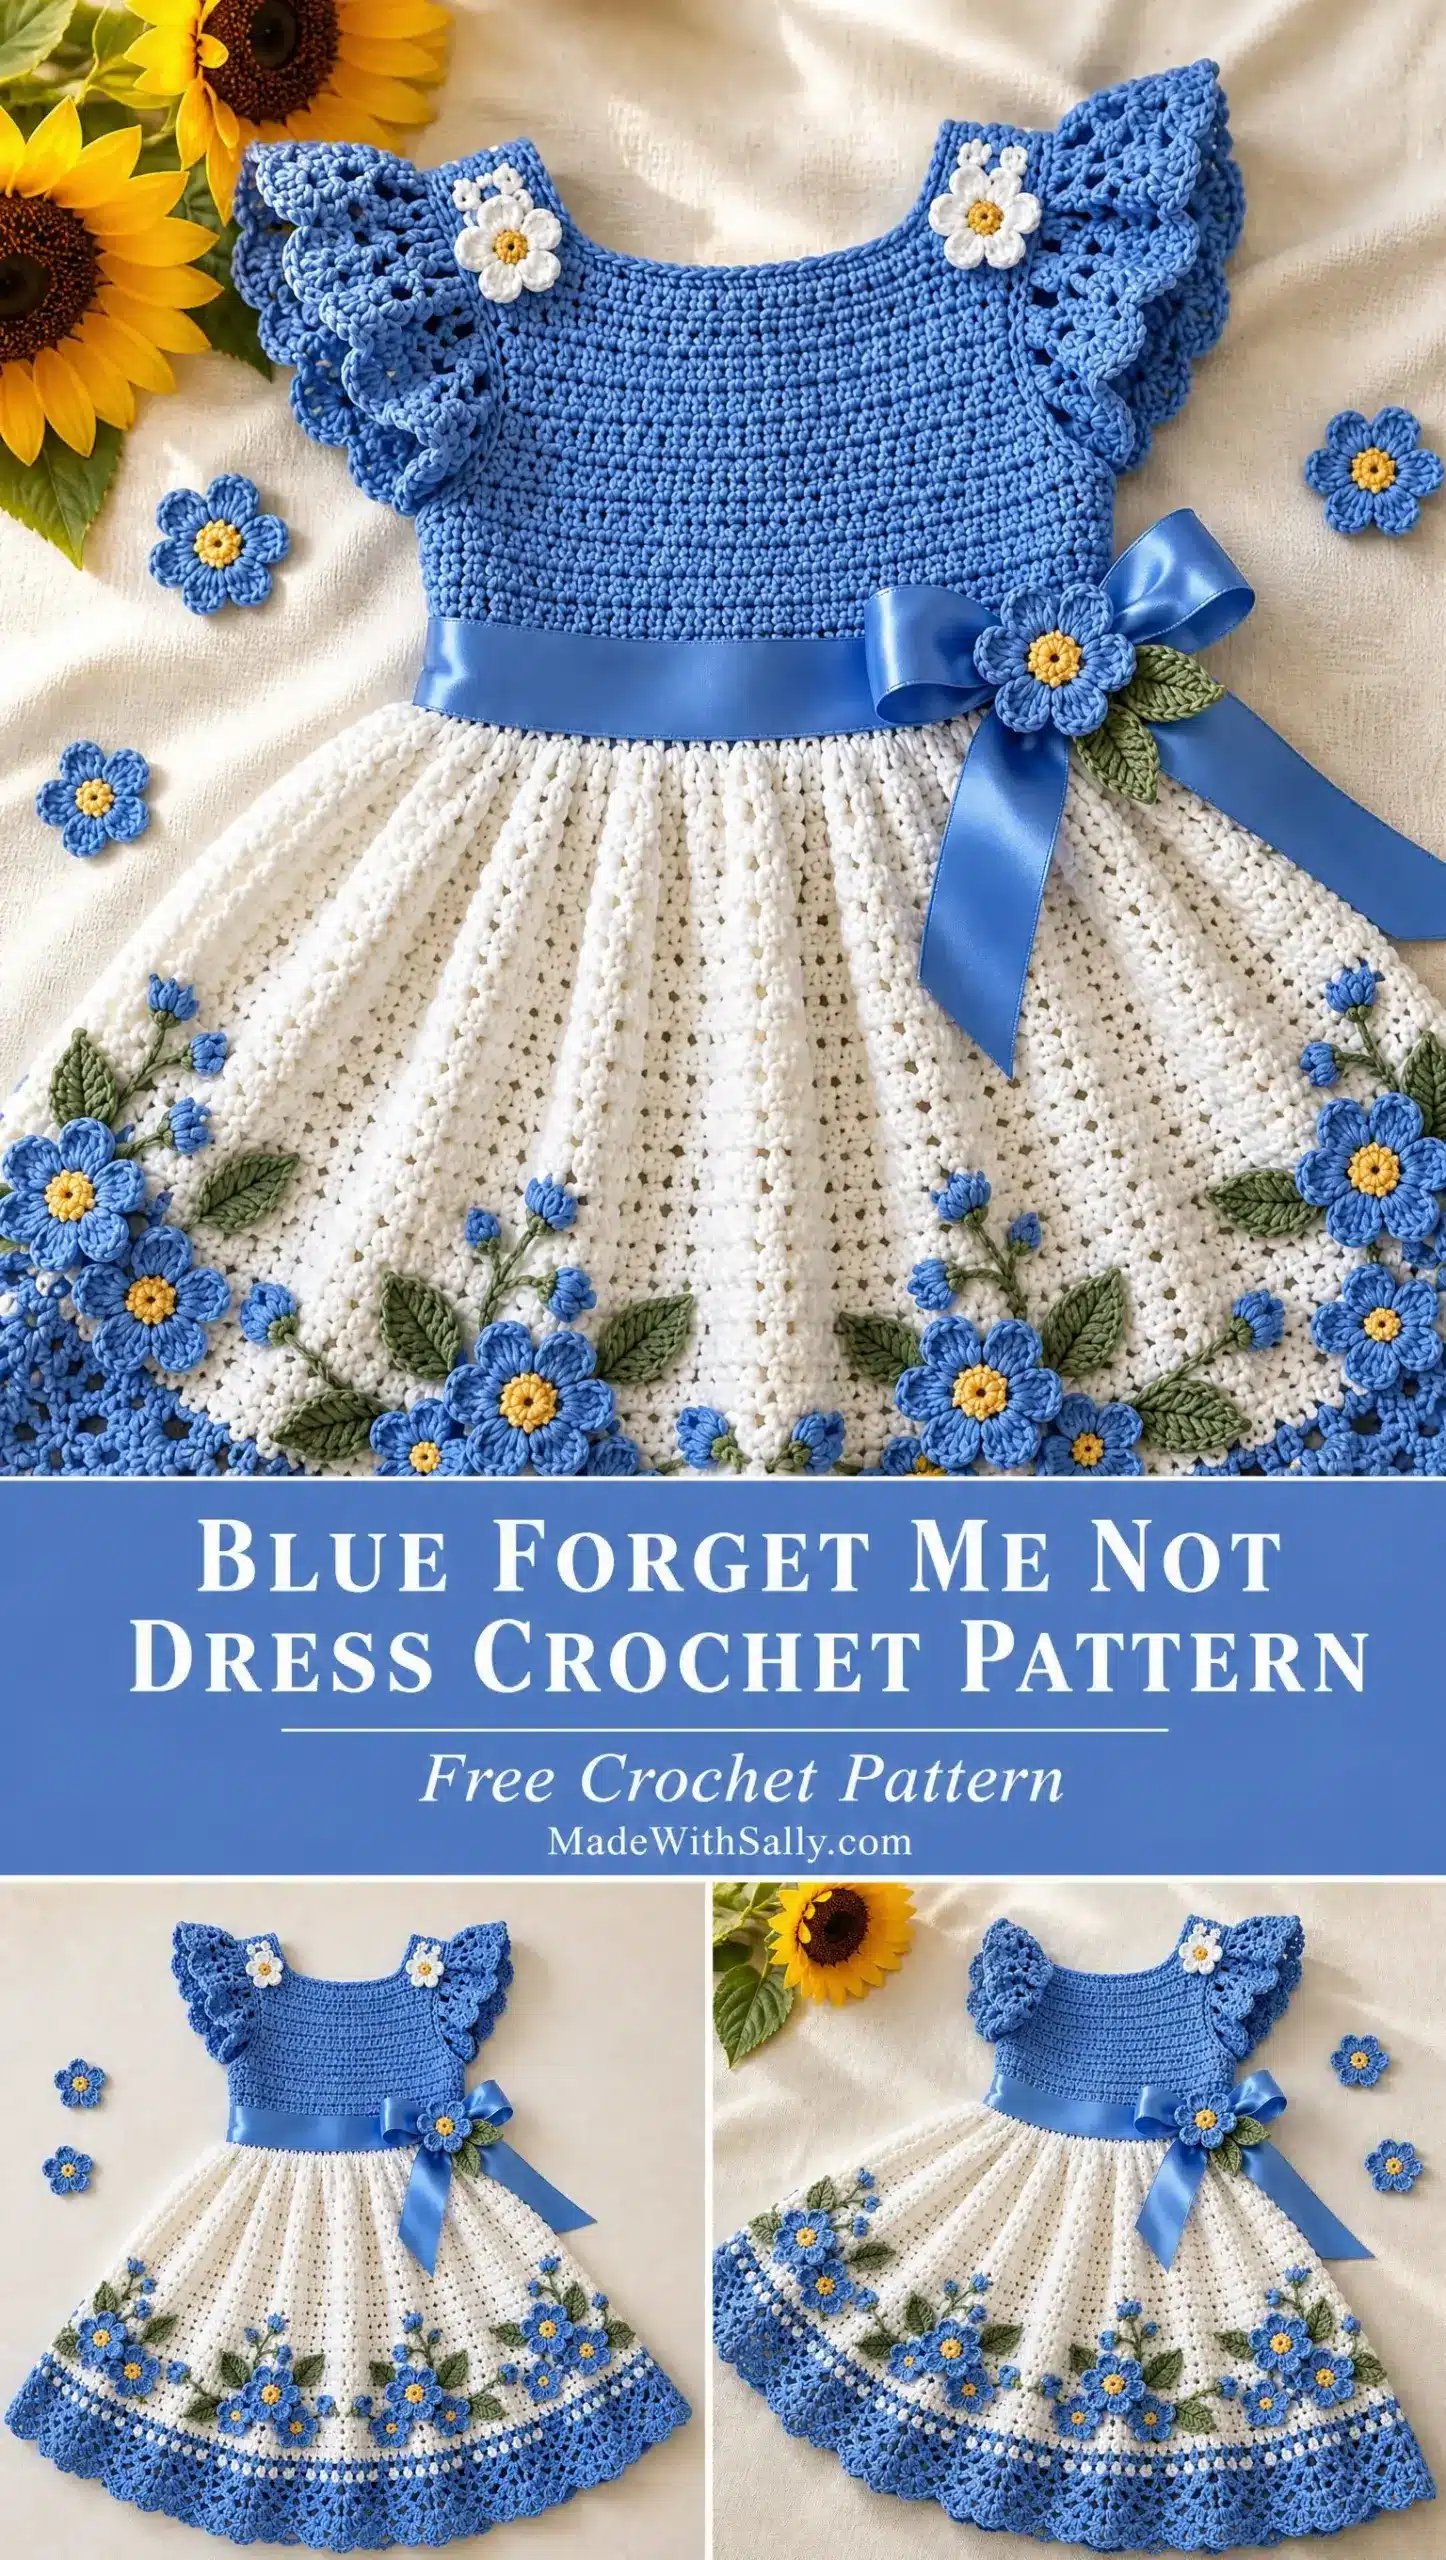
This Blue Forget Me Not Dress is designed for toddlers approximately 2 to 3 years old. The target finished chest measurement is 56 cm (about 22 inches), intended for a body chest of 50 to 52 cm with 4 to 6 cm of ease. The shoulder-to-hem length runs approximately 46 to 49 cm, with a bodice depth of about 22 cm.
This is a single-size pattern, not graded for multiple sizes. Please choose based on actual body measurements rather than age alone. Children vary so much at this stage, and you want a dress that fits comfortably without being too snug or swimming on them. The skill level is intermediate to advanced. You will be working garment assembly, lace edging, small shaped motifs, and detailed appliqué. If you have made a few garments before and feel comfortable with shaping and joining pieces, you are ready for this project. For inspiration on smaller projects, you might also enjoy our cute Lumiling amigurumi patterns or the easy crochet fish amigurumi.
Materials
Yarn
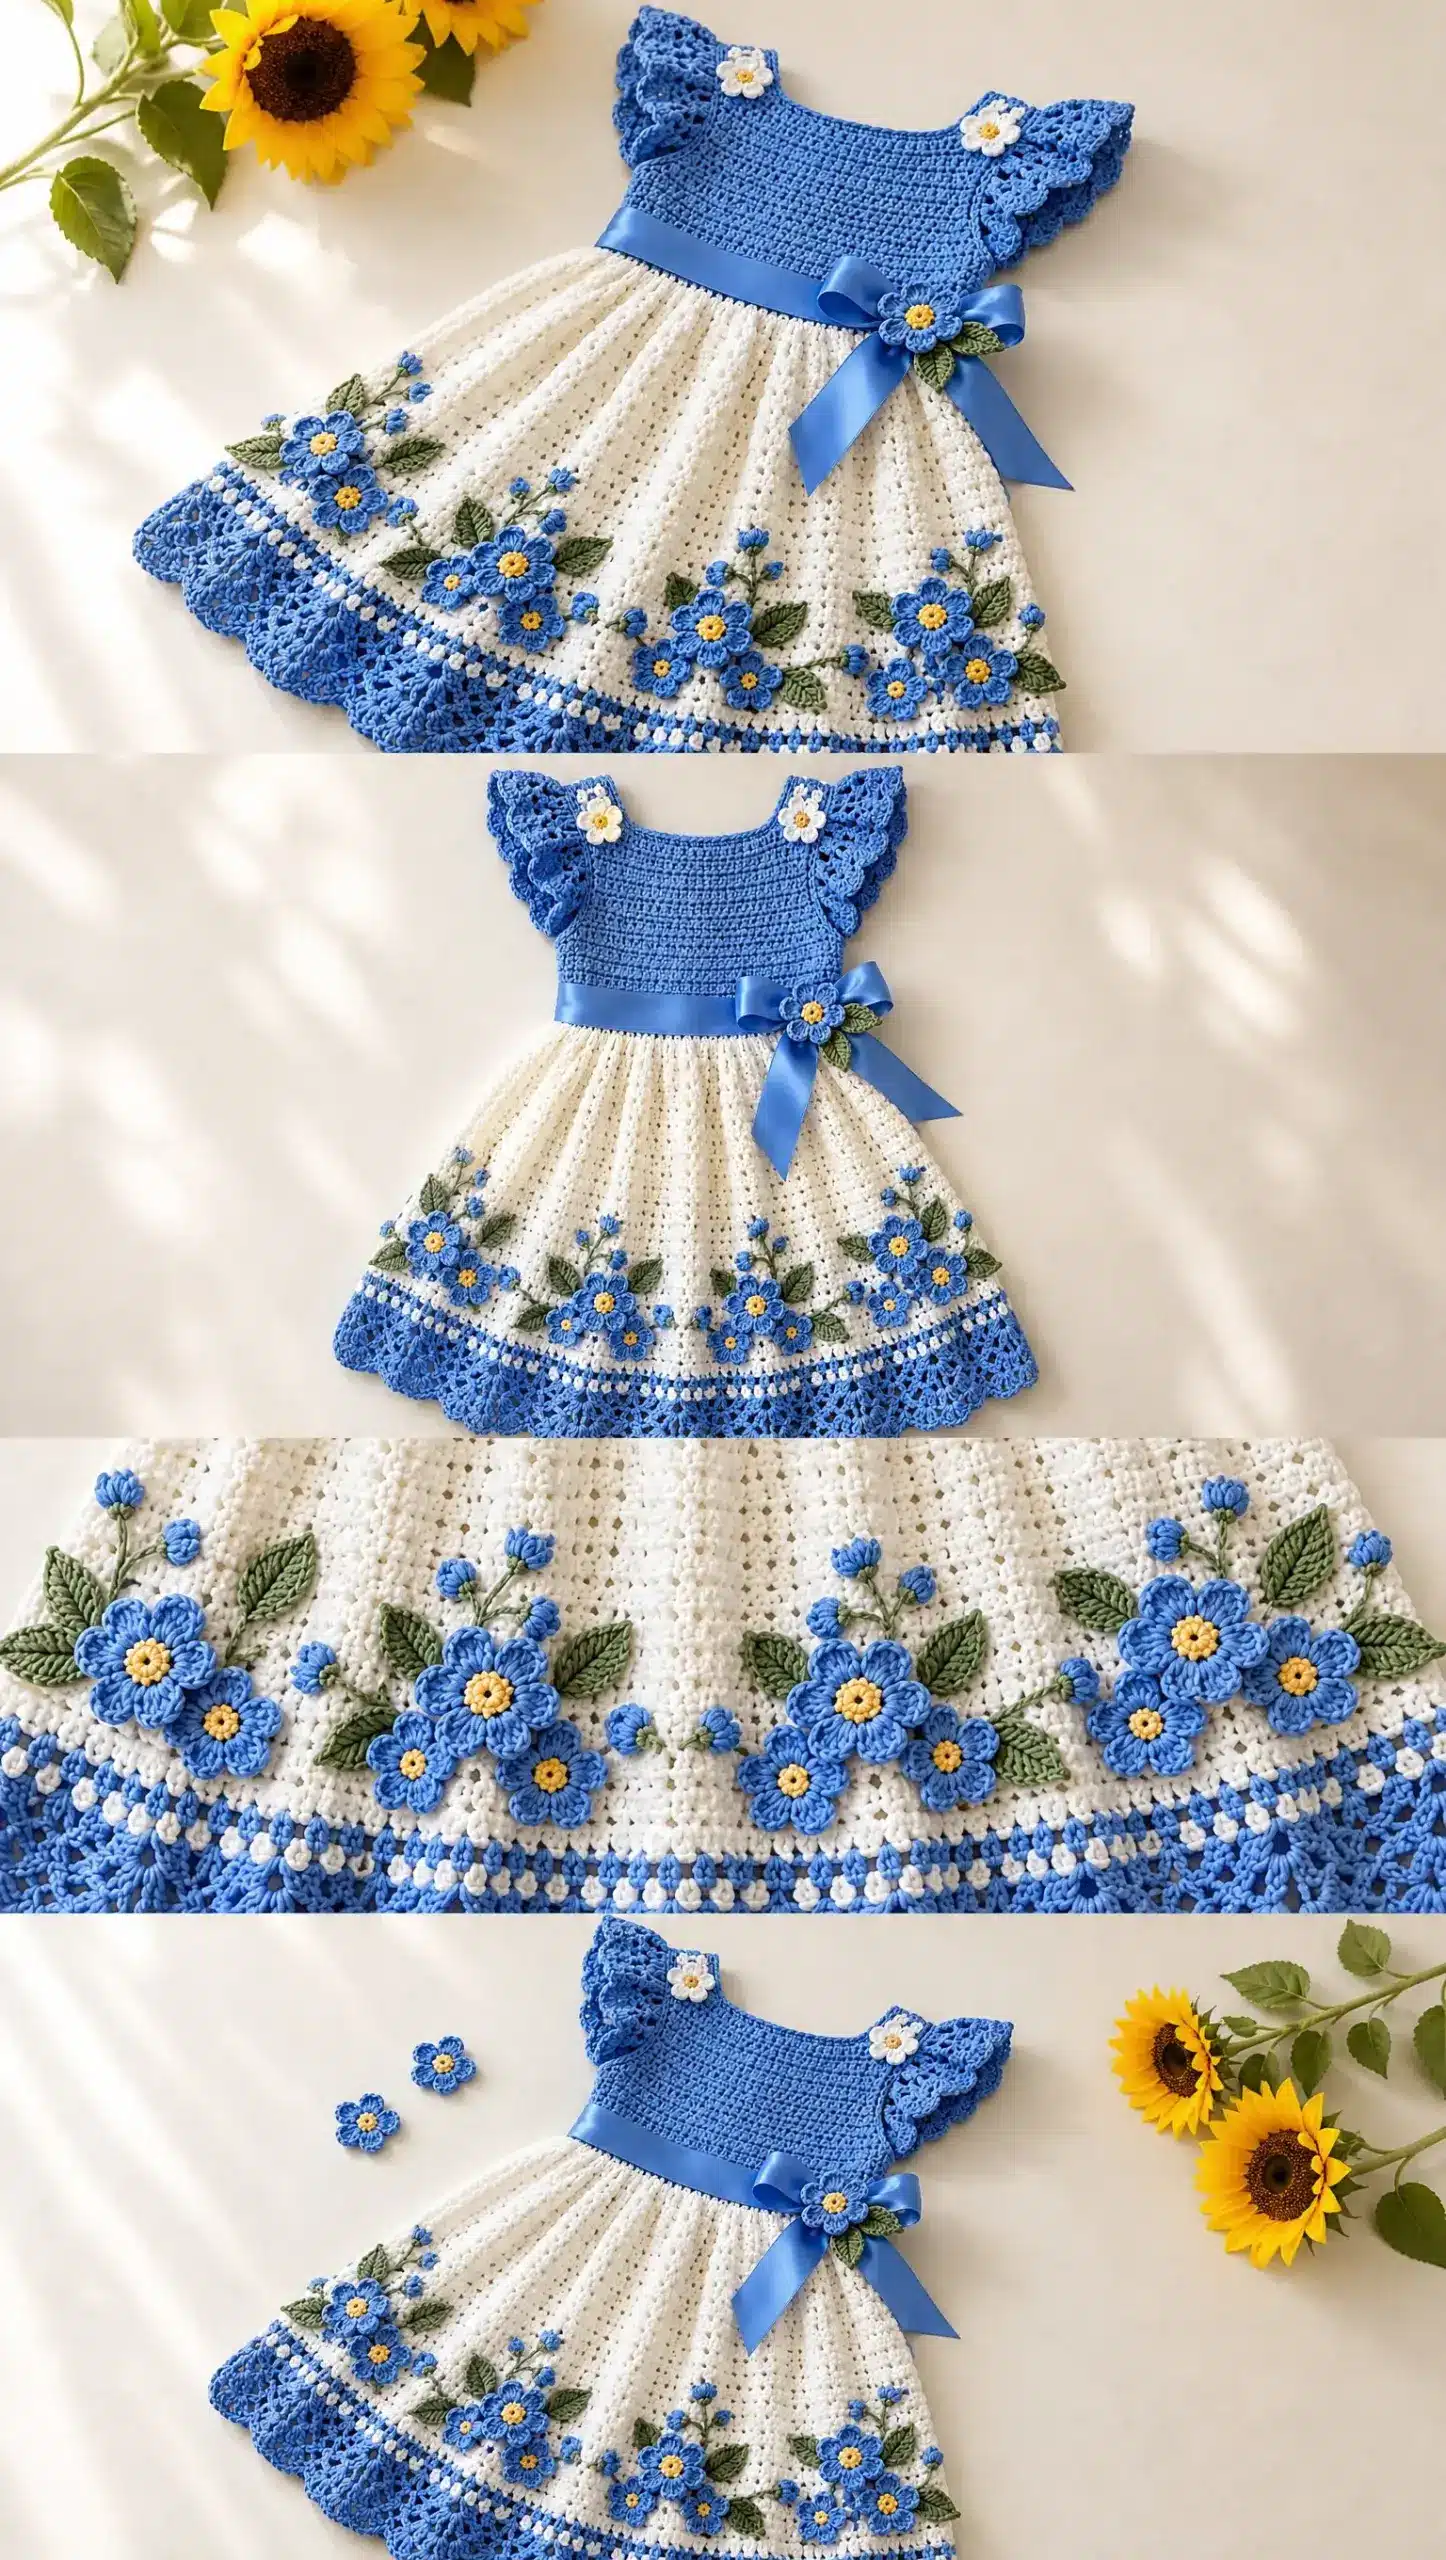
You will need sport weight or fine weight cotton yarn, approximately 125 meters per 50 grams. Here is the breakdown by color:
- Cornflower blue: 300 meters for the bodice and matching details, plus 250 meters for sleeves, hem, and motifs (550 meters total if using one blue)
- White: 400 meters for the skirt
- Sage green: 50 meters for leaves
- Golden yellow and contrast colors: 25 meters each for flower centers and any filler flowers
The total yarn needed is approximately 1,050 meters before small contrasts. Your actual usage may vary slightly, so measure on your sample.
Tools
- 3.5 mm hook for the main garment
- 3 mm hook for appliqués and cords
- 2.5 mm hook (optional) for tiny flowers
- Tapestry needle
- Stitch markers
- Tape measure
- Scissors
- Rust-resistant blocking pins
- 3 small sew-in snaps with backing fabric
Gauge and Finished Size
Getting your gauge right is essential for this dress to fit properly. This step is not optional for garments, trust me on this one.
Blocked gauge: 20 double crochet (dc) stitches and 12 rows equals 10 cm by 10 cm (4 inches by 4 inches).
To make your gauge swatch, chain (ch) 32. Work a double crochet in the third chain from hook and in each remaining chain across. You should have 30 dc. Work 18 rows total. Wash and dry the swatch exactly as you plan to care for the finished garment, then measure the central 20 dc and 12 rows. If your measurements do not match, change your hook size and try again.
Abbreviations
This pattern uses US crochet terminology throughout. Here are all the stitches and terms you will encounter:
- ch = chain: yarn over and draw through the loop on your hook
- sl st = slip stitch: insert hook, yarn over, draw through both the stitch and the loop on hook in one movement
- sc = single crochet: insert hook, yarn over, draw up a loop, yarn over and draw through both loops
- hdc = half double crochet: yarn over first, insert hook, yarn over and draw up a loop, yarn over and draw through all 3 loops
- dc = double crochet: yarn over, insert hook, yarn over and draw up a loop, yarn over and draw through 2 loops twice
- tr = treble crochet: yarn over twice before inserting hook, draw up a loop, then yarn over and draw through 2 loops three times
- st(s) = stitch(es)
- sp = space
- inc = 2 stitches worked in one stitch
- V-st = (dc, ch 1, dc) worked in one location
- sc2tog = single crochet decrease: insert hook and draw up a loop in each of the next 2 stitches, yarn over and draw through all 3 loops
Important counting rule: The turning ch 1 or ch 2 does NOT count as a stitch anywhere in this pattern. When joining rounds, join to the first actual stitch, not to a chain.
Pattern Instructions
Front Bodice Instructions
Rows 1 through 14
With cornflower blue yarn and your 3.5 mm hook, ch 58.
Row 1: Dc in the 3rd ch from hook and in each remaining ch across. You should have 56 dc. Turn.
Rows 2 through 14: Ch 2, dc in every st across (56 dc). Turn after each row. Do not work a stitch into the turning chain.
Armhole Shaping, Row 15
Sl st in the first 4 stitches. Ch 2, then dc in each of the next 48 stitches. Leave the final 4 stitches unworked. Turn. You now have 48 dc. Those 4 unworked stitches on each side create a 2 cm underarm ledge.
Rows 16 through 20
Ch 2, dc in all 48 stitches. Turn after each row (48 dc).
At this point, place removable markers around the outermost 10 stitches at each edge. The central 28 stitches form your neckline opening.
First Shoulder, Rows 21 through 26
Ch 2, dc in the first 10 stitches only. Leave the remaining 38 stitches unworked. Turn (10 dc).
Work 5 more rows of 10 dc, turning each row. Fasten off, leaving a tail for sewing.
Second Shoulder, Rows 21 through 26
With the same side of the panel facing you, attach yarn at the opposite outer edge of Row 20. Work toward the center: ch 2 and dc across only the outermost 10 stitches. Turn.
Work 5 more rows of 10 dc. Fasten off.
Both shoulder straps should have 6 rows above Row 20.
Front Bodice Checkpoint
Panel width below armholes: 28 cm
Width above underarm ledges: 24 cm
Shoulder width: 5 cm each
Neckline gap: 14 cm
Overall height: approximately 21.7 cm
Back Bodice Instructions
Rows 1 through 14
Using cornflower blue, make a second panel exactly as the Front Rows 1 through 14. You should have 56 dc each row. Mark the center between stitches 28 and 29.
Left Half, Rows 15 through 23
Row 15: Sl st in the first 4 sts. Ch 2, dc in the next 24 sts, stopping at the center marker. Leave the other half unworked. Turn (24 dc).
Rows 16 through 23: Ch 2, dc in each st. Turn (24 dc). Fasten off.
Right Half, Rows 15 through 23
Return to the unworked half of Row 14. Attach yarn at the center marker and work toward the outer edge: ch 2, dc in the next 24 sts, leaving the final 4 sts unworked. Turn (24 dc).
Work Rows 16 through 23 the same as the left half. Fasten off.
The center edges remain separate to create the back opening.
Back Shoulders, Rows 24 through 26
On each half, attach yarn at the outer armhole edge of Row 23. Dc across the outermost 10 sts only. Leave the inner 14 sts unworked. Turn.
Work 2 more rows of 10 dc. Fasten off.
The two 14-st inner gaps create a 28-st back neckline.
Joining the Bodice
Block both panels to the target measurements before joining.
With right sides together, join each pair of 10-st shoulder tops using mattress stitch. To do this, align the matching edges and use your tapestry needle to pick up one small strand from each edge alternately. Tighten gradually so the join lies flat without pulling the seam shorter than the fabric.
Join the side edges from the foundation edge through Row 14 only. Match your rows carefully and keep all upper edges open for the armholes.
Turn right side out.
Pre-Skirt Checkpoint
The lower edge has 56 foundation stitches on each panel, giving you 112 stitches total around the bottom. The back slit begins above Row 14. Try the bodice on a correctly sized dress form or the child if possible. Check the chest ease and head access before adding the weight of the skirt.
Skirt Construction
With white yarn and your 3.5 mm hook, attach to the foundation edge of the bodice. Work in rounds.
Round 1: Ch 3 (counts as dc), dc in each st around. Join with sl st to top of ch-3. (112 sts)
Rounds 2 through 22: Ch 3, dc in each st around. Join with sl st to top of ch-3. (112 sts)
Round 23: Ch 3, *dc in next 2 sts, inc in next st*; repeat from * to * around. Join with sl st to top of ch-3. (168 sts)
Round 24: Ch 3, *dc in next 3 sts, inc in next st*; repeat from * to * around. Join with sl st to top of ch-3. (224 sts)
Round 25: Ch 3, *dc in next 4 sts, inc in next st*; repeat from * to * around. Join with sl st to top of ch-3. (280 sts)
Hem Foundation
Continue working in rounds with white yarn, increasing every round to create a full skirt, until the skirt reaches the desired length. The pattern includes a detailed fan border.
Flutter Sleeves
Sleeve Foundation: With cornflower blue yarn, attach to the armhole opening. Ch 3, dc in each st around the armhole. Join with sl st.
Flutter Rows: Work rows of dc and ch spaces to create the ruffle effect, increasing at the edges to create the flutter shape. Fasten off.
Lace Hem Border
Hem Round 1: With white yarn, ch 3, dc in each st around. Join with sl st.
Hem Round 2: Ch 3, *dc in next 2 sts, ch 1, skip 1 st, dc in next st*; repeat from * to * around. Join with sl st.
Hem Round 3: Ch 3, dc in each dc and ch-1 sp around. Join with sl st.
Forget-Me-Not Flowers
Five-Petal Center: With golden yellow yarn, ch 4, sl st to form a ring. Ch 3, dc in ring, ch 3, sl st in ring. Repeat 4 times. Fasten off.
Five Petals: With cornflower blue yarn, ch 5, sl st in first ch to form loop. Ch 3, dc in loop, ch 3, sl st in loop. Repeat 4 times. Fasten off.
Large Waist Flower: Combine petals and center using sc to join. Attach to waistline.
Leaves and Small Flowers: With sage green yarn, ch 6, sl st in first ch. Ch 3, dc in ch, ch 3, sl st in ch. Repeat. Fasten off.
Tiny Filler Flower: With white yarn, ch 4, sl st to form ring. Ch 3, dc in ring, ch 3, sl st in ring. Repeat 4 times. Fasten off.
How Many to Make: Make approximately 10 large flowers, 20 small flowers, and 15 leaves for the skirt.
Appliqué Placement
Scatter flowers and leaves across the skirt, concentrating near the hem and waist. Sew securely in place.
Waist Sash and Decorative Finish
Ribbon Sash Option: Thread a ribbon through the waistline stitches.
Yarn-Only Alternative: Ch 100, sc in second ch from hook and across. Fasten off. Tie around waist.
Small Crochet Bow: Create a bow with cornflower blue yarn and attach to the sash.
Neckline Edging
With cornflower blue yarn, ch 3, dc in each st around the neckline. Join with sl st. Fasten off.
Back Bands and Closures
Back Bands: With cornflower blue yarn, attach to the back opening edges. Ch 3, dc in each st around. Fasten off.
Closures: Sew snaps to the back bands.
Assembly
Block both panels to the target measurements before joining.
With right sides together, join each pair of 10-st shoulder tops using mattress stitch. To do this, align the matching edges and use your tapestry needle to pick up one small strand from each edge alternately. Tighten gradually so the join lies flat without pulling the seam shorter than the fabric.
Join the side edges from the foundation edge through Row 14 only. Match your rows carefully and keep all upper edges open for the armholes.
Turn right side out.
The lower edge has 56 foundation stitches on each panel, giving you 112 stitches total around the bottom. The back slit begins above Row 14.
Try the bodice on a correctly sized dress form or the child if possible. Check the chest ease and head access before adding the weight of the skirt.
Weave in all ends through several stitches, reverse direction, and secure before trimming.
Wash according to your yarn label. Gently press out water in a towel. Do not wring.
Pin the bodice to 56 cm chest circumference. Ease the skirt outward without stretching the waist. Shape the lace scallops, sleeve ruffles, and appliqués individually.
Dry completely on a flat surface before wearing.
Tips
Your actual usage may vary slightly, so measure on your sample.
Getting your gauge right is essential for this dress to fit properly.
This step is not optional for garments, trust me on this one.
Keep your tension relaxed. When blocking, wet-block individual fans into smooth rounded scallops without pulling the skirt waist wider.
Take your time with the gauge swatch. Count your stitches at each checkpoint. Block thoroughly. And most importantly, enjoy the process. This is the kind of project where you can really see your skills in action.
FAQs
Is this pattern suitable for beginners?
No, this is an intermediate to advanced pattern. It involves garment assembly, shaping, and detailed appliqué.
Can I make this dress in a different size?
This is a single-size pattern for toddlers 2-3 years old. Adjusting the size would require significant pattern modification.
What type of yarn should I use?
Sport weight or fine weight cotton yarn is recommended for the best drape and durability.
How do I care for the finished dress?
Hand-wash cool if compatible with all materials. Support the wet garment and dry flat. Do not hang while wet.
Do I need to block the pieces?
Yes, blocking is essential for this dress to fit properly and for the lace and fan borders to look their best.
Final Thoughts on the Blue Forget Me Not Dress Crochet Pattern
This dress is a labor of love, there is no way around that. Between the bodice construction, the carefully increased skirt, the detailed lace border, and all those sweet little flowers and leaves, you are looking at a project that will take some dedicated time. But the result? A keepsake-quality dress that could become a family heirloom.
I designed every element of this Blue Forget Me Not Dress crochet pattern to work together harmoniously. The flutter sleeves frame little shoulders beautifully. The fan border adds movement and sophistication. And those forget-me-nots scattered across the skirt create the kind of detail that makes people stop and say, “Wait, you MADE that?”
Thank you so much for choosing this pattern for your next project. I hope it brings joy both in the making and in the wearing. If you make this dress, I would absolutely love to see it! Tag me on Instagram or share a photo in my Facebook group. Seeing your finished projects is honestly the best part of designing.
If this pattern caught your eye, go ahead and pin it to your Pinterest boards so you can find it when you are ready to start. And if you do make this sweet little dress, please leave a comment below. I read every single one and love hearing about your projects!
Get a clean, beautifully formatted PDF of this pattern — easy to follow step by step, ready to print or save on any device. No scrolling, no distractions, just the pattern.
Pin This Crochet Pattern!