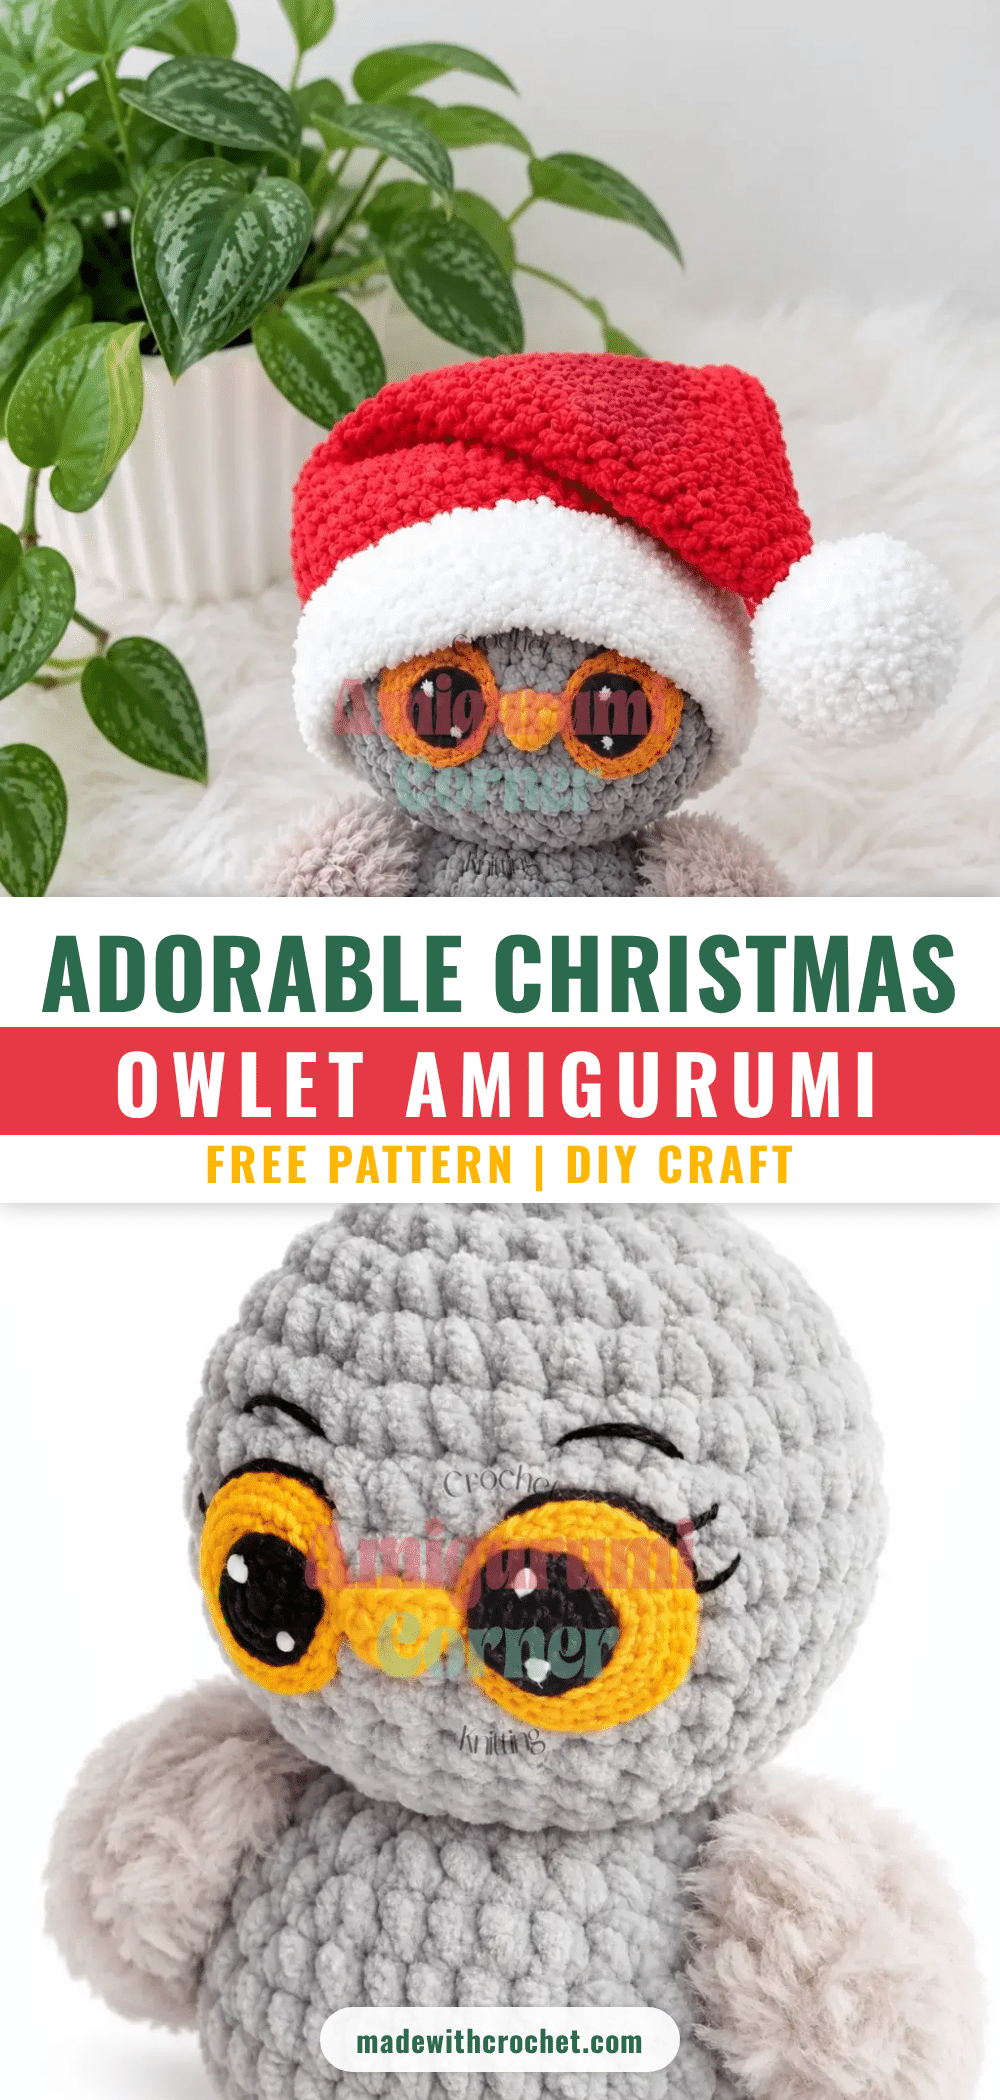
It is completely normal to worry that your first amigurumi project will end up with gaps in the fabric or a lopsided shape. Many beginners fear that plush yarn is too tricky to manage or that the math for the rounds is too complex. Rest assured, this Christmas Owlet pattern is designed to be forgiving. The instructions use clear stitch counts and standard increases and decreases, making it a perfect way to build confidence. With a little patience and the right tension, you will create a charming holiday friend that looks professional and feels cozy.
Maker Notes
This little Owlet is the kind of project that brings immediate joy. The combination of soft, plush body yarn with the fluffy texture of the wings and tail creates a delightful tactile contrast. I love how the oversized, crocheted eye bases give the owl such an expressive, wide-eyed look that captures the wonder of the season. The Santa hat adds a festive pop of red and white, making it an ideal decoration for a mantel or a thoughtful gift for a child. Because the pattern uses a child-safe embroidered eye option, it is perfect for gifting to little ones. The color palette is versatile, allowing you to choose a main yarn color that fits your home decor, whether that is a classic forest green, a warm cream, or a soft grey.
Project Overview
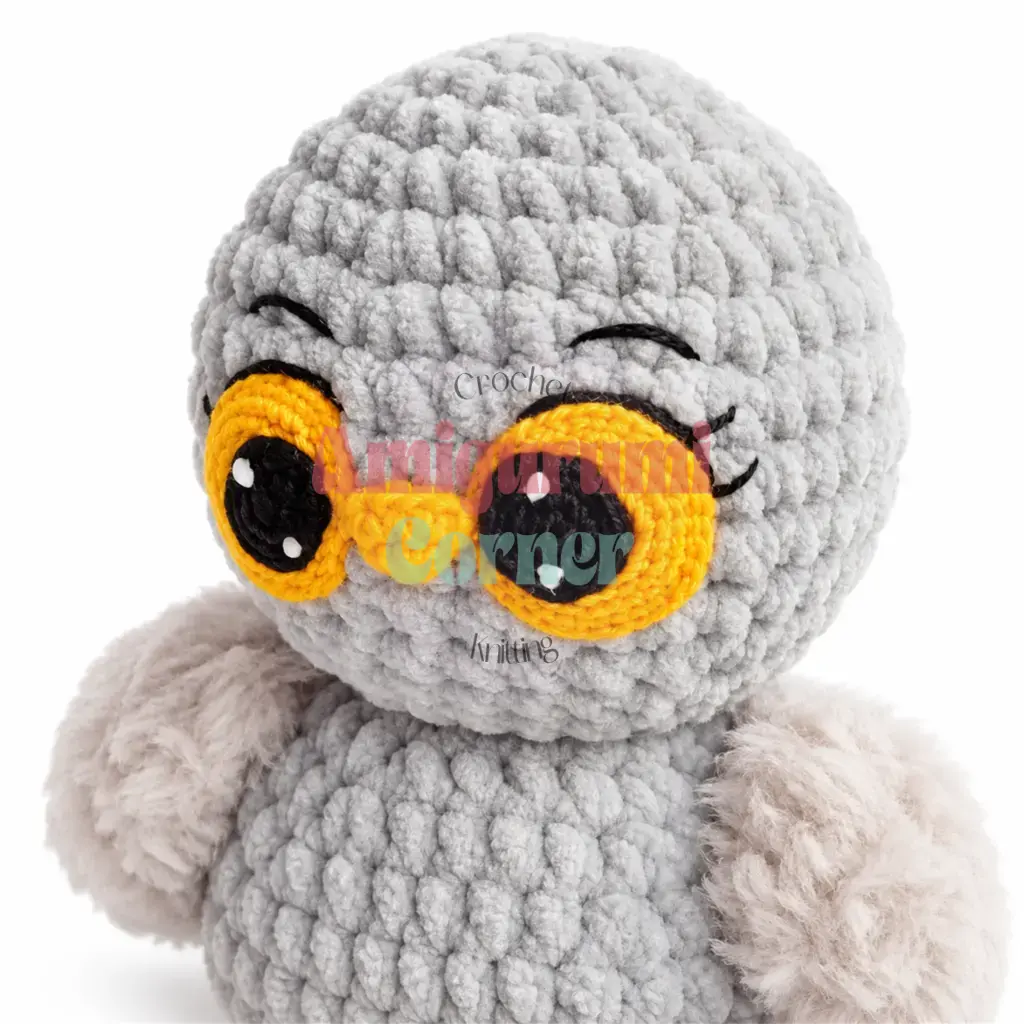
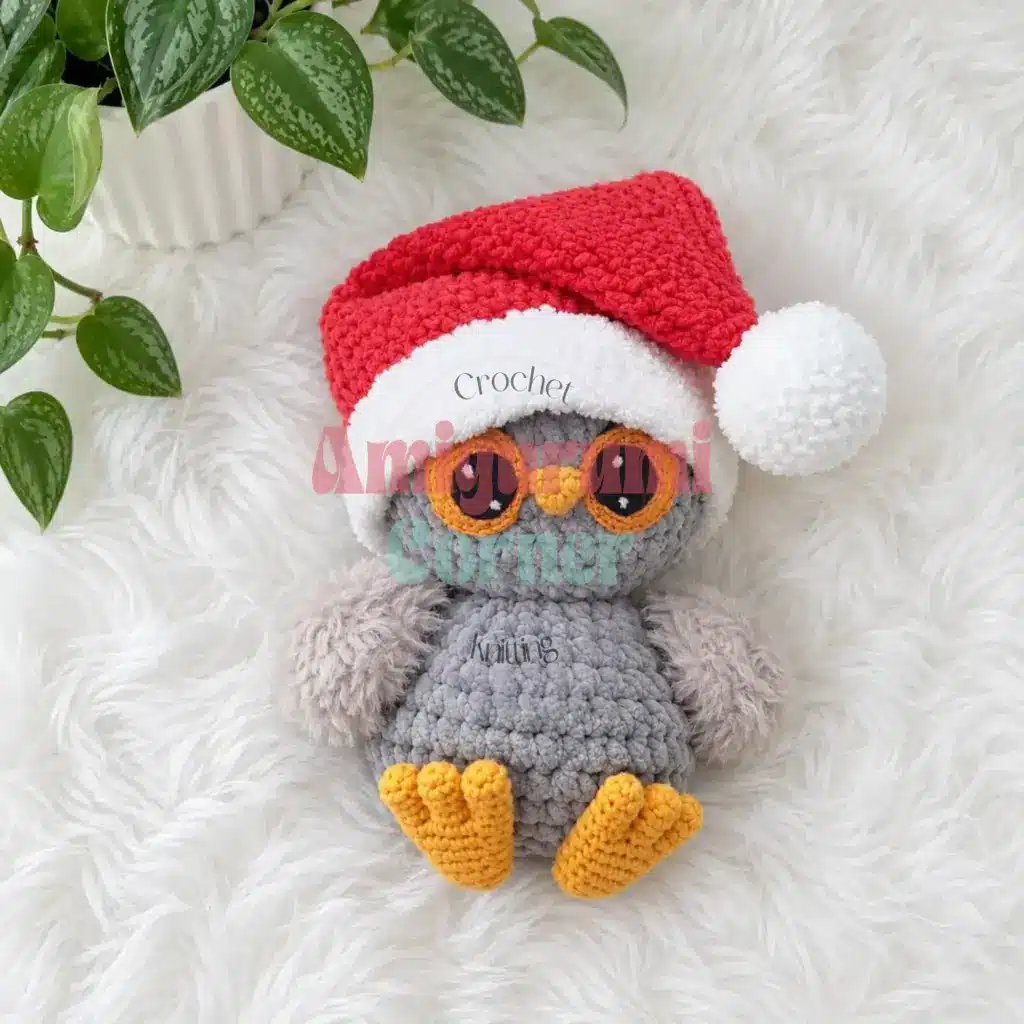
This Christmas Owlet amigurumi is a beginner-friendly to intermediate project that results in a charming holiday decoration or gift. The pattern guides you through creating ten separate components, including a plush head and body, crocheted eye bases, a beak, feet, wings, a tail, and a festive Santa hat with a pompom. The design relies on continuous spiral rounds for most parts, with specific sections like the tail worked in flat rows. The finished piece features a soft, huggable texture and a cheerful holiday aesthetic.
Materials
- Main yarn: Plush/chenille yarn (such as YarnArt Dolce or Himalaya Dolphin Baby), approximately half a skein, in your chosen main color (for the head, body, and pompom).
- Contrast yarn 1: Smooth worsted-weight yarn (such as YarnArt Jeans), in yellow (for the beak and feet) and red (for the hat).
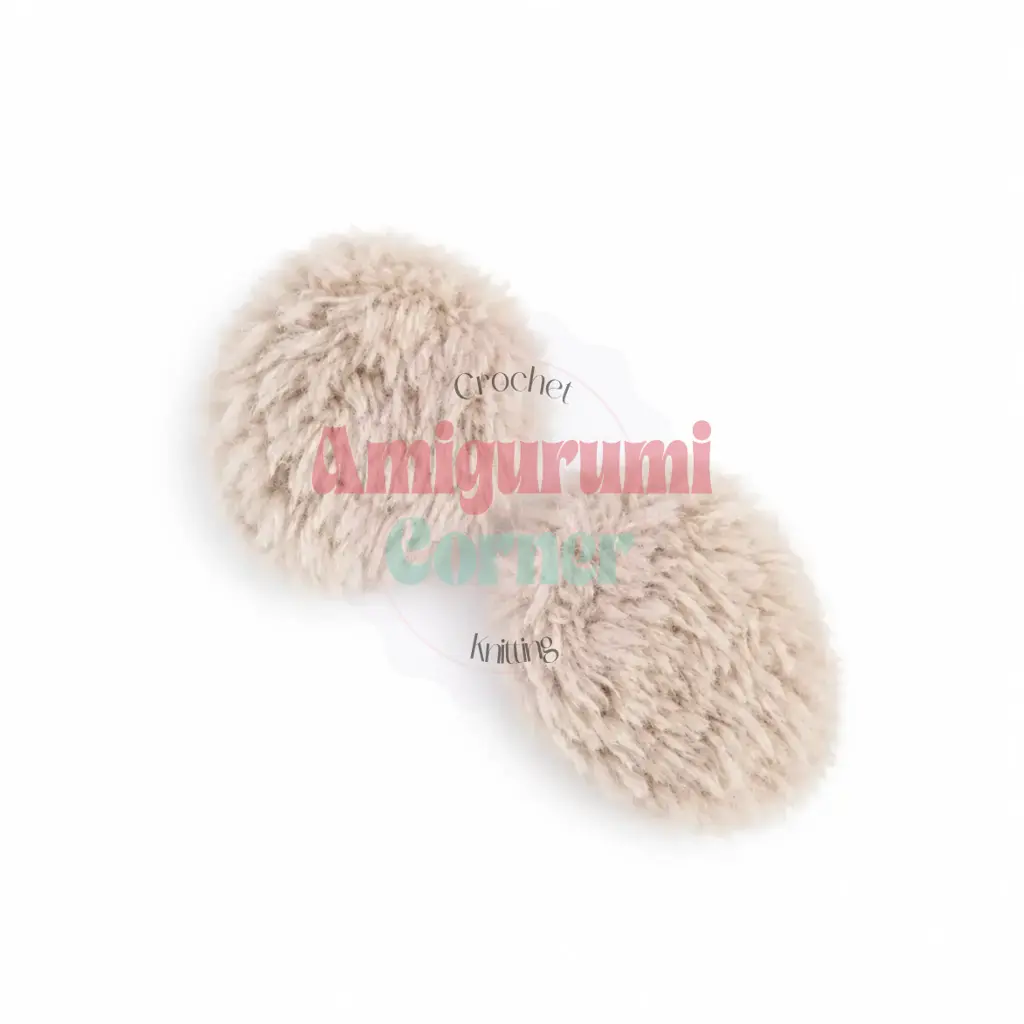
- Contrast yarn 2: Fluffy or brushed yarn (such as YarnArt Mink), in a contrasting color (for the wings and tail).
- Eye yarn: Fine fingering or thread-weight yarn (such as Iris thread), in yellow (for the eye bases) and black (for the pupils).
- White yarn: Alize Softy or similar soft yarn, in white (for the hat brim and pompom).
- Hook sizes: US B-1 / 1.5 mm (for fine yarn components) and US G-6 / 4 mm (for plush and Alize Softy yarn).
- Stuffing: Polyester fiberfill.
- Notions: Stitch markers, yarn needle / tapestry needle, scissors, white embroidery thread or yarn (for eye highlights).
Gauge and Finished Size
Gauge is not critical for this project; however, your tension should be tight enough that no stuffing shows through the stitches. Use a hook size smaller than the yarn label recommends if needed to achieve a tight fabric.
Abbreviations
- ch: Chain
- dc: Double Crochet
- dec: Decrease (invisible decrease recommended)
- inc: Increase (2 sc in the same stitch)
- MR: Magic Ring
- sc: Single Crochet
- sl st: Slip Stitch
- st / sts: Stitch / Stitches
Pattern Notes
This pattern is written in US crochet terminology. The head, body, eye bases, pupils, wings, and pompom are worked in continuous spiral rounds (no joining, no turning). Place a stitch marker at the start of each round and move it up as you go. The tail is worked in flat, back-and-forth rows using double crochet. The hat is worked in joined rounds with double crochet throughout. Stitch counts are given in parentheses at the end of each round or row: (24). Do not stuff the wings or tail pieces. Stuff the head, body, feet, and pompom firmly before closing. Insert safety eyes between the eye base discs and the head if preferred, or embroider eyes using the crocheted pupil pieces for a child-safe finish.
Pattern Instructions
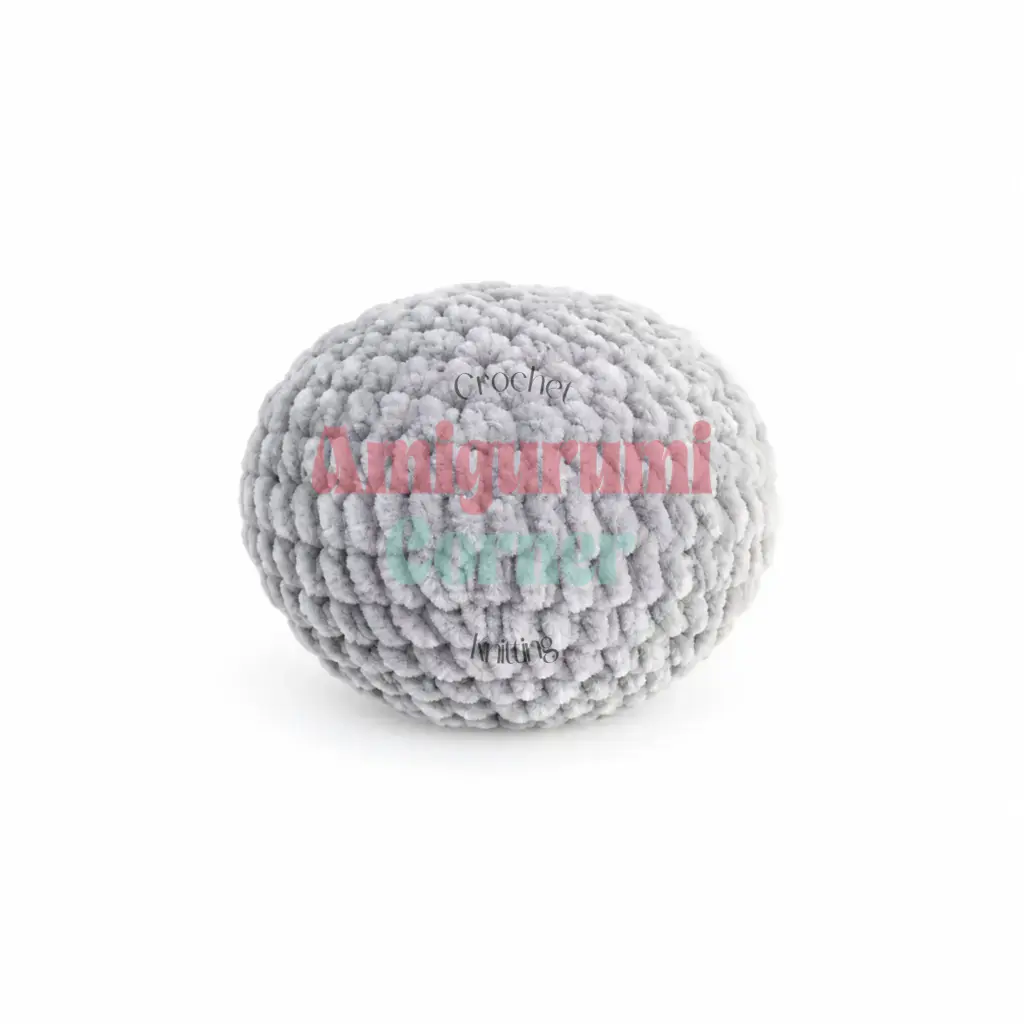
Head
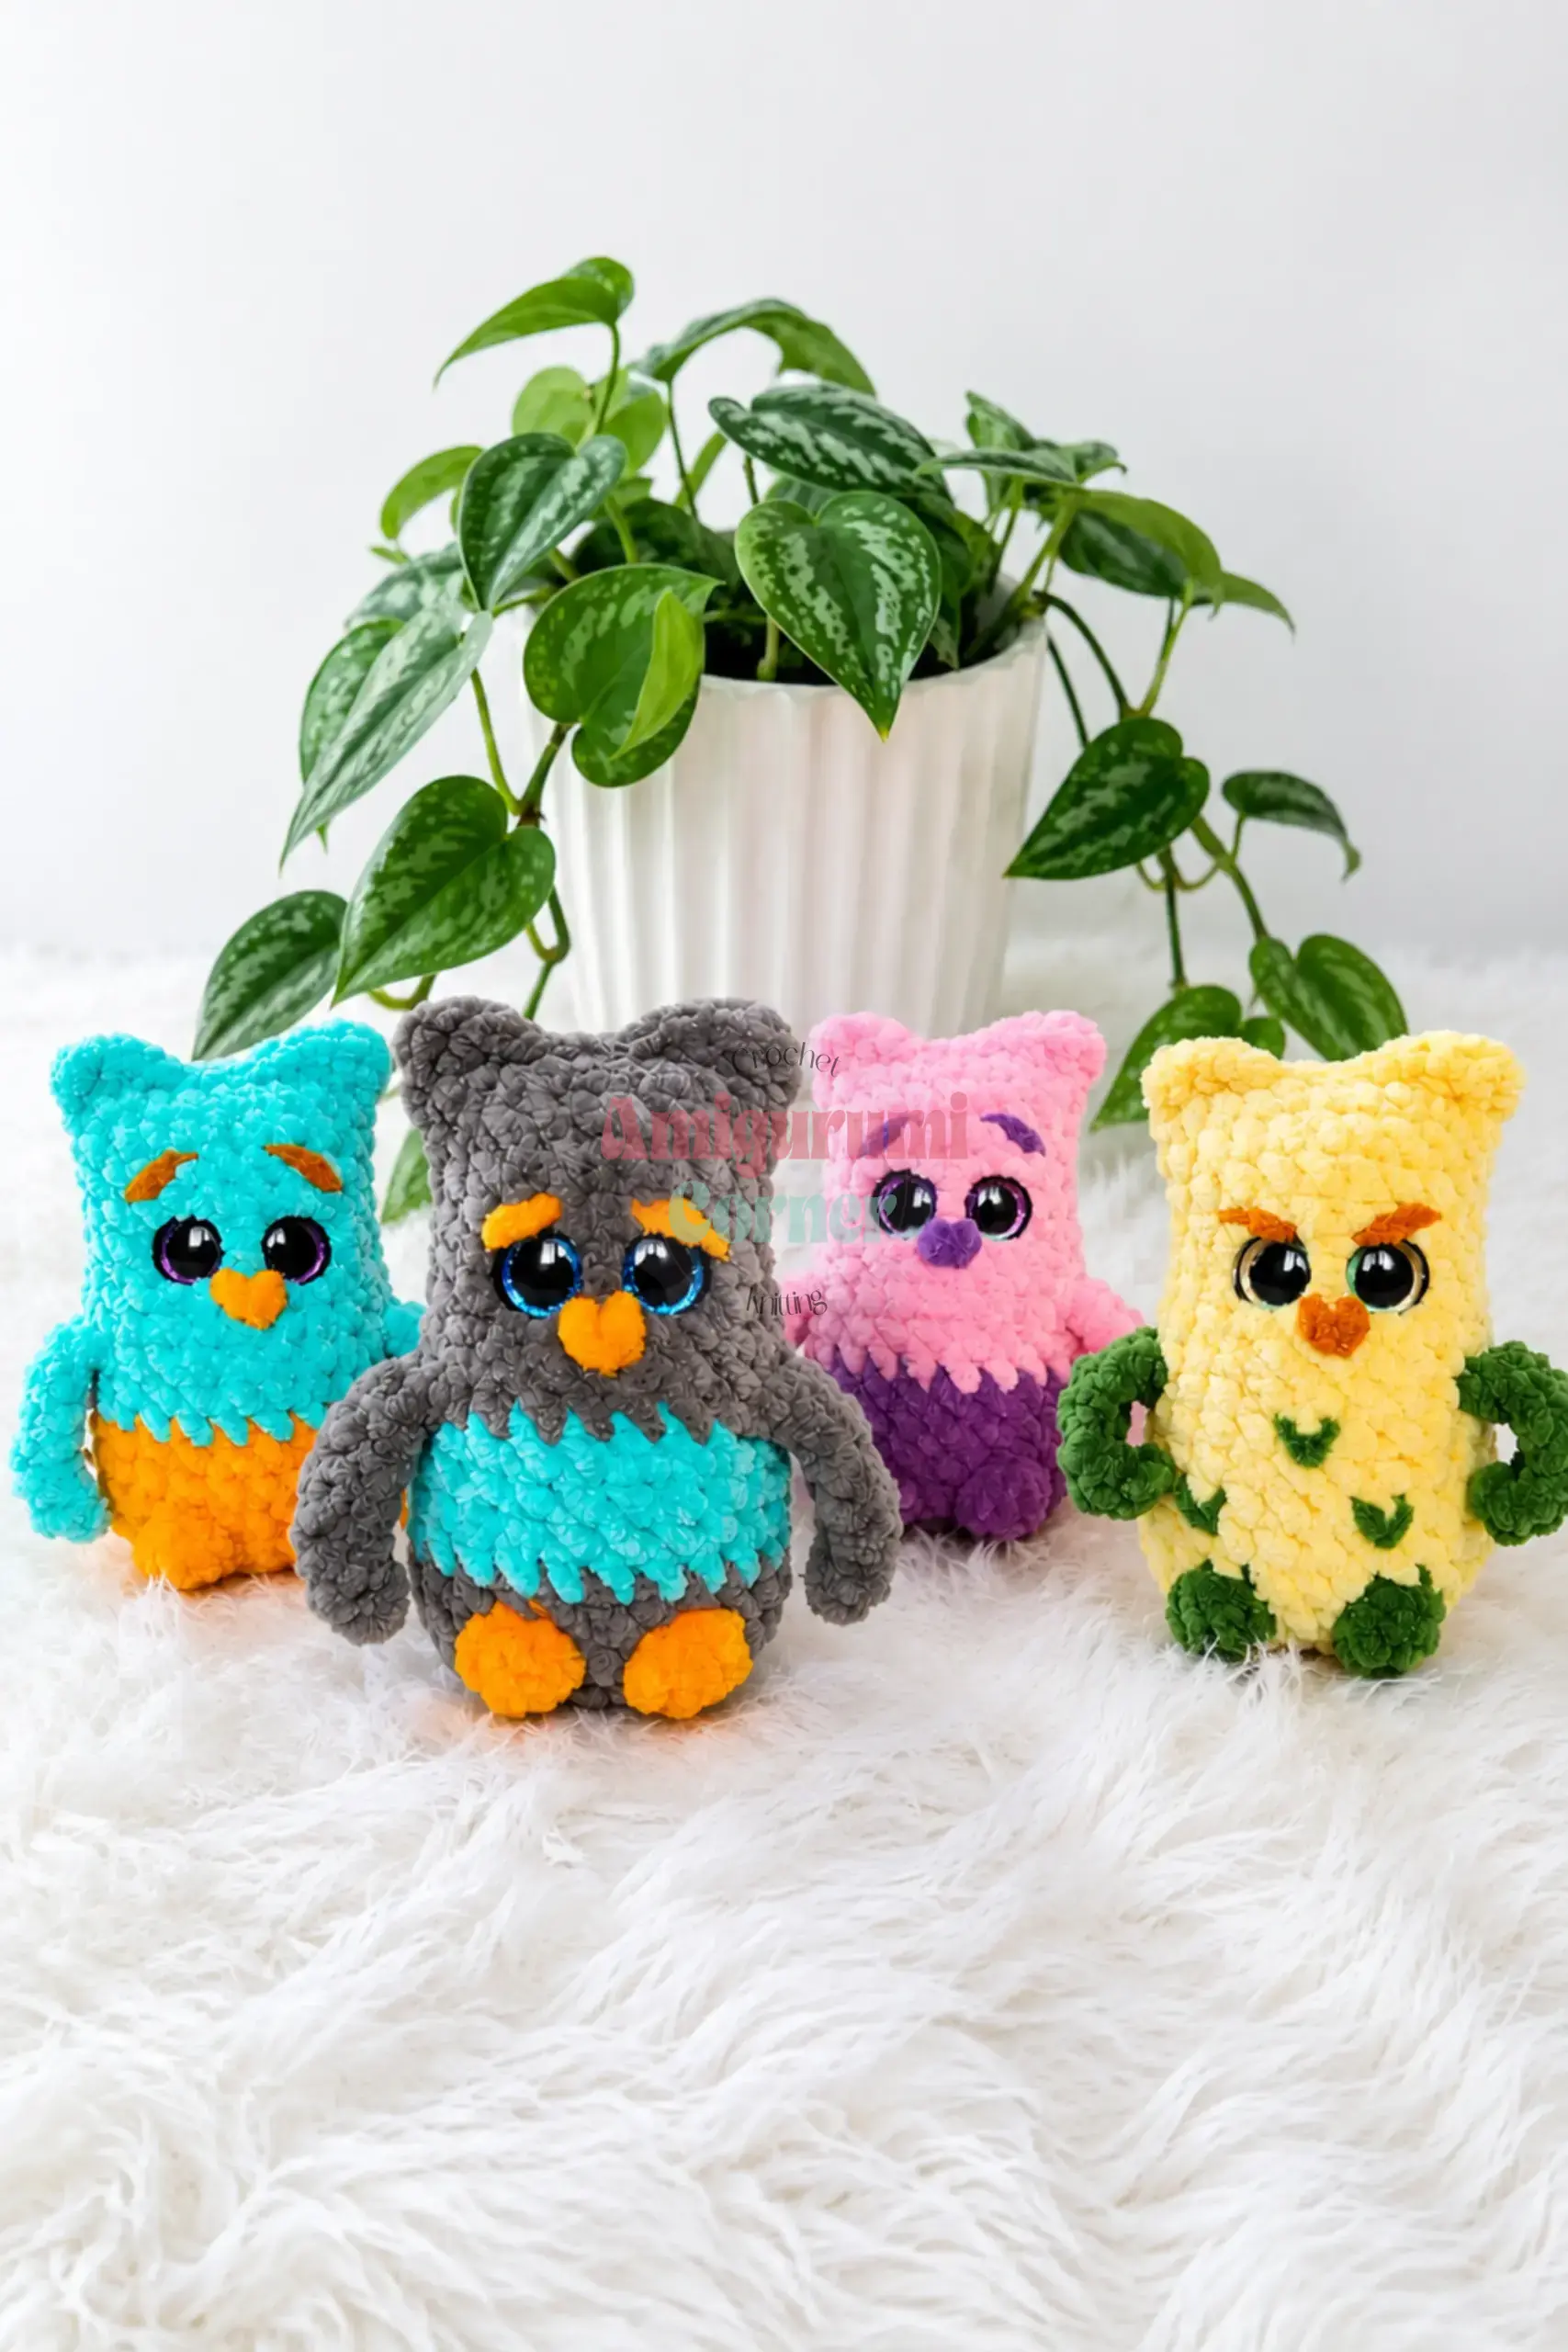
Work with plush yarn in the main color. Use the G-6 / 4 mm hook.
- Rnd 1: 6 sc in MR. (6)
- Rnd 2: inc in each st around. (12)
- Rnd 3: sc, inc repeat 6 times around. (18)
- Rnd 4: 2 sc, inc repeat 6 times around. (24)
- Rnd 5: 3 sc, inc repeat 6 times around. (30)
- Rnd 6: 4 sc, inc repeat 6 times around. (36)
- Rnd 7: 5 sc, inc repeat 6 times around. (42)
- Rnds 8-9: sc in each st around. (42)
- Rnd 10: 5 sc, dec repeat 6 times around. (36)
- Rnd 11: sc in each st around. (36)
- Rnd 12: 4 sc, dec repeat 6 times around. (30)
- Rnd 13: sc in each st around. (30)
- Rnd 14: 3 sc, dec repeat 6 times around. (24)
- Rnd 15: 2 sc, dec repeat 6 times around. (18)
- Rnd 16: sc, dec repeat 6 times around. (12)
- Rnd 17: dec 6 times around. (6)
Stuff the head firmly. Pull the opening closed and weave in the end.
Body
Work with plush yarn in the main color. Use the G-6 / 4 mm hook.
- Rnd 1: 6 sc in MR. (6)
- Rnd 2: inc in each st around. (12)
- Rnd 3: sc, inc repeat 6 times around. (18)
- Rnd 4: 2 sc, inc repeat 6 times around. (24)
- Rnd 5: 3 sc, inc repeat 6 times around. (30)
- Rnd 6: 4 sc, inc repeat 6 times around. (36)
- Rnd 7: 5 sc, inc repeat 6 times around. (42)
- Rnd 8: 6 sc, inc repeat 6 times around. (48)
- Rnd 9: sc in each st around. (48)
- Rnd 10: 6 sc, dec repeat 6 times around. (42)
- Rnd 11: 5 sc, dec repeat 6 times around. (36)
- Rnd 12: 4 sc, dec repeat 6 times around. (30)
- Rnd 13: 3 sc, dec repeat 6 times around. (24)
- Rnd 14: 2 sc, dec repeat 6 times around. (18)
- Rnd 15: sc, dec repeat 6 times around. (12)
- Rnd 16: dec 6 times around. (6)
Stuff the body firmly. Pull the opening closed and weave in the end.
Beak
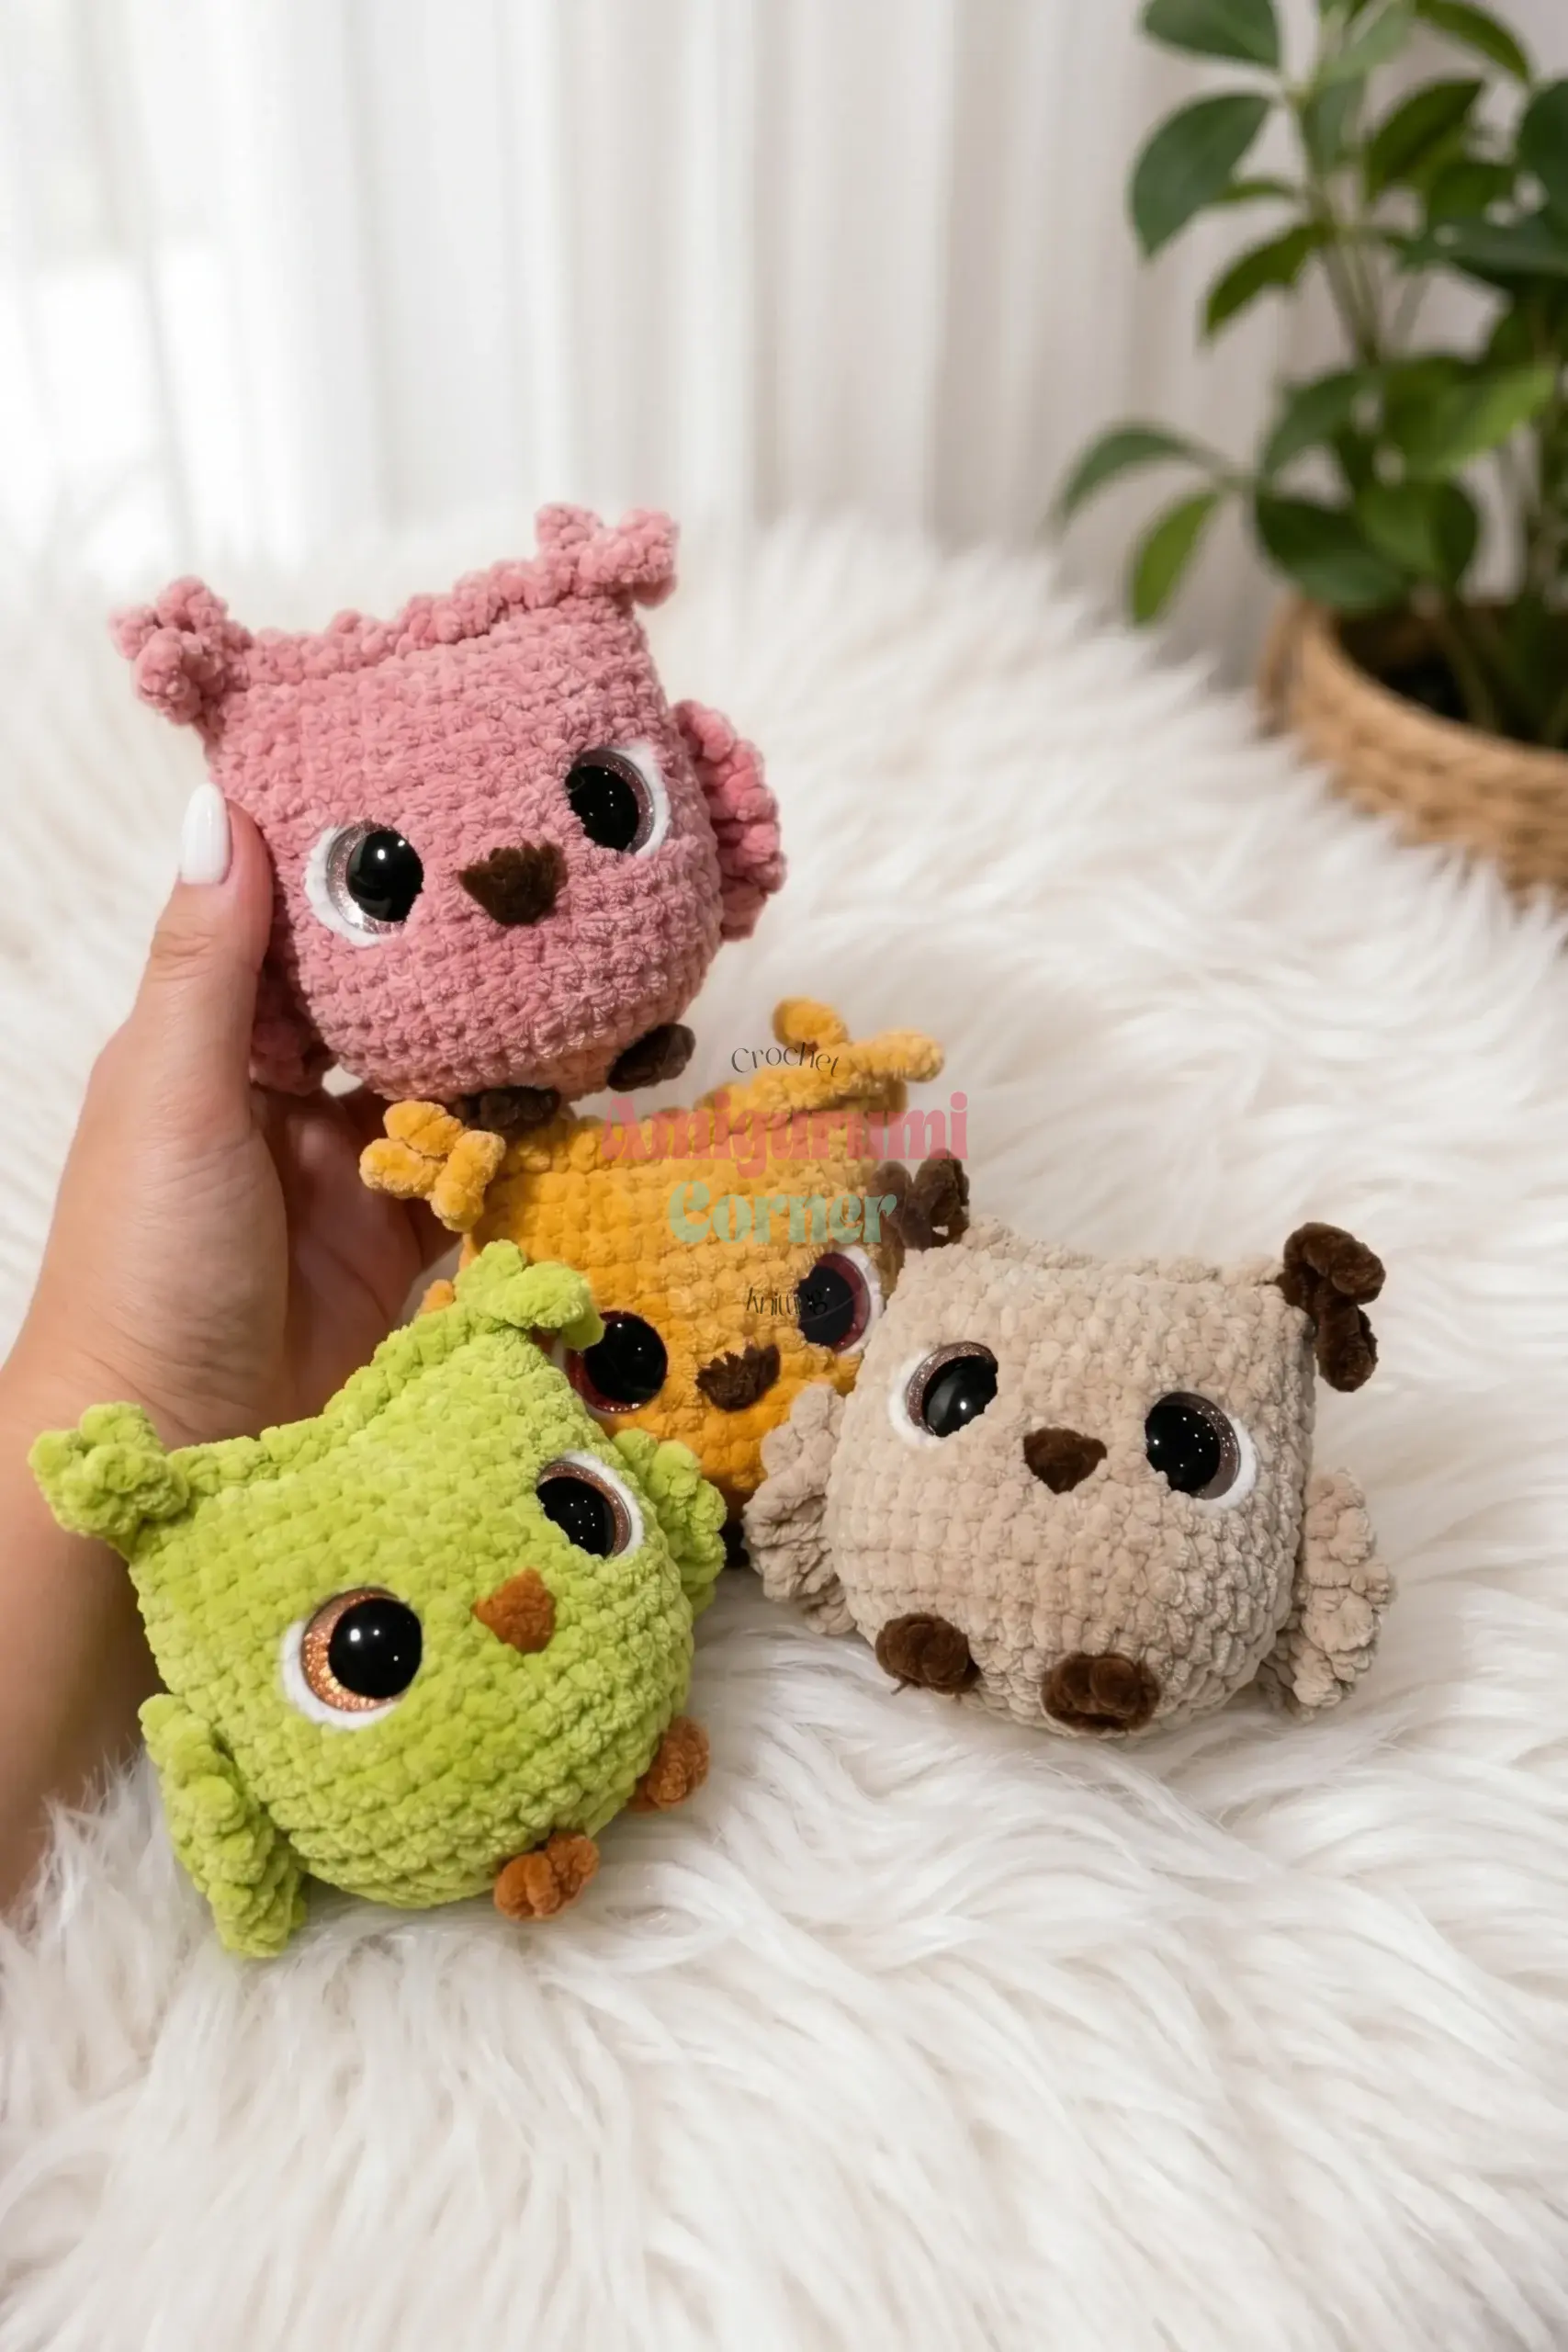
Work with yellow YarnArt Jeans yarn. Use the B-1 / 1.5 mm hook.
- Rnd 1: 3 sc in MR. (3)
- Rnd 2: inc in each st around. (6)
- Rnd 3: sc, inc repeat 3 times around. (9)
Flatten the beak and whipstitch the edges together. Leave a yarn tail for sewing.
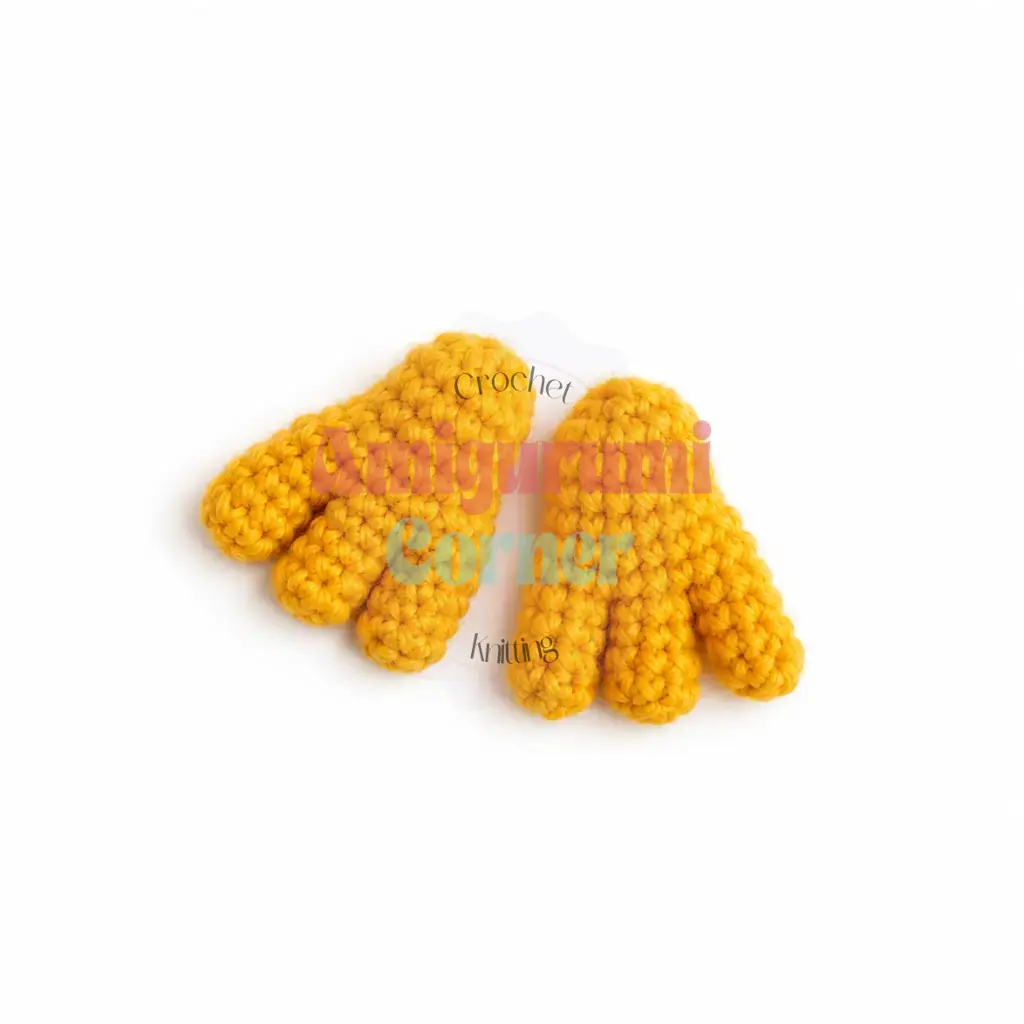
Feet (make 2)
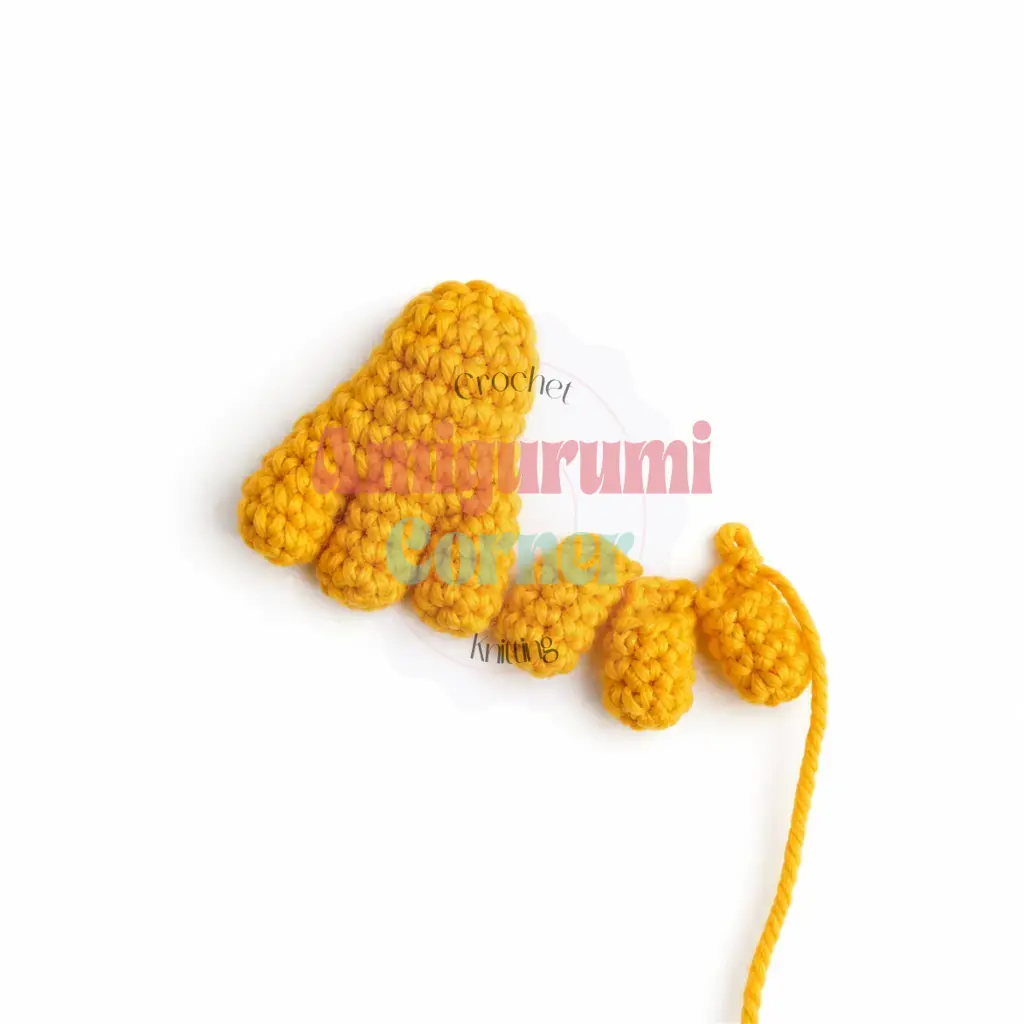
Work with yellow YarnArt Jeans yarn. Use the B-1 / 1.5 mm hook. Each foot is made from three toes joined together.
Make three toes:
- Rnd 1: 6 sc in MR. (6)
- Rnds 2-4: sc in each st around. (6)
Finish the first two toes and cut the yarn. Do not cut the yarn after the third toe.
Join the toes:
- Rnd 5: Working continuously from the third toe, sc 3 across the first toe, sc 3 across the second toe, sc 6 across the third toe, sc 3 back across the second toe, sc 3 back across the first toe. (18)
- Rnd 6: sc in each st around. (18)
- Rnd 7: 4 sc, dec repeat 3 times around. (15)
- Rnds 8-10: sc in each st around. (15)
- Rnd 11: 3 sc, dec repeat 3 times around. (12)
- Rnd 12: dec 6 times around. (6)
Stuff the foot lightly. Pull the opening closed and weave in the end. Make the second foot the same way.
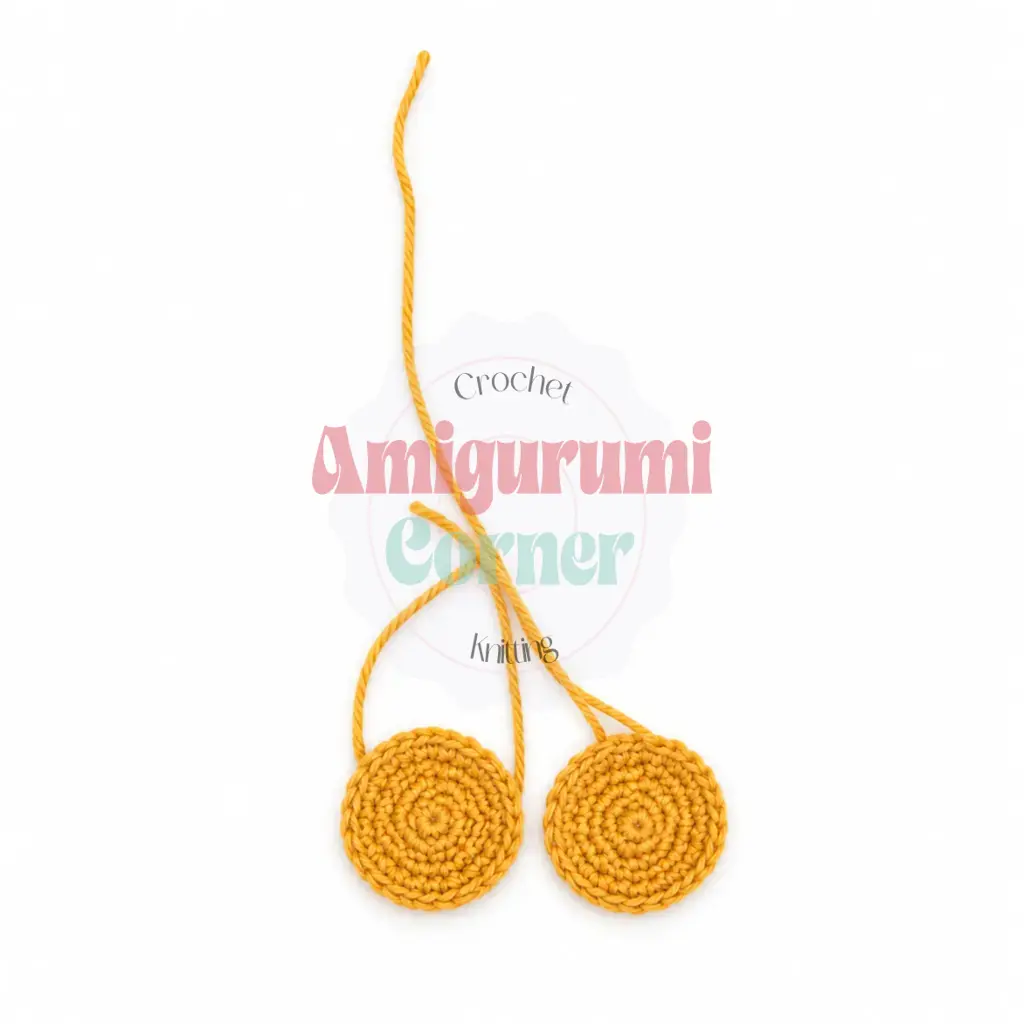
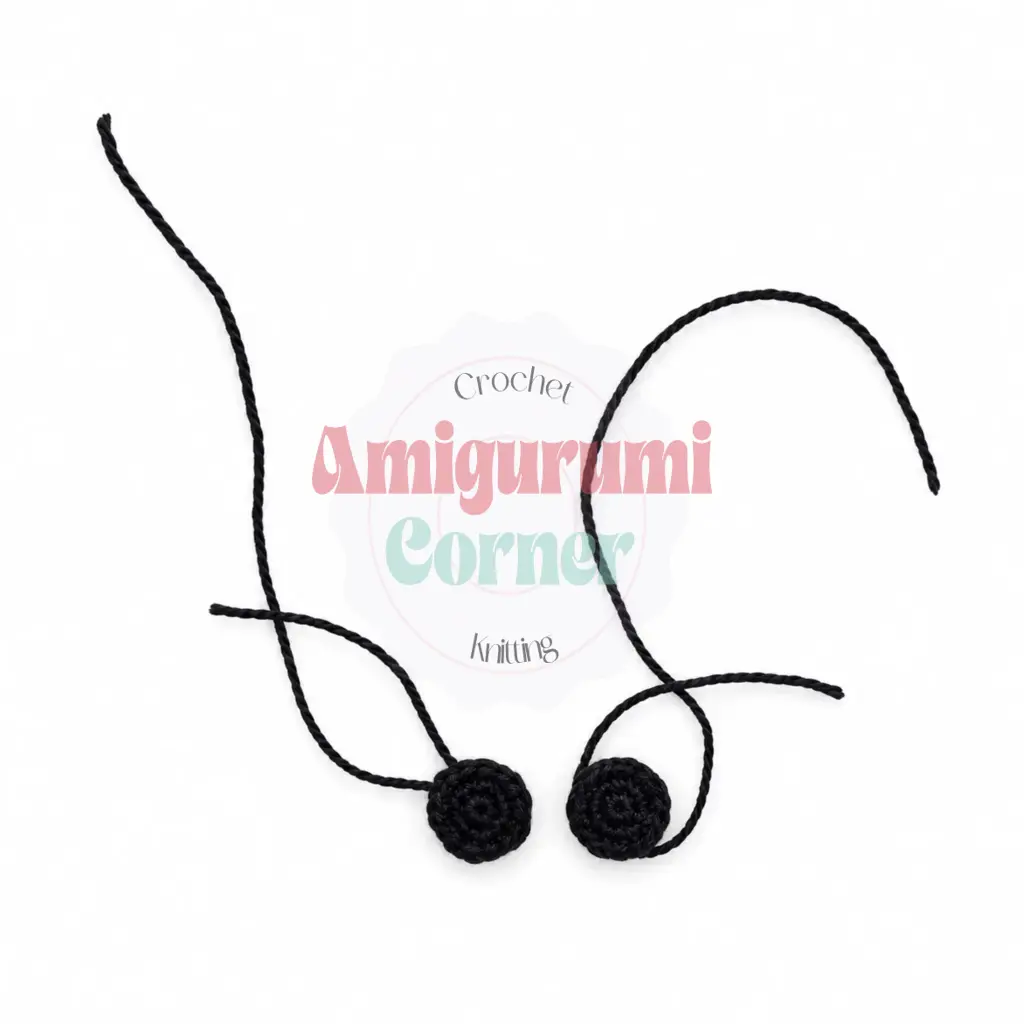
Eye Base (make 2)
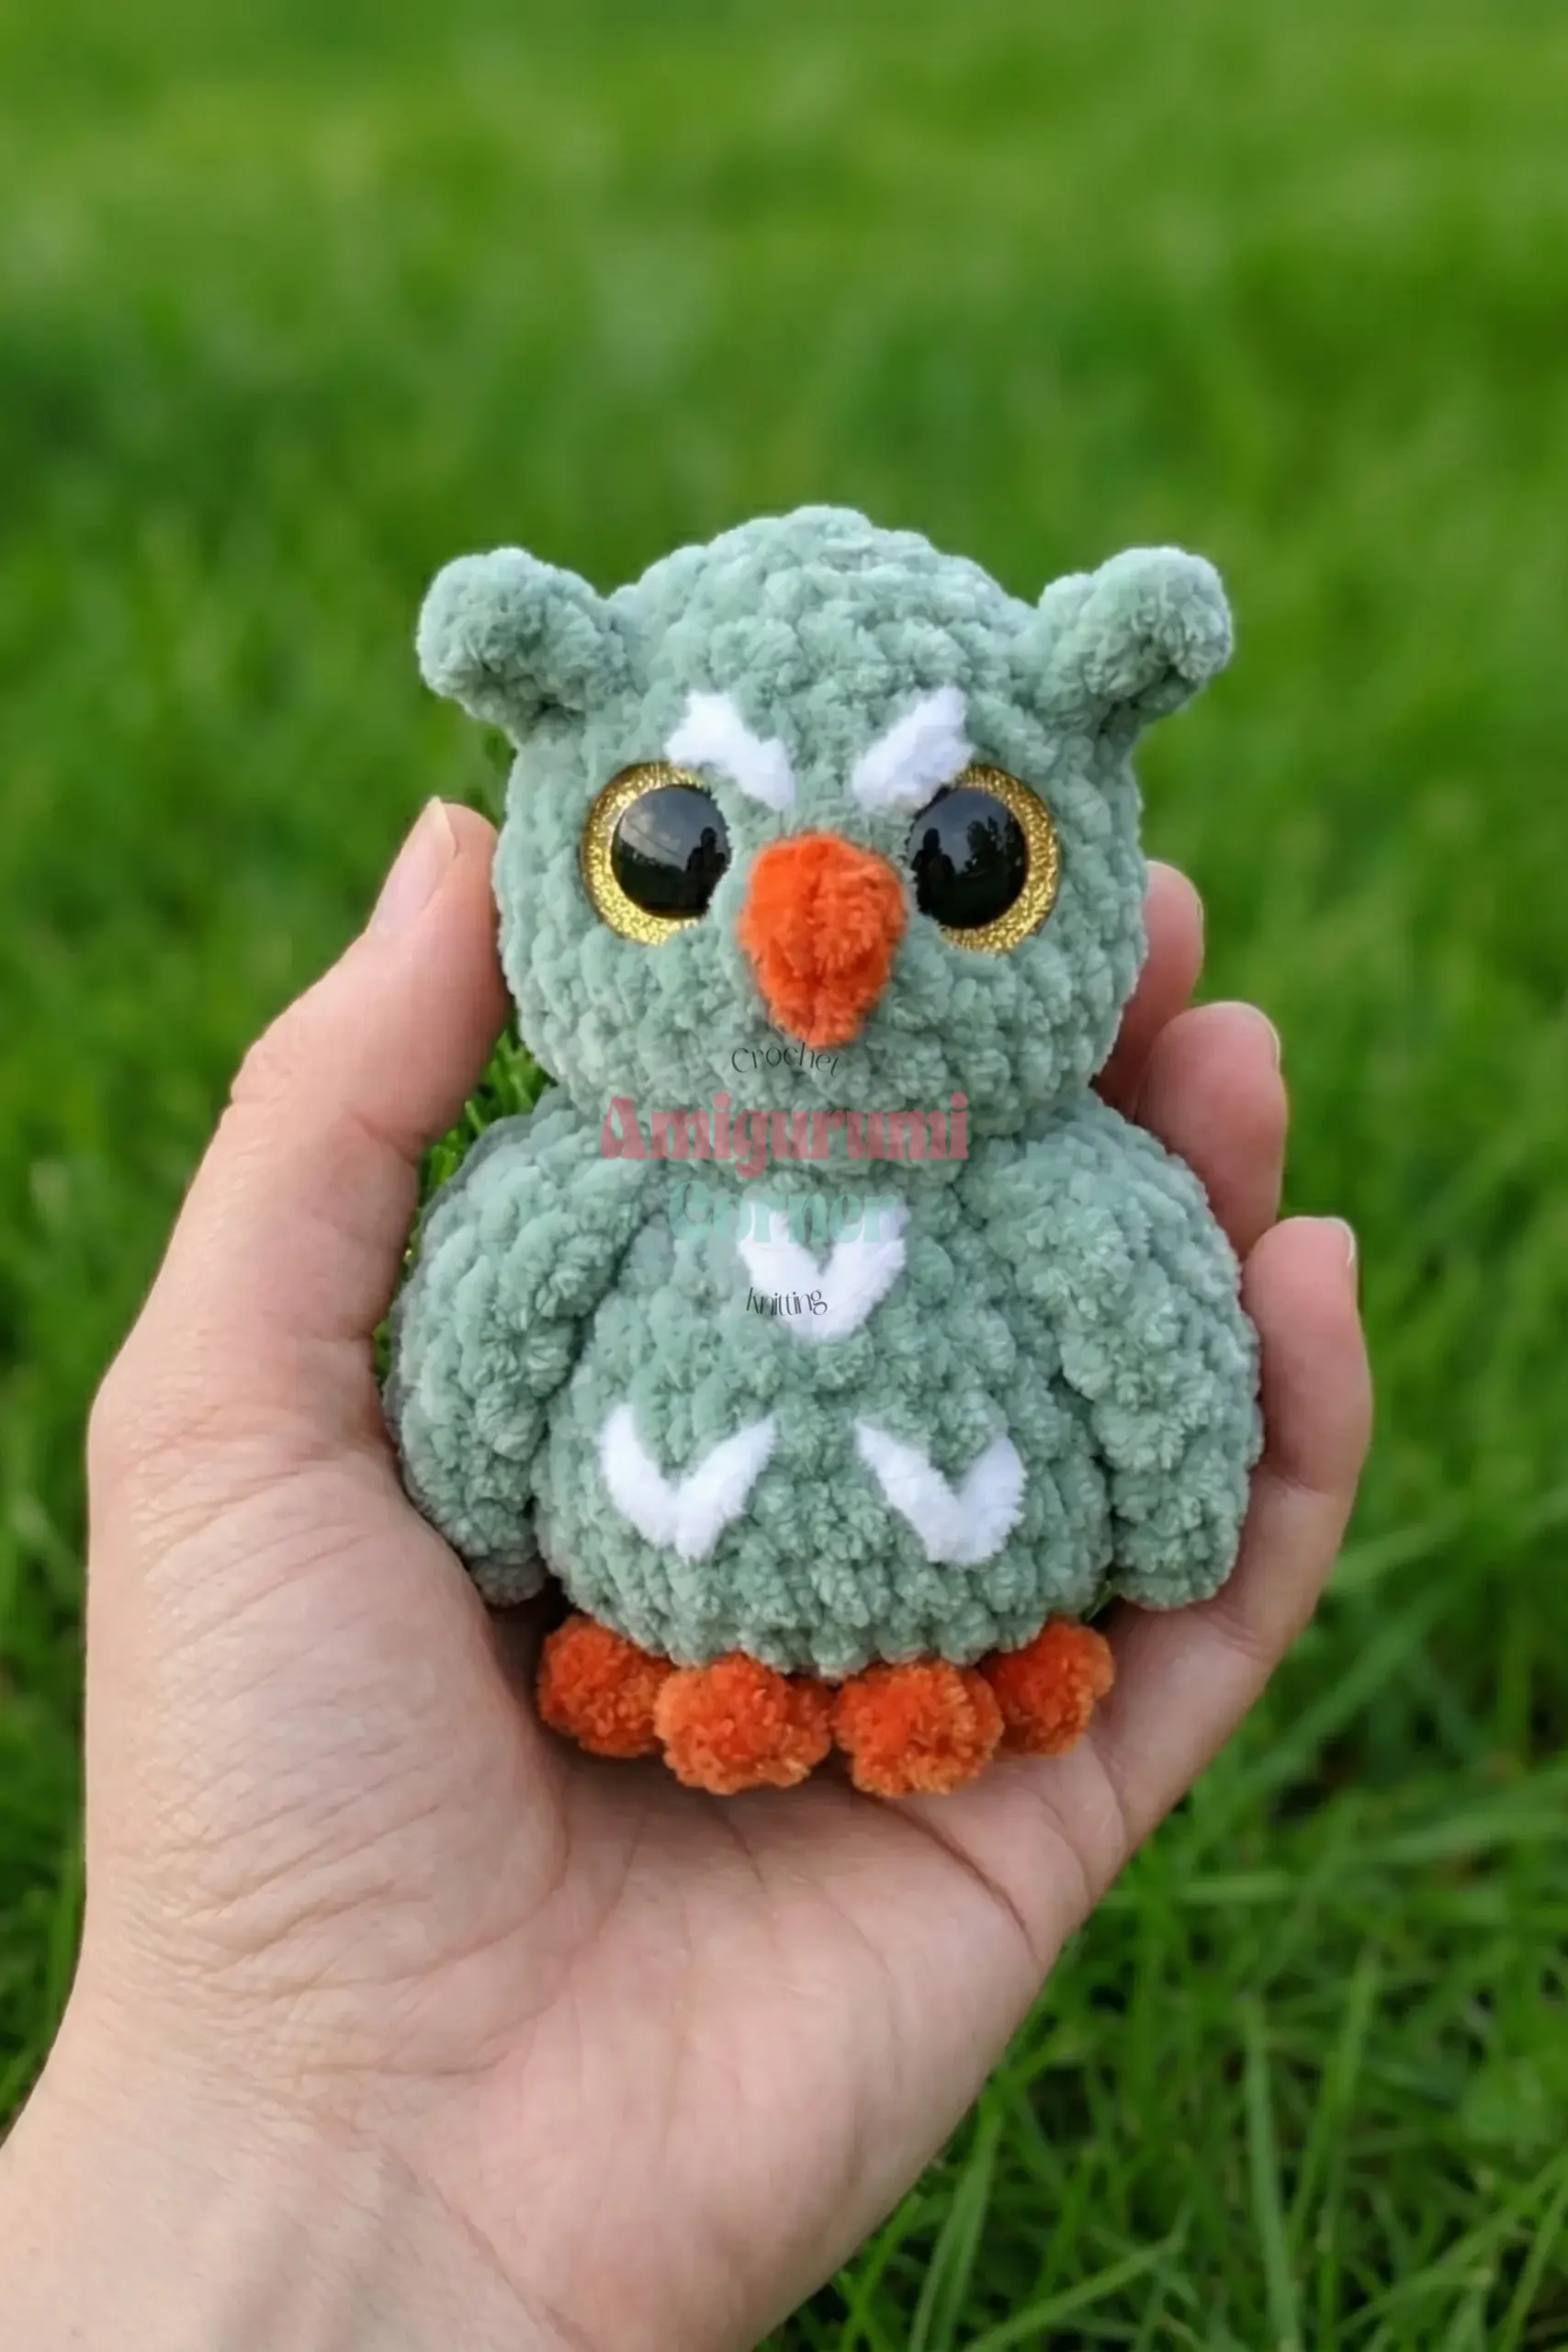
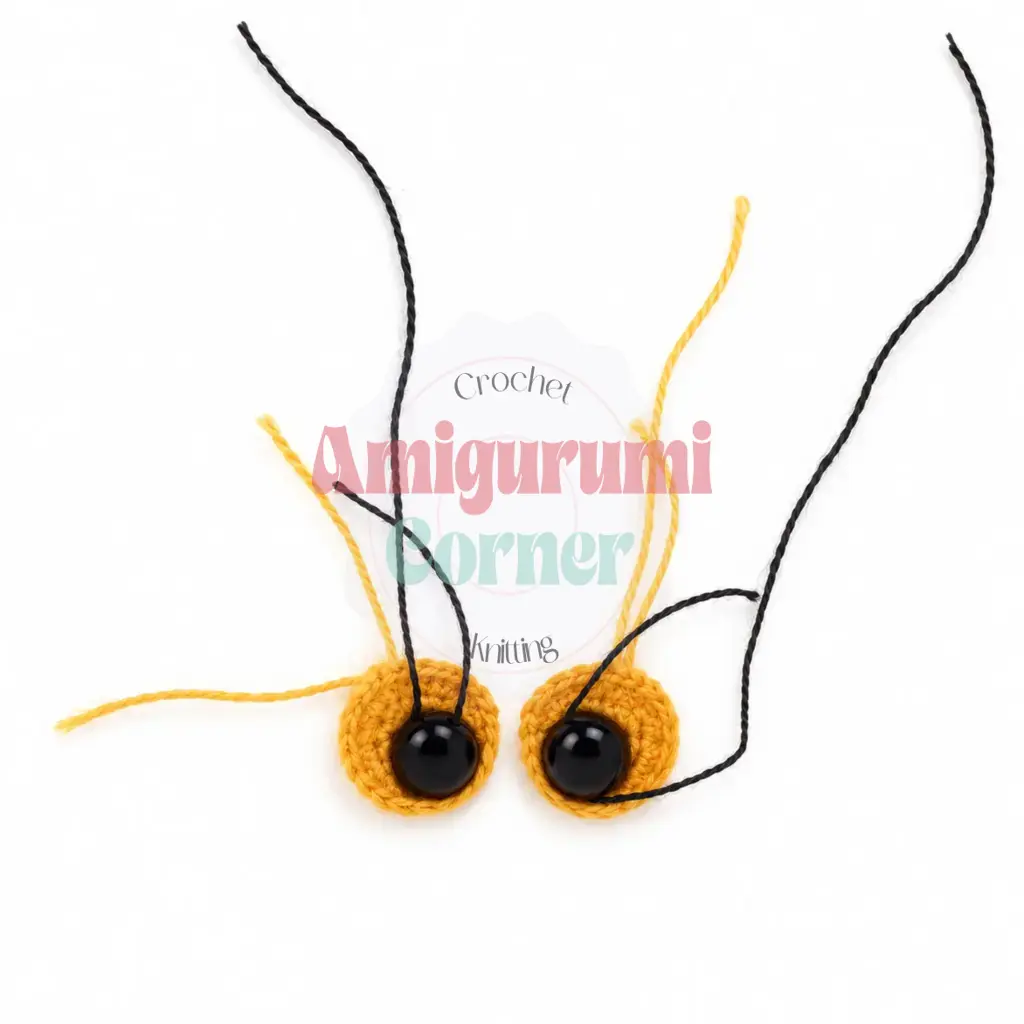
Work with yellow Iris thread. Use the B-1 / 1.5 mm hook.
- Rnd 1: 6 sc in MR. (6)
- Rnd 2: inc in each st around. (12)
- Rnd 3: sc, inc repeat 6 times around. (18)
- Rnd 4: 2 sc, inc repeat 6 times around. (24)
- Rnd 5: 3 sc, inc repeat 6 times around. (30)
- Rnd 6: sc in each st around. (30)
Fasten off and leave a long yarn tail for sewing.
Pupil (make 2)
Work with black Iris thread. Use the B-1 / 1.5 mm hook.
- Rnd 1: 6 sc in MR. (6)
- Rnd 2: inc in each st around. (12)
- Rnd 3: sc, inc repeat 6 times around. (18)
Fasten off and leave a long yarn tail for sewing. Sew each pupil onto the center of an eye base. Using white thread, embroider a small highlight dot onto each pupil.
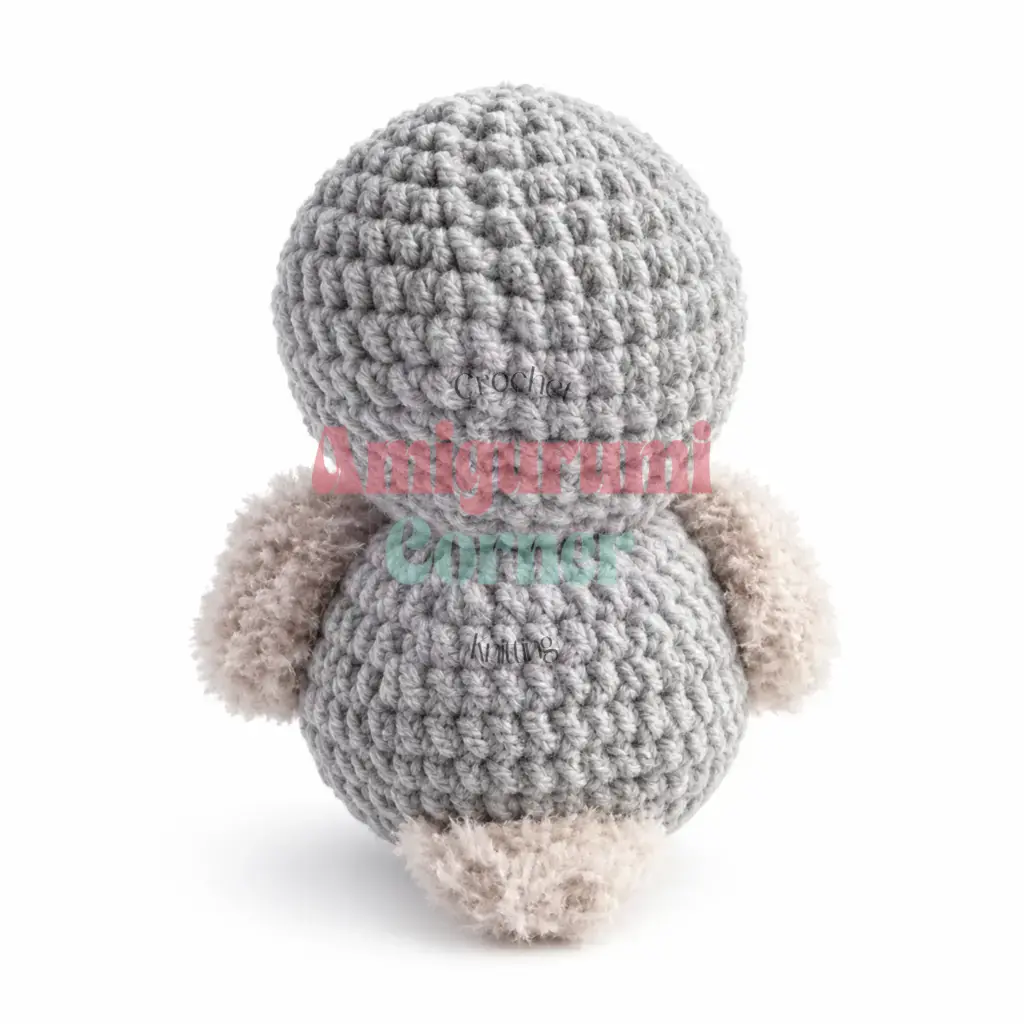
Wings (make 2)
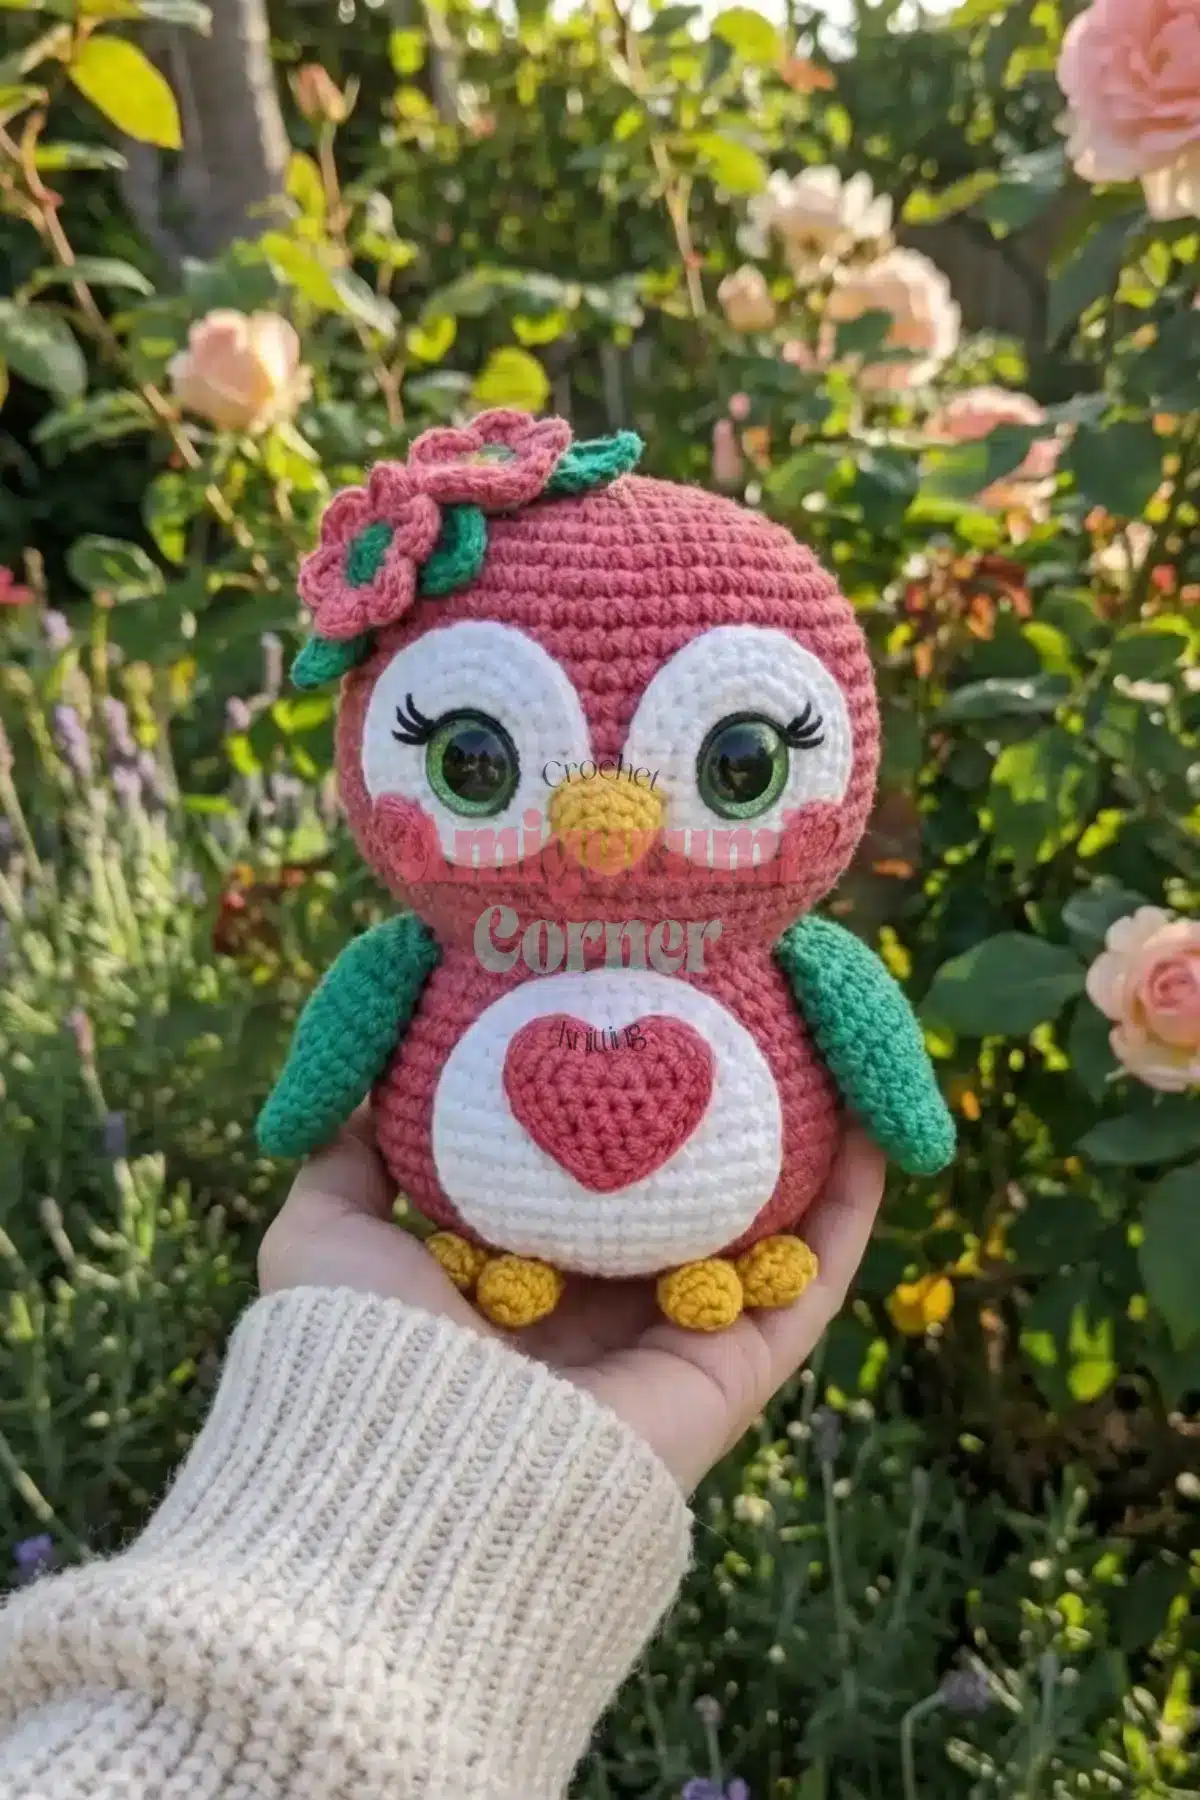
Work with YarnArt Mink in the contrasting color. Use the G-6 / 4 mm hook. Do not stuff the wings.
- Rnd 1: 6 sc in MR. (6)
- Rnd 2: inc in each st around. (12)
- Rnd 3: sc in each st around. (12)
- Rnd 4: sc, inc repeat 6 times around. (18)
- Rnd 5: sc in each st around. (18)
- Rnd 6: 2 sc, inc repeat 6 times around. (24)
- Rnds 7-9: sc in each st around. (24)
- Rnd 10: 2 sc, dec repeat 6 times around. (18)
- Rnd 11: sc, dec repeat 6 times around. (12)
- Rnd 12: dec 6 times around. (6)
Pull the opening closed and weave in the end. Do not stuff.
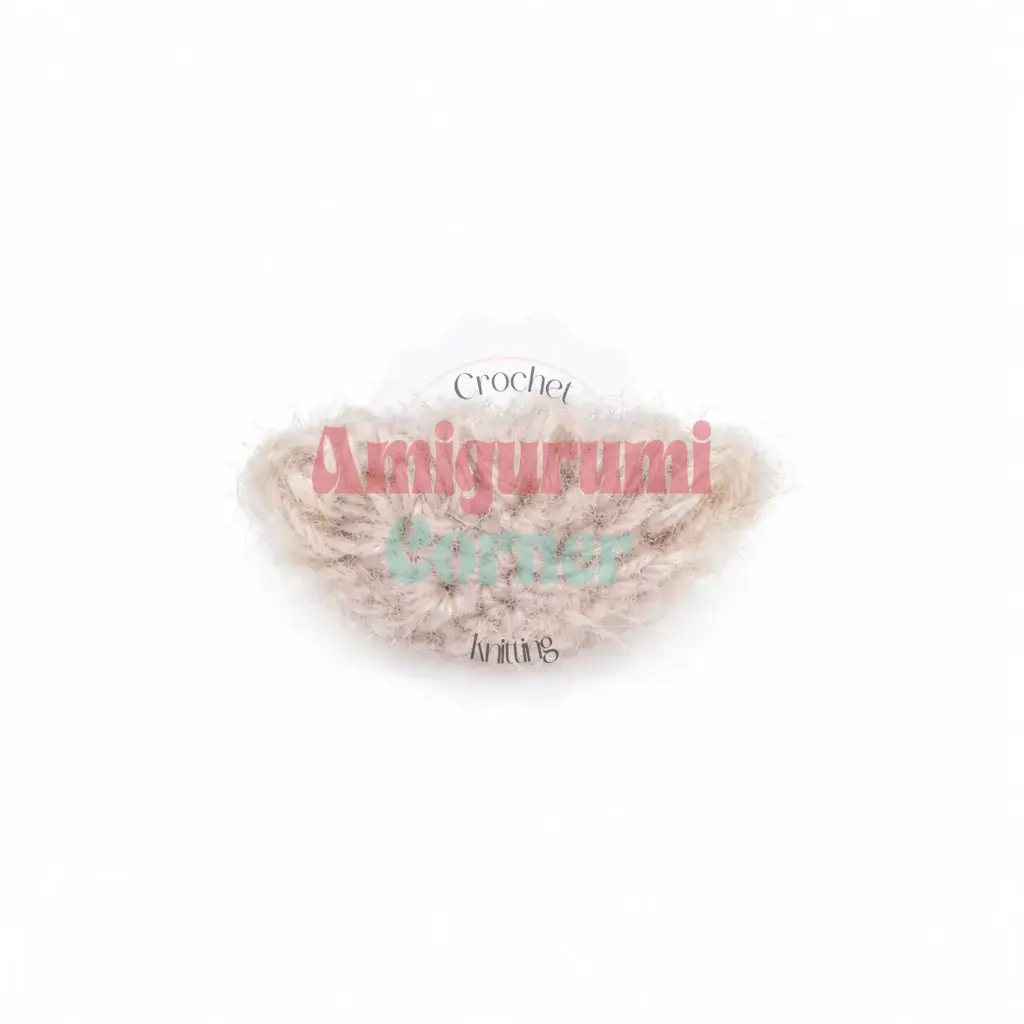
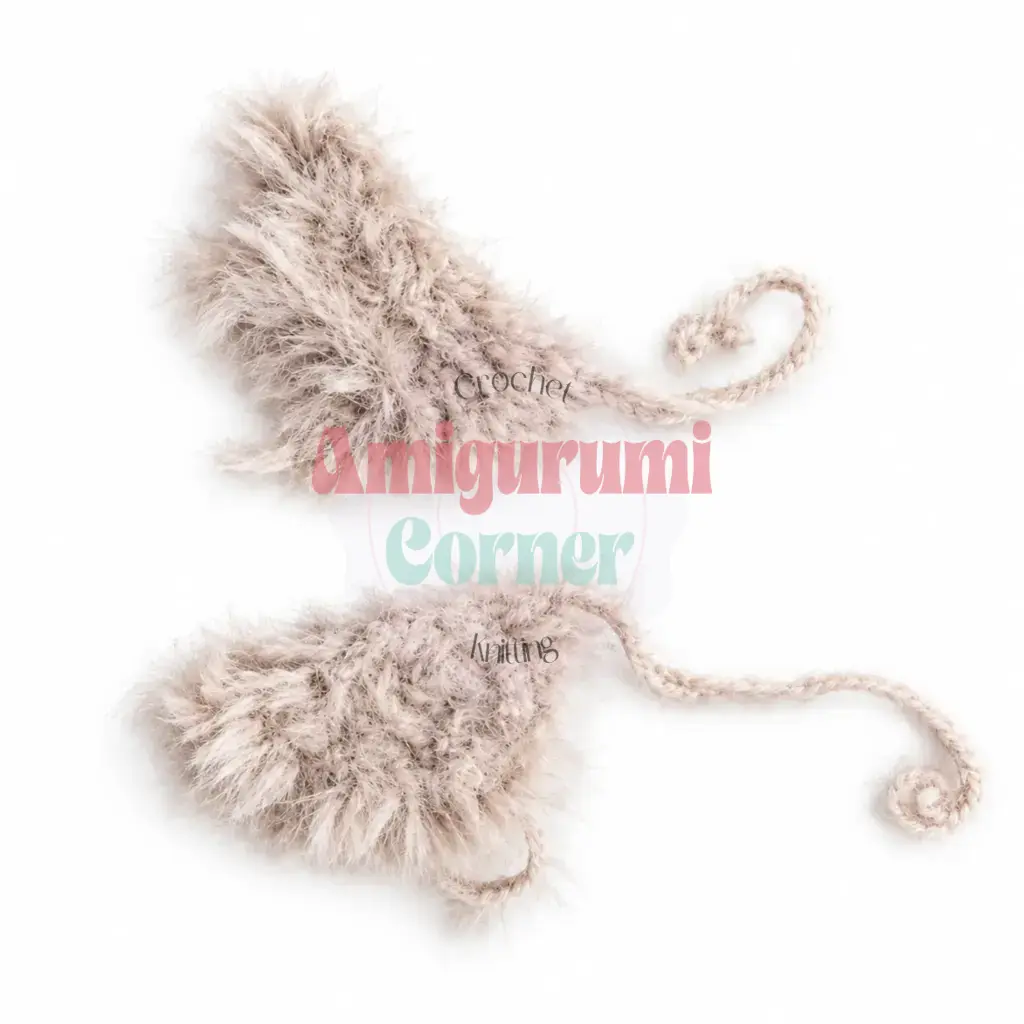
Tail (make 2 pieces)
Work with YarnArt Mink in the contrasting color. Use the G-6 / 4 mm hook. Work in flat rows using double crochet. Do not stuff.
- Row 1: Foundation chain of 7 ch. Starting in the 3rd ch from the hook, work 4 dc, then 1 inc (2 dc in last st). Counting the 2 turning ch as 1 dc, the row has 7 dc total. (7)
- Row 2: Turn. Ch 2 (counts as first dc). Work 6 dc across, then 1 inc at the end. (9)
- Row 3: Turn. Ch 2 (counts as first dc). Work 8 dc across, then 1 inc at the end. (11)
Fasten off and weave in the ends. Place both tail pieces together with edges aligned and whipstitch them together along the sides using a matching sewing thread or yarn.
Santa Hat
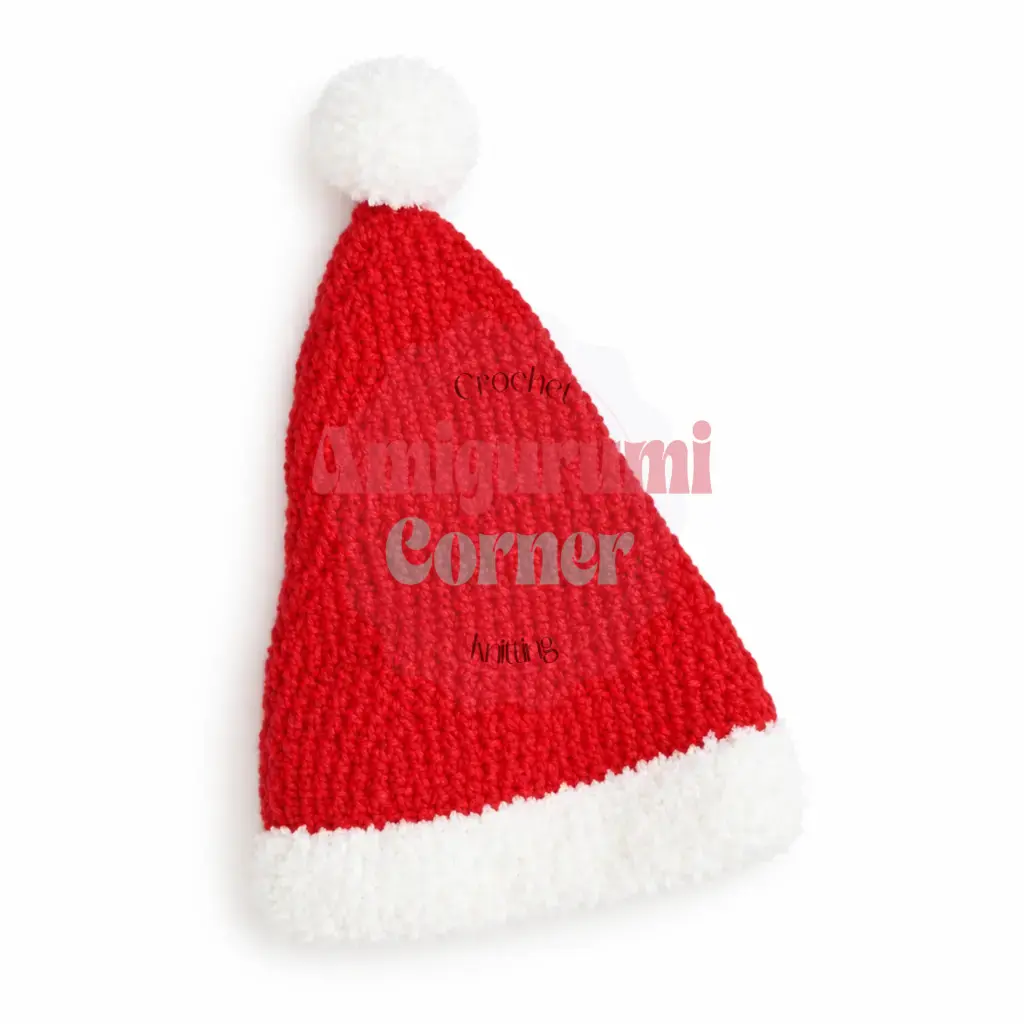
Begin with white Alize Softy yarn. Use the G-6 / 4 mm hook. The hat is worked in joined rounds.
- Row 1: Foundation chain of 66 ch. Join with a sl st to form a ring, being careful not to twist.
- Rnds 2-5: 66 dc around. (66)
Switch to red YarnArt Jeans yarn.
- Rnd 6: 9 dc, dec repeat 6 times around. (60)
- Rnd 7: dc in each st around. (60)
- Rnd 8: 8 dc, dec repeat 6 times around. (54)
- Rnd 9: 7 dc, dec repeat 6 times around. (48)
- Rnds 10-11: dc in each st around. (48)
- Rnd 12: 22 dc, dec, 22 dc, dec. (46)
- Rnd 13: 21 dc, dec, 21 dc, dec. (44)
- Rnd 14: 20 dc, dec, 20 dc, dec. (42)
- Rnd 15: 19 dc, dec, 19 dc, dec. (40)
- Rnd 16: 18 dc, dec, 18 dc, dec. (38)
- Rnd 17: 17 dc, dec, 17 dc, dec. (36)
- Rnd 18: dc in each st around. (36)
- Rnd 19: 34 dc, dec. (35)
- Rnd 20: 16 dc, dec, 15 dc, dec. (33)
- Rnd 21: 15 dc, dec, 14 dc, dec. (31)
- Rnd 22: 14 dc, dec, 13 dc, dec. (29)
- Rnd 23: 13 dc, dec, 12 dc, dec. (27)
- Rnd 24: 7 dc, dec repeat 3 times around. (24)
- Rnd 25: 6 dc, dec repeat 3 times around. (21)
- Rnd 26: 5 dc, dec repeat 3 times around. (18)
- Rnd 27: 4 dc, dec repeat 3 times around. (15)
- Rnd 28: 3 dc, dec repeat 3 times around. (12)
- Rnd 29: dc in each st around. (12)
- Rnd 30: dec 6 times around. (6)
Pull the opening closed and weave in the end.
Pompom
Work with white Alize Softy yarn. Use the G-6 / 4 mm hook. Stuff as you go.
- Rnd 1: 6 sc in MR. (6)
- Rnd 2: inc in each st around. (12)
- Rnd 3: sc, inc repeat 6 times around. (18)
- Rnd 4: 2 sc, inc repeat 6 times around. (24)
- Rnd 5: 3 sc, inc repeat 6 times around. (30)
- Rnds 6-7: dc in each st around. (30)
- Rnd 8: 3 sc, dec repeat 6 times around. (24)
- Rnd 9: 2 sc, dec repeat 6 times around. (18)
- Rnd 10: sc, dec repeat 6 times around. (12)
- Rnd 11: dec 6 times around. (6)
Pull the opening closed and weave in the end.
Assembly
- Position the head on top of the body and pin it in place.
- Sew the head to the body using a whipstitch or mattress stitch and the yarn tail from the head. Pull snugly so there is no visible gap.
- Center each completed eye base (pupil already sewn on) on the front of the head. Pin them side by side, slightly overlapping if needed to match the owl’s wide-eyed look. Sew each eye base down using its yarn tail.
- Position the beak between and just below the two eyes. Sew it flat against the head using the yarn tail.
- Sew one foot to each side of the lower body, pointing forward. Use the yarn tail and whipstitch around the attachment edge.
- Pin a wing to each side of the body, midway down the sides. Sew each wing in place using its yarn tail, stitching around the flat opening edge.
- Attach the joined tail piece to the back lower edge of the body. Sew along the straight top edge of the tail so it fans outward naturally.
- Place the Santa hat on the owl’s head and sew it in place at the brim, tacking it lightly so it stays on without flopping.
- Sew or glue the pompom to the tip of the hat.
- Using a yarn needle and black yarn or thread, embroider eyelids, lashes, and eyebrows onto the face as desired.
- Weave in all remaining yarn ends securely.
Tips
- Go tighter than you think with plush yarn. Chenille and velvet-style yarns have a tendency to show gaps between stitches, especially on the head and body. Drop down a hook size if you see daylight through your fabric. A tighter fabric also holds stuffing in place and gives the owl a rounder, firmer shape.
- Use invisible decreases throughout. The standard yarn-over decrease can leave a small hole or bump on the surface of plush yarn. For the invisible decrease, insert your hook under the front loop only of the first stitch and then the front loop only of the second stitch, yarn over, and pull through both, then complete as a normal sc. The result is virtually seamless.
- Keep the eye bases flat before sewing. Because the eye base is worked in fine thread yarn with a small hook, it will naturally sit flatter than the plush pieces. Lightly press each disc under a damp cloth to help it lie flat against the head before sewing, and pin carefully before committing to stitches.
- Stuff the feet and pompom firmly. Loosely stuffed feet will flop and not hold their shape. Pack fiberfill in small pinches until the piece feels solid but not stretched. The pompom especially benefits from generous stuffing so it sits round and puffy on top of the hat.
- Match your yarn tails to the piece when sewing. When attaching the wings and tail in a contrasting color, use a length of your main-color yarn for sewing if the seam would otherwise show as a bright contrast line. Sewing with the matching background color makes attachment points nearly invisible from the front.
FAQs
Can I use safety eyes instead of the crocheted eyes?
Yes, you can insert safety eyes between the eye base discs and the head if preferred. However, the pattern is designed for a child-safe finish using the crocheted pupil pieces and embroidery thread.
Why is my plush yarn showing gaps?
Plush yarns like chenille can stretch and show gaps if the tension is too loose. Try using a smaller hook size than recommended for the yarn to create a tighter, denser fabric that hides the stuffing.
Do I need to stuff the wings and tail?
No, the wings and tail pieces are not stuffed. They are worked flat and sewn onto the body to create a layered, textured look.
How do I make the feet stand up?
The feet are made from three joined toes and stuffed firmly. Ensure you pack the fiberfill tightly so the foot holds its shape and points forward rather than flopping.
What yarn is best for the fluffy wings?
The pattern suggests a fluffy or brushed yarn like YarnArt Mink for the wings and tail to create a soft, feathery texture that contrasts with the smooth plush body.
Is this pattern suitable for beginners?
This pattern is rated beginner-friendly to intermediate. If you are comfortable crocheting in the round and have made a basic amigurumi ball before, you have everything you need to make this owlet.
Pin This Crochet Pattern!