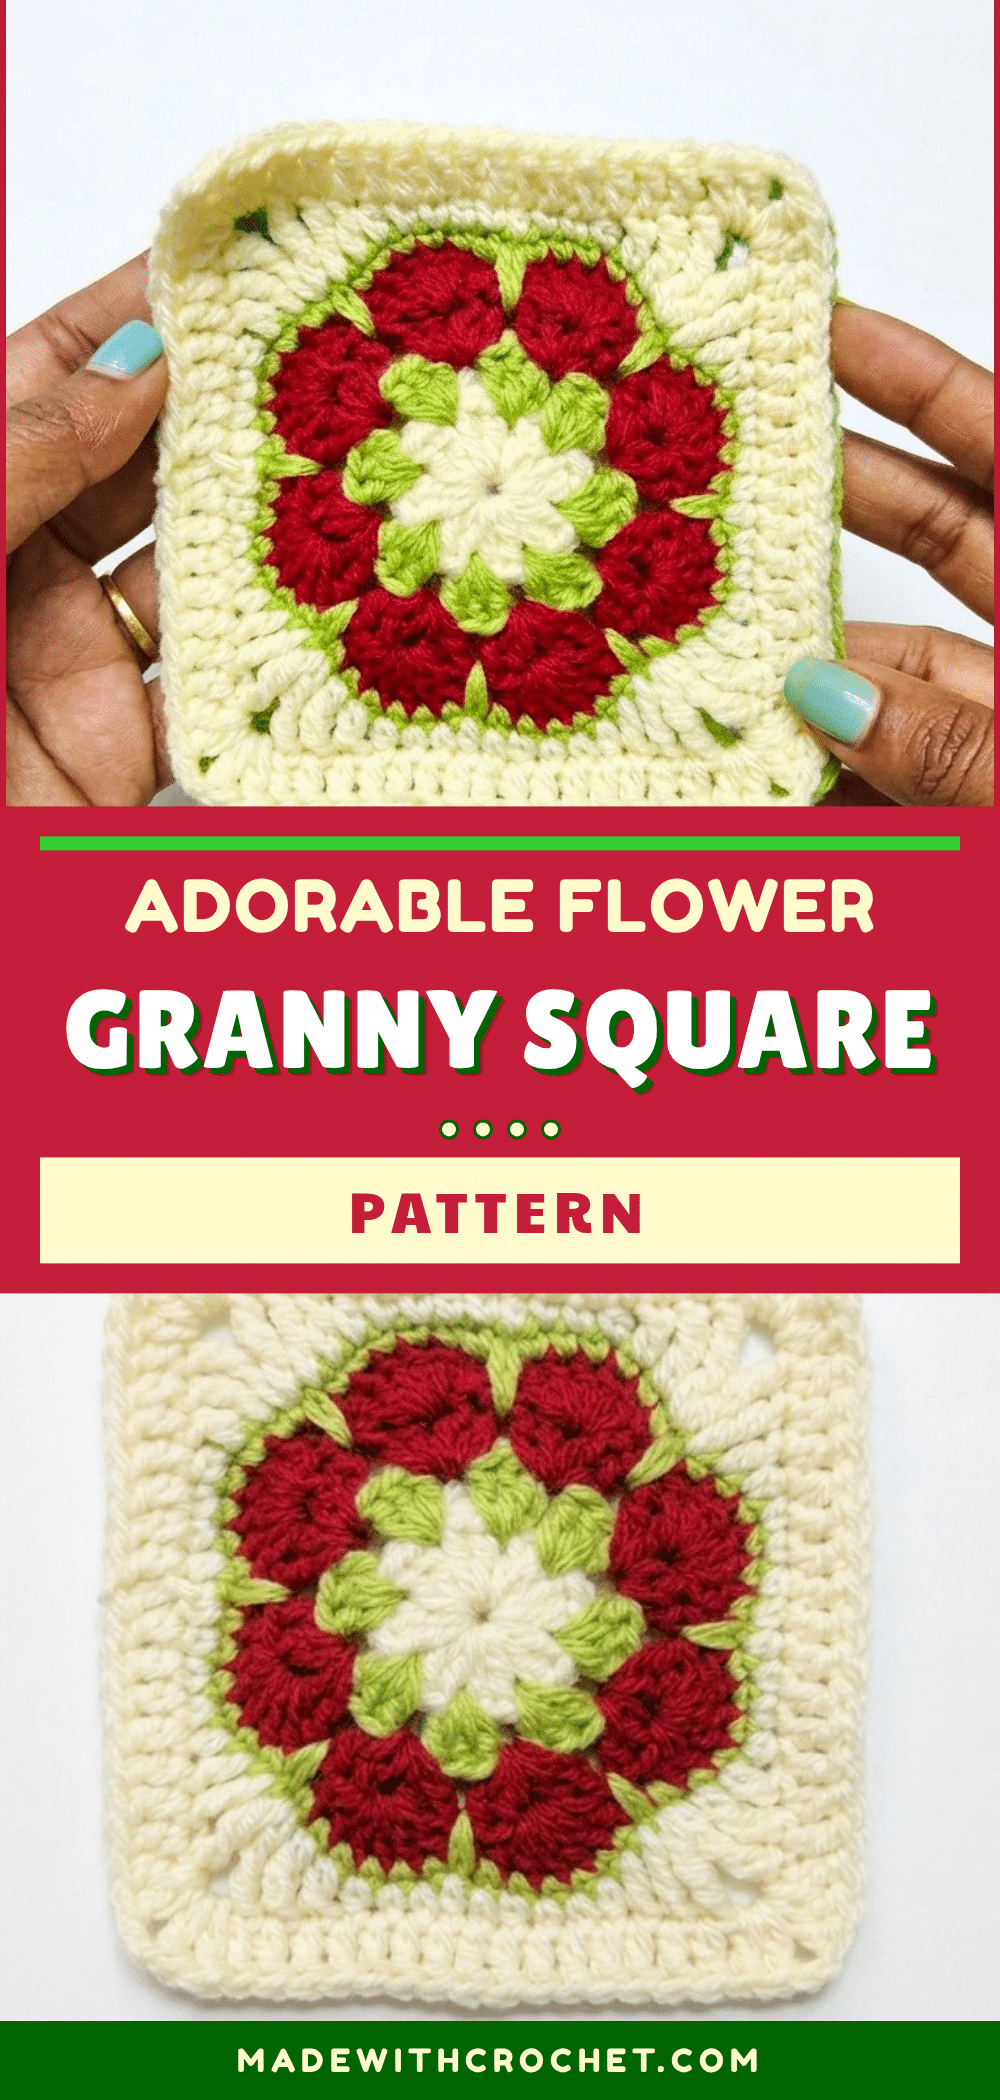
There is a specific kind of magic that happens when you sit down with a hook and a skein of yarn, and the American Flower Granny Square is the perfect project to capture that feeling. It starts with a simple magic ring, but as you work through the rounds, you watch a dimensional flower bloom from the center, eventually settling into a crisp, classic square shape. It is a project that feels like a small victory from start to finish, blending the nostalgia of traditional granny squares with the modern appeal of floral motifs.
Why This Project Works
What makes this square truly stand out is its ability to bridge the gap between a simple motif and a statement piece. The layered petals create a beautiful 3D effect that adds depth to any project, whether you are making a cozy blanket or a stylish bag. The transition from the organic flower center to the geometric square border is handled with precision, giving you that satisfying “snap” of structure that classic granny squares are known for. It is also incredibly versatile; you can experiment with vibrant color blocking for a pop of energy or stick to a monochromatic palette for a sophisticated look. This pattern is not just about following instructions; it is about creating a texture that feels rich and tactile.
Project Overview
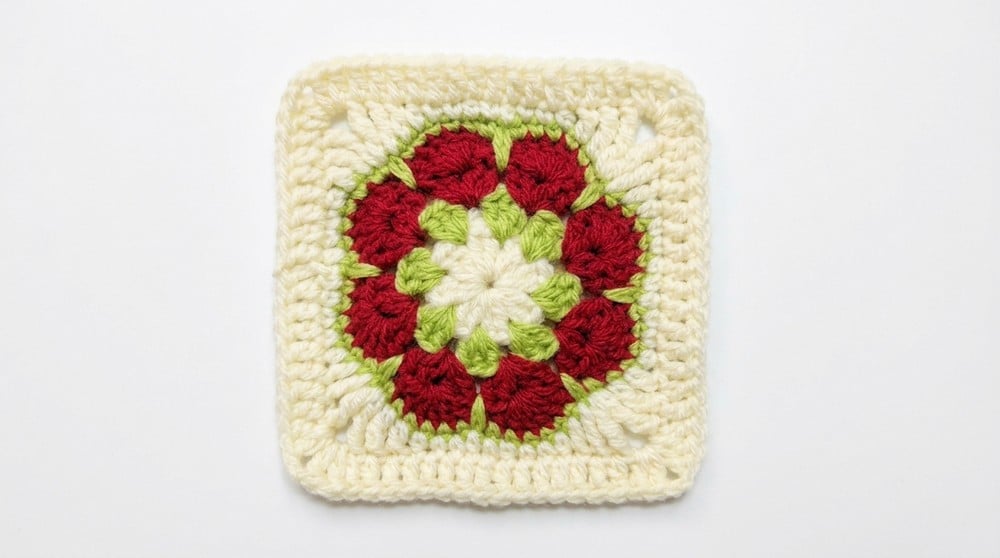
The American Flower Granny Square blends classic square geometry with a dimensional floral centerpiece, resulting in a vibrant, adaptable motif for countless home decor and gift items. Layered petals, color blocking, and a clean, sharp border make this pattern an inviting canvas for creative colorwork. This square is ideal for both standalone use and as a sophisticated building block for larger modular projects, offering satisfying structure and expressive texture to any collection. Experiment with blossom colors or yarn weights to customize your squares and create a unique tapestry or accessory.
Materials
- Yarn: 4-ply acrylic yarn in three or more contrasting or coordinating colors (center, petal rounds, leaves, border)
- Hook: 3.5mm (or size to produce a firm, closed fabric)
- Yarn needle: For sewing in ends
- Small scissors
- Stitch markers: (optional)
Gauge and Finished Size
Gauge: Gauge is not critical for motifs, but for reference: 7 rounds of pattern should yield a square of approximately 11–13 cm (unblocked).
Finished Size: Each square measures 11–13 cm (4.5″–5″) across, depending on yarn and hook size. Can be joined with other motifs for larger projects.
Abbreviations
- MR – Magic Ring
- CH – Chain
- SL ST – Slip Stitch
- SC – Single Crochet
- HDC – Half Double Crochet
- DC – Double Crochet
- TR – Treble Crochet
- DTR – Double Treble Crochet
- Long SC – Insert hook into specified previous round space, draw up loop to current height, complete SC
Pattern Notes
For clean color transitions, fasten off and join new colors with standing stitches or secure joins. Use blocking for sharp, defined edges—especially if the motif will become part of a blanket. Tall stitches (tr, dtr) lend height for petal definition; maintain even tension on these stitches for uniformity. The long single crochet, dropped down into a previous row, adds dynamic visual depth. Count stitches carefully in each round to ensure squared corners and equal stitch count on all sides. Classic granny patterns allow for flexibility: the motif can be enlarged with additional DC rounds if desired. The pattern assumes a comfortable knowledge of stitch heights and working into both chain spaces and stitches.
Pattern Instructions
Row 1 — Flower Center
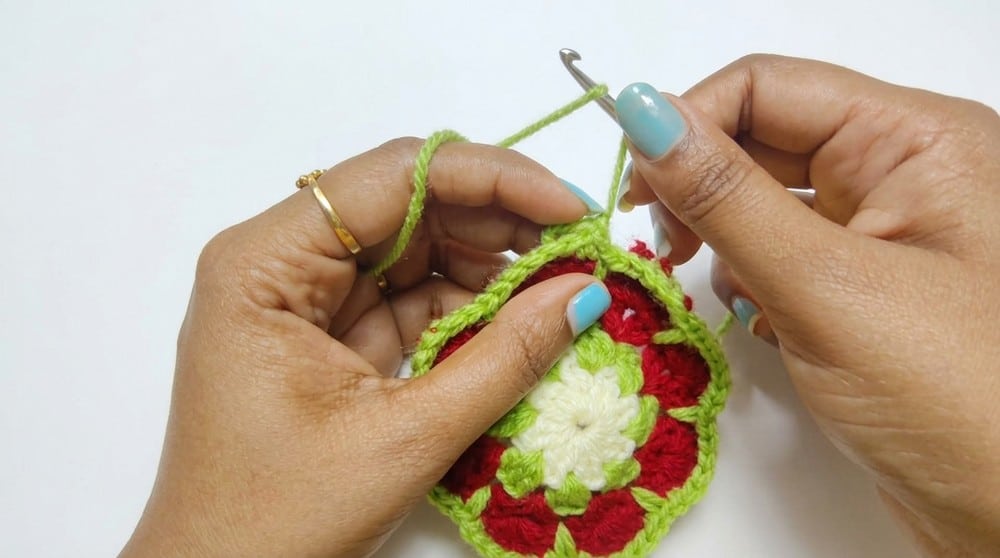
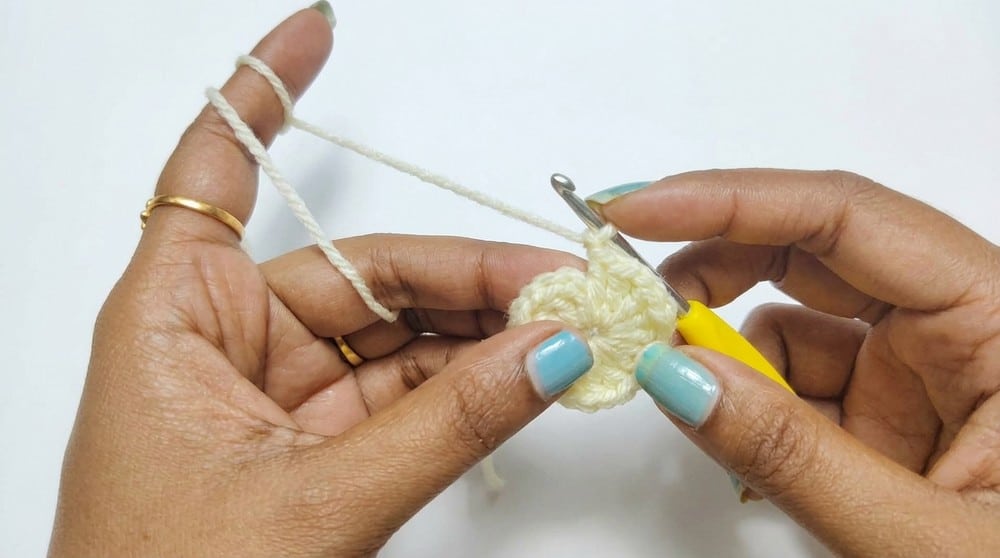
With first color (center): Create a MR. CH 3 (counts as 1 DC), 1 DC , CH 1 . Repeat [2 DC, CH 1] 7 more times into the MR (total of 8 groups). Pull ring tight, SL ST to top of initial CH 3 to join. (You should have 8 sets of 2 DC separated by CH 1 spaces.)
Row 2 — Petal Layer 1
Attach second color in any CH-1 space: CH 3 (counts as DC), 2 DC in same space. CH 1, 3 DC in next CH-1 space ; repeat around. SL ST to top of beginning CH 3. (8 petals: each 3 DC, separated by CH 1)
Row 3 — Petal Layer 2
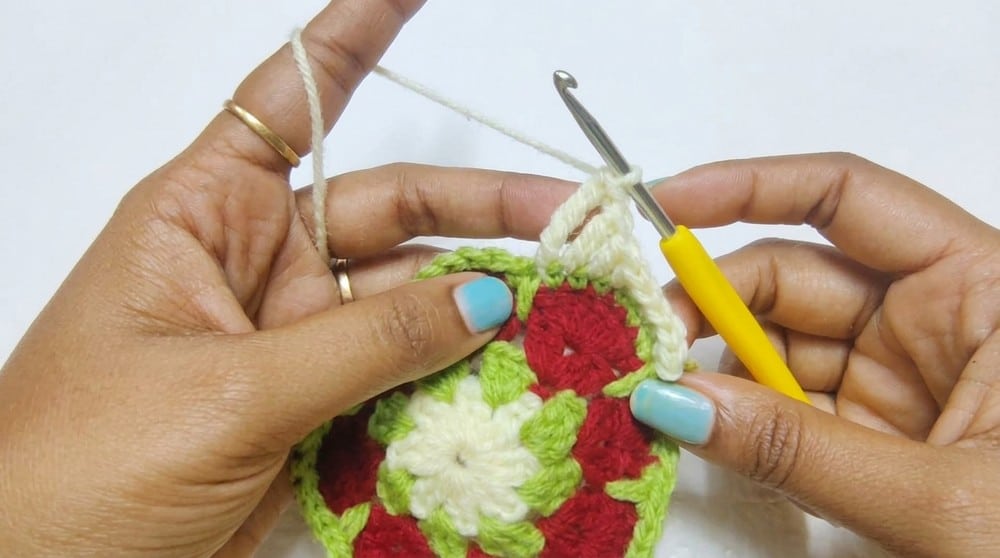
Attach third color in any CH-1 space: CH 3 , 1 DC , CH 1 , 2 DC in same space. In each CH-1 space around: [2 DC, CH 1, 2 DC]. SL ST to top of beginning CH 3. (Petals are fuller: V-shaped clusters.)
Row 4 — Detailed Petal Texture
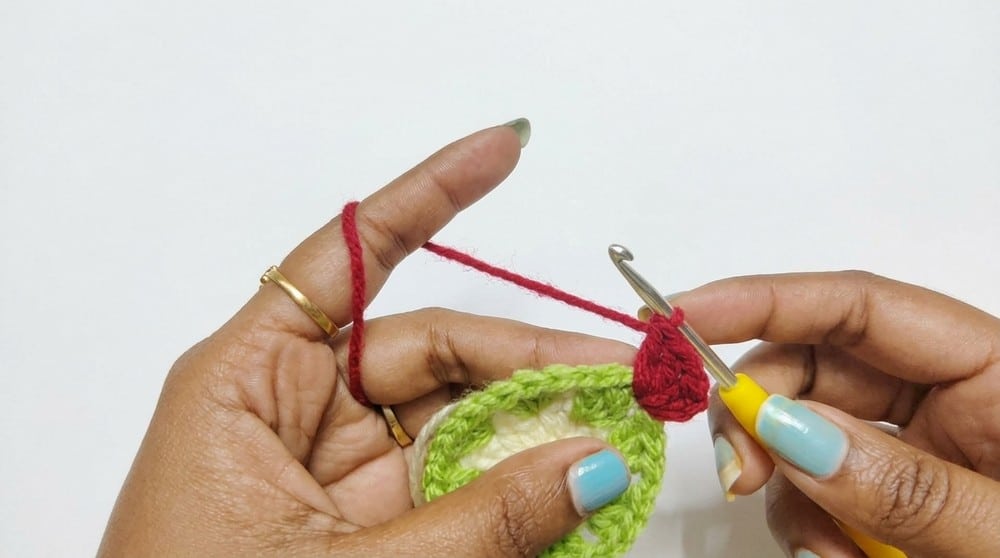
Continue with the same or new color: CH 3 , 5 DC in same space (total 6 DC). In next space: 6 DC, CH 1 ; repeat for all 8 spaces. SL ST to join. (You now have thick, round petals.)
Row 5 — Petal/Background Detail
Attach next color in any CH-1 space: 6 SC in the space, then 1 Long SC (reach down and insert hook into corresponding Row 3 chain space; complete SC at current row height). Repeat [6 SC, 1 Long SC] in each petal space/around. SL ST to join.
Row 6 — Squaring the Motif
Attach border color; this round shapes the square. In any petal space (where long SC is worked): SC, HDC, 2 SC, HDC, DC, TR . In next space (corner): DTR, CH 2, DTR (forms corner). Then: TR, DC, HDC, 2 SC, HDC, SC. Repeat side and corner sequence for all four sides. SL ST to join. You should have four defined corners and smooth sides.
Row 7 — Final Square & Border
Attach final border color: Across each side , DC in each stitch. In each corner (CH-2 space from previous round): [2 DC, CH 2, 2 DC]. Continue along all four sides. SL ST to finish. You will have 19 DC per side (not counting corner spaces).
Assembly
Weave in all yarn ends on the back with a yarn needle for a clean finish. Block the square (steam or wet block) to set stitches and ensure crisp corners. If making multiple squares, join with whipstitch, slip stitch, or continuous join methods through the corner and side chain spaces. For blankets, repeats may be enlarged by adding extra DC rounds to increase square size.
Tips
- Color Changes: For clean color transitions, fasten off and join new colors with standing stitches or secure joins.
- Blocking: Use blocking for sharp, defined edges—especially if the motif will become part of a blanket.
- Tension: Tall stitches (tr, dtr) lend height for petal definition; maintain even tension on these stitches for uniformity.
- Counting: Count stitches carefully in each round to ensure squared corners and equal stitch count on all sides.
FAQs
What is the best way to join these squares for a blanket?
You can join the squares using a whipstitch, slip stitch, or continuous join methods through the corner and side chain spaces for a neat, modular finish.
Can I make this square larger?
Yes, the pattern allows for flexibility. For larger blankets, you can enlarge the repeats by adding extra DC rounds to increase the square size.
Do I need to block the finished square?
Blocking is highly recommended. It sets the stitches and ensures crisp corners, which is essential for the geometric shape of the granny square.
What yarn weight should I use?
The pattern calls for 4-ply acrylic yarn, but you can experiment with different yarn weights to customize your squares.
Is this pattern suitable for beginners?
This pattern is rated Advanced Beginner–Intermediate. It requires familiarity with basic stitches, working in the round, and handling color changes.
Pin This Crochet Pattern!