There is a specific kind of magic that happens when you sit down with a hook and yarn, and the project begins to take shape. It starts with a simple magic ring, and before you know it, a textured cone is forming, gaining character with every round. This is the maker moment—grounded, quiet, and deeply satisfying. With the Adorable Free Crochet Christmas Tree Pattern, you can capture that festive spirit in a compact, charming amigurumi piece that brings holiday cheer to any corner of your home.
Why This Project Works
What makes this miniature tree stand out is its clever use of texture and proportion. The pattern relies on Back Loops Only (BLO) rounds to create distinct, ridged layers that mimic the natural look of pine branches, giving the tree a tactile, organic feel. The addition of decorative volutes—looped edging crocheted into the front loops—adds a whimsical, three-dimensional detail that elevates the design from a simple cone to a piece of art. Its small, sturdy stature makes it incredibly versatile; it sits perfectly on a bookshelf, a bedside table, or even serves as a unique ornament for your car mirror. It is a project that balances technical interest with pure festive joy.
Project Overview
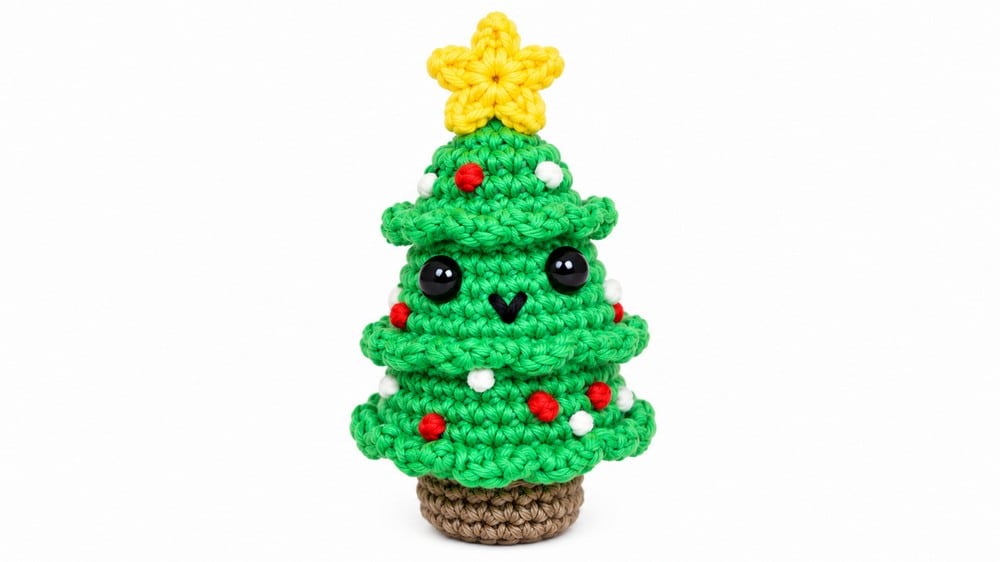
Celebrate the holiday season with this charming amigurumi Christmas tree crochet pattern. This step-by-step guide will lead you through crafting an adorable tree complete with a sturdy base, textured green body, delicate volutes, and a star topper. Perfect as a decoration or gift, this project combines classic amigurumi techniques with festive details. By following the rounds carefully and incorporating stuffing and sewn elements, you will create a delightful 10 cm tall tree sure to brighten any space.
Quick Overview
The pattern is split into three parts: the base (brown), the main tree body (green), and the decorative details including volutes and star topper. The base is crocheted as a cylindrical shape with increases and rounds in single crochet (SC). The tree body is worked using rounds of SC with strategically placed increases and decreases to shape the cone. Safety eyes and embroidered mouth add personality. Volutes (looped edging) crocheted along certain rounds provide texture. The star is created with chain and slip stitch combinations. Assembly stitches the base and star securely to the tree body.
Materials
- Yarn:
- Dark brown (base)
- Green (main tree body)
- Black (mouth embroidery)
- Additional colors for decoration (grey and red are shown in the tutorial)
- Crochet hook: Appropriate for your yarn (typically 3.5 mm to 4 mm).
- Safety eyes: Size 8 mm.
- Fiberfill stuffing.
- Stitch markers.
- Scissors.
- Lighter: For eye attachments safety.
- Embroidery needle.
Gauge and Finished Size
The main stitch used is the single crochet (SC) worked in continuous rounds. Back loops only (BLO) increase surface texture and assist shaping. Increases and decreases are strategically placed to sculpt the form. Consistent gauge is important for even shaping; gauge specifics are flexible due to amigurumi style.
The finished amigurumi Christmas tree stands approximately 10 cm tall. The base creates a cylinder about 24 stitches around (round 4 size). The body decreases gradually from 36 stitches to 6 stitches to form the tapered tree shape. Volutes circle around three key rows to create decorative layers. The star topper is relatively small but proportionate to the tree height. When fully assembled, the amigurumi Christmas tree stands approximately 10 cm tall. The textured base and body produce a solid, charming cone shape. Decorative volutes gracefully outline three horizontal “tiers” of the tree body. The small, chained star tops the cone, balancing visual weight. Safety eyes and the embroidered mouth personalize the piece, giving it character. The finished project is sturdy and perfectly suited for holiday decor or gifting.
Abbreviations
- ch: Chain Yarn over, pull through loop on hook.
- sc: Single Crochet Insert hook into stitch, yarn over, pull through, yarn over again, pull through both loops.
- inc: Increase 2 single crochets worked into the same stitch.
- dec: Decrease Crochet 2 stitches together, reducing stitch count by 1.
- BLO: Back Loops Only Insert hook only into the back loop of the stitch.
- sl st: Slip Stitch Insert hook, yarn over, pull through stitch and loop on hook.
Pattern Notes
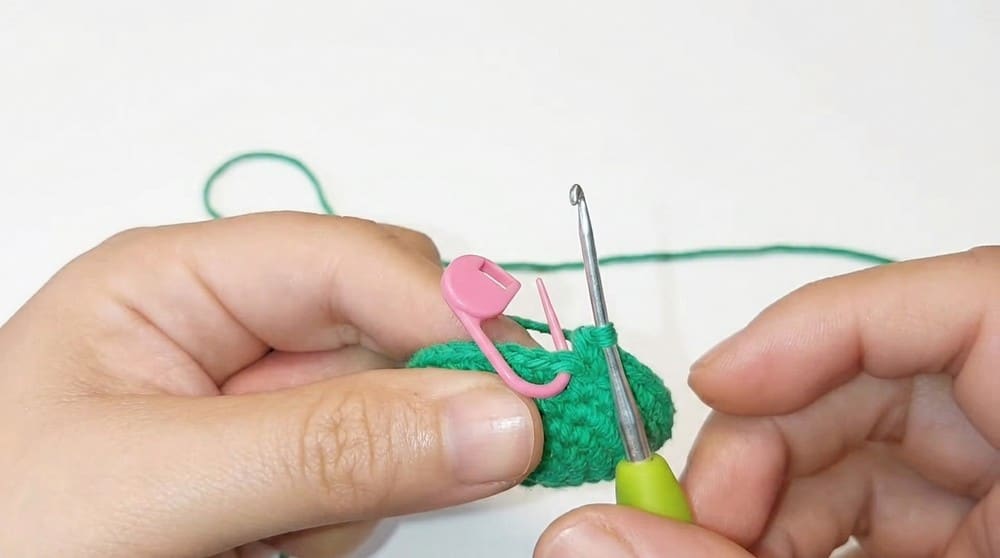
- Work in continuous rounds with stitch markers to track round beginnings.
- Use consistent tension for uniform shape.
- Stuff firmly where instructed to maintain structure.
- Back loops only (BLO) rounds help shape segments distinctly.
- Safety eyes should be placed before stuffing and closing the body.
- Embroidery adds facial details delicately and securely.
- The volutes use front loops of stitches for a raised decorative effect.
- The star uses repeated mini motifs attached directly atop the tree.
Pattern Instructions
Part 1: Tree Base (Dark Brown)
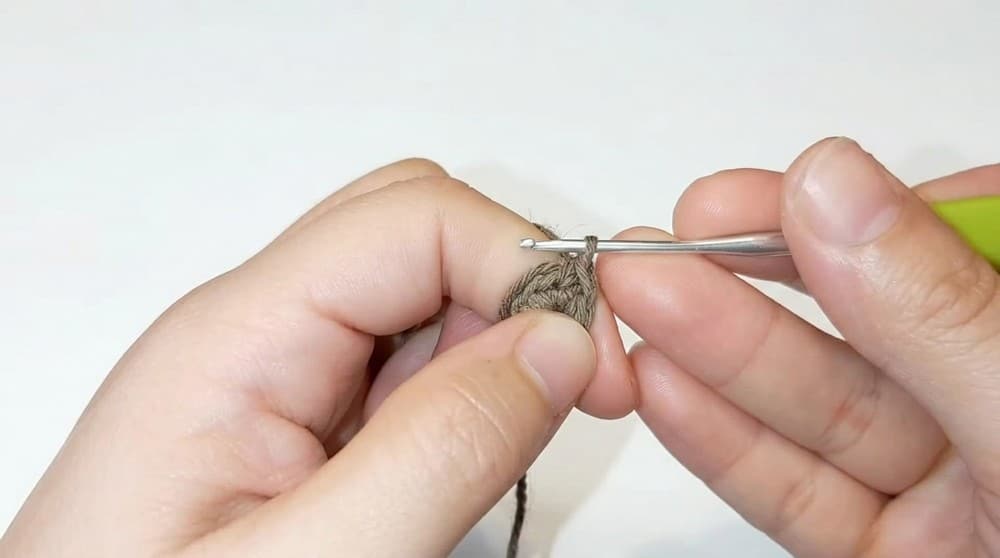
Round 1: Start with a magic ring. Crochet 6 single crochets (SC) into the ring. (6 stitches)
Round 2: Work 6 increases (inc) (i.e., 2 SC in each stitch). (12 stitches)
Round 3: Work 1 SC, 1 inc repetitively around. (18 stitches)
Round 4: Work 2 SC, 1 inc repetitively around. (24 stitches)
Round 5: Crochet 24 SC in back loops only (BLO). This defines the base texture.
Round 6: Crochet 24 SC across the full stitch (not BLO).
Finish: End with a slip stitch (sl st) and leave a long tail for sewing the base to the tree body later.
Part 2: Tree Body (Green)
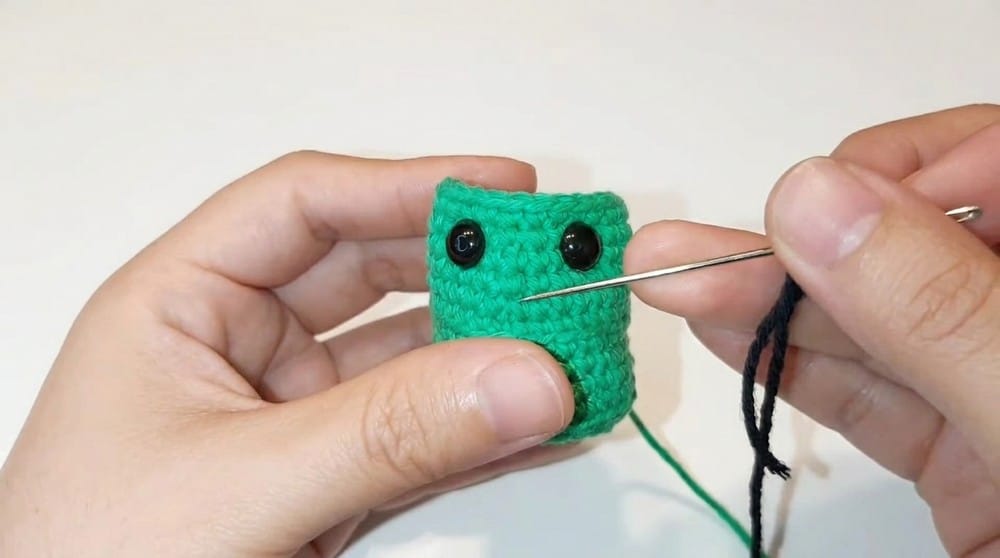
Round 1: Begin with a magic ring. Crochet 6 SC into the ring. (6 stitches)
Round 2: Work 6 increases (inc) around. (12 stitches)
Round 3: Work 1 SC, 1 inc repeatedly. (18 stitches)
Round 4: Work 2 SC, 1 inc repeatedly. (24 stitches)
Round 5: Work 3 SC, 1 inc repeatedly. (30 stitches)
Round 6: Work 4 SC, 1 inc repeatedly. (36 stitches)
Round 7: Work 36 SC in back loops only. This rounds shapes the first textured layer.
Round 8: Work 1 dec, 10 SC, 1 dec, 10 SC, 1 dec, 10 SC . (33 stitches) These decreases start tapering the tree.
Round 9: Work 33 SC evenly.
Round 10: Work 1 dec, 13 SC, 1 dec, 14 SC, 1 dec . (30 stitches)
Round 11: Work 30 SC in back loops only.
Round 12: Work 1 dec, 12 SC, 1 dec, 12 SC, 1 dec . (27 stitches)
Round 13: Work 1 dec, 10 SC, 1 dec, 11 SC, 1 dec . (24 stitches)
Round 14: Work 24 SC evenly.
Round 15: Work 1 dec, 9 SC, 1 dec, 9 SC, 1 dec . (21 stitches)
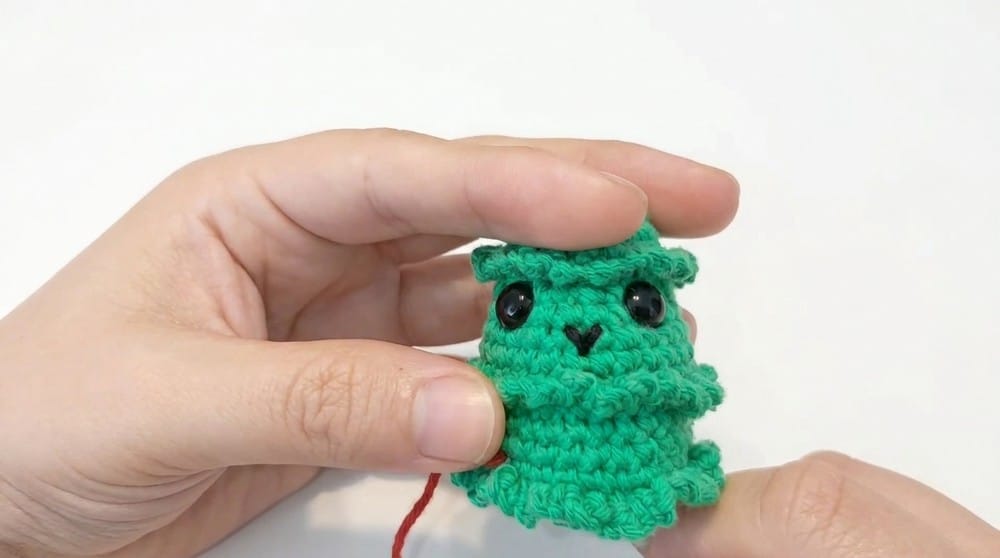
Round 16: Work 21 SC evenly. At this point, place safety eyes symmetrically. Use a lighter to safely lock eyes in place if desired. Embroider a mouth with black yarn or thread for facial features.
Round 17: Work 21 SC in back loops only.
Round 18: Work 1 dec, 8 SC, 1 dec, 7 SC, 1 dec . (18 stitches)
Round 19: Work 1 dec, 6 SC, 1 dec, 6 SC, 1 dec . (15 stitches)
Round 20: Work 1 dec, 5 SC, 1 dec, 4 SC, 1 dec . (12 stitches)
Final Round: Work 6 decreases (dec) to close. Stuff the tree firmly before finishing the closing seam to maintain shape.
Part 3: Decorative Details & Assembly
Tree Volutes: Using green yarn, attach at the front loop sectors leftover from rounds 7, 11, and 17. For each section: chain 3, then slip stitch in the next loop, repeat around the section’s perimeter, creating decorative loops. This adds visual interest and layered texture.
Star Topper: Begin with a magic ring. Repeat the following 5 times to form the star points:
- Chain 3. 1 single crochet (SC) in the 2nd chain from the hook. 1 SC in the 3rd chain. Slip stitch (sl st) into the magic ring. Fasten off, weave in ends.
- Chain 3. 1 single crochet (SC) in the 2nd chain from the hook. 1 SC in the 3rd chain. Slip stitch (sl st) into the magic ring.
Assembly
Sew the brown base securely to the green tree body using the long tails. Attach the star to the top of the tree carefully to sit evenly. Weave in all loose ends for a clean finish.
Tips
- Use consistent tension for uniform shape.
- Stuff firmly where instructed to maintain structure.
- Safety eyes should be placed before stuffing and closing the body.
- Use a lighter to safely lock eyes in place if desired.
FAQs
What size crochet hook should I use?
Use a crochet hook appropriate for your yarn, typically between 3.5 mm and 4 mm. The goal is to create tight stitches so the stuffing does not show through.
Can I use this pattern for a child’s toy?
While adorable, this pattern uses safety eyes and small stuffing. For very young children, consider embroidering the eyes instead of using plastic safety eyes to ensure safety.
How do I make the tree stand up straight?
Stuff the tree firmly, especially in the base and lower body. The BLO rounds in the base also help create a flat, sturdy foundation.
Where can I find the video tutorial?
The step-by-step instructions were originally shared by the YouTube channel fyc enamorada del crochet. You can search for their channel to view the visual guide.
Can I add ornaments to this tree?
Yes! The pattern mentions using additional colors like grey and red. You can crochet small baubles or use felt scraps to create tiny ornaments to sew onto the tree.
This mini tree fits anywhere! Place it on your bedside table, bookshelf, or mantle for a touch of festive warmth. It’s also the perfect size for workplaces or small spaces like apartments and dorm rooms. Want more versatility? Use its hanging loop to make it a charming ornament for your real Christmas tree or even your car mirror—it’s sure to make you smile every time you see it! This handmade piece isn’t just a decoration; it’s a memory. Crocheting it will bring joy and pride, and it makes a heartfelt gift for someone special. Whether you use it to brighten your home or give it away, this crochet Christmas tree spreads cheer wherever it goes!
Pin This Crochet Pattern!