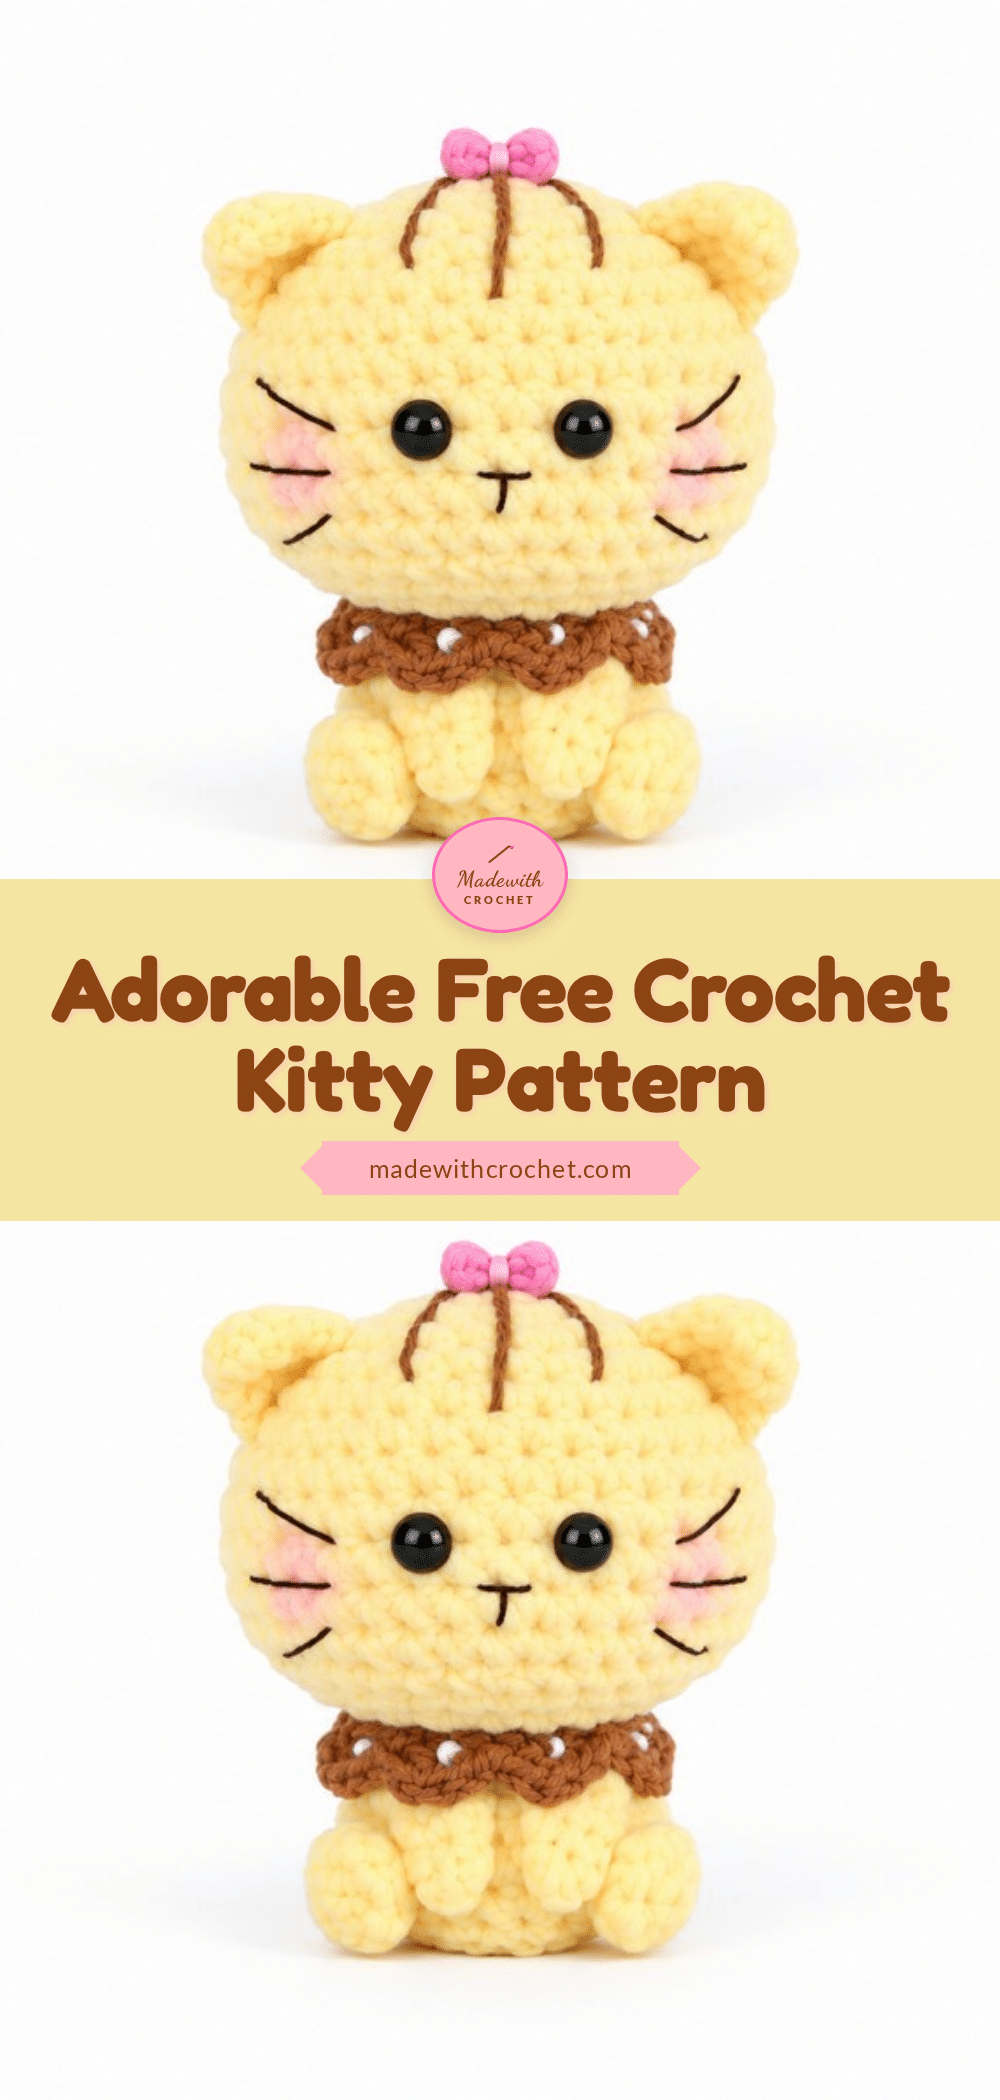
Have you ever started an amigurumi project only to panic when your circle looks like a wobbly potato instead of a perfect round? It happens to the best of us. The fear of miscounting increases or accidentally joining a round when you meant to spiral is enough to make even seasoned crocheters reach for the safety scissors. But here is the secret: this adorable kitty pattern is forgiving. It relies on simple shaping and continuous rounds, meaning you can learn and grow with each stitch without the pressure of perfection. It is a project that embraces the charm of handmade imperfections while teaching you the foundational skills of amigurumi construction.
Maker Notes
One of the things that makes this kitty special is the inclusion of the bib accessory. While many amigurumi patterns stop at the basic body and head, this design adds a layer of personality that transforms a simple plush into a character. I love that you can experiment with yarn colors here—perhaps a pastel pink for the bib against a classic grey or white body. The texture change in the body, created by working into the front loops only, gives the kitty a distinct “collar” or waistline that adds visual interest. It is a small detail that makes a big difference in the final silhouette, making it look less like a generic ball and more like a structured little cat. Plus, the small size makes it incredibly satisfying to work up in a single afternoon.
Project Overview
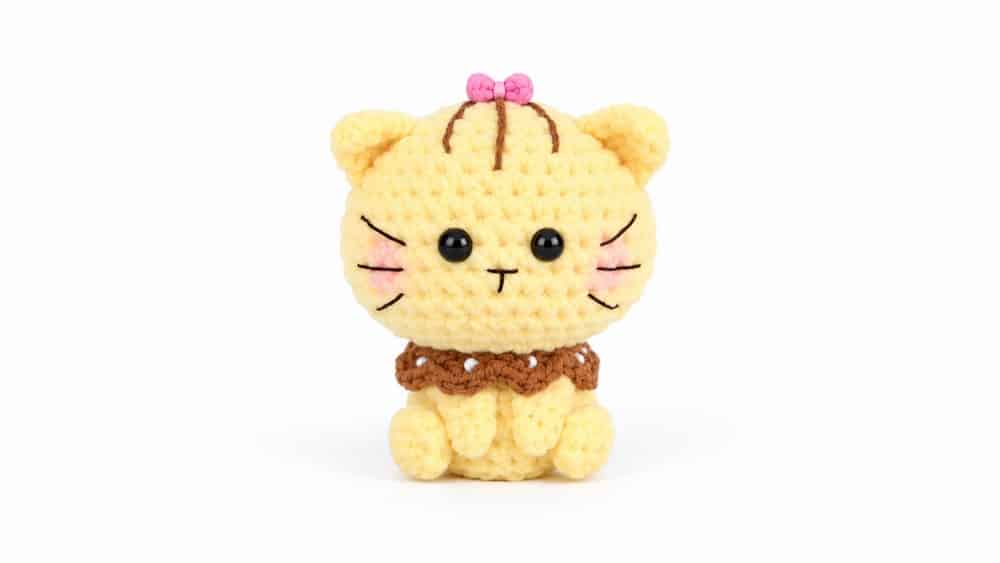
This detailed crochet pattern will guide you in creating an adorable Cute Kitty amigurumi, a charming little stuffed cat perfect as a gift, decoration, or collectible. The amigurumi is made using single crochet stitches worked in rounds to form the head, body, and features. The kitty’s personality comes alive with carefully crocheted ears, arms, legs, a tail, and a bib accessory. The pattern involves shaping the kitty by increasing and decreasing stitches, working in front loops only on one round for texture, and finishing with neat sewing and stuffing. This pattern is an excellent introduction to amigurumi techniques while offering slight challenges suitable for improving your crochet skills.
Materials
- Yarn: Choose a soft worsted or DK weight yarn in your preferred kitty colors.
- Crochet Hook: Suitable hook size for your yarn, typically 2.5 mm to 3.5 mm for amigurumi.
- Stuffing: Polyester fiberfill or preferred soft stuffing.
- Yarn Needle: For sewing pieces together and weaving ends.
- Stitch Marker: Optional but recommended for marking your round starts.
- Safety Eyes or Embroidery Thread: To create facial features (optional as per preference).
Gauge and Finished Size
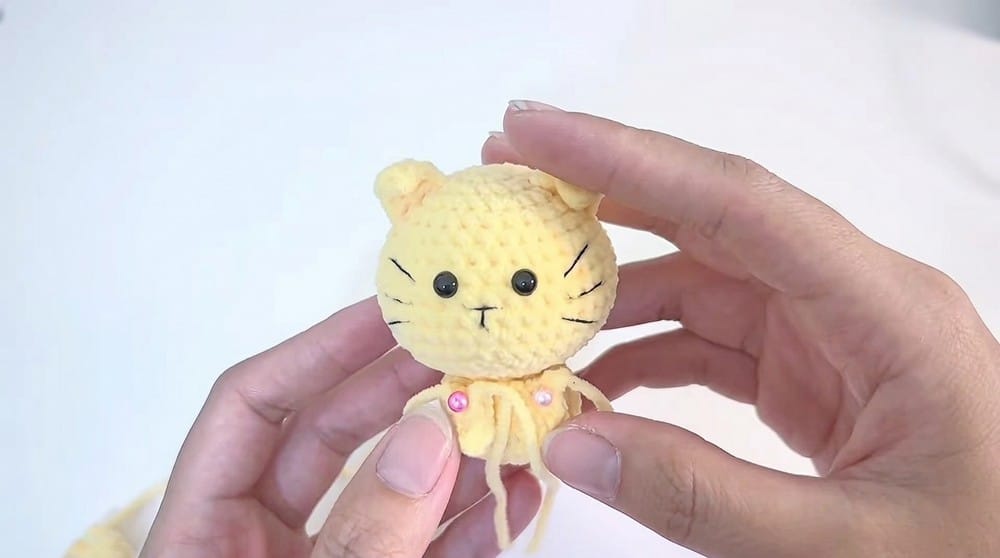
Gauge is flexible since amigurumi shapes rely mostly on stitch count and shaping rather than exact dimensions. The key stitch used is single crochet (sc) worked in continuous rounds. The texture change appears in Round 16 (FLO – front loop only stitches).
When completed, the Cute Kitty amigurumi stands approximately 15–18 cm tall depending on yarn and hook size. The body and head proportion approximates realistic small plush size fitting comfortably in the palm.
Abbreviations
- ch Chain Yarn over, pull through loop on hook
- sc Single crochet Insert hook, yarn over, pull through stitch and loop
- dc Double crochet Yarn over, insert hook, yarn over, pull through two loops twice
- sl st Slip stitch Insert hook, yarn over, pull through both stitch and loop on hook
- inc Increase 2 single crochets in one stitch
- dec Decrease Single crochet two stitches together
- FLO Front Loop Only Work stitch only into the front loop of the stitch
Pattern Notes
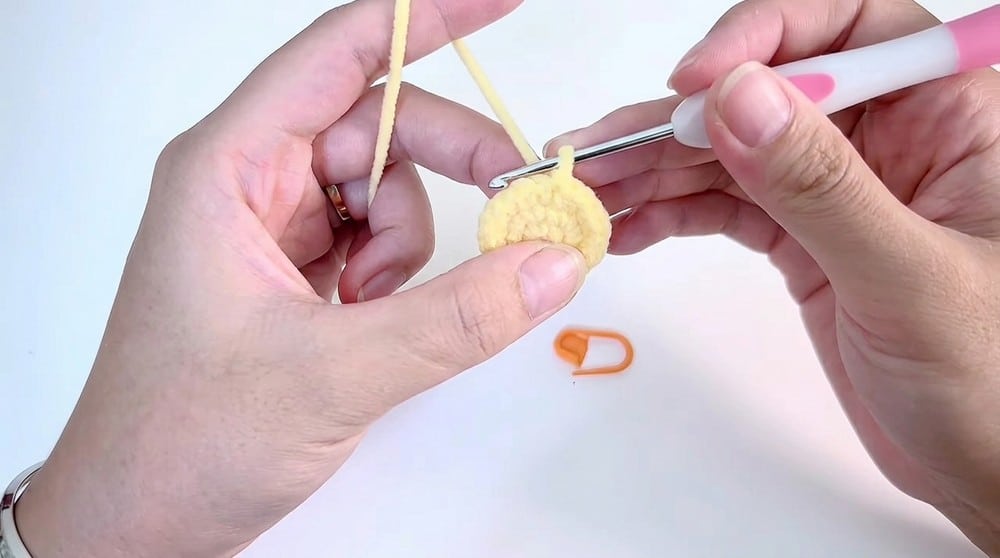
The pattern uses continuous rounds rather than joined rounds; use a stitch marker to keep track of the round’s beginning. Pay close attention to increases and decreases as they define the kitty’s shape. Front Loop Only (FLO) stitches in round 16 add texture and differentiate parts. Stuff firmly but not overstuffed to keep the kitty soft and cuddly without distorting stitches. The bib accessory is crocheted separately and sewn on, giving an extra cute feature. Sewing finished parts securely is crucial for durability, especially if intended as a toy for children.
Pattern Instructions
Head and Body
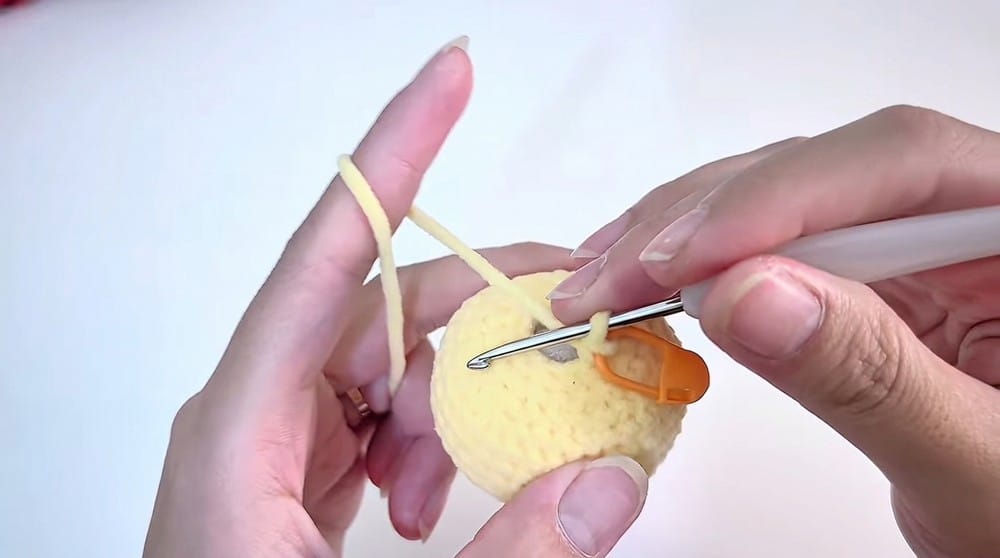
Begin with a magic ring to crochet the head and body, increasing and decreasing stitches for shaping. Work rounds continuously using single crochet stitches with key increases and decreases to form the kitty’s silhouette.
Round 1: Begin with a magic ring. Work 8 single crochet (sc) into the ring (8 stitches).
Round 2: Increase in every stitch around: 2 sc in each stitch (total 16 stitches).
Round 3: Pattern: [1 sc, 1 inc] repeat 8 times to create 24 stitches.
Round 4: Work 1 sc in each stitch around (24 stitches).
Round 5: Crochet: 3 sc, then [1 sc, 1 inc] repeat 3 times, 6 sc, then [1 inc, 1 sc] repeat 3 times, and finish with 3 sc (30 stitches total).
Round 6: Crochet: 3 sc, [2 sc, 1 inc] repeat 3 times, 6 sc, [1 inc, 2 sc] repeat 3 times, 3 sc (36 stitches total).
Rounds 7 to 11: Work 1 sc in each stitch for 5 rounds maintaining 36 stitches per round.
Round 12: Pattern: [2 sc, 1 dec] repeat 6 times for 30 stitches.
Round 13: Pattern: [3 sc, 1 dec] repeat 6 times for 24 stitches.
Round 14: Pattern: [1 sc, 1 dec, 1 sc] repeat 6 times for 18 stitches.
Round 15: Pattern: [1 sc, 1 dec] repeat 6 times for 12 stitches.
Round 16 (FLO): Work 12 sc but only into the front loops only to create texture.
Round 17: Pattern: [1 sc, 1 inc] repeat 6 times for 18 stitches.
Round 18: Crochet: 2 increases, 14 sc, 2 increases (22 stitches total).
Rounds 19 to 20: Work 1 sc in each stitch for 2 rounds (22 stitches per round).
Round 21: Pattern: [1 sc, 1 dec] repeat 7 times, end with 1 sc (15 stitches).
Round 22: Crochet 7 decreases followed by 1 sc (8 stitches total).
Accessories and Details
Crochet separate components for ears, arms, legs, tail, and bib.
Ears: Make two ears: Chain 4, Turn, 1 sc in the 2nd chain from hook, 2 double crochets (dc) into the next stitches.
Arms: Make two arms: Chain 4, Turn, 3 sc starting from the 2nd chain from hook.
Legs: Make two legs starting with magic ring: Magic ring, 5 sc in the ring, Slip stitch to join.
Tail: Chain 8, Turn, 7 sc starting from the 2nd chain from hook.
Bib: Chain 26, Turn, Work [2 double crochets, 1 slip stitch] repeated across the row to create a delicate bib accessory for the kitty.
Assembly
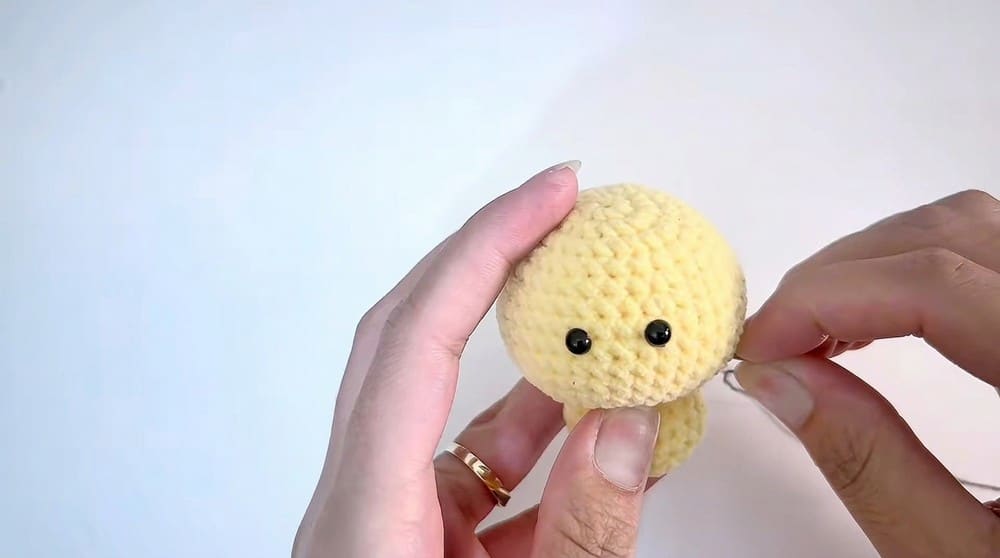
Stuff the head after completing Round 15 and the body after Round 22 to maintain firmness and shape. Using a yarn needle, sew the ears, arms, legs, tail, and bib securely onto the head and body in their appropriate positions. Arrange carefully for a balanced, cute appearance. Weave in any loose ends securely. The finished amigurumi kitty measures approximately 15 to 18 cm tall, perfect for gifting or display.
Tips
- Stuff firmly but not overstuffed to keep the kitty soft and cuddly without distorting stitches.
- If you are new to amigurumi, this pattern is a great way to practice shaping. For more beginner-friendly projects, you might also enjoy checking out our adorable festive crochet amigurumi trio pattern to build your confidence with multiple small parts.
FAQs
What type of yarn is best for this pattern?
You can choose a soft worsted or DK weight yarn in your preferred kitty colors. This weight works well with the recommended hook size to create a tight fabric that holds stuffing well.
Do I need to join rounds?
No, the pattern uses continuous rounds rather than joined rounds. However, using a stitch marker is highly recommended to keep track of the beginning of each round.
How do I create the texture on the body?
The texture is created in Round 16 by working single crochet stitches only into the front loops of the stitches (FLO). This creates a ridge that adds definition to the shape.
Can I use this pattern for a keychain?
Yes, the small size makes it ideal for tiny accessories like a keychain or bag charm, making it both useful and adorable.
Is this pattern suitable for absolute beginners?
The skill level is listed as Intermediate. It assumes comfort with magic ring starts, increasing and decreasing in rounds, and sewing pieces together. If you are looking for something simpler, you might try our easy crochet kitten pouch pattern first.
Pin This Crochet Pattern!