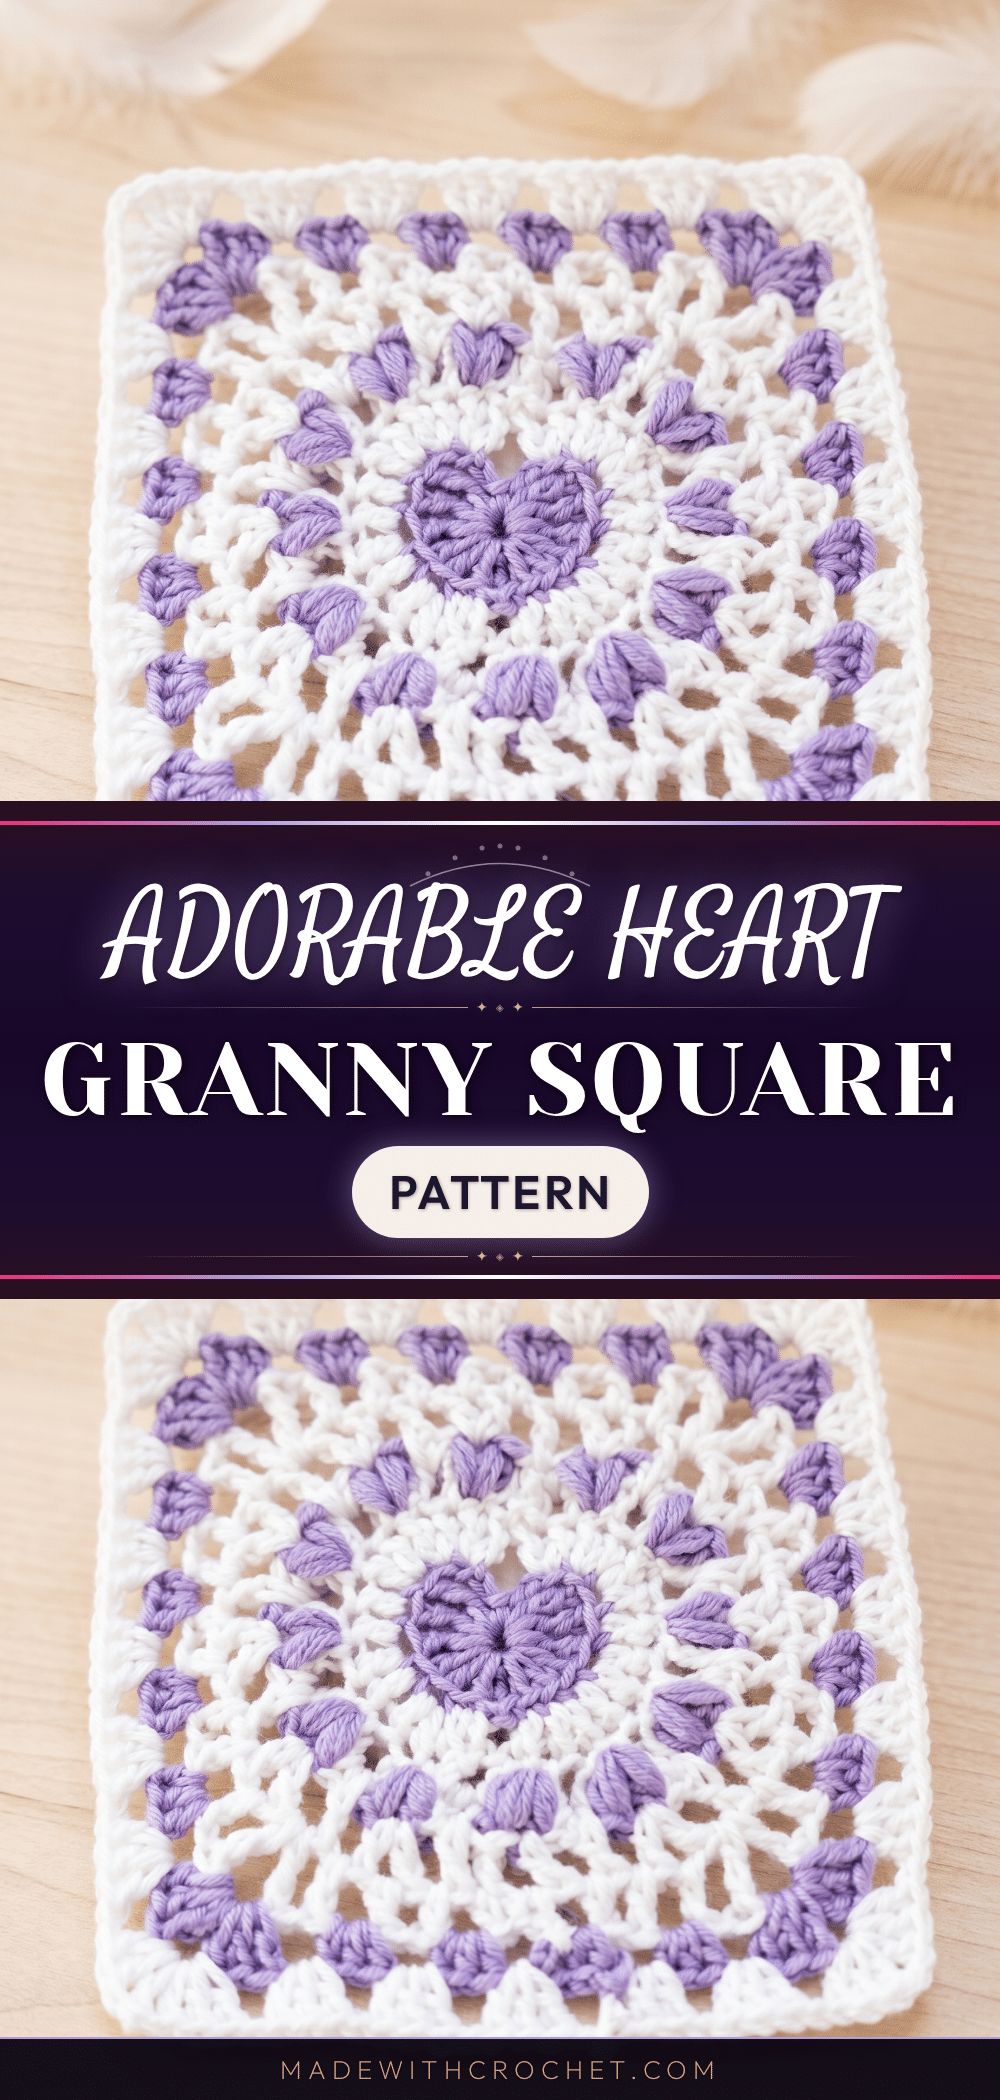
There is something deeply satisfying about opening a stash bin and finding the perfect combination waiting for you. For this Heart Granny Square, I reached for a DK weight yarn in purple and white. The DK weight sits in a perfect middle ground for color work like this; it is light enough to show stitch definition clearly, ensuring your color changes look crisp rather than muddy. The decision to use these two specific colors creates a motif that feels intentional and warm, perfect for adding a touch of handmade charm to any project.
Yarn and Color Notes
The color sequence in this pattern is active but manageable. Purple leads the majority of the work, while white joins at Round 1 and reappears in Rounds 4 and 7, finishing the square in Round 8. Keeping both colors attached rather than cutting and rejoining each time can save you a significant amount of time weaving in ends later. However, this does mean carrying the unused color loosely up the inside of your work. For longer gaps between color changes, cutting and rejoining may be preferable to avoid bulk, but for the transitions in this pattern, carrying the yarn works beautifully.
Project Overview
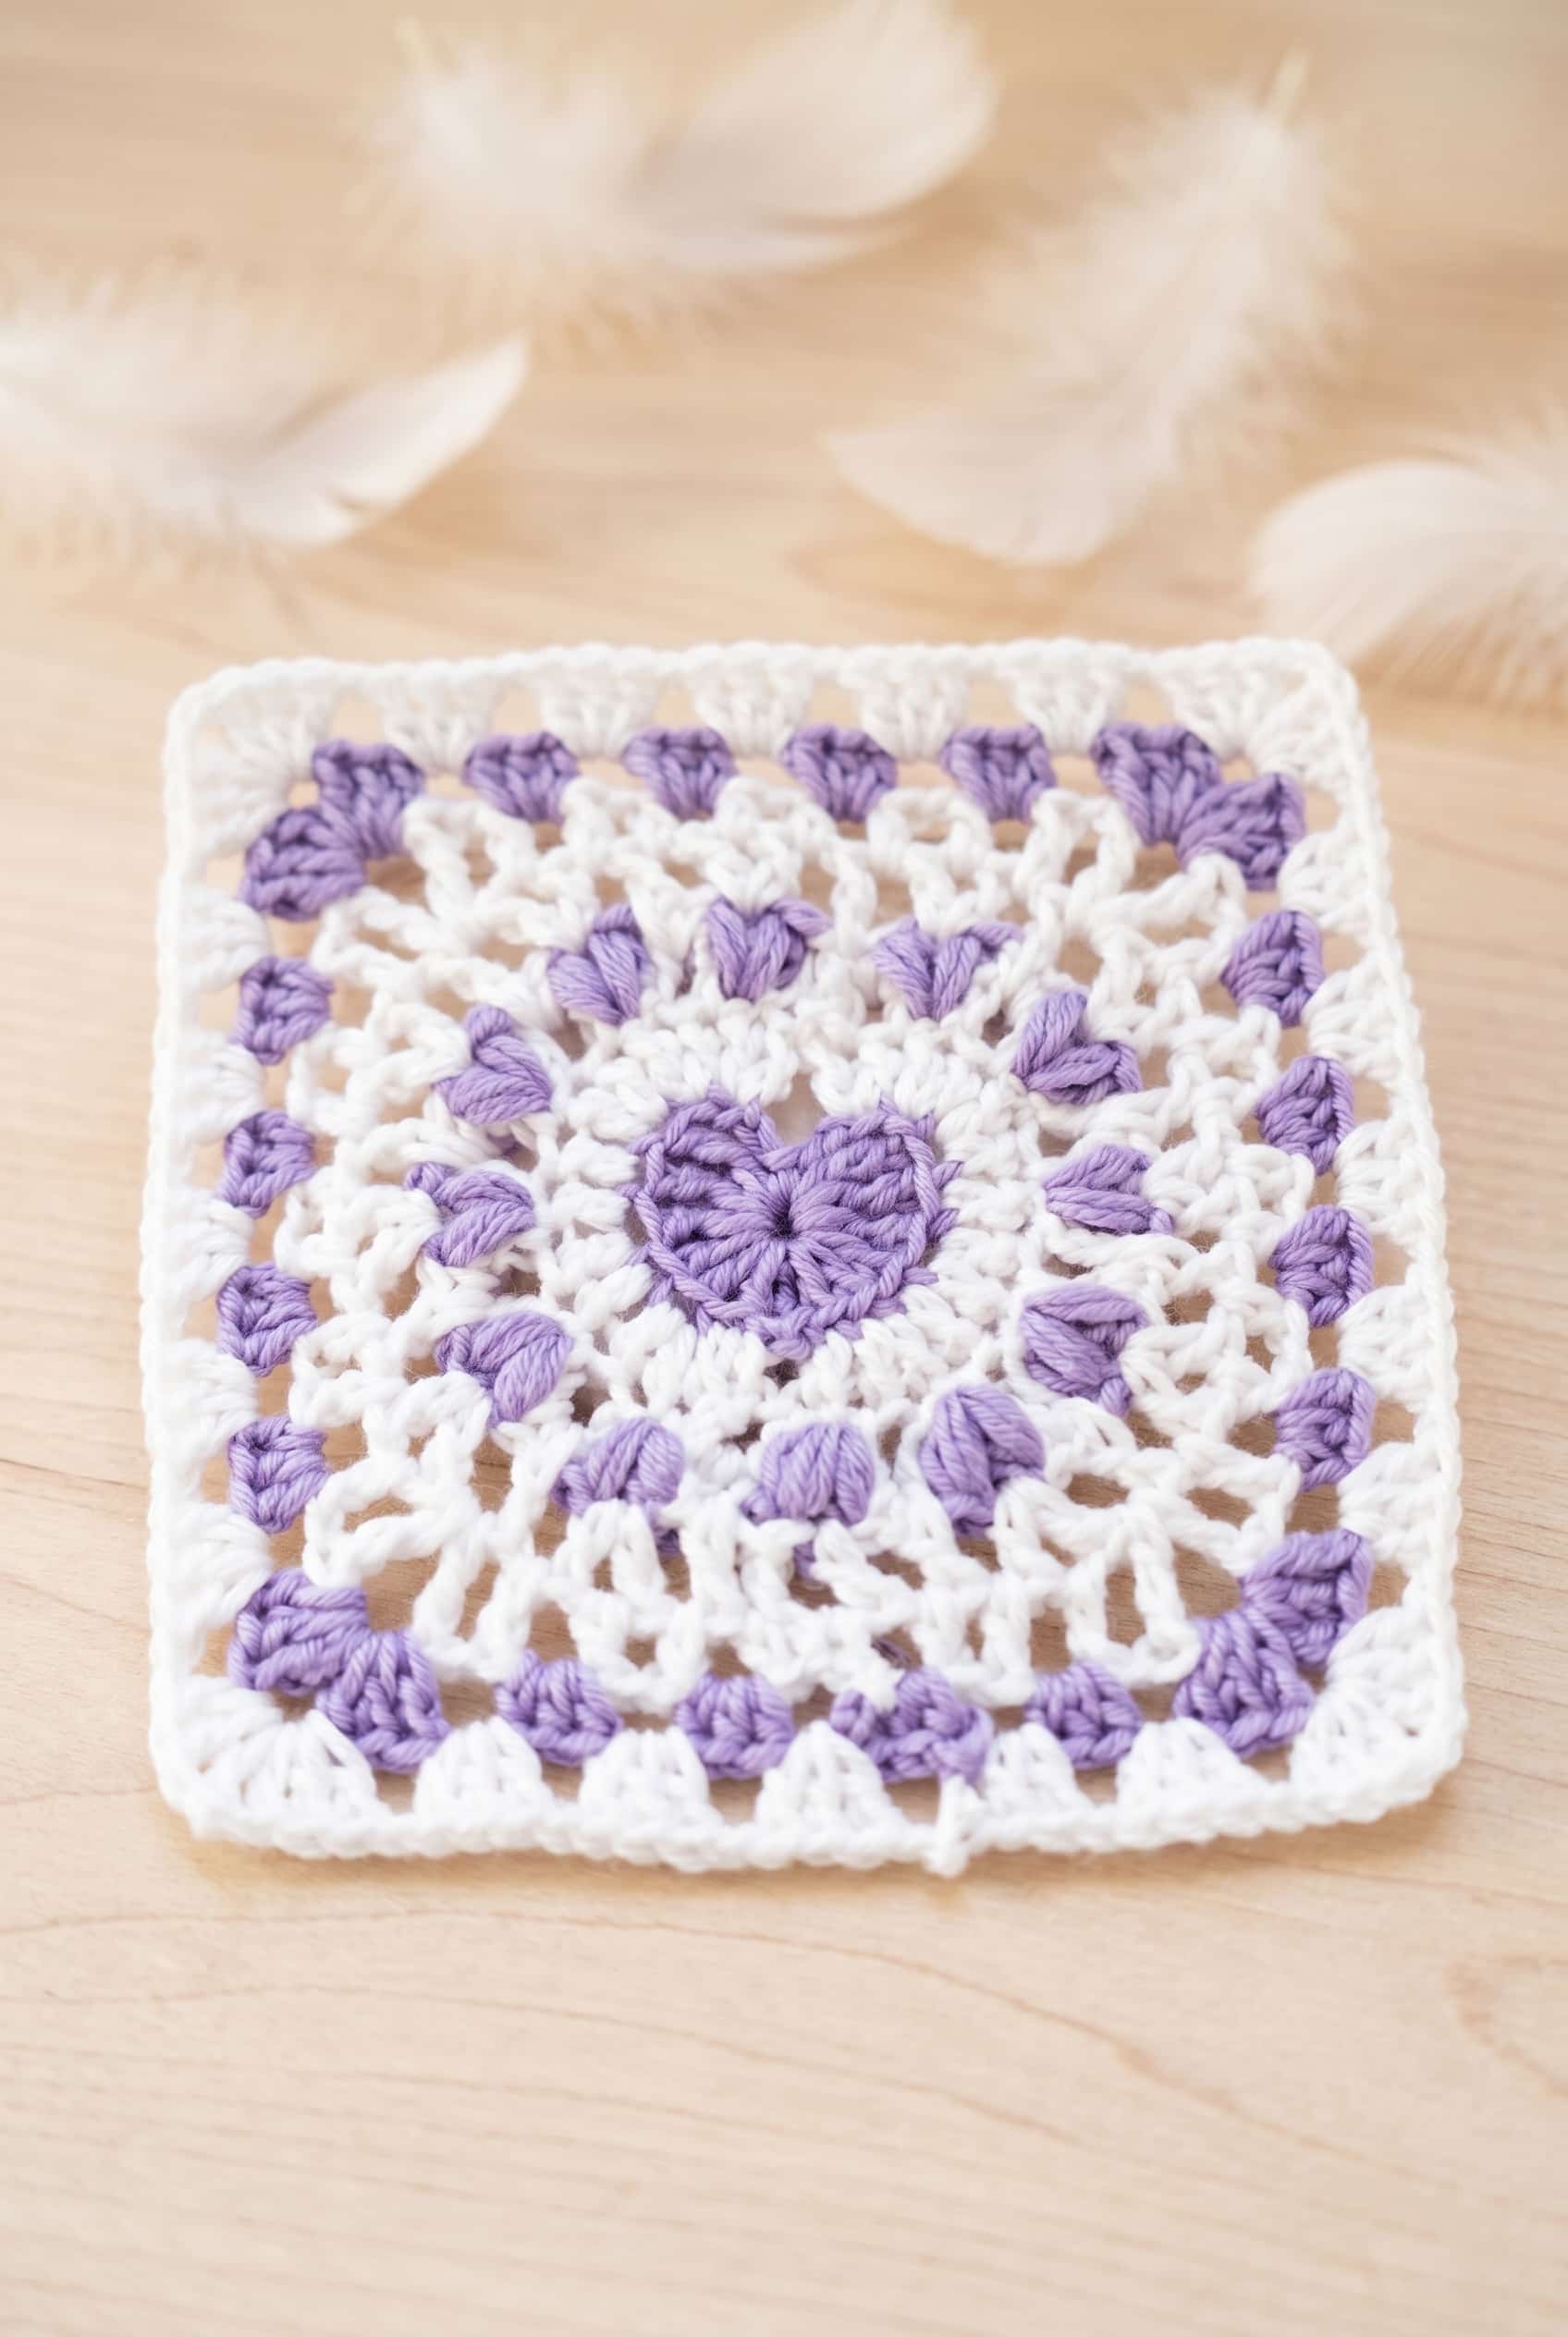
The Heart Granny Square is a small, satisfying motif that combines the classic granny square structure with a sweet heart detail at its core. Unlike an appliqué, the construction works outward from the center heart, making the process feel intentional and tidy. This intermediate-level pattern is quick to finish, making it ideal for making in batches for blankets, pillow covers, or tote bags. It is a versatile design that works well for Valentine’s Day, but the heart motif is timeless enough for any occasion.
Materials
- Yarn: DK Weight Yarn (3 Light / DK). You will need two colors. The source suggests Purple and White. Yardage is estimated at 30 to 60 yards total, split between the two colors, with purple likely using more.
- Crochet Hook: 4.0 mm hook. This size pairs well with DK weight to create a firm fabric that holds its shape.
- Notions: Scissors and a yarn needle for weaving in ends.
Gauge and Finished Size
Gauge is not critical for this project. Use the stated hook size (or adjust as needed) to create an even fabric and a square size you like. The finished size is approximately 5 inches (12.5 cm) square, based on DK yarn and a 4.0 mm hook over 8 rounds.
Abbreviations
This pattern uses US terminology throughout.
- BL: back loop
- ch: chain
- ch-sp: chain space
- dc: double crochet
- hdc: half double crochet
- rep: repeat
- sc: single crochet
- sk: skip
- sl st: slip stitch
- sp: space
- st(s): stitch(es)
- tr: treble crochet
Pattern Notes
The square is worked in rounds. A critical detail is Round 2, which is worked in back loops only. This creates a raised ridge that separates the heart center from the rest of the square, giving the heart edge a clean, defined look. The color scheme is purple and white, with specific instructions for switching colors in the pattern steps below.
Special Stitches
Puff st (Puff Stitch Variation): Yarn over, insert hook into indicated stitch, yarn over, pull up a loop; repeat from * twice more (7 loops on hook total); yarn over, pull through all 7 loops on hook.
Pattern Instructions
Building the Heart Granny Square
This square is worked in rounds, building up from a small center loop into a full granny square with a heart motif at its core. Keep both yarns nearby from the start.
Round 1: In purple, ch 4, sl st in 1st ch to form a loop, ch 3, [3 dc, 3 tr, ch 4, sl st, ch 4, 3 tr, 3 dc] in loop, sl st in top of ch 3 joining white. This round forms the heart shape at the center. The ch 4 spaces on either side of the sl st create the dip at the top of the heart, and the trebles give the lobes their curve.
Round 2: (Work in BL only for this round) Ch 3, 1 dc in next st, 2 dc, 1 dc, 2 dc, 1 dc, 2 dc in next 3 sts, sk 4 chs, 2 dc in next 3 sts, 1 dc, 2 dc, 1 dc, 2 dc, 1 dc, sl st in top of ch 3 to join. Working in back loops only here keeps the front loops free and gives the heart edge a clean, raised definition. The sk 4 chs skips across the center dip of the heart.
Round 3: *Ch 5, sl st in next 2 sts* rep from * to * until end, sl st in 1st ch-5 sp to join. These ch-5 loops form the picot-style scallops that surround the heart. The ch-5 spaces from this round are referenced again in Round 5, so it is worth noting their positions as you go.
Round 4: *2 sc in ch-5 sp joining purple in end of last st, 2 puff sts in previous sl st between ch-5 sps joining white in end of last st* rep from * to * 5 more times, 1 sc in next ch-5 sp, 1 sc in next ch-5 sp joining purple in end of last st, 2 puff sts in previous sl st between ch-5 sps joining white in end of last st, rep from * to * until end, sl st in 1st sc to join. The color changes happen at the end of each stitch group, so complete the last pull-through of each sc or puff st in the incoming color. Keep your tension consistent on the puff sts so they sit evenly alongside the sc groups.
Round 5: Sl st in next 3 sts, ch 5, 1 dc in same st, *ch 1, 1 dc in previous ch-5 sp from Round 3, ch 1, [1 dc, ch 1, 1 dc] in between next 2 puff sts* rep from * to * 4 more times, ch 1, 1 dc in-between next 2 prev dcs, ch 1, [1 dc, ch 1, 1 dc] in prev puff st, rep from * to * until end, ending ch 1, 1 dc in previous ch-5 sp from Round 3, ch 1, sl st in 3rd ch of 5. This round reaches back into the ch-5 spaces from Round 3, so you will be working into stitches a couple of rounds below. Take a moment to locate those spaces before you begin.
Round 6: Sl st into ch-sp under first 2 chs and starting in the same ch-sp crochet *1 hdc in next ch-sp, ch 1, 1 hdc in next ch-1 sp, ch 1, 1 dc in next ch-1 sp, ch 1, 1 dc in next ch-1 sp, ch 1, [1 tr, ch 2, 1 tr] in next ch-1 sp, ch 1, 1 dc in next ch-1 sp, ch 1, 1 dc in next ch-1 sp, ch 1, 1 hdc in next ch-1 sp, ch 1, 1 hdc in next ch-1 sp, ch 1* rep from * to * until end, sl st in 1st hdc joining purple. The [1 tr, ch 2, 1 tr] clusters are your corner markers. There should be one at each corner of the square as it starts to take shape.
Round 7: Ch 3, 2 hdc in next ch-1 sp, ch 1, sk next ch-1 sp, *3 hdc in next ch-1 sp, ch 1, sk next ch-1 sp, [3 dc, ch 2, 3 dc] in next ch-2 sp, ch 1, sk next ch-1 sp, 3 hdc in next ch-1 sp, ch 1, sk next ch-1 sp, 3 hdc in next ch-1 sp, ch 1, sk next ch-1 sp, 3 hdc in next ch-1 sp, ch 1, sk next ch-1 sp* rep from * to * until you run out of ch sps, ch 1 before sl st in top of ch 3 to join, sl st over to first ch-1 sp, join white in a ch 1. The [3 dc, ch 2, 3 dc] clusters land in the ch-2 corner spaces from Round 6, building out the classic granny square corners.
Round 8: Ch 3, 2 dc in same ch-1 sp, ch 1, *3 dc in next ch-1 sp, ch 1, [3 dc, ch 2, 3 dc] in next ch-2 sp, ch 1, 3 dc in next ch-1 sp, ch 1, 3 dc in next ch-1 sp, ch 1, 3 dc in next ch-1 sp, ch 1, 3 dc in next ch-1 sp, ch 1* rep from * to * until you run out of ch sps, ch 1 before sl st in top of ch 3 to join. This final round completes the granny square border in white, with the corner ch-2 spaces keeping the square flat and the dc clusters filling out each side.
Fasten off and weave in ends.
Assembly
This square is approximately 5 inches, making the math work out cleanly for larger projects. You can join multiple squares to make a blanket, pillow cover, or tote bag using a slip stitch seam, a flat mattress stitch, or a join-as-you-go method on the final round. If making a blanket, plan your color layout before starting so the hearts all face the same direction.
Tips
- Blocking: Granny squares benefit from blocking. If your yarn is acrylic, use steam blocking by holding an iron a few inches above the square and letting the steam set the shape. If it is a natural fiber like cotton or wool, you can soak it and pin it square. Focus on setting the heart center so it sits flat and defined.
- Color Management: Check each transition before deciding whether to carry or cut the yarn. Carrying is efficient for short gaps, but cutting prevents bulk in longer sections.
- Locating Spaces: In Round 5, you work into the ch-5 spaces from Round 3. Look for the open loops from Round 3 sitting below your current round to find the correct placement.
- Customizing Size: Because gauge is not critical, you can size this square up or down by changing yarn weight and hook size. Always crochet a test square first if making multiples.
Frequently Asked Questions
Why is Round 2 worked in back loops only?
The back-loop-only round creates a raised ridge that separates the heart center from the rest of the square. Working into only the back loops leaves the front loops exposed, forming a visible line that outlines the heart shape cleanly.
Do I cut the yarn each time the color changes?
Not necessarily. Purple and white swap back and forth across several rounds. Carrying the unused color can save you weaving time, but if the gaps between color changes are long, carrying may get bulky. It is often best to cut and rejoin for bigger gaps and carry only when the color comes back within a round or two.
What are puff stitches and can I substitute them?
Puff stitches create a rounded, raised bump by pulling up several loops and closing them together. In this pattern, they add texture between the ch-5 arches. You could substitute a bobble stitch, but the puff stitch gives a softer, rounder result.
Can I join multiple squares to make a blanket?
Yes. This square is a solid 5 inches, which works well for larger projects. You can join them using various seam methods. Just ensure you plan your color layout so the hearts align correctly.
Round 5 references ‘the previous ch-5 sp from Round 3.’ What does that mean?
Round 3 creates ch-5 arches all the way around. Round 4 works on top of those arches without fully closing them off. In Round 5, when instructed to work into the previous ch-5 sp from Round 3, you are reaching back down into those original arches, not working into Round 4.
Pin This Crochet Pattern!