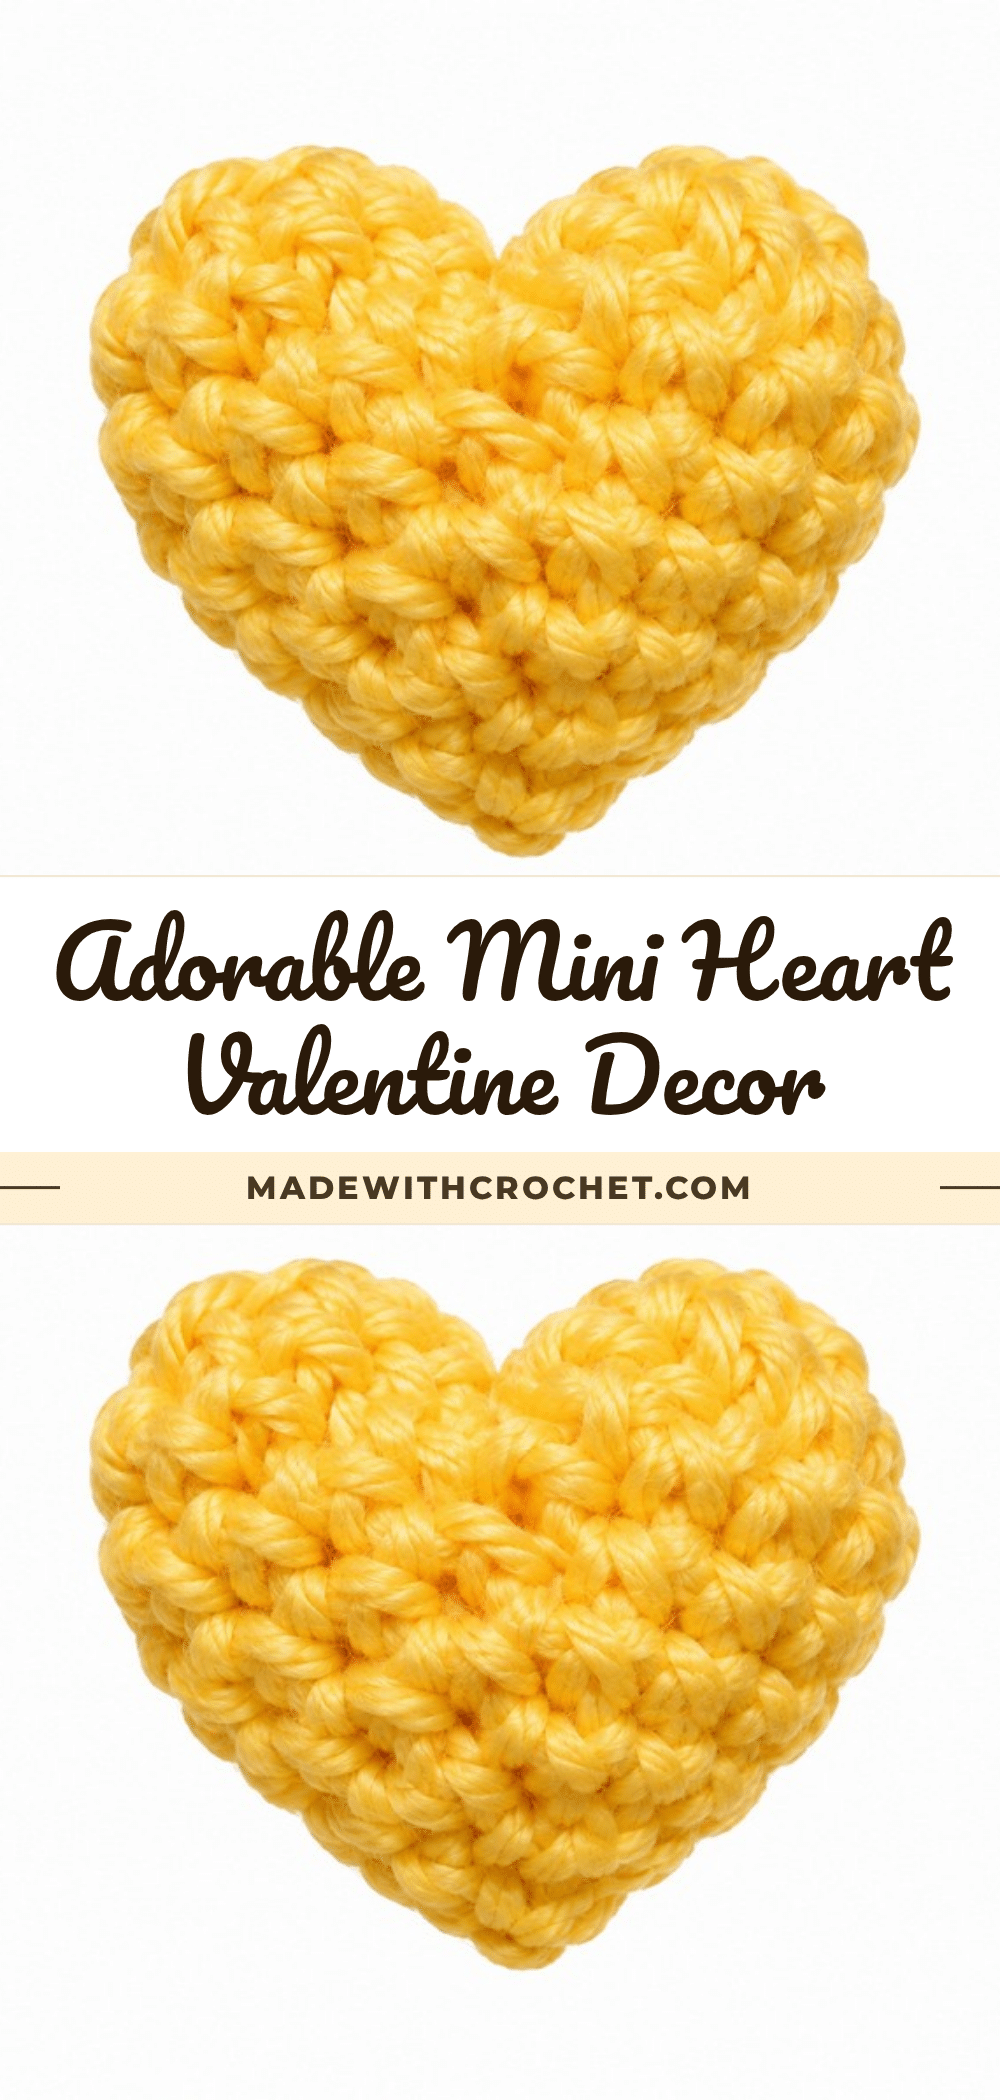
There is a specific kind of magic that happens when you sit down with a hook and a small amount of yarn, ready to create something tiny but full of meaning. The yarn rests on the table, waiting for your touch, and as the first loop forms, the project begins to take shape. This mini crochet heart is that perfect moment of focus—a quick, satisfying build that results in a plump, adorable motif. Whether you are looking for a last-minute Valentine’s gift or a charming addition to your crafting stash, this project offers a gentle introduction to working in the round with a polished, professional finish.
Why This Project Works
What makes this mini heart so appealing is its balance of simplicity and structural integrity. Unlike larger amigurumi projects that require complex shaping, this motif relies on the natural geometry of two joined lobes to create a recognizable heart shape. The compact size—roughly the width of a fingernail—makes it incredibly versatile. You aren’t just making a decoration; you are creating a modular component. These hearts can be strung together for a garland, attached to keychains, used as appliqué on the adorable crochet bunny easy amigurumi pattern, or tucked into greeting cards as pocket tokens. The dense fabric created by using a smaller hook ensures that even when stuffed, the heart holds its form without gaps, giving it a sturdy yet soft feel that is delightful to hold.
Project Overview
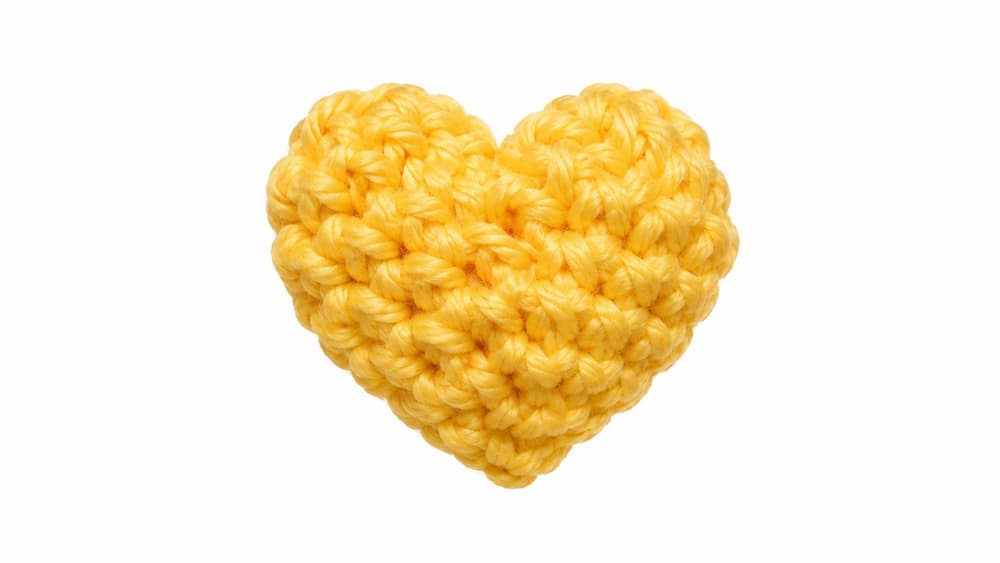
This pattern creates a small, three-dimensional heart using basic single crochet stitches worked in continuous spirals. The construction involves making two identical lobes and joining them seamlessly to form the top of the heart, followed by strategic decreases to taper the bottom into a point. It is designed for beginners who are comfortable with basic stitches but ready to try working in the round.
Pattern Basic Points
- Seamless Construction: Worked in the round with a join for a clean, polished appearance.
- Three-Dimensional Design: Stuffed for fullness, creating a soft tiny heart shape.
- Versatile Use: Ideal for small gifts, garlands, appliqués, jewelry, or as table scatter.
- Quick and Efficient: Seven concise rows for instant crafting gratification.
- Beginner Accessible: Uses only simple stitches and increases/decreases.
Materials
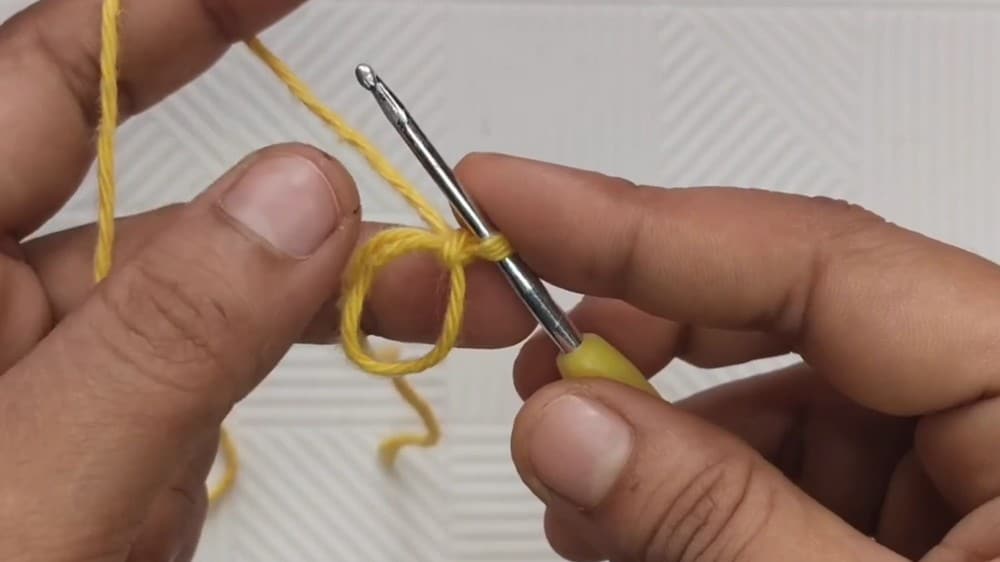
- Yarn: Small amount of DK/light worsted (Weight 3) or worsted (Weight 4) yarn in desired color.
- Crochet Hook: 2.5 mm or suitable size for tight, neat stitches.
- Fibre Fill: Polyester or cotton stuffing for shaping.
- Scissors: For cutting yarn.
- Tapestry Needle: For sewing and weaving ends.
- Stitch Marker: Or scrap yarn (optional, for marking rounds).
Gauge and Finished Size
Finished Size: Each heart is approximately 1–1.25 inches (2.5–3.2 cm) wide and tall.
Gauge: Not critical but choose a hook that produces a dense fabric; typical is 6–7 rounds ≈ 1 inch.
Stitch Pattern: All single crochet in the round; hearts should appear smooth and even.
Abbreviations
- ch – chain
- sc – single crochet
- sl st – slip stitch
- inc – increase (2 sc in the same stitch)
- dec – decrease (single crochet two together/invisible decrease)
- st(s) – stitch(es)
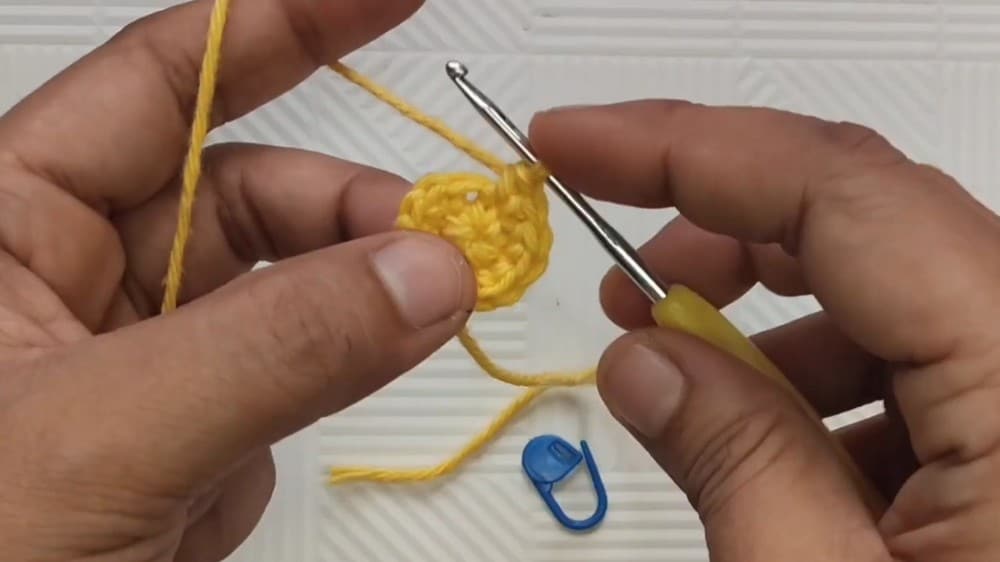
- mr – magic ring
Pattern Notes
- The pattern is constructed in two parts: two identical lobes, then joined into a single heart body.
- Stuff firmly but take care not to overfill, to maintain shape.
- Use the starting tail of the first lobe to sew the joining gap for an invisible finish.
- All rounds are worked in continuous spirals; using a stitch marker or scrap yarn to mark the round’s start is recommended.
- Always insert the hook under both loops of each stitch, unless otherwise noted.
Pattern Instructions
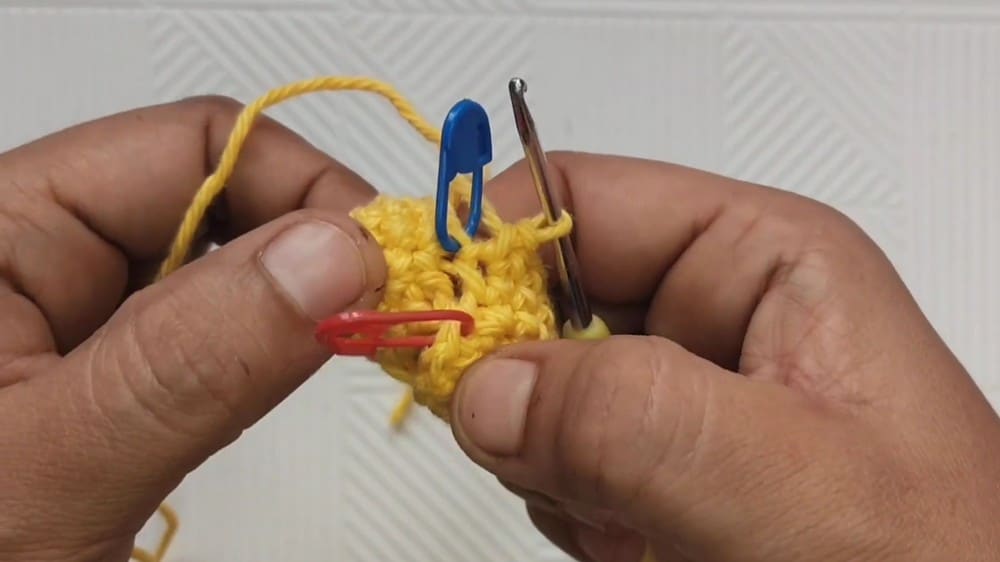
Lobes of the Heart (Make Two)
Row 1: Forming the Lobe
Begin with a magic ring. Work 6 sc into magic ring. Pull to close tightly.
Row 2: Increasing the Lobe
In each stitch, work an inc (2 sc in each stitch) around. Total stitches: 12.
Row 3: Building Height
Make 1 sc in every stitch around. Do not join—keep working in a spiral.
First Lobe: At this point, cut the yarn leaving a long tail. Set aside for joining.
Second Lobe: Complete steps as above, but do not cut the yarn. You are now ready to join the two lobes into a single round.
Body (Rows 4–7)
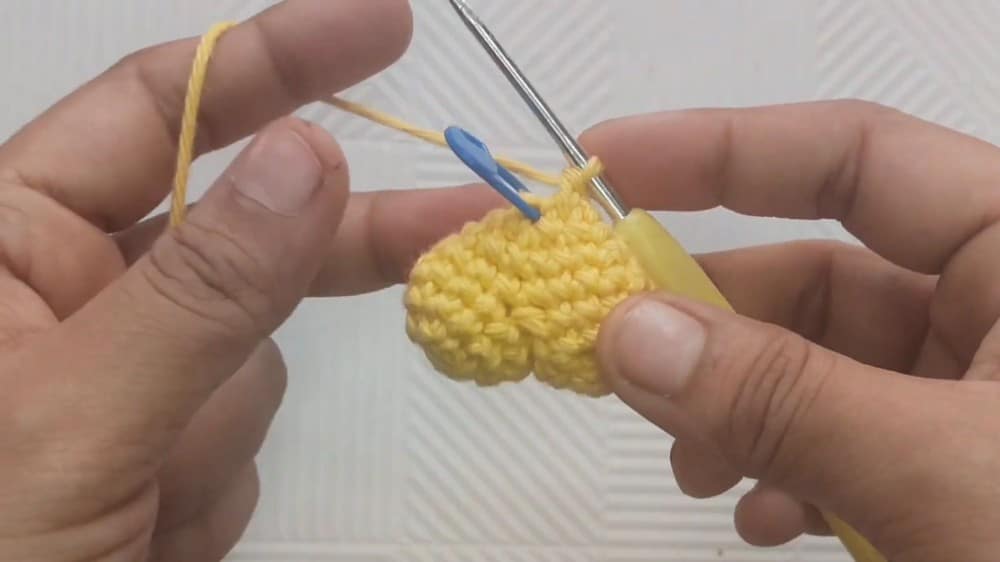
Row 4: Joining and Forming the Heart’s Shoulders
With the working yarn attached to your second lobe, sc in the next 9 sts of this lobe. Holding the first lobe close, insert the hook into any stitch and work 9 sc around. This forms the top two lobes, creating a joined round of 18 stitches. Important: Skip 3 unused stitches on each lobe where the join is made (these create the inner dip and are not worked).
Secure the Join
Use the long tail from the first lobe to sew the small gap left between both lobes tightly closed. Tie a knot and weave in the tail securely.
Row 5: Tapering with First Decreases
(3 sc, 1 dec, 8 sc, 1 dec, 3 sc) around. These decreases help the heart begin tapering to a point. Total stitches: 16.
Row 6: Continue Decreasing
(2 sc, 1 dec) repeated 4 times. This evenly decreases further, shaping the heart. Total stitches: 12.
Row 7: Final Closing
Work 6 decreases around to close the base. Total stitches: 6.
Assembly
Pause before the final closing to stuff the heart with fibre fill, using a small amount at a time for evenness. Cut the yarn, leaving a tail. Use a tapestry needle to go into the front loop only of each of the 6 remaining stitches. Pull the yarn tight to cinch the hole closed. Weave in the tail securely inside the heart.
Tips
- Stuff firmly but take care not to overfill, to maintain shape.
- Use the starting tail of the first lobe to sew the joining gap for an invisible finish.
- All rounds are worked in continuous spirals; using a stitch marker or scrap yarn to mark the round’s start is recommended.
- Always insert the hook under both loops of each stitch, unless otherwise noted.
FAQs
What type of yarn is best for this pattern?
DK/light worsted (Weight 3) or worsted (Weight 4) yarn works best. The goal is to use a hook size (2.5 mm) that creates a tight, dense fabric so the stuffing doesn’t show through.
How do I make the heart look smoother?
Ensure you are working in continuous spirals rather than joining with slip stitches at the end of each round. This eliminates the “step” effect often seen in amigurumi.
Can I use this for keychains?
Absolutely. The compact size and sturdy construction make these hearts perfect for attaching to keyrings, bag charms, or even as part of a larger set like the adorable crochet chick easy frog hat amigurumi pattern.
Why are there gaps between the lobes?
Skipping 3 stitches on each lobe during Row 4 is intentional. This creates the characteristic dip at the top of the heart. Use the long tail from the first lobe to sew this gap closed for a seamless look.
Is this pattern suitable for absolute beginners?
Yes, as long as you are familiar with magic rings, single crochet, and basic increases. If you are new to these, this is a great low-stakes project to practice them.
Pin This Crochet Pattern!