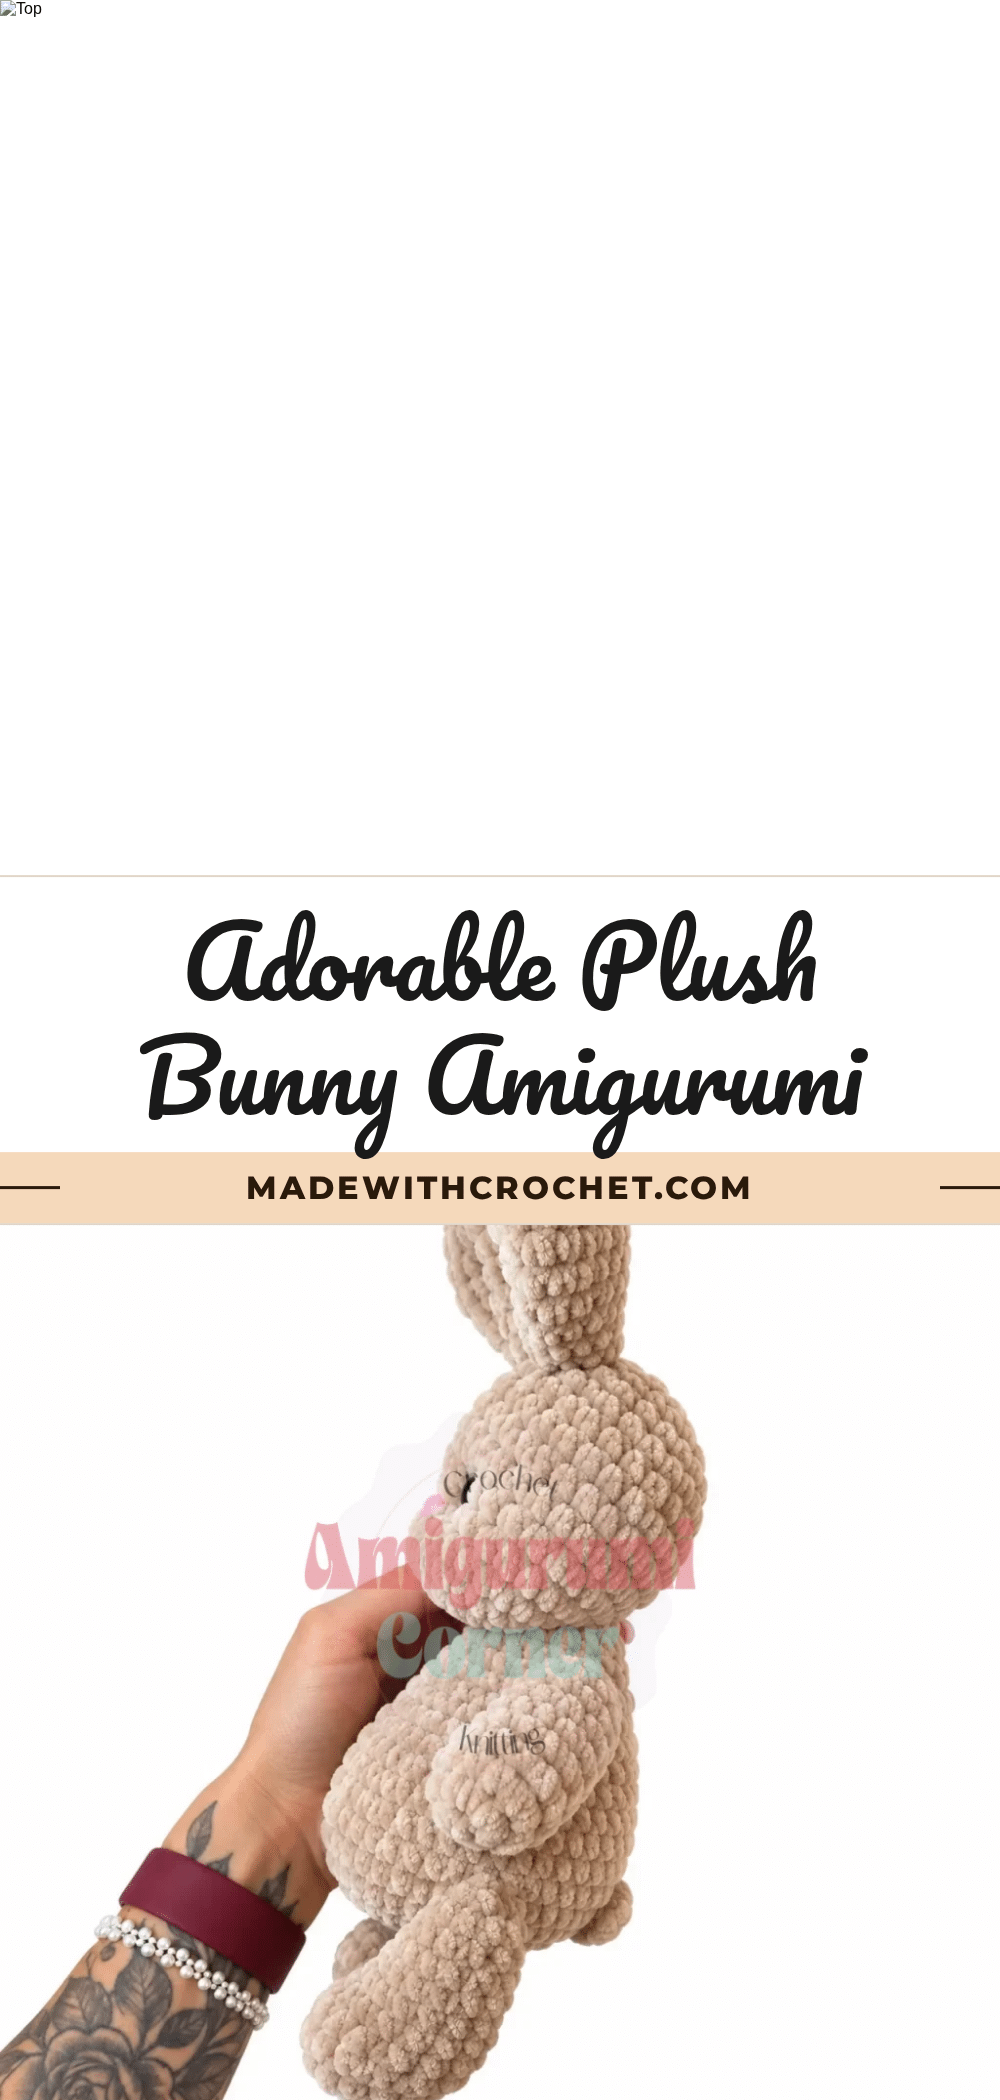
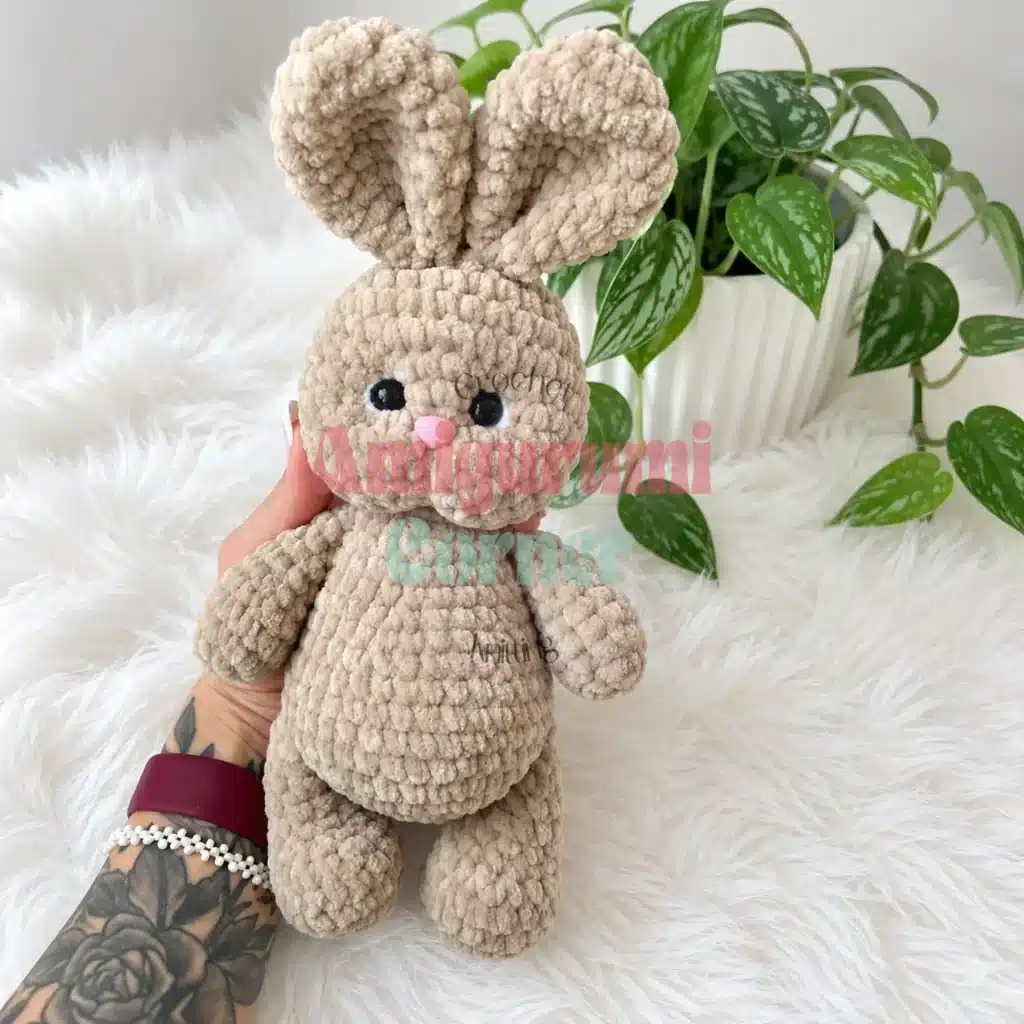
There is a specific kind of magic that happens when you pull a skein of plush, velvet-style yarn from your stash and decide it’s meant to become a friend. Maybe it was the soft, cloud-like texture that caught your eye, or perhaps the color reminded you of a spring morning. This adorable plush bunny amigurumi pattern is designed to celebrate that tactile joy. With a finished height of approximately 25 cm (10 inches), this bunny is the perfect size for cuddling, gifting, or displaying on a nursery shelf. The pattern guides you through creating a chubby-cheeked companion with a defined, studio-quality face using a technique called needle sculpting.
Yarn and Color Notes
When choosing yarn for this project, the texture is just as important as the color. This pattern calls for a plush or velvet-style yarn, such as Himalaya Dolphin Baby or Wolans Bunny Baby. These yarns have a dense, velvety pile that hides the individual stitches beautifully, giving your bunny a seamless, professional finish. While you can use any plush yarn of the same weight, stick to one skein for the entire project to ensure color consistency. If you want a classic look, a solid white or cream works wonderfully, but don’t be afraid to choose a pastel pink, soft blue, or even a warm terracotta to match your home decor. The plush fiber also makes the toy incredibly soft to the touch, perfect for little hands.
Project Overview
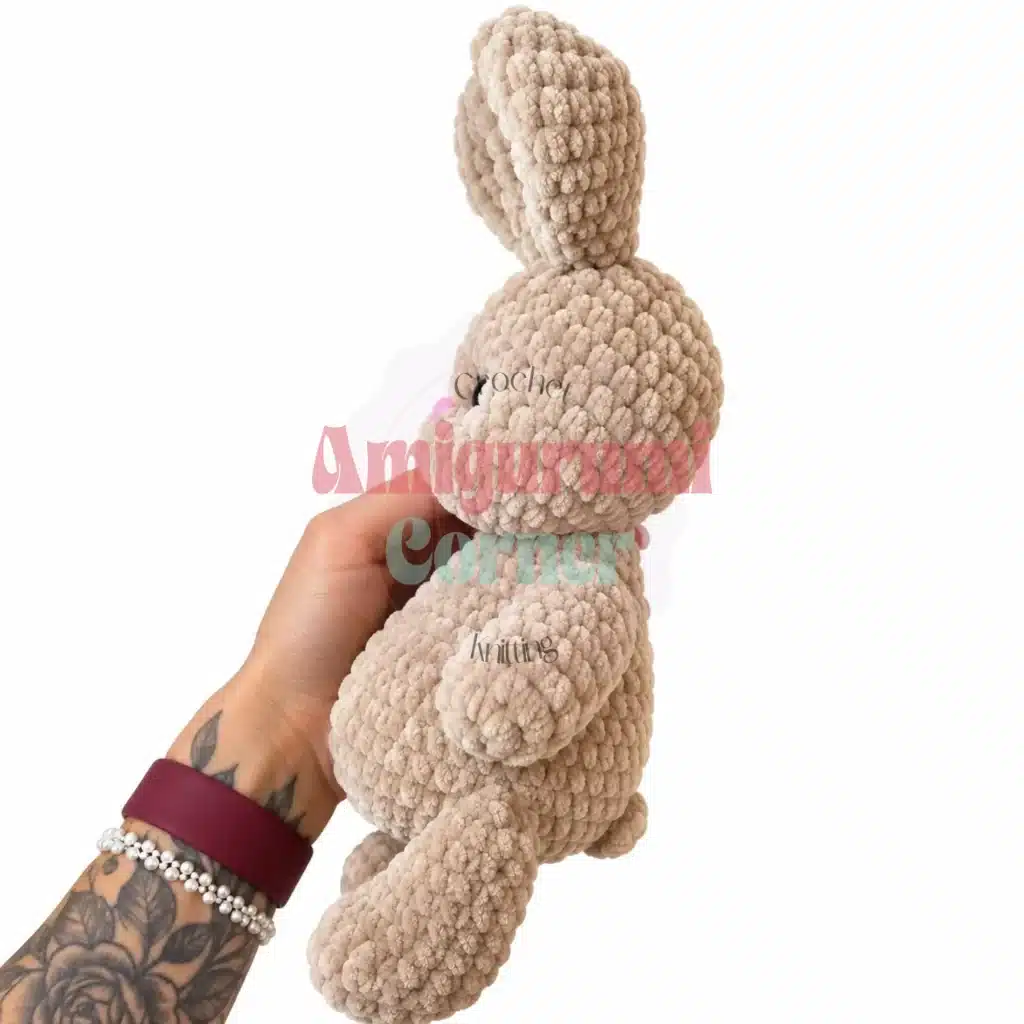
This amigurumi pattern is rated beginner-friendly to intermediate. It is worked in a continuous spiral using US crochet terminology. The bunny features a round head with needle-sculpted eyes and cheeks, a plump body, and distinct limbs. The pattern includes detailed instructions for assembling the parts and sculpting the face to create a charming, expressive character.
Materials
- Yarn: Plush / velvet-style yarn, approx. 100 g / 120 m per skein (such as Himalaya Dolphin Baby or Wolans Bunny Baby, or any comparable plush yarn of the same weight). One skein is sufficient for the full toy.
- Hook: US Size H-8 (5.0 mm). Sizes G-6 (4.0 mm), G-6/7 (4.5 mm), and J-10 (6.0 mm) are also compatible with this yarn; choose whichever produces a tight, stuffing-hiding fabric for you.
- Safety eyes: 12 mm, x2
- Nose: 12 mm pre-made animal nose (safety-back style, or trim the post and adhere after face sculpting; alternatively, sculpt a nose from polymer clay)
- White felt: A small piece for eye accent details
- Fiberfill stuffing: Polyester fiberfill, enough to stuff the head, body, arms, and legs firmly
- Stitch markers: x2 (to track the start of each round)
- Yarn needle / tapestry needle: Large eye, for sewing parts together and for needle sculpting
- Scissors
- Craft glue (optional): A strong clear-dry adhesive if you choose to glue the nose rather than use a safety back
Gauge and Finished Size
Gauge is not critical for this project, but your fabric must be dense enough that fiberfill does not show through. If you can see light through the stitches, go down one hook size. This plush bunny crochet pattern produces a finished toy approximately 25 cm (about 10 inches) tall. The finished toy stands approximately 25 cm tall. Actual height may vary slightly depending on your tension, hook size, and yarn lot.
Abbreviations
- ch: Chain
- dec: Decrease (invisible decrease: insert hook under front loop of next st, then front loop of following st, yarn over and pull through both loops, yarn over and pull through remaining 2 loops)
- inc: Increase (2 sc in same stitch)
- MR: Magic Ring
- sc: Single Crochet
- sl st: Slip Stitch
- st / sts: Stitch / Stitches
Pattern Notes
This pattern is written in US crochet terminology. All pieces are worked in a continuous spiral. Do not join at the end of each round and do not chain up. Use a stitch marker to track the first stitch of each round. Stitch counts are given in parentheses at the end of each round: (18), (24), etc. The head and body are stuffed as you work (not all at once at the end). Read the notes embedded in each component before you begin that piece. Safety eyes and the nose are installed during the head construction, before the opening is fully closed. Do not skip to the end to attach them.
Pattern Instructions
Head
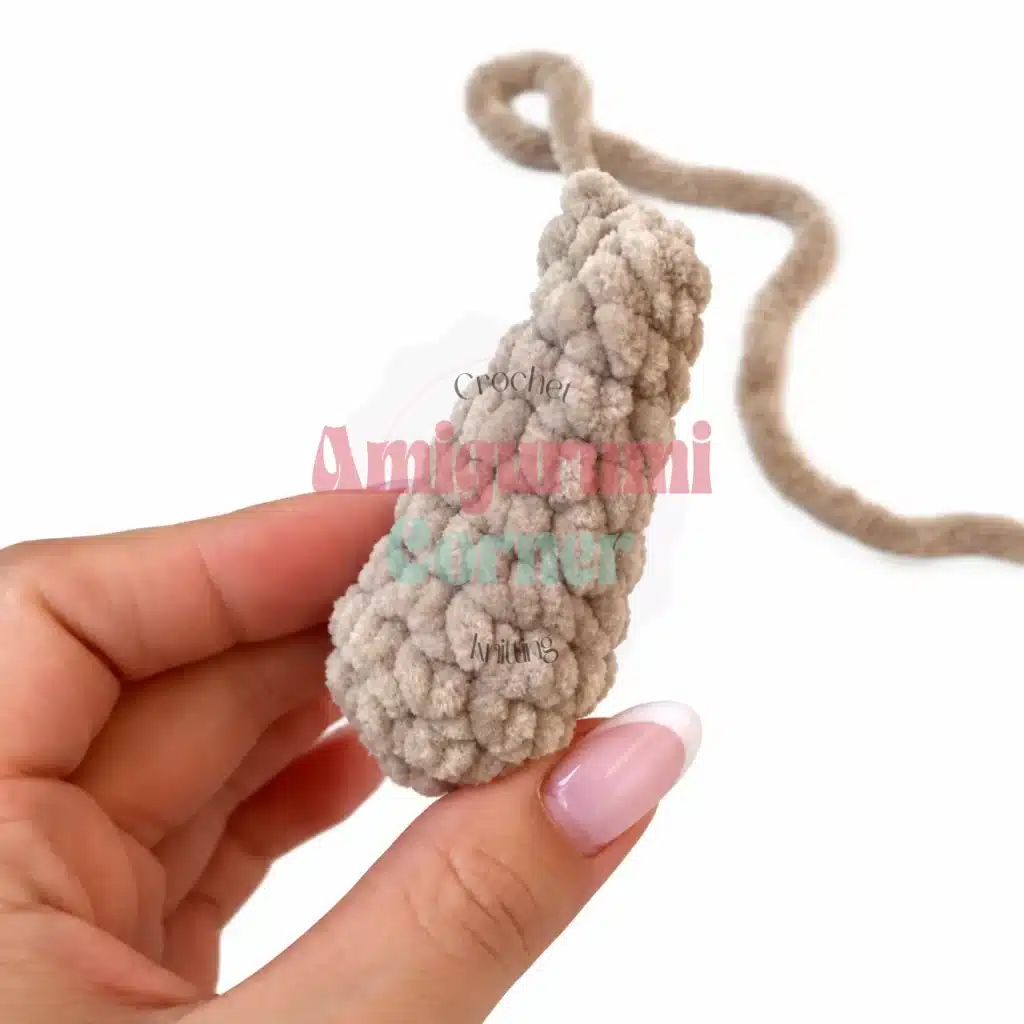
Rnd 1: 6 sc in MR. (6)
Rnd 2: inc in each st around. (12)
Rnd 3: sc, inc repeat 6 times around. (18)
Rnd 4: sc, inc, 2 sc, inc repeat 5 times, sc. (24)
Rnd 5: 3 sc, inc repeat 6 times around. (30)
Rnd 6: 2 sc, inc, 4 sc, inc repeat 5 times, 2 sc. (36)
Rnds 7-9: sc in each st around. (36)
Rnd 10: 4 sc, dec repeat 6 times around. (30)
Rnd 11: sc in each st around. (30)
Rnd 12: 3 sc, dec repeat 6 times around. (24)
Rnd 13: 2 sc, dec repeat 6 times around. (18)
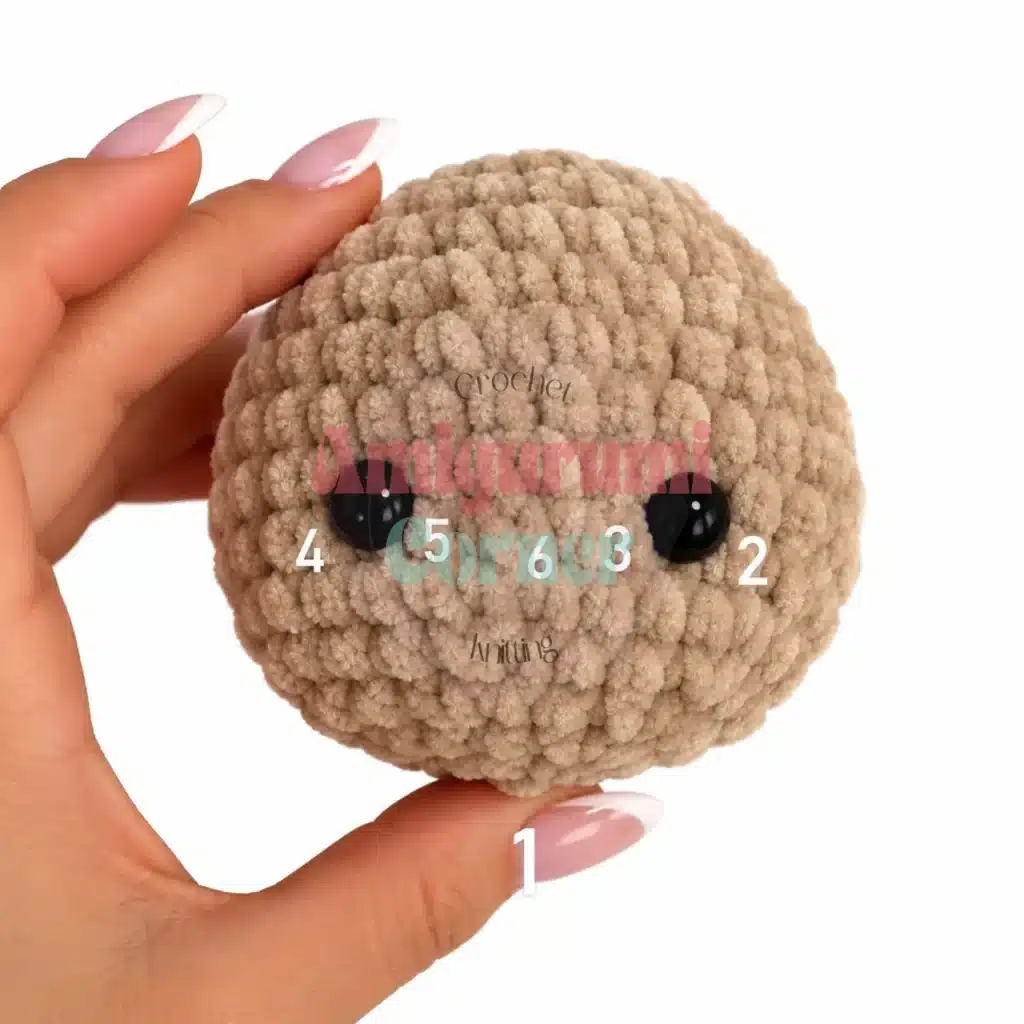
After completing Rnd 13: try the safety eyes in position (Rnds 10-11, with approximately 5 stitches between them). Remove some fiberfill, click the safety eyes in place, then stuff the head fully, pressing the stuffing firmly into the cheeks from the sides. Do not overstuff: the head needs a little give so the needle-sculpting step in Assembly creates a defined face. Attach the safety eyes now. The nose will be attached after needle sculpting.
Rnd 14: sc, dec repeat 6 times around. (12)
Add a small amount of fiberfill to fill any remaining gaps.
Rnd 15: dec 6 times around. (6)
Fasten off, weave in the end, and close the opening completely.
Body
Rnd 1: 6 sc in MR. (6)
Rnd 2: inc in each st around. (12)
Rnd 3: sc, inc repeat 6 times around. (18)
Rnd 4: sc, inc, 2 sc, inc repeat 5 times, sc. (24)
Rnd 5: 3 sc, inc repeat 6 times around. (30)
Rnd 6: 2 sc, inc, 4 sc, inc repeat 5 times, 2 sc. (36)
Rnds 7-10: sc in each st around. (36)
Rnd 11: 4 sc, dec repeat 6 times around. (30)
Rnd 12: sc in each st around. (30)
Rnd 13: 3 sc, dec repeat 6 times around. (24)
Rnds 14-15: sc in each st around. (24)
Rnd 16: 2 sc, dec repeat 6 times around. (18)
Rnd 17: sc in each st around. (18)
Rnd 18: 3 sc, dec, 7 sc, dec, 4 sc. (16)
Sl st to close the round. Leave a long yarn tail (approximately 30 to 40 cm) for sewing the head to the body.
Arms (make 2)
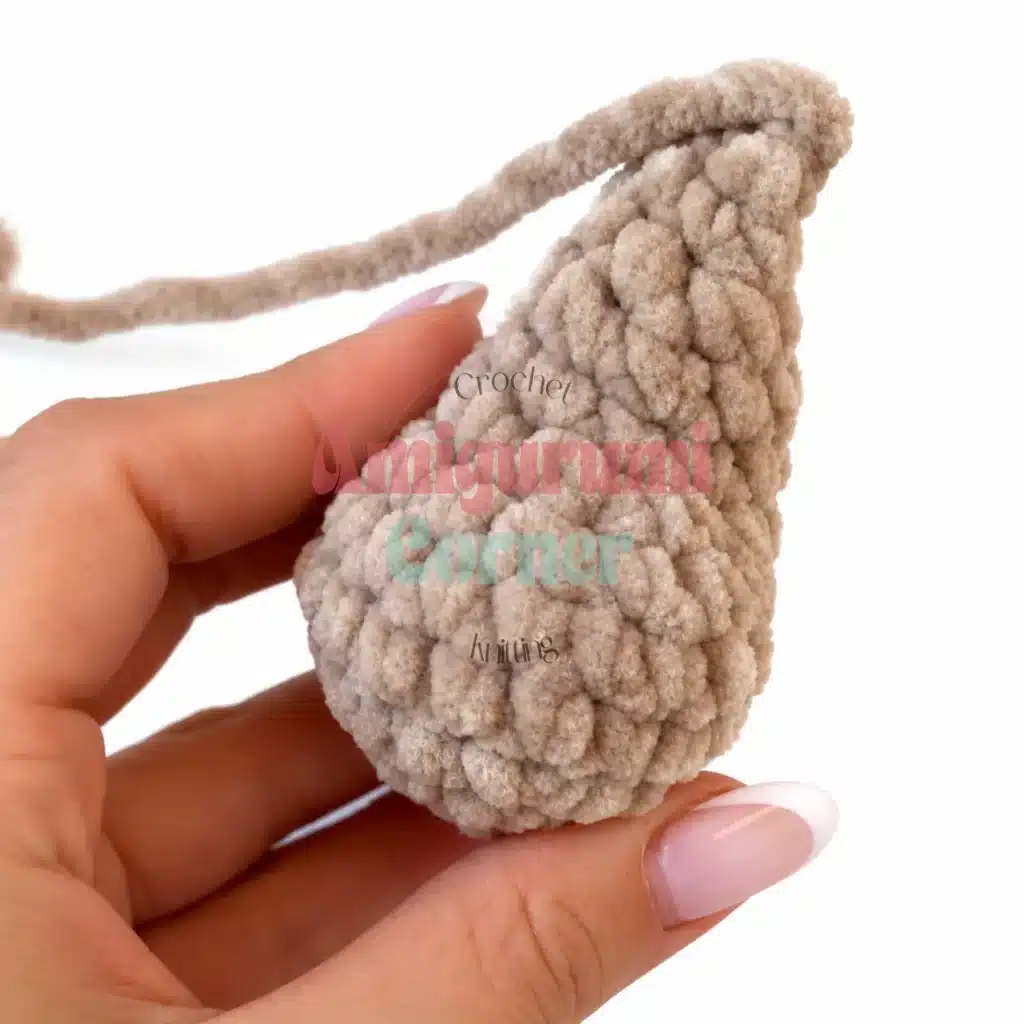
Rnd 1: 6 sc in MR. (6)
Rnd 2: inc in each st around. (12)
Rnds 3-4: sc in each st around. (12)
Rnd 5: dec, 4 sc, dec, 4 sc. (10)
Rnds 6-7: sc in each st around. (10)
Rnd 8: dec, 3 sc, dec, 3 sc. (8)
Rnds 9-10: sc in each st around. (8)
Stuff the lower (hand) portion of the arm firmly. Fold the opening flat so the two edges align. Working through both layers, sc across to close the opening. Sl st to finish. Leave a yarn tail for sewing.
Legs (make 2)
Rnd 1: 6 sc in MR. (6)
Rnd 2: inc in each st around. (12)
Rnd 3: sc, inc repeat 6 times around. (18)
Rnds 4-5: sc in each st around. (18)
Rnd 6: 2 sc, dec, sc, dec, sc, dec, 8 sc. (15)
Rnd 7: 3 sc, dec 3 times, 6 sc. (12)
Rnd 8: sc in each st around. (12)
Rnd 9: 2 sc, dec, 3 sc, dec, 3 sc. (10)
Rnd 10: sc, dec, 7 sc. (9)
Rnd 11: sc in each st around. (9)
Stuff the foot and lower leg firmly. Fold the opening flat in the direction the leg will face when sewn to the body. Working through both layers, work 2 dec to close the opening. Sl st to finish. Leave a yarn tail of approximately 15 to 20 cm for sewing the legs to the body.
Tail
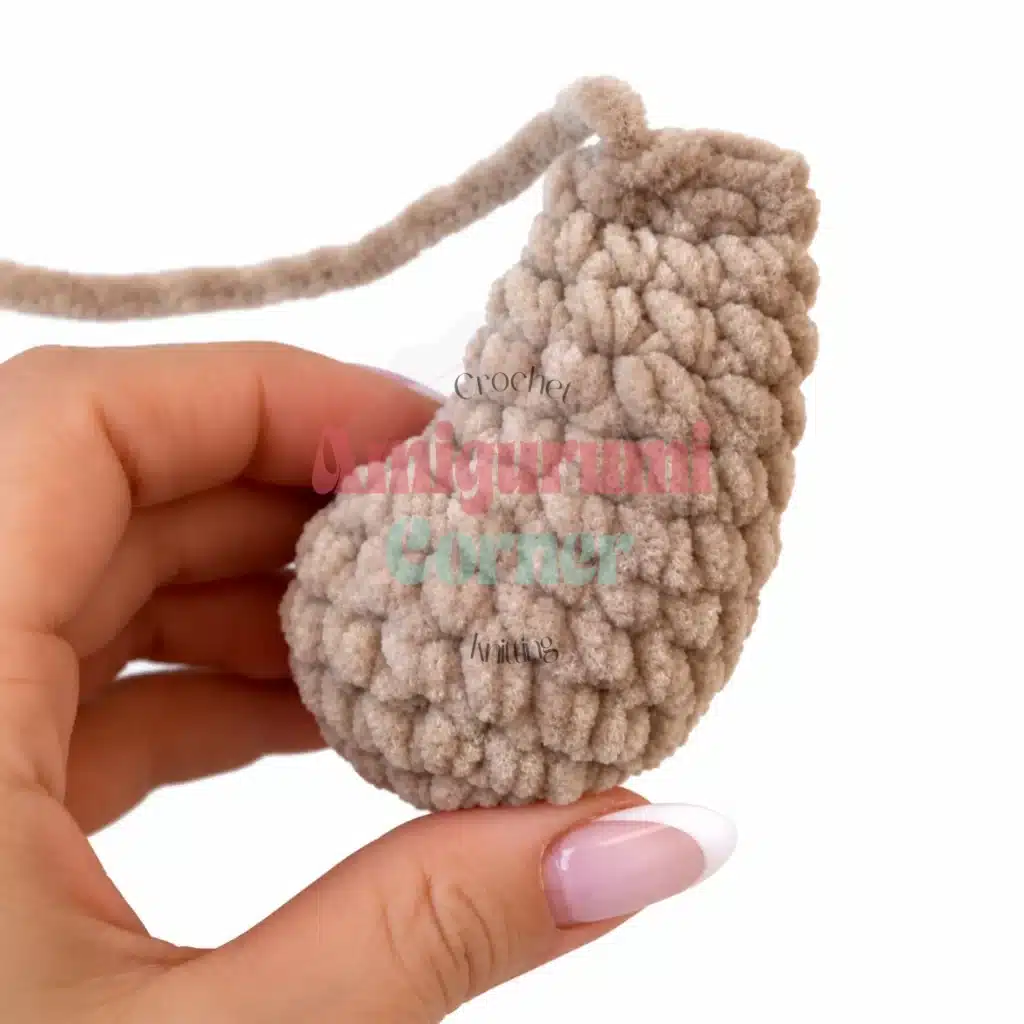
Rnd 1: 6 sc in MR. (6)
Rnd 2: sc in each st around. (6)
Sl st to finish. Do not stuff. Leave a yarn tail for sewing.
Ears (make 2)
Rnd 1: 6 sc in MR. (6)
Rnd 2: inc in each st around. (12)
Rnd 3: sc, inc repeat 6 times around. (18)
Rnds 4-6: sc in each st around. (18)
Rnd 7: 2 sc, dec, 7 sc, dec, 5 sc. (16)
Rnd 8: 2 sc, dec, 2 sc, dec, 2 sc, dec, 2 sc, dec. (12)
Rnds 9-10: sc in each st around. (12)
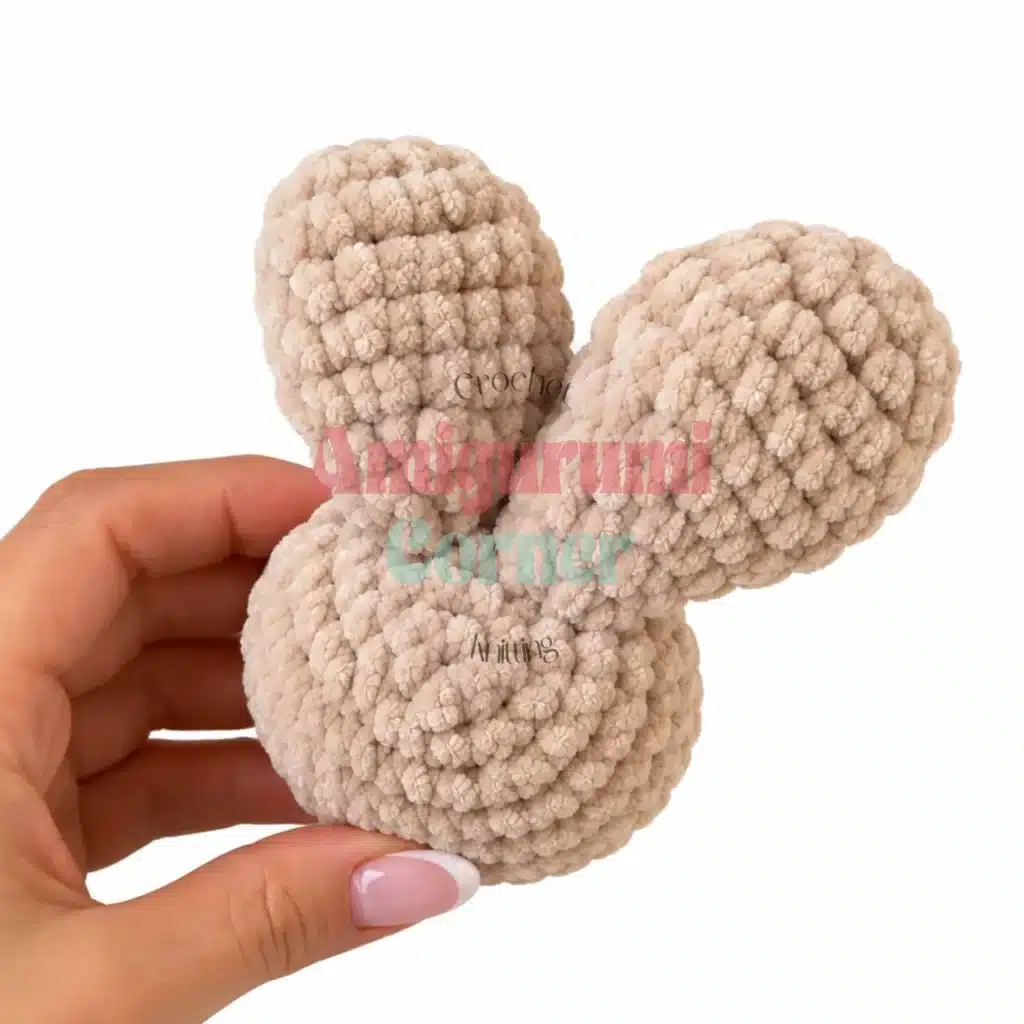
Fold the ear flat. Working through both layers of the top edge, sl st across to close and shape the ear. Do not stuff. Leave a yarn tail of approximately 15 to 20 cm for sewing.
Assembly
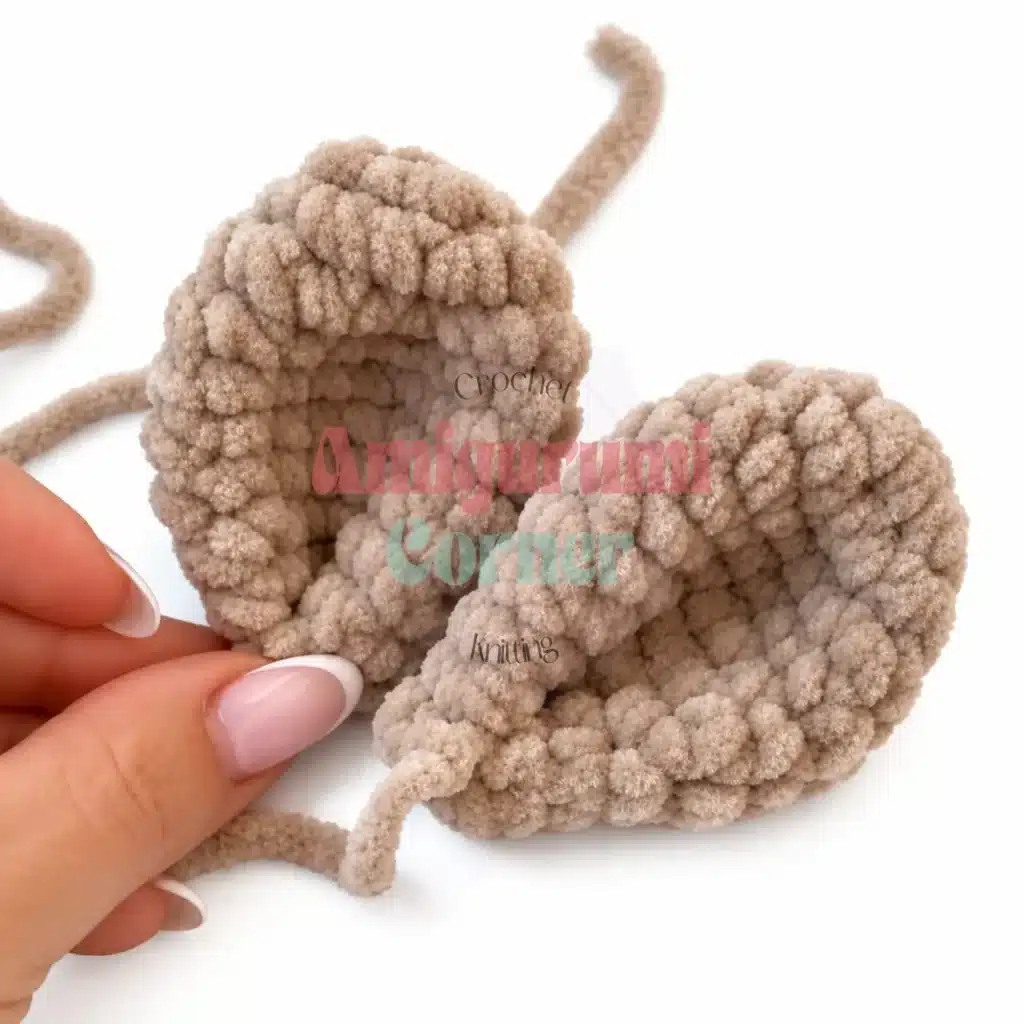
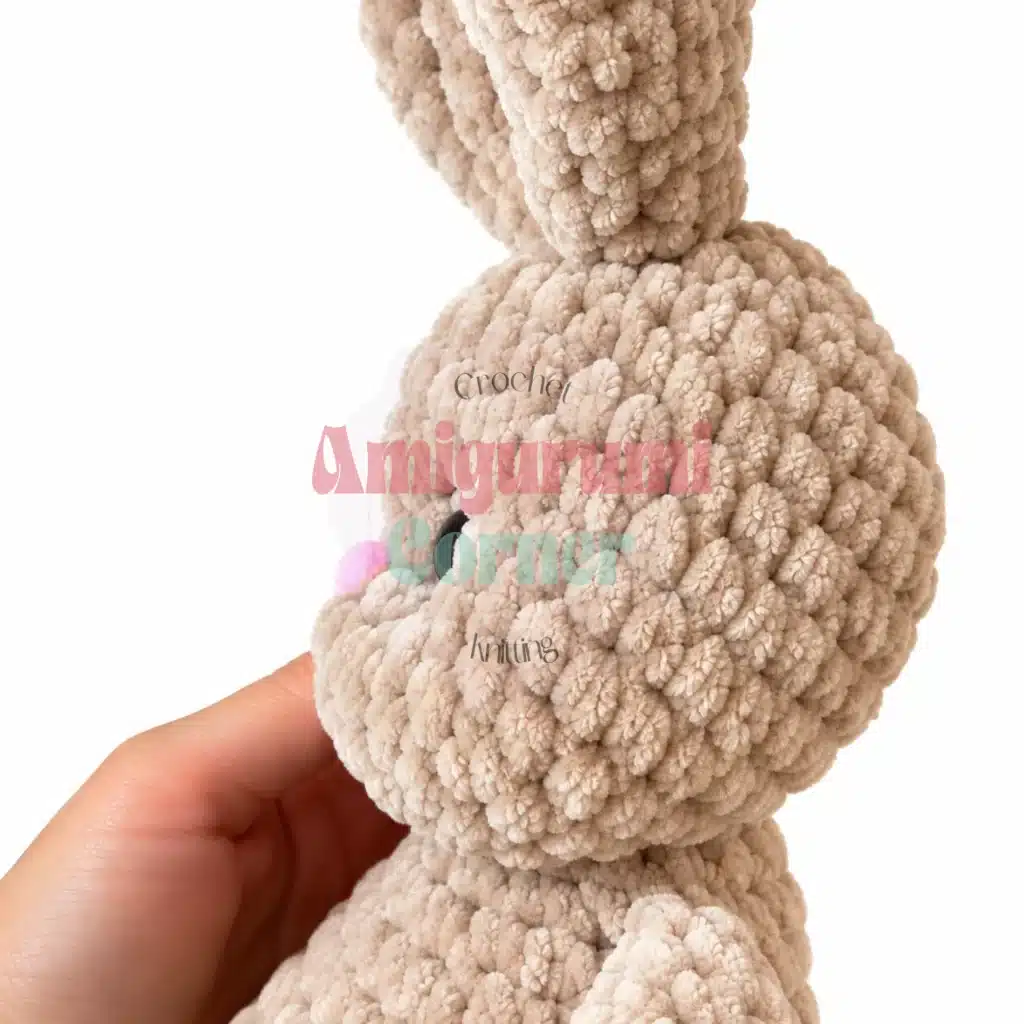
Needle-sculpt the face. Thread a 30 cm length of yarn onto your yarn needle. With the stuffed head facing you, locate a center point at the bottom of the face on Rnd 13 (point 1). Insert the needle at point 1, leaving a 5 to 7 cm tail at entry, and bring it out at the outer corner of the right eye (point 2). Re-insert at the inner corner of the right eye (point 3) and bring the needle back out at point 1. Pull gently and watch the right eye sink into the head. Knot securely. Repeat for the left eye: insert at point 1, out at the outer corner of the left eye (point 4), back in at the inner corner (point 5), and out again at point 1. Pull to match the depth of the right eye, then knot. Next, run the yarn from point 1 straight up through the center of the muzzle to the nose position (point 6), and back out at point 1. Pull gently, using your fingers to guide the cheeks to puff slightly outward and upward. This sculpting step can be repeated until you are happy with the result. Once the face is set, attach the nose at point 6.
Stuff the body fully through the open top before sewing on the head.
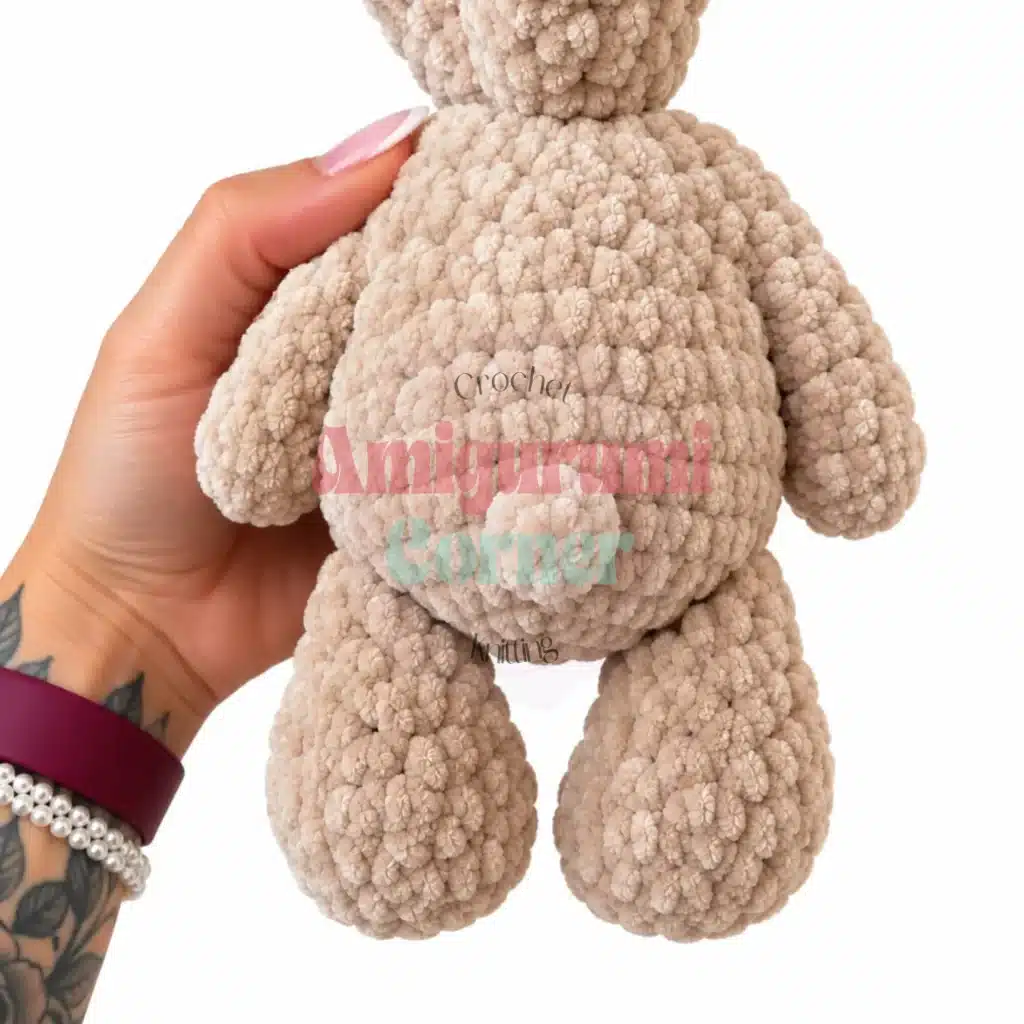
Attach the legs to the body at Rnds 7-8, with approximately 14 stitches between the two legs across the front. Use the yarn tails and a whipstitch, pulling each stitch firmly so the seam is invisible.
Attach the tail at the center back of the body, between Rnds 6 and 8.
Attach the arms at Rnd 17 of the body, one on each side.
Sew the head to the body, catching every stitch around the neck opening with a whipstitch. Pull each stitch firmly for a secure join. Before closing the seam completely, tuck a small amount of fiberfill into the neck to fill any gap and maintain a natural head position.
Attach the ears between Rnds 3 and 5 of the head, positioned side by side.
Weave in all remaining ends and trim.
Tips
- Keep your tension tight throughout. Plush yarn is forgiving in many ways, but loose tension creates gaps that let fiberfill peek through, and that breaks the illusion of a seamless velvet surface. If your stitches look open, drop one hook size and try again.
- Use the invisible decrease every time. Working only through the front loops of the two stitches you are decreasing makes a dramatically flatter, neater join than a standard decrease. In plush yarn especially, a standard decrease can create a raised ridge that catches the eye. The invisible decrease takes only a moment longer and the result is worth it.
- Stuff in stages, not all at once. For the head in particular, adding fiberfill progressively as you decrease lets you judge the firmness and shape in real time. A head that is stuffed too hard before the final decrease rounds will resist the needle sculpting in Step 1 of Assembly, and your eye sockets and cheek definition will be much less pronounced.
- Do a dry run before you needle-sculpt. Before threading your needle with yarn, use a straight pin to mark the four eye corner points and the nose point on the stuffed head. Step back and check the symmetry from arm’s length. Adjusting a pin is free; unpicking a knot in plush yarn is not.
- When sewing parts, match the yarn color exactly. If you are working in a solid color, your joining stitches will be invisible as long as they are pulled snug. If you choose to make a two-color bunny (for example, a white body with colored ears), thread your needle with the yarn color that matches the piece being attached, not the piece it is being attached to. The stitches will disappear into the surface they are anchored to.
FAQs
What hook size should I use for plush yarn?
The pattern recommends a US Size H-8 (5.0 mm) hook, but you can also use G-6 (4.0 mm), G-6/7 (4.5 mm), or J-10 (6.0 mm). Choose the size that allows you to create a tight fabric where the fiberfill does not show through.
Can I use a different type of yarn?
While plush or velvet-style yarn is recommended for the best texture and stitch-hiding effect, you can use any comparable plush yarn of the same weight. Keep in mind that the final look and feel will vary depending on the fiber content and pile of the yarn.
How do I attach the nose?
You can use a 12 mm pre-made animal nose with a safety back. Alternatively, you can trim the post of the nose and adhere it with craft glue after needle sculpting, or even sculpt a nose from polymer clay for a custom look.
Why is needle sculpting important?
Needle sculpting allows you to create defined eye sockets and puffed cheeks, giving your bunny a more expressive and professional appearance. It requires a bit of give in the stuffing, so it is important not to overstuff the head before installing the eyes.
How do I close the openings for the arms and legs?
For the arms, stuff the lower portion firmly, then fold the opening flat and sc across both layers to close. For the legs, stuff firmly, fold the opening flat in the direction the leg will face, and work 2 dec through both layers to close.
If you enjoyed making this plush bunny, you might also like our adorable festive crochet amigurumi trio pattern for more holiday fun, or check out this cute Santa crochet hat with beard pattern for a quick seasonal accessory.
Pin This Crochet Pattern!