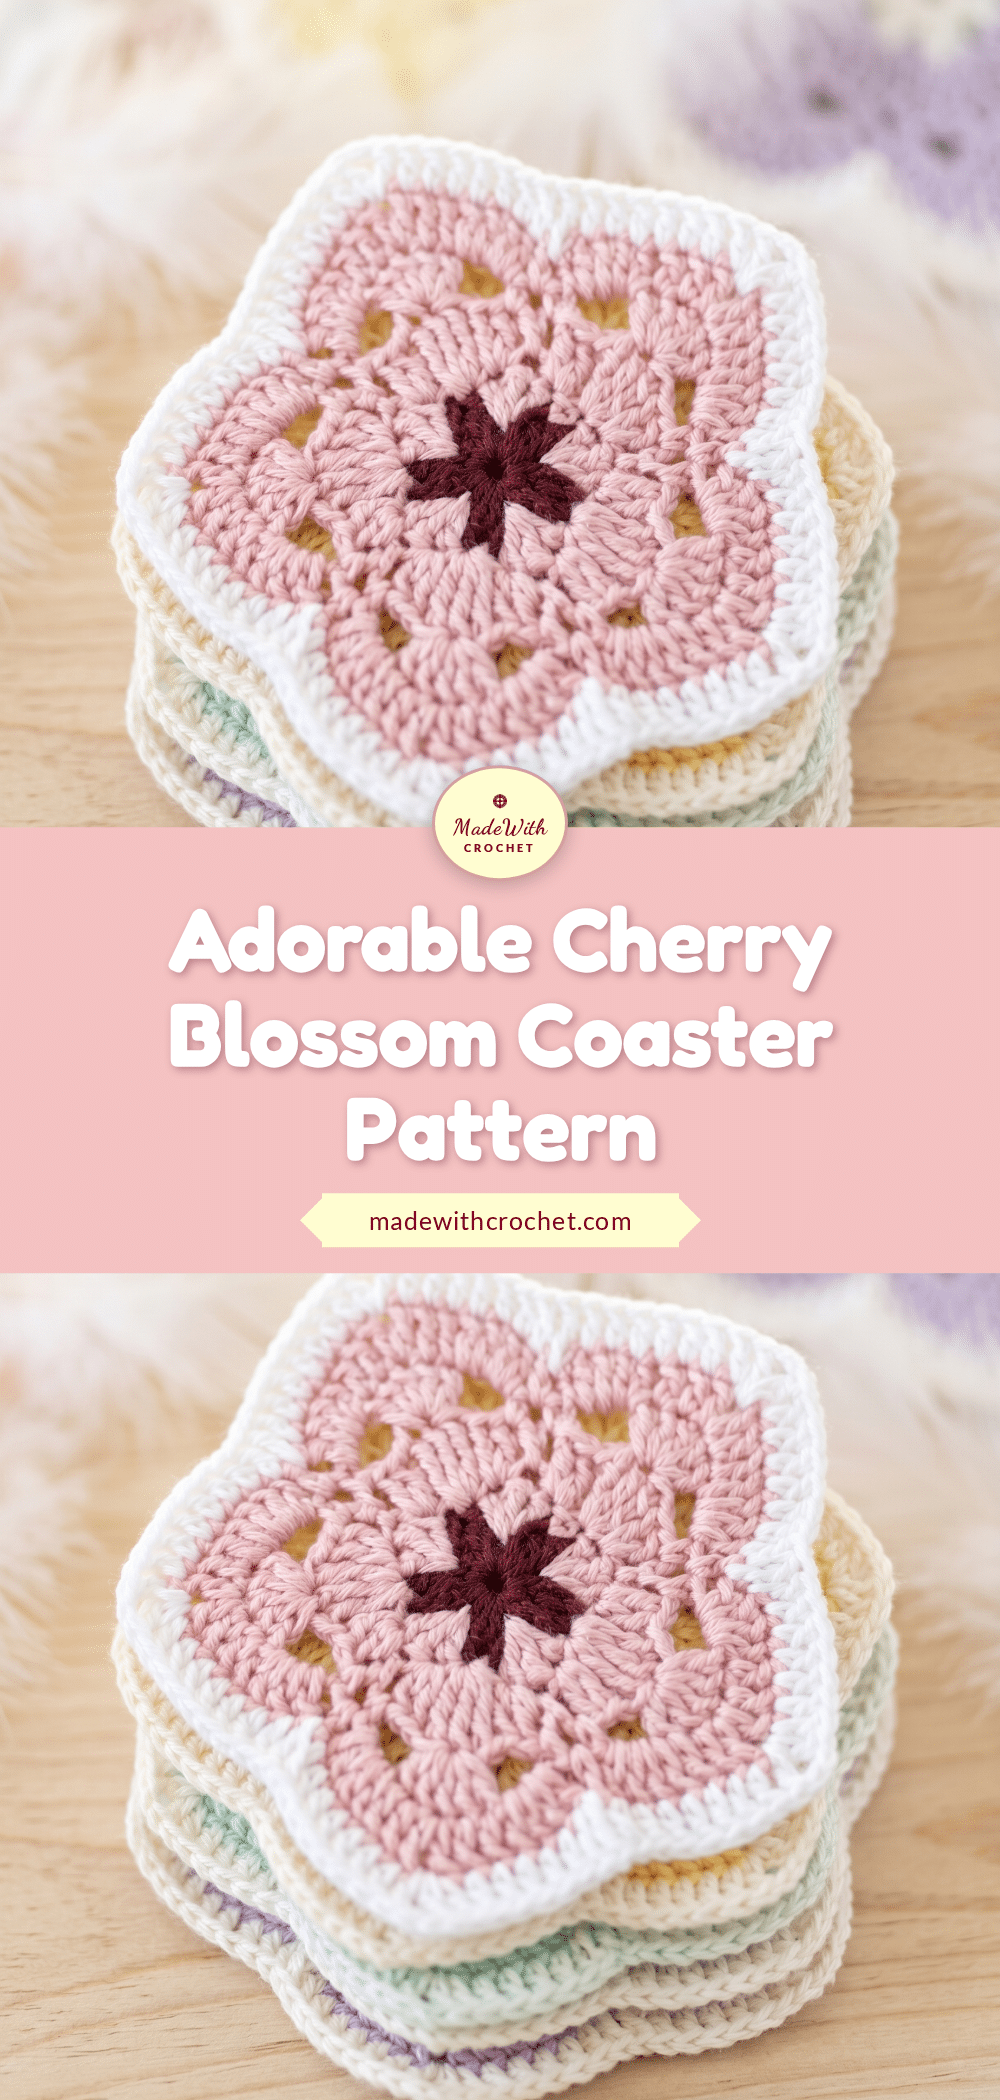
Yarn in hand, hook ready, and the magic ring just pulled tight. There is a specific kind of calm that comes with starting a small motif project, especially one as delicate as this Cherry Blossom Coaster. It is not just about the finished object sitting on your table; it is about the rhythm of the stitches, the way the colors shift from the deep maroon center to the soft pink petals, and the satisfaction of creating something functional that looks far more intricate than it actually is. This pattern is a wonderful entry point for motif crochet, offering a quick, manageable project that rewards you with a beautiful, practical piece for your home.
Why This Project Works
Coasters are often overlooked in the world of handmade gifts, yet they are the items that get the most daily use. This project bridges the gap between a simple stitch practice and a polished home accessory. The floral pentagon shape is visually striking, relying on color contrast rather than complex stitch patterns to create its beauty. It is the perfect “one sitting” project for beginners who want to finish a complete item without the intimidation of a large blanket or garment. Furthermore, the inclusion of a felt backing elevates the coaster from a simple mat to a sturdy, surface-protecting tool, making it a thoughtful and durable gift for housewarmings or birthdays.
Project Overview
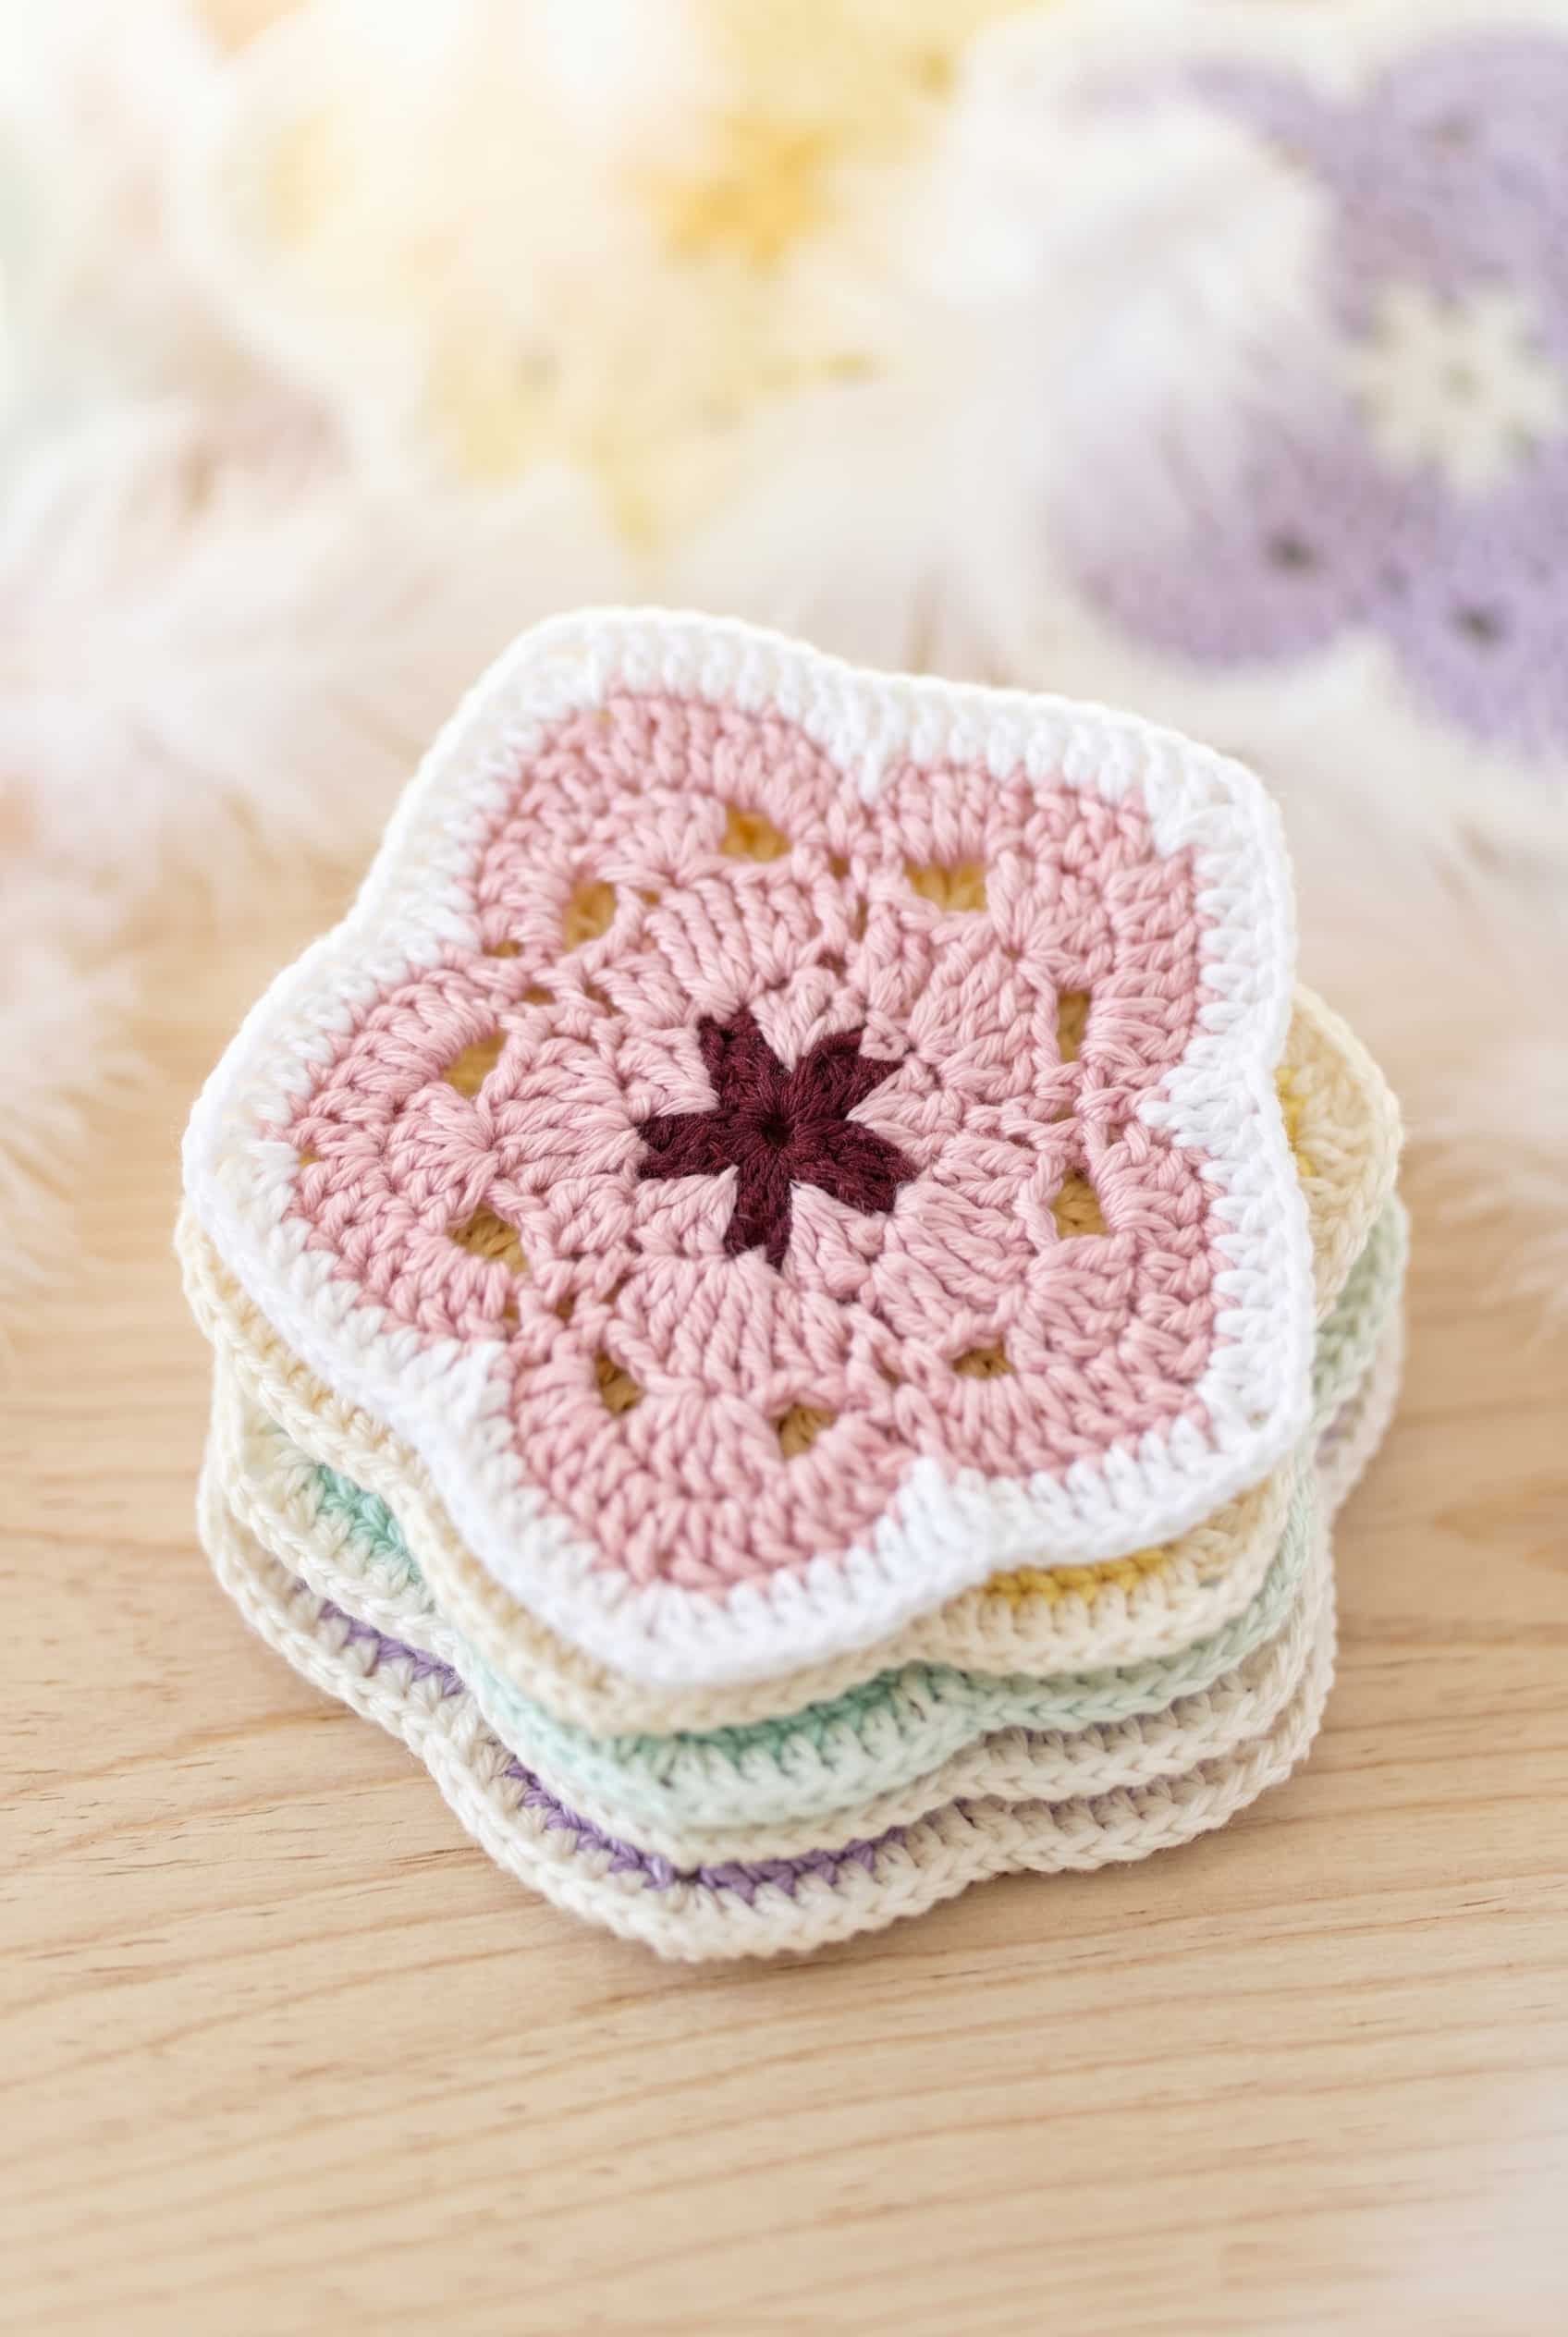
This Cherry Blossom Coaster is a flat, floral pentagon motif worked in fingering-weight cotton. It is a single-size project designed to be compact and quick to finish. The design relies on three distinct colors to create the flower effect, starting with a tight center and expanding outward through detailed petal rounds. The finished piece is backed with felt for stability and surface protection.
Materials
- Yarn: Fingering Weight 100% Cotton Yarn. Cotton is essential here for clean stitch definition and to ensure the coaster lies flat without curling.
- 5 g of Maroon (Color A)
- 50 g of Pink (Color B)
- 10 g of White (Color C)
- Crochet Hook: 2.5 mm hook. This size ensures tight, even stitches necessary for a flat coaster; a larger hook may result in a floppy fabric.
- Felt Sheet: Matching color to your main yarn. This provides a clean underside and protects surfaces.
- All-purpose glue: For attaching the felt backing.
- Notions: Darning needle and scissors.
Gauge and Finished Size
- Finished Size: About 5 inches across.
- Gauge: 14 sts x 14 rows = 2″ in sc (2″ square).
Abbreviations
US Terminology
- ch = chain
- dc = double crochet
- FO = fasten off
- MR = magic ring
- rep = repeat
- rnd = round
- sc = single crochet
- sl st = slip stitch
- st(s) = stitch(es)
- tr = treble crochet
Pattern Notes
This coaster is worked as one piece, flat, in a floral pentagon shape. It is a single size. The design relies heavily on color choice; the flower shape reads clearly when using at least two colors, with the center rounds in one color and the outer rounds in another. While you can make this in a single color, the petal definition will be less visible. The magic ring start is crucial for keeping the center tight, which is important for a project of this small scale.
Pattern Instructions
Building the Coaster
This coaster is worked in steps, building up from a five-petal flower center through increasingly detailed outer rounds, then finished with a felt backing to give it weight and protect surfaces. Each yarn color adds a new layer of the design, so keep your tails long enough to weave in cleanly at the end.
Step 1: Center Petals (Yarn A)
Work with Yarn A. Start a MR, ch 1, [3 dc, sl st, ch 1, sc] 5 times in the ring. Pull ring tight to close (each repeat is 1 petal). Sl st into the first dc. FO Yarn A. The magic ring closes up to form the tight center of the flower. Each repeat of [3 dc, sl st, ch 1, sc] produces one petal, so you’ll have five petals total before fastening off.
Step 2: Base Layer (Yarn B)
Insert Yarn B into the top of the middle dc of one of the petals. Sc in the same st, 3 dc in the next sc (between the petals), [sc in the next middle dc, 3 dc in the next sc (between the petals)] repeat 4 more times. On the last repeat, sl st into the first st of the rnd. Inserting into the middle dc of a petal gives you a clean anchor point. The 3 dc worked into the space between petals will start shaping the next layer outward.
Step 3: Petal Definition (Yarn B)
Ch 5 (counts as tr + ch 1), 2 dc in the next st, ch 2, sl st in the next st. [Ch 2, 2 dc in the next st, ch 1, 3 tr in the next st, ch 1, 2 dc in the next st, ch 2, sl st in the next st] repeat 4 times, ch 2, 2 dc in the next st, 2 tr in the base of the ch-5. Sl st into the 4th ch of ch-5. The ch 5 at the start counts as a treble plus ch 1, so when you close the round with a sl st into the 4th chain, you’re completing the first petal point of this layer. Keep your tension relaxed through the chain spaces so the petals lie flat.
Step 4: Outer Petal Shape (Yarn B)
Sl st in the next 2 dc and into the ch-2 space, ch 1, sc in the same space, ch 1, sc in the next ch-2 space, ch 3, 5 dc in the middle tr of previous rnd, [ch 3, sc in the next ch-2 space, ch 1, sc in the next ch-2 space, ch 3, 5 dc in the middle tr of the previous rnd] repeat 4 times, ch 3, sl st into first sc. The slip stitches at the start of this step reposition you into the ch-2 space without adding height. Working 5 dc into the middle treble of the previous round creates the fan clusters that define the outer petal shape.
Step 5: Petal Corners (Yarn B)
Ch 1, [sc in the ch-1 space, 4 dc in the ch-3 space, dc in the next 2 dc, (dc, ch 1, dc) in the next dc, dc in the next 2 dc, 4 dc in the ch-3 space] repeat 5 times, sl st into the first sc of the rnd. FO Yarn B. The (dc, ch 1, dc) at the center dc of each fan creates the corner point of each petal. After fastening off Yarn B, you have a complete five-petal outer flower ready for the border round.
Step 6: Border (Yarn C)
Insert Yarn C into one of the 5 ch-1 spaces. Ch 5 and dc in the same space. Dc in the next 7 dc, tr in the next sc, dc in the next 7 dc, [(dc, ch 2, dc) in the ch-1 space, dc in the next 7 dc, tr in the next sc, dc in the next 7 dc] repeat 4 times. Sl st into the 3rd ch of ch-5. FO. The ch 5 and dc worked into the first ch-1 space counts as (dc, ch 2, dc), matching the corner treatment used in the bracketed repeat. The single treble worked over each sc from the previous round keeps the petal indentations visible in the border.
Step 7: Finishing
Weave in all remaining tails.
Assembly
To complete the coaster and ensure it is functional for daily use, follow these assembly steps:
- Trace: Place the coaster on a piece of felt of matching color and trace the shape onto the felt.
- Cut: Use scissors to cut out the felt shape.
- Trim: Trim the felt shape so it will not go over the border of the crochet coaster. Take your time trimming. It’s easier to remove a little more felt than to fix a piece that is too large once the glue is on.
- Glue: Apply all-purpose glue to the wrong side of the crochet coaster and glue it to the felt shape.
- Dry: Let it dry completely before using it.
Care Instructions
Since these coasters are 100% cotton with a felt backing glued on, skip the washing machine entirely. Hand washing in cool water is the safest route, and the main thing to watch is the glue bond between the crochet and the felt. Let them dry flat so the felt doesn’t curl up at the edges as it dries. Once they’re fully dry, they hold their shape well and sit flat on a surface the way a coaster should.
Tips
- Tension Control: Keep your tension relaxed through the chain spaces so the petals lie flat.
- Hook Size: Working fingering weight cotton on a 2.5 mm hook does produce a dense, tight fabric. The stitches are small, so it takes a little patience if you’re not used to fine thread work. That said, the coaster itself is only about 5 inches across, so the project stays manageable even if the hook feels small at first.
Frequently Asked Questions
Why does the coaster need a felt backing?
The felt backing adds weight and stability to the coaster, preventing it from sliding around on tables. It also protects your furniture from scratches and gives the underside a clean, finished look that hides the yarn tails.
Can I make this coaster in a single color?
Yes, you can absolutely make it in a single color. However, the floral pentagon shape relies on contrast to be visible. Using at least two colors (one for the center, one for the petals) will make the design pop much more effectively.
What does the center section actually look like before the rest of the coaster is added?
After Step 1, you will have a tight, five-petal flower center formed by the Maroon yarn. It will look like a small, compact flower with a very tight center hole due to the magic ring. This serves as the anchor for the subsequent rounds.
How much yarn do I actually need for one coaster?
You need very little yarn. The pattern calls for 5 g of Maroon, 50 g of Pink, and 10 g of White. Since these are small amounts, this is a great project for using up small scraps or stash remnants.
The pattern uses a 2.5 mm hook with fingering weight cotton. Is that combination going to feel fiddly?
It can feel slightly fiddly if you are used to bulky yarn, but it is manageable. The small hook creates a dense fabric that is perfect for a coaster. Because the project is so small (about 5 inches), you won’t be working for long periods, making it a quick and satisfying finish.
Pin This Crochet Pattern!