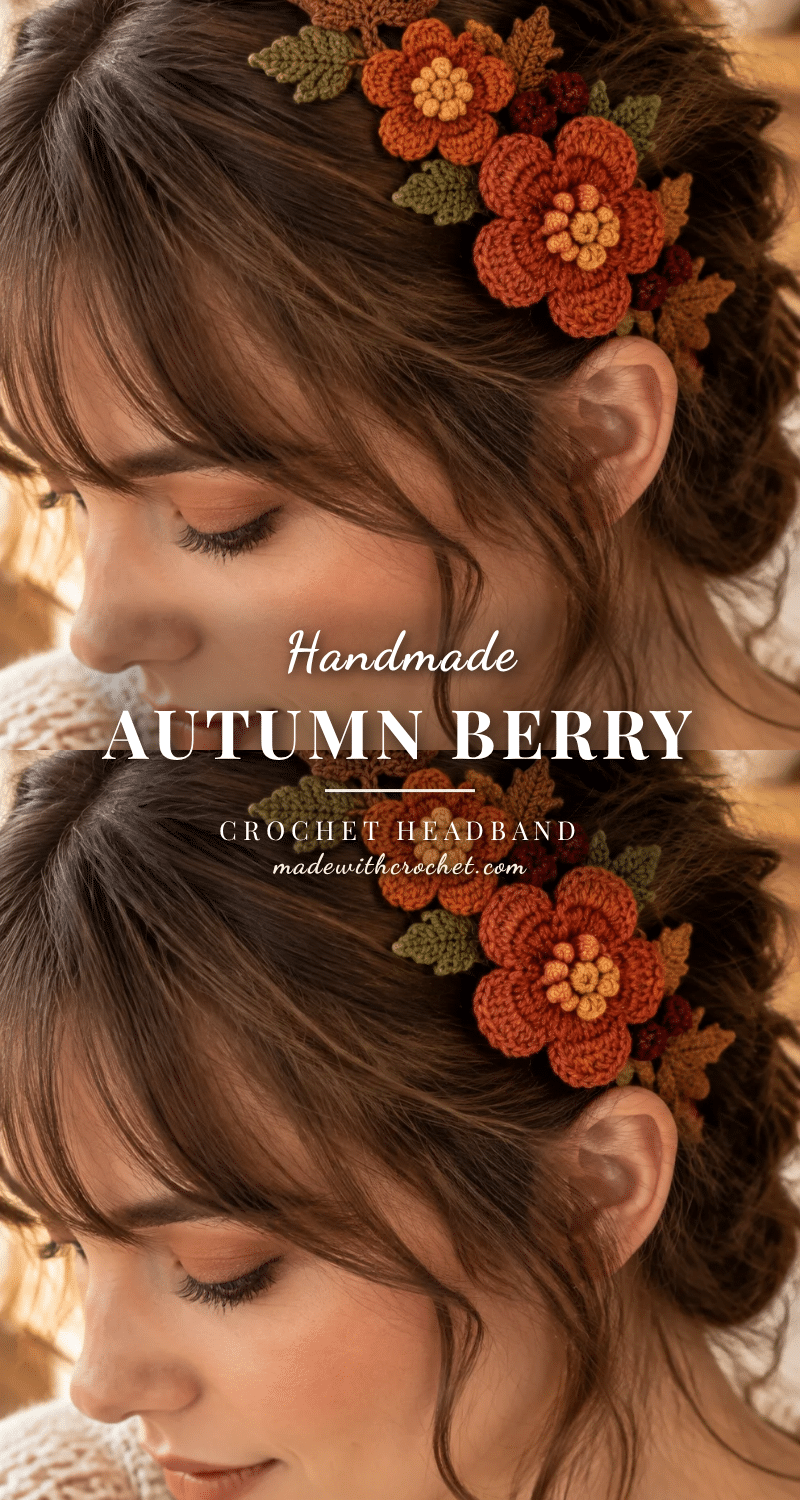
There is a distinct joy in wearing an accessory that looks like it came from a high-end boutique but was actually crafted by your own hands. This Autumn Berry Headband delivers that exact satisfaction. It is tidy, display-worthy, and undeniably cute, featuring a delicate vine that trails across the crown, adorned with burnt orange flowers, tiny burgundy berries, and copper maple leaves. It is the kind of piece that naturally prompts the question, “Wait, you made that?”
Why the Finished Piece Stands Out
What makes this headband truly special is its modular botanical design. Unlike a standard crocheted hat, this project uses a flexible commercial headband as its core, which is then hidden beneath a custom crochet sleeve. This construction method provides a comfortable, structured fit while allowing for intricate, dimensional motifs to be attached securely. The color palette—featuring burnt orange, terracotta, ochre, and copper—captures the essence of fall without being overwhelming. It is a perfect project for using up small scraps of fine cotton or DK weight yarn, transforming your stash into a sophisticated accessory that feels both rustic and refined.
Project Overview
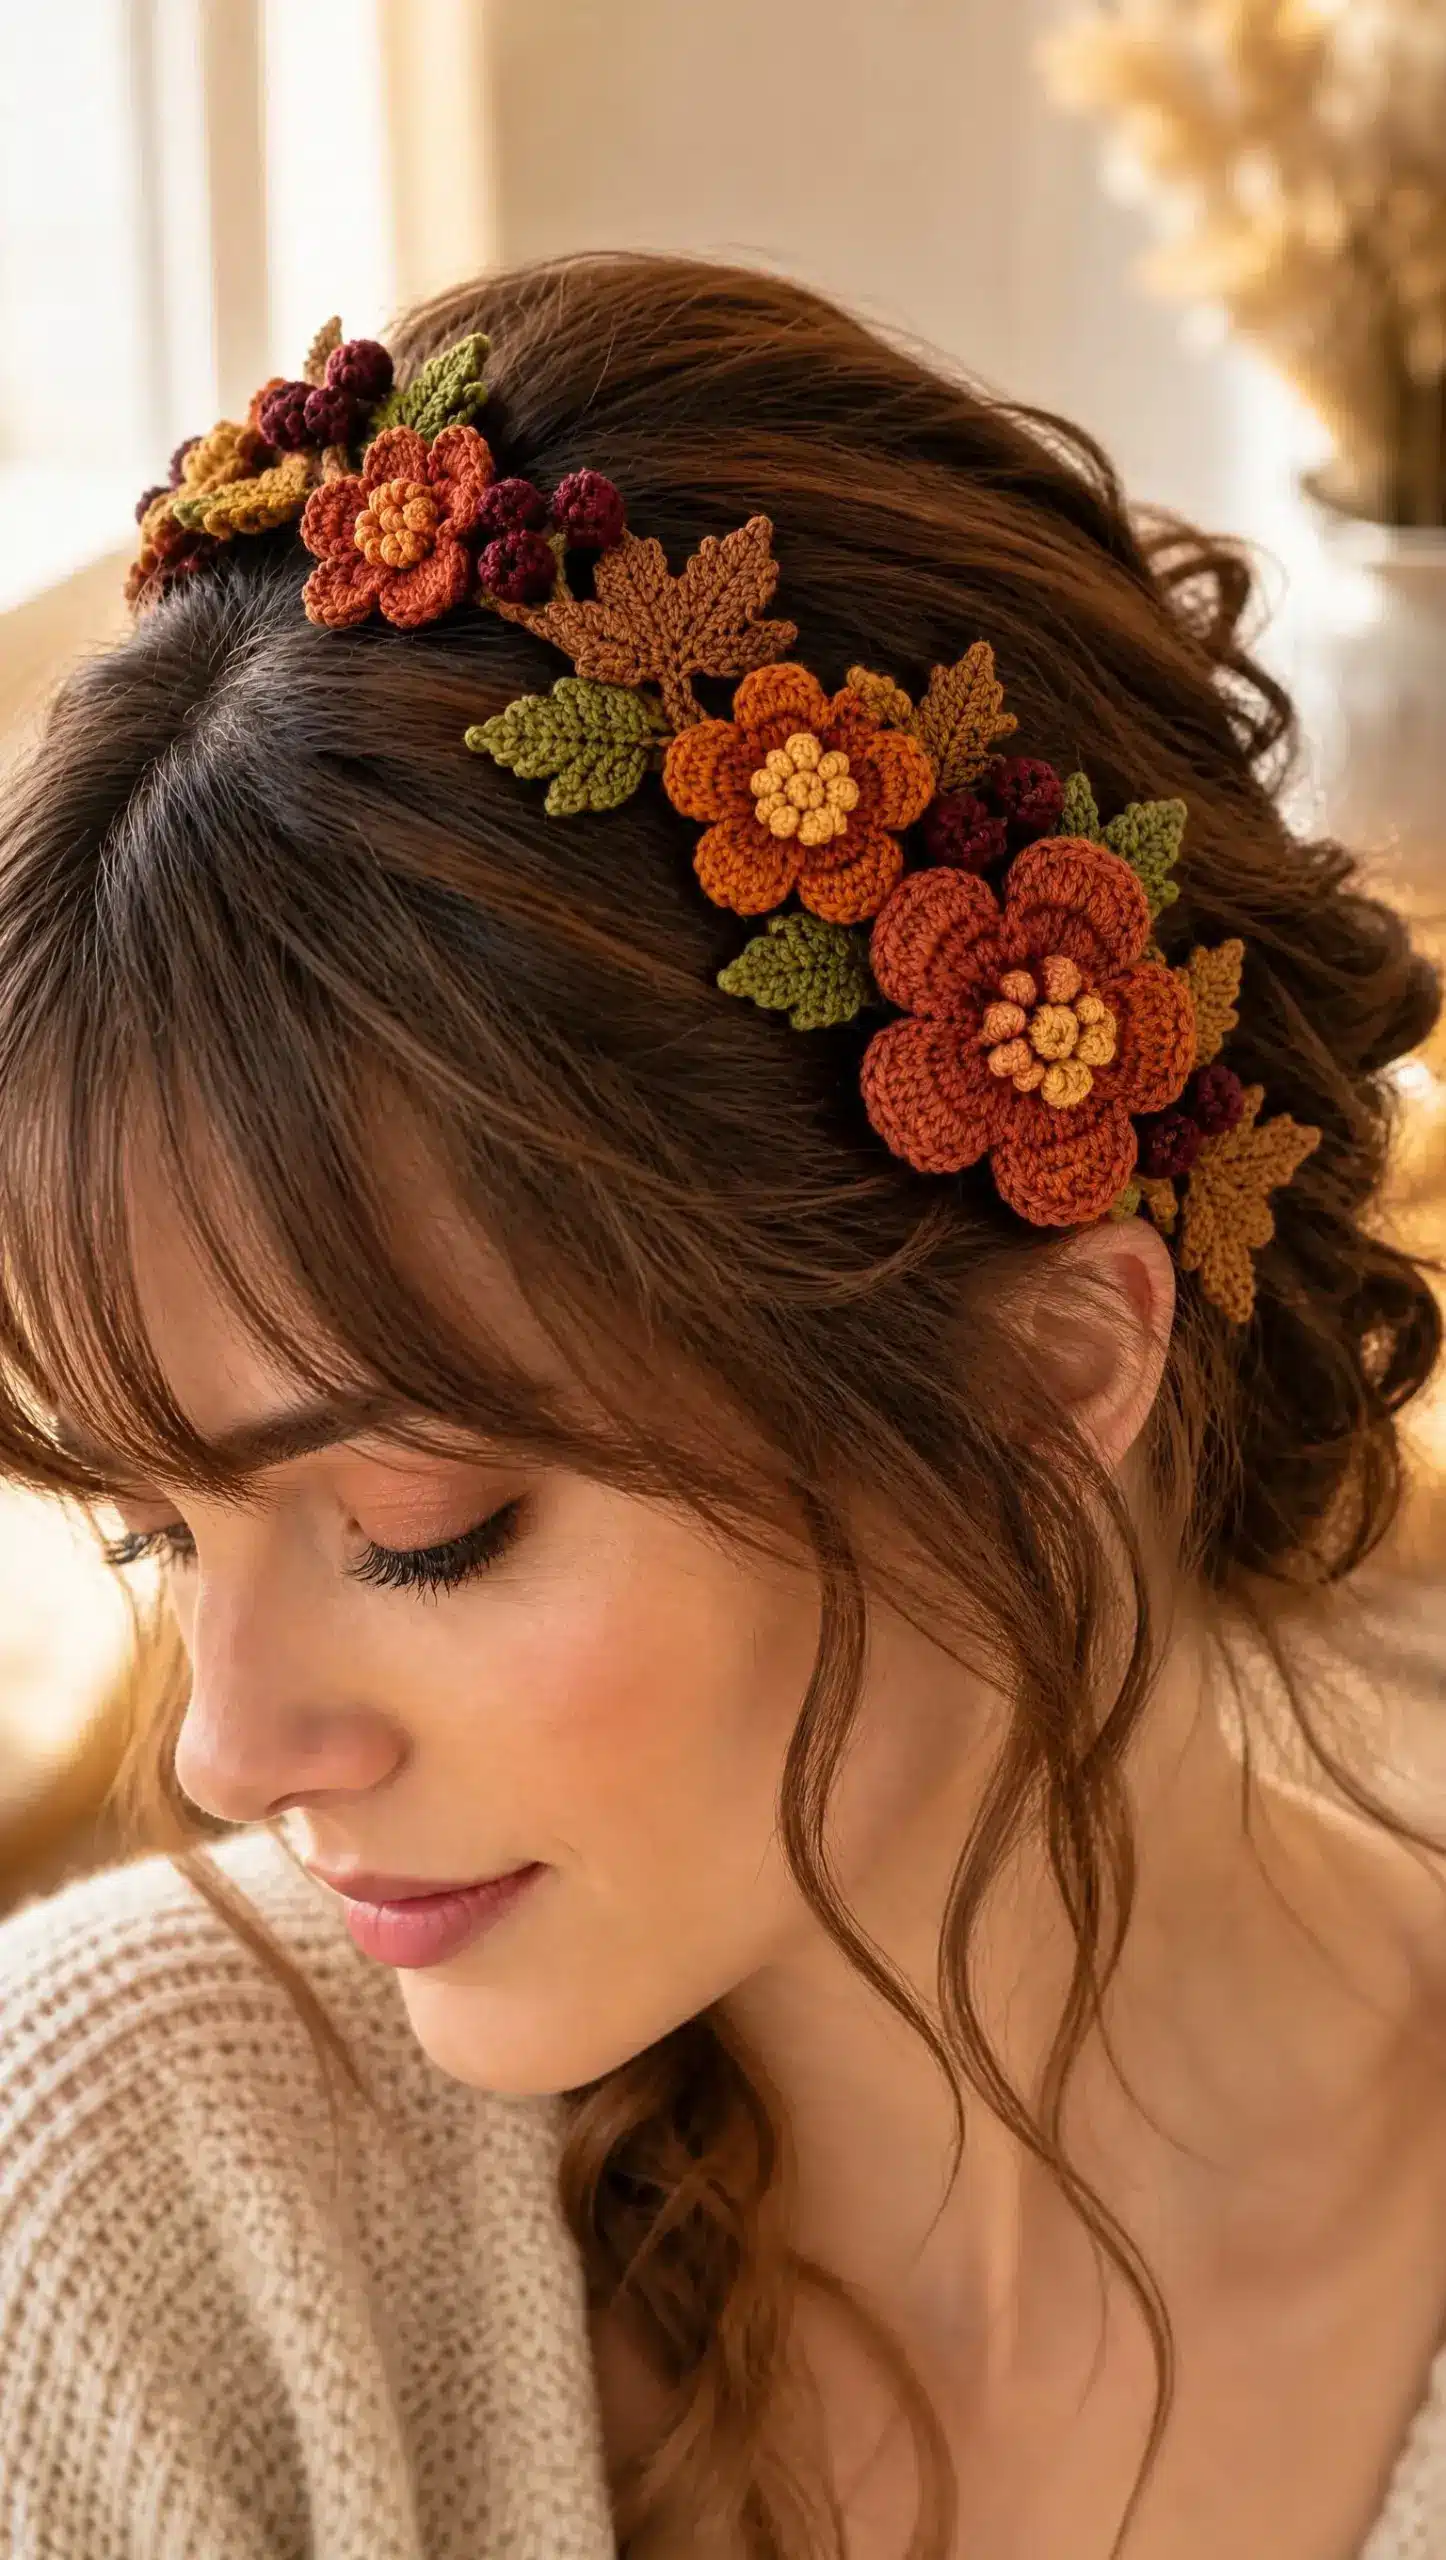
This Autumn Berry Headband is an intermediate-level wearable project that combines several small crochet motifs: flowers, leaves, and berries. These elements are attached to a branching vine that wraps around a flexible commercial headband. The construction is modular, meaning you create each piece separately and then sew everything together during the assembly phase. The individual components are straightforward, but the assembly requires careful arrangement to achieve an intentionally asymmetric, botanical look.
Materials
The yarn requirements for this project are surprisingly small. You will need roughly 55 to 75 yards (50 to 70 meters) total across all colors. Use a fine cotton, size 2 sport or fine DK weight yarn that is smooth but softly textured.
Yarn Breakdown
- Burnt orange: 10 to 15 yards (9 to 14 m)
- Terracotta: 10 to 15 yards (9 to 14 m)
- Ochre or mustard: 5 yards (4.5 m)
- Burgundy: 5 to 8 yards (4.5 to 7.5 m)
- Copper brown: 8 to 12 yards (7 to 11 m)
- Olive green: 8 to 12 yards (7 to 11 m)
Tools
- 2.25 to 2.75 mm crochet hook (use whatever size gives you firm, defined motifs)
- A slim flexible plastic or metal headband, ideally 1/4 to 3/8 inch (6 to 10 mm) wide
- Tapestry needle
- Sharp sewing needle
- Matching sewing thread
- Scissors
- Rustproof pins or clips
- Optional: fabric glue for stabilizing hidden knots
Gauge and Finished Size
Motif gauge matters more than row gauge here. A five-petal flower made with the large flower instructions should measure about 1 3/4 to 2 inches (4.5 to 5 cm) across after gentle blocking. Crochet tightly enough that petals hold their shape without becoming stiff. If your flower is much larger, switch to a smaller hook or finer yarn. If it’s much smaller, move up one hook size.
The finished headband fits an adult head measuring approximately 21 to 23 inches (53 to 58.5 cm) in circumference. The largest flowers measure about 1 3/4 to 2 inches (4.5 to 5 cm) across, while the smaller flowers come in at 1 1/4 to 1 1/2 inches (3 to 4 cm).
Abbreviations
Before we dive in, let’s cover the abbreviations you’ll encounter:
- ch: chain (wrap yarn over hook, pull through loop)
- sl st: slip stitch (insert hook, yarn over, pull through both loops at once)
- sc: single crochet (insert hook, yarn over, pull up a loop, yarn over, pull through both loops)
- hdc: half double crochet (yarn over, insert hook, pull up a loop, yarn over, pull through all three loops)
- dc: double crochet (yarn over, insert hook, pull up a loop, yarn over, pull through two loops twice)
- tr: treble crochet (yarn over twice, insert hook, pull up a loop, yarn over, pull through two loops three times)
- st(s): stitch(es)
- sp: space
- rep: repeat
- MR: magic ring (adjustable starting loop)
- BLO: back loop only
- FLO: front loop only
- yo: yarn over
Special Stitch: The Bobble
Work 4 incomplete double crochets (dc) into the same stitch or ring, leaving the last loop of each dc on the hook (5 loops total). Yarn over and pull through all loops. Chain 1 to close. For a smaller center, use a 3-dc bobble instead.
Pattern Instructions
Section 1: Concealed Headband Sleeve
The flexible commercial band provides structure. The crochet sleeve hides it and gives the motifs a secure base. You can make the sleeve first and slide it onto the band, or work it as a narrow strip and seam it around the band.
- With copper brown yarn, chain enough stitches to match the length of your headband from tip to tip, stretching the chain very lightly as you measure. For an average adult band, this is often 15 to 17 inches (38 to 43 cm).
- Row 1: Starting in 2nd ch from hook, sc across. Ch 1, turn.
- Rows 2 and 3: Sc across. Ch 1, turn. The strip should wrap around the band with a small seam allowance.
- Fasten off with a long tail. Wrap the strip lengthwise around the band and whipstitch the long edges together along the underside. Keep the seam centered underneath.
- At each band tip, fold the sleeve inward neatly and stitch closed. Do not pull so tightly that the band loses flexibility.
Alternative: If your band is very narrow, use 2 rows of sc instead of 3. The sleeve should disappear beneath the vine and motifs.
Section 2: Branching Crown Vine
Make one main vine long enough to span from above the left crown to the right temple. For most adult bands, make the decorative vine about 12 to 13 inches (30 to 33 cm) long, leaving the final inches near each band tip mostly undecorated.
- With copper brown yarn, ch 72 to 82. This is the main vine. Turn and sl st loosely in the 2nd ch from hook and in each ch back to the start. Fasten off, leaving a 12 inch (30 cm) sewing tail.
- To create branch 1, join yarn around the main vine roughly 2 1/2 inches (6 cm) from the left crown end. Ch 8, turn, sl st back down the chain, sl st around the main vine to anchor. Fasten off.
- Create branch 2 about 4 inches (10 cm) farther along: ch 10, sl st back. Anchor and fasten off.
- Create branch 3 nearer the right temple: ch 12, sl st back. Anchor and fasten off.
- Add one or two short ch-5 to ch-7 twigs near the largest flower cluster if needed. Vary branch angles so the foliage looks botanical rather than symmetrical.
Important: Do not sew the vine to the band yet. First make all motifs and audition the layout on a flat surface.
Section 3: Large Five-Petal Flower (Make 2)
Make one in terracotta and one in burnt orange. These form the dominant right temple cluster.
- With flower color, make a magic ring (MR). Ch 1. Work 10 sc into ring. Join with sl st to first sc. Pull ring closed.
- Petal 1: Sl st in next sc, ch 2, work 2 dc in next sc, ch 2, sl st in same sc.
- Repeat the petal sequence around, using each pair of sc to form one petal, for 5 petals total. Join with sl st at base of first petal.
- For a fuller rounded petal, surface crochet one loose round of sl st around each petal edge, or simply block the petals outward. Fasten off with a long sewing tail.
- Ochre center: Join ochre in the front of the magic ring center. Work 5 small bobbles evenly around the center, or make one separate ch-2 bobble cluster and sew it over the flower center for a raised pollen look.
Section 4: Small Five-Petal Flower (Make 2 to 3)
- With burnt orange or terracotta yarn, make a MR and work 5 sc into ring. Join.
- In each sc around work: (sl st, ch 2, 2 hdc, ch 2, sl st) all in the same stitch. Repeat for 5 petals.
- Fasten off with a long tail. Add an ochre center using one 3-dc bobble, a French knot like yarn bundle, or 3 tiny bobbles worked into the center. Use at least one small flower along the crown vine and reserve the remaining small flower(s) for the outer edge of the right temple cluster.
Section 5: Burgundy Crocheted Berries (Make 8 to 12)
- With burgundy yarn, make a MR. Ch 1, work 6 sc into ring. Do not join.
- Round 2: 2 sc in each st around. (12 sc)
- Round 3: Sc2tog around. (6 sts) Lightly stuff with the yarn tail or a tiny pinch of fiberfill if you want a plumper berry.
- Cut yarn leaving a 6 inch (15 cm) tail. Thread tail through the remaining loops to close.
Section 6: Olive Pointed Leaf (Make 8 to 10)
(Note: Specific instructions for the leaf shape are not detailed in the source text, but the motif count is provided for assembly.)
Section 7: Copper Maple-Shaped Leaf (Make 5 to 7)
(Note: Specific instructions for the leaf shape are not detailed in the source text, but the motif count is provided for assembly.)
Assembly
The finished headband should look intentionally asymmetric: airy over the left crown, then increasingly abundant toward the right temple.
- Place the sleeved band on a table in the orientation it will be worn. Mark the right temple area about 2 to 3 inches (5 to 7.5 cm) above the band end.
- Lay the main vine diagonally across the top of the band. Position it so the sparse end begins near the upper left crown and the branchiest section reaches the right temple mark.
- Pin or clip the vine to the sleeve. Sew it down with matching sewing thread or fine yarn using small hidden stitches every 1/2 to 3/4 inch (1.25 to 2 cm). Keep the vine flexible.
- Place the largest terracotta flower closest to the right temple, slightly forward of center. Overlap the burnt orange large flower above and behind it by about 1/3 of the flower width.
- Nestle 3 to 5 burgundy berries between and around the two large flowers. Do not line them up; use small clusters of 2 or 3.
- Tuck copper maple leaves behind the large flowers so their points extend outward. Alternate them with olive pointed leaves.
- Continue leftward along the crown with one small flower, then a berry pair, then leaves, leaving visible sections of bare vine between motifs.
- At the upper left crown, finish with a small flower and 1 to 2 leaves rather than another dense cluster. This preserves the slender vine effect.
- Sew each motif individually to the vine and sleeve. Catch only the back loops or central ring of each motif so the front stays dimensional.
- After all motifs are attached, flex the band several times. Reinforce any motif that lifts excessively, but avoid over sewing the petals and leaf tips.
Finishing
- Weave all yarn ends toward the underside of motifs and trim closely only after the arrangement is secure.
- Use matching sewing thread to tack down visible yarn tails and any leaf bases that want to twist.
- Block only the motifs, not the headband core. Cover the band with a towel and mist the flowers and leaves lightly. Shape petals and points with fingers and allow to dry completely.
- Check the underside. Add a few tiny whipstitches where the crochet sleeve seam is visible. The interior should feel smooth against the hair and scalp.
- Optional: Sew a narrow strip of velvet ribbon over the underside seam for extra grip and comfort, keeping the final 1/2 inch (1.25 cm) at each tip uncovered if the original band has protective end caps.
Tips
- Petals curl inward: Loosen tension on the ch-2 arches or add one extra dc to each petal.
- Petals flop: Use a smaller hook, firmer cotton, or surface slip stitch the petal edge.
- Leaves twist: Steam block lightly and sew the base plus one hidden stitch halfway up the center vein.
- Berries look too large: Use the tiny berry version or a 2.0 to 2.25 mm hook.
- Band feels bulky: Replace the 3-row sleeve with a 2-row sleeve and attach motifs using sewing thread instead of yarn.
- Cluster slides toward the ear: Add extra hidden tacking stitches through the sleeve and vine immediately before and after the focal cluster.
- Motifs catch in hair: Shorten exposed yarn tails, flatten knots to the underside, and line only the focal cluster underside with a small matching felt oval if necessary.
Care Instructions
Spot clean whenever possible. For a washable plastic core headband, hand wash briefly in cool water with mild detergent, press between towels, reshape motifs, and dry flat. Do not wring. If the internal band is metal or unknown, avoid soaking to reduce the risk of rust or adhesive failure.
FAQs
Can I use acrylic yarn for this project?
While fine cotton is recommended for the firm, defined motifs described in the pattern, acrylic can work if you adjust your hook size to maintain the correct gauge. However, cotton will hold the shape of the petals and leaves better over time.
What if my headband is a different size?
The pattern is designed for an adult head (21-23 inches). You can adjust the chain length for the sleeve to fit your specific band. Just ensure the sleeve is long enough to wrap around the band with a small seam allowance.
How do I keep the motifs from falling off?
Use a sharp sewing needle and matching thread to sew motifs securely to both the vine and the crochet sleeve. Catching the back loops or central rings ensures the front remains dimensional while providing a strong anchor.
Can I make this for a child?
Yes, you can scale down the motif sizes and use a smaller headband. You may need to reduce the number of flowers and leaves to fit the smaller circumference while maintaining the asymmetric design.
Why is the skill level intermediate?
The individual stitches are basic, but the project requires managing multiple colors, creating small intricate motifs, and carefully arranging and sewing them into a cohesive, asymmetric design.
If you enjoy making botanical accessories, you might also like this easy sunflower keychain or this mini crochet pumpkin for autumn decor.
Pin This Crochet Pattern!