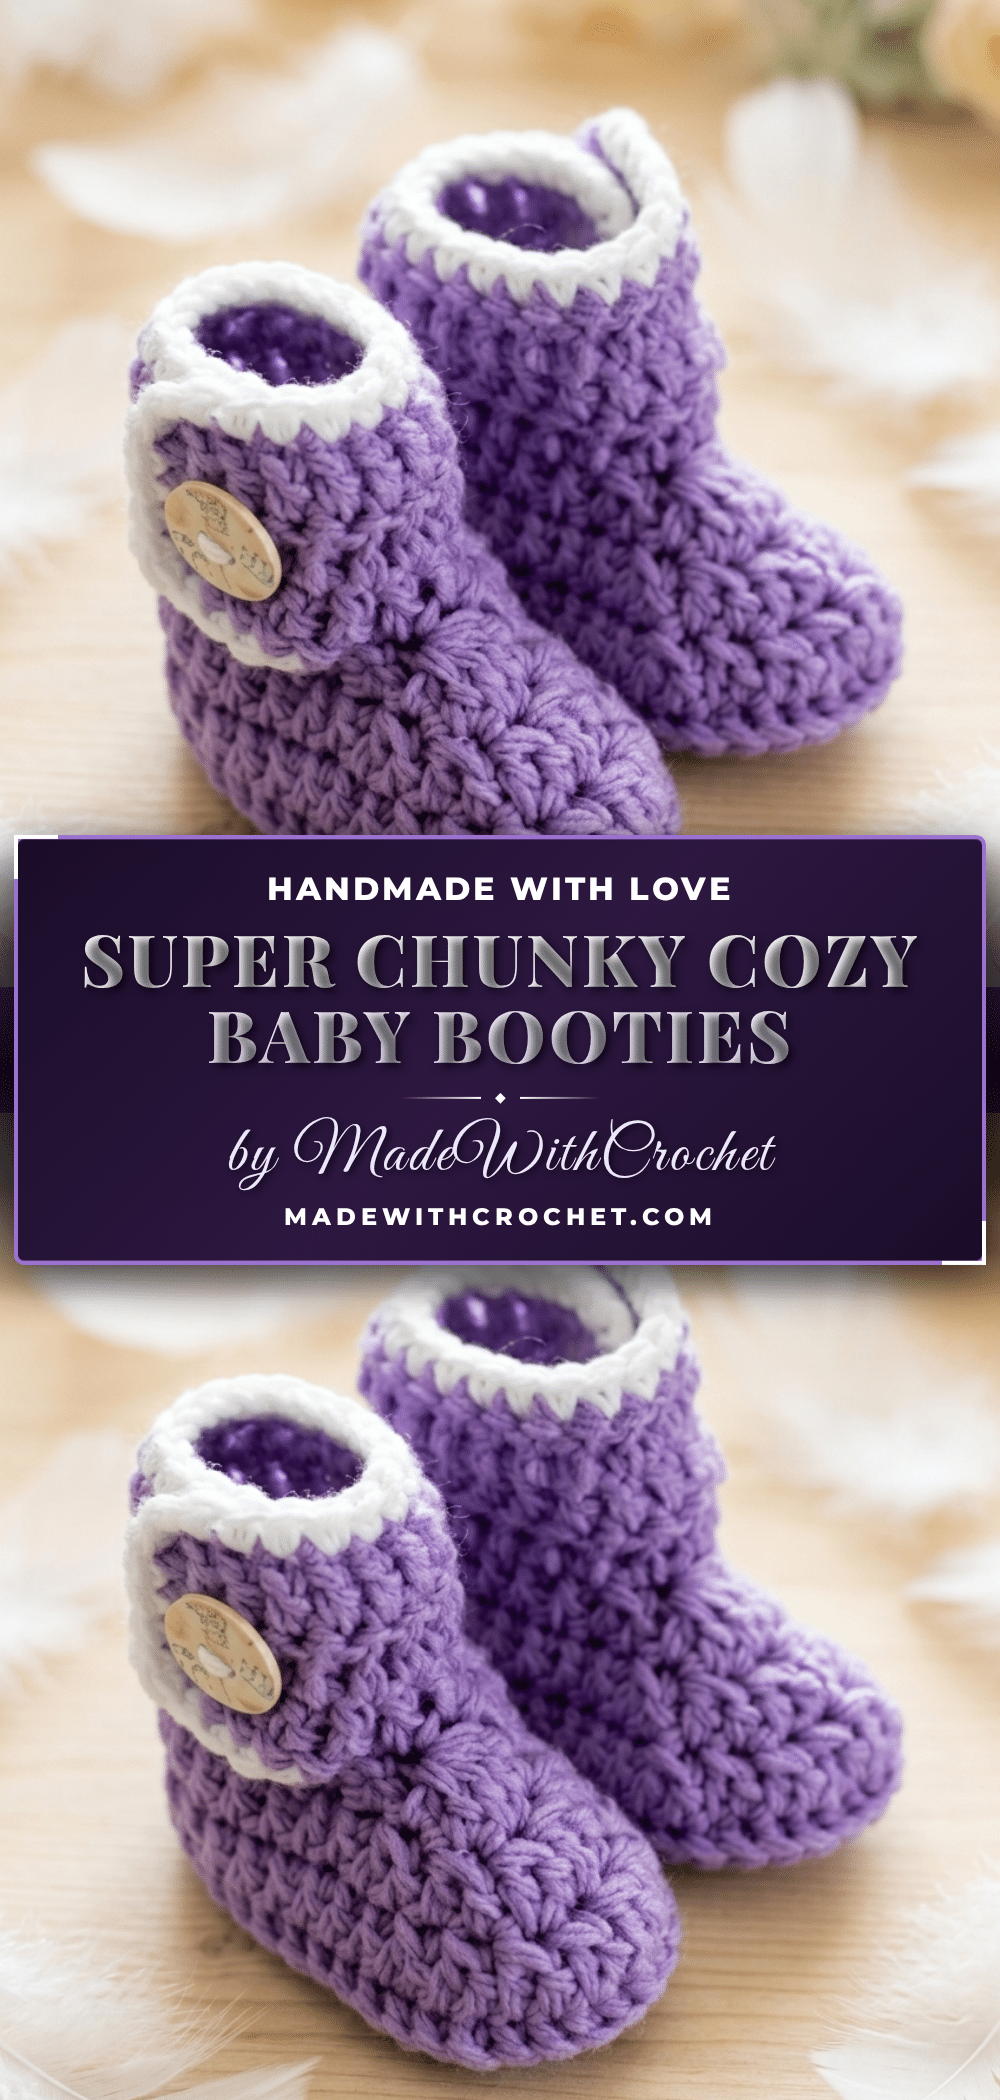
Have you ever started a crochet project and immediately worried that your tension is too loose, or that you’ve somehow missed a step in the instructions? It is a very common beginner mistake to second-guess your work, especially when making something as delicate as baby gear. But here is the good news: these booties are designed to be forgiving. Because they are worked in super chunky yarn, minor tension inconsistencies are hidden by the fabric’s density, and the structured construction means you won’t end up with floppy, shapeless footwear. This project is approachable, sturdy, and genuinely satisfying to make.
Maker Notes
When I first saw the concept for these booties, I was drawn to the way the chunky yarn creates a “squishy” structure that holds its shape without feeling stiff. It is the perfect balance for a newborn gift. I chose a deep purple for the main body because it hides dirt well and looks polished, while the white edging adds a crisp, clean finish that elevates the look from simple to intentional. The construction is unique because you build the sole and upper in one continuous flow before splitting for the straps, which gives the bootie a very natural, anatomical fit on a tiny foot. I also love that the pattern allows you to hold two strands of lighter yarn together to achieve the super bulky weight, which is a great way to use up scrap yarn if you do not have a dedicated weight 6 skein.
Project Overview
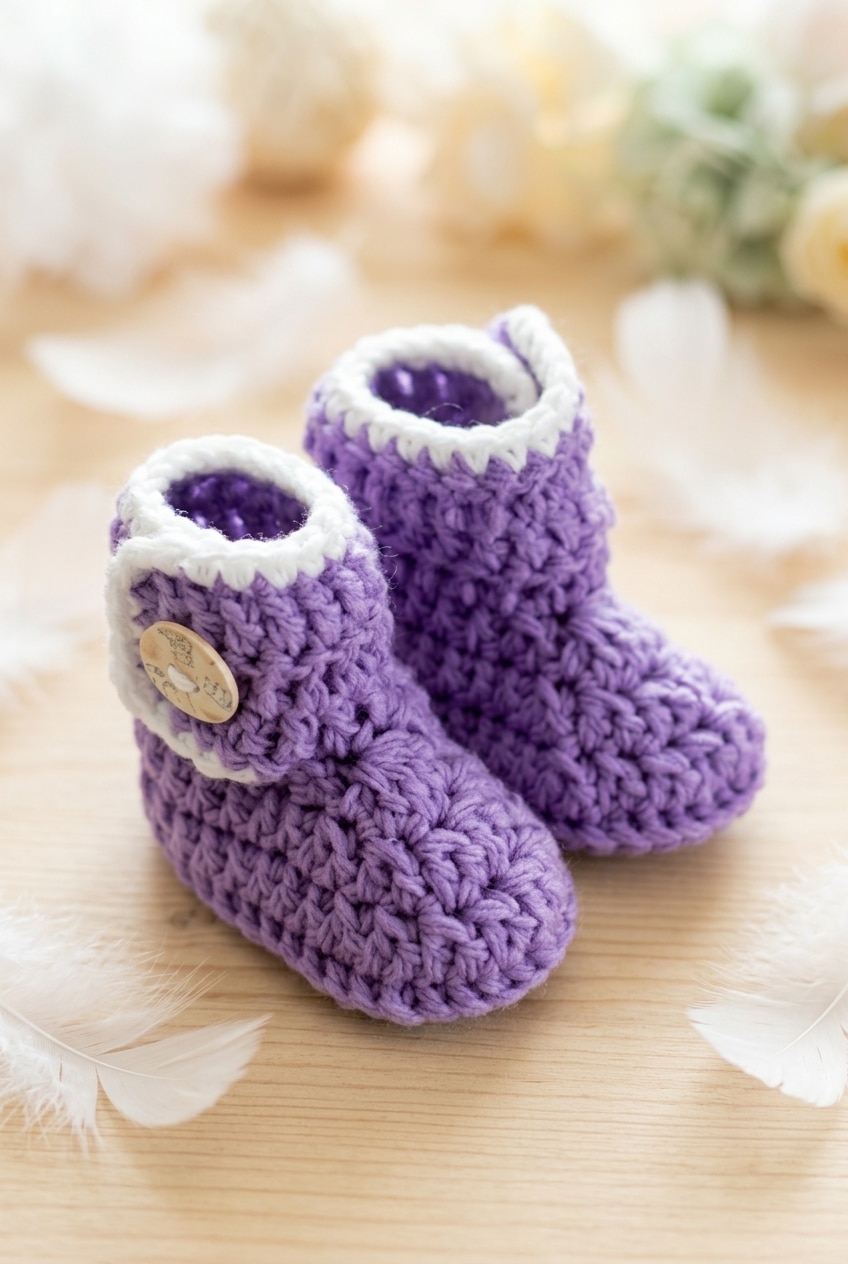
These Super Chunky Baby Booties are a wearable crochet project designed for quick construction and maximum coziness. Rated as intermediate, this pattern requires some basic construction experience, particularly with the double crochet foundation stitch and back post stitches, but the repetitive nature of the rounds makes it a relaxing project. The booties feature a structured sole, a toe-shaping section, and a strap with a functional buttonhole, finished with a contrasting edging round.
Materials
- Yarn: Super Bulky Weight Yarn (Weight 6). The pattern suggests two colors: Purple (main color) and White (edging).
- Quantity: Approximately 30–50 meters of Purple and 5–10 meters of White for both sizes combined.
- Note: The pattern notes that you can work with a single strand of super bulky yarn OR hold two strands of DK/light worsted yarn together to achieve the required weight. Check your yarn label for fiber content; soft acrylic or acrylic blends are practical for baby items as they are easy to wash.
- Crochet Hook: 5.5 mm hook. This size ensures the fabric is tight enough to provide body to the bootie.
- Buttons: 2 buttons, 2 cm in diameter (1 per boot).
- Notions: Yarn needle, scissors.
Gauge and Finished Size
Finished Size:
0–6 months (6–12 months)
Gauge: Gauge is not critical for this project. Use a hook size that creates a firm fabric and adjust hook size or yarn weight so the booties fit the intended baby size. The best check is to hold the finished sole against the baby’s foot before working the upper.
Abbreviations
- ch = chain
- sl st = slip stitch
- sk = skip
- ea = each
- sc = single crochet
- dc = double crochet
- dc2tog = double crochet 2 together (decrease)
- dc5tog = double crochet 5 together (decrease)
- scbps = single crochet back post stitch
- RS = right side
- WS = wrong side
Pattern Notes
- Sizing: Numbers in parentheses throughout the pattern are for the larger size (6–12 months). The first number is always 0–6 months. If you only see one number, it applies to both sizes.
- Techniques: You will need to know the double crochet foundation stitch to build the sole and the strap extension. The scbps is also required and is defined below.
- Left vs. Right: The right and left boots are not identical. They differ only in the direction of the strap worked in Round 7. Pay attention to which boot you are making.
- Buttonhole: The buttonhole is formed simply by skipping 1 stitch in Round 8. No special technique is needed.
- Yarn Weight: The yarn is worked as 2 strands of DK or light worsted held together, OR a single strand of super bulky. Holding strands together creates the necessary density.
Special Stitches
scbps (single crochet back post stitch): Insert hook from back to front, then back to front again around the post of the indicated stitch (pushing the post to the back of the work), yarn over, pull up a loop, yarn over, pull through 2 loops.
Pattern Instructions
Work through both booties section by section, starting with the shared sole and toe shaping before splitting into the right and left boot straps. You are using yarn P (Purple) and a 5.5 mm hook throughout the initial rounds.
Both Boots — Sole and Toe Shaping
This section builds the sole and works up through the toe shaping. You will make both boots exactly the same way up to this point.
First Steps: Using P and a 5.5 mm hook, ch 7 (9). 3 dc in 2nd ch from hook, 1 dc in next 4 (6) ch, 3 dc in last ch. With RS facing, turn work clockwise and work into foundation chains again: 3 dc in first ch (same ch as previous), 1 dc in next 4 (6) ch, 3 dc in last ch, sl st in first dc to join. [20 (24)]
Round 1: Ch 1 (does not count as st here or throughout), 1 dc in same st as previous sl st, 3 dc in next 2 sts, 1 dc in next 5 (7) sts, 3 dc in next 2 sts, 1 dc in next st, 3 dc in next 2 sts, 1 dc in next 5 (7) sts, 3 dc in last 2 sts, sl st in first dc to join. [36 (40)]
Round 3: Ch 1, 1 scbps around each previous dc stitch around, sl st in first sc to join. [36 (40)] WS on inside. The scbps creates a ridge that defines the edge of the sole. After this round, the wrong side sits on the inside.
Round 4: Ch 1, starting in same st as previous sl st, 1 dc in next 11 (13) sts, dc2tog 7 times, 1 dc in last 11 (13) sts, sl st in first dc to join. [29 (33)] The toe shaping starts here. The seven dc2tog decreases pull the front of the boot inward.
Round 5: Ch 1, starting in same st as previous sl st, 1 dc in next 10 (12) sts, dc2tog 5 times, 1 dc in last 9 (11) sts, sl st in first dc to join. [24 (28)]
Round 6: Ch 1, starting in same st as previous sl st, 1 dc in next 8 (10) sts, dc2tog, dc5tog, dc2tog, 1 dc in last 7 (9) sts, sl st in first dc to join. [18 (22)] The dc5tog pulls five stitches together at the very tip of the toe — work it slowly and make sure you’re catching all five legs before pulling through.
Right Boot — Strap and Buttonhole
From here the two boots split, with the strap placement mirrored on each side. Work this section for the right boot only.
Round 7: Ch 1, turn, starting in same st as previous sl st, sl st in next 8 (10) sts, ch 1, turn, 1 dc in each st around working into the same sts as your slip stitches were worked into (you may also prefer to work a dc2tog at the back of the shoe to avoid a gap), now work 5 dc foundation sts starting in the next st (this stitch is already worked). [23 (27)] The slip stitches anchor the strap position. The 5 dc foundation stitches extend the strap out from the boot body.
Round 8: Ch 1, turn, 1 dc in first st, sk 1 st (buttonhole), 1 dc in each st along. [23 (27)] Skipping that single stitch creates the buttonhole. Keep your tension consistent here so the hole stays open but doesn’t stretch out.
Round 9: Ch 1, turn, 1 dc in each st along. [23 (27)] Fasten off and tie in all tails.
Left Boot — Strap and Buttonhole
The left boot strap is worked the same way as the right, just starting from the opposite side of the boot after completing Rounds 1 through 6.
Round 7: Ch 1, starting in same st as previous sl st, sl st in next 8 (10) sts, ch 1, turn, 1 dc in each st around working into the same sts as your slip stitches were worked into (you may also prefer to work a dc2tog at the back of the shoe to avoid a gap), now work 5 dc foundation sts starting in the next st (this stitch is already worked). [23 (27)]
Round 8: Ch 1, turn, 1 dc in first st, sk 1 st (buttonhole), 1 dc in each st along. [23 (27)]
Round 9: Ch 1, turn, 1 dc in each st along. [23 (27)] Fasten off and tie in all tails.
Both Boots — Edging and Button
This final round adds a clean edge around the strap and top of each boot using yarn W (White), then finishes with the button. Work it the same way on both boots.
Round 10: Join W in the corner underneath the strap, work 1 sc neatly around the edge, around the top and back around to where you started. Fasten off and tie in all tails. Sew on button to correspond with the buttonhole. Take your time placing the button so it lines up cleanly with the buttonhole before sewing it down.
Assembly
Each boot uses one button, 2 cm in diameter. Sew it to correspond with the buttonhole placement after finishing. Use a doubled thread and pass through the buttonhole multiple times before knotting off to ensure it is secure.
Tips
- Customizing Size: Since gauge isn’t critical, sizing is mostly a matter of hook and yarn. Going up a hook size or using a slightly heavier yarn will give you a larger bootie; going down will tighten things up.
- Buttonhole Tension: Keep your tension consistent in Round 8 so the hole stays open but doesn’t stretch out.
- Dc5tog: When working the dc5tog at the toe tip, work slowly and ensure you catch all five legs before pulling through to avoid holes.
- Foundation Stitch: If you haven’t used the dc foundation stitch before, practice on a swatch first. It creates a flexible foundation row that is superior to a regular chain for this application.
- Edging: Round 10 is a finishing round. Keep your tension even and do not pull too tight, or it will distort the opening.
Safety and Care
Safety: These booties use a 2 cm button on each boot, which is a choking hazard for babies and young children. Sew each button on as securely as possible. Check the buttons regularly, especially after washing, and if one ever feels loose, take the bootie out of rotation until it is re-sewn. For very young babies who might put everything in their mouths, supervised wear only.
Care: Hand wash these in cool water and reshape them while damp, then lay them flat to dry. Check the thread on the buttons after the first wash and reinforce if needed. Store them somewhere they won’t get squished out of shape before gifting.
Frequently Asked Questions
Why do the right and left boots have different Round 7 instructions?
The difference is in the direction of the strap. For the right boot, you turn before working the slip stitches in Round 7, and for the left boot, you don’t. That small change is what makes the strap sit on the correct side of each boot so the buttonhole lines up properly when they are on a baby’s feet.
How is the buttonhole made in this pattern?
The buttonhole is just a skipped stitch in Round 8. You work one dc, skip the next stitch, then continue in dc along the rest of the strap. That gap becomes the buttonhole. It is simple but it works well with the 2 cm buttons called for in the pattern.
What does the single crochet back post stitch do in Round 3?
Round 3 is worked entirely in scbps, and that is what creates the ridge that defines the sole from the upper part of the boot. It also flips the work so the wrong side ends up on the inside. You do need to be comfortable with that stitch going in, because it is structural here, not just decorative.
Can I use the purple and white yarns separately instead of held together?
The materials note mentions holding Purple and White together for the main boot rounds, so that double strand is part of how the fabric gets its density with a super bulky weight. Separating them would give you a thinner, looser fabric and the booties might not hold their shape as well. It is best to stick with holding them together as written.
What is the dc foundation stitch and why does this pattern need it?
The dc foundation stitch lets you work a chain and double crochet at the same time, creating a foundation row that is more flexible than a regular chain. In Round 7, you use it to build the strap extension, working 5 dc foundation stitches directly onto the boot. If you haven’t used it before, it is worth practicing on a swatch first.
Where exactly does the white edging round start?
Round 10 starts in the corner underneath the strap. You join White there and work one round of single crochet neatly around the entire top edge of the boot, including around the strap, and back to where you started. It is a finishing round, so keep your tension even and do not pull too tight or it will distort the opening.
Pin This Crochet Pattern!