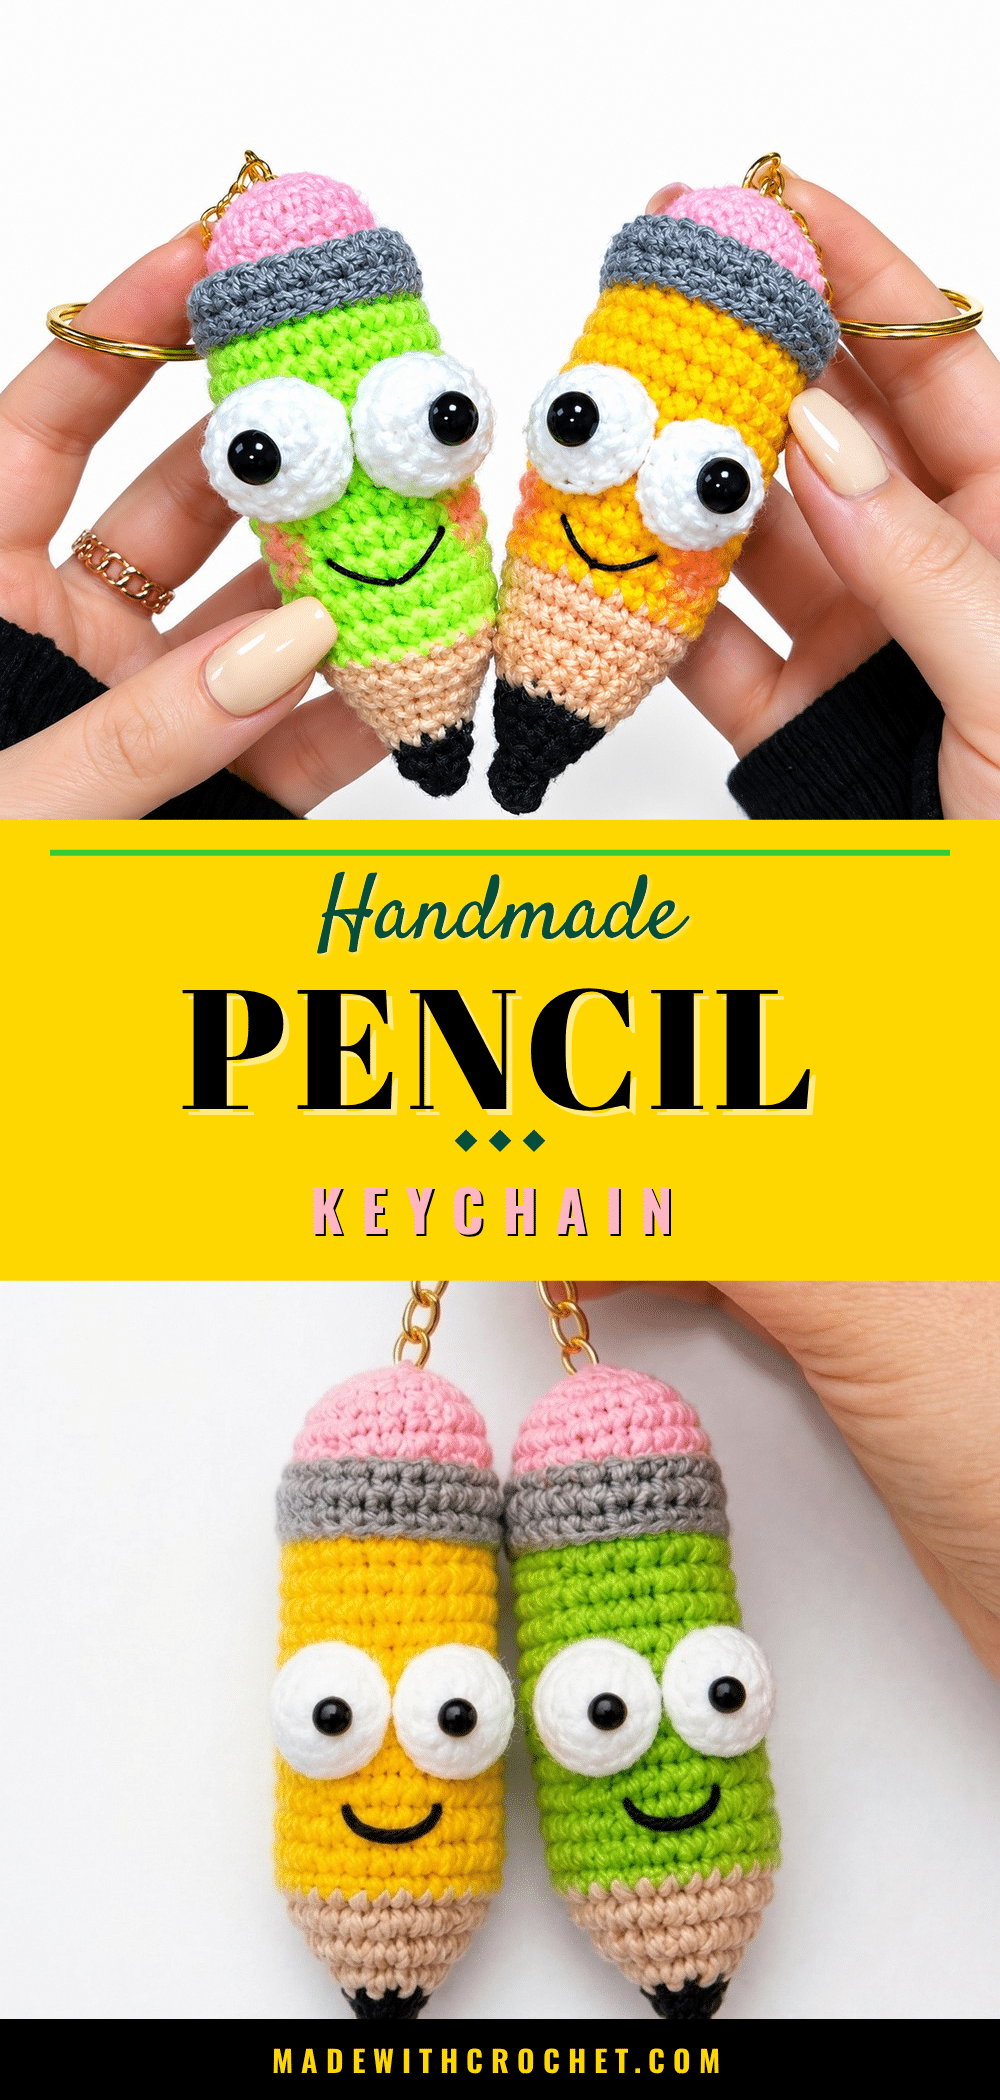
There is something delightfully nostalgic about the smell of a fresh pencil and the scratch of graphite on paper. This Cute Crochet Pencil Keychain Pattern captures that classic school-day charm in a soft, miniature form. It is a perfect project for a quick afternoon craft session, transforming simple acrylic yarn into a functional accessory that adds a pop of color to your keys or backpack. Whether you are looking for a last-minute teacher gift or a fun way to use up small yarn scraps, this amigurumi design offers a satisfying blend of creativity and utility.
Seasonal Styling Ideas
While a pencil is a staple for year-round organization, this keychain shines brightest during the “back to school” season. Imagine gifting a set of these in primary colors to students or teachers as they prepare for the new academic year. The bright yellow body and pink eraser mimic the classic No. 2 pencil, making it instantly recognizable and cheerful. Beyond the classroom, these little companions work beautifully as desk accessories for office workers who appreciate a touch of whimsy. You can also swap the yellow yarn for pastel shades to create a softer aesthetic for spring, or use metallic yarns for a festive holiday look. Because the project is small and lightweight, it makes for an excellent party favor or a stocking stuffer that won’t add bulk to your gift bag.
Project Overview
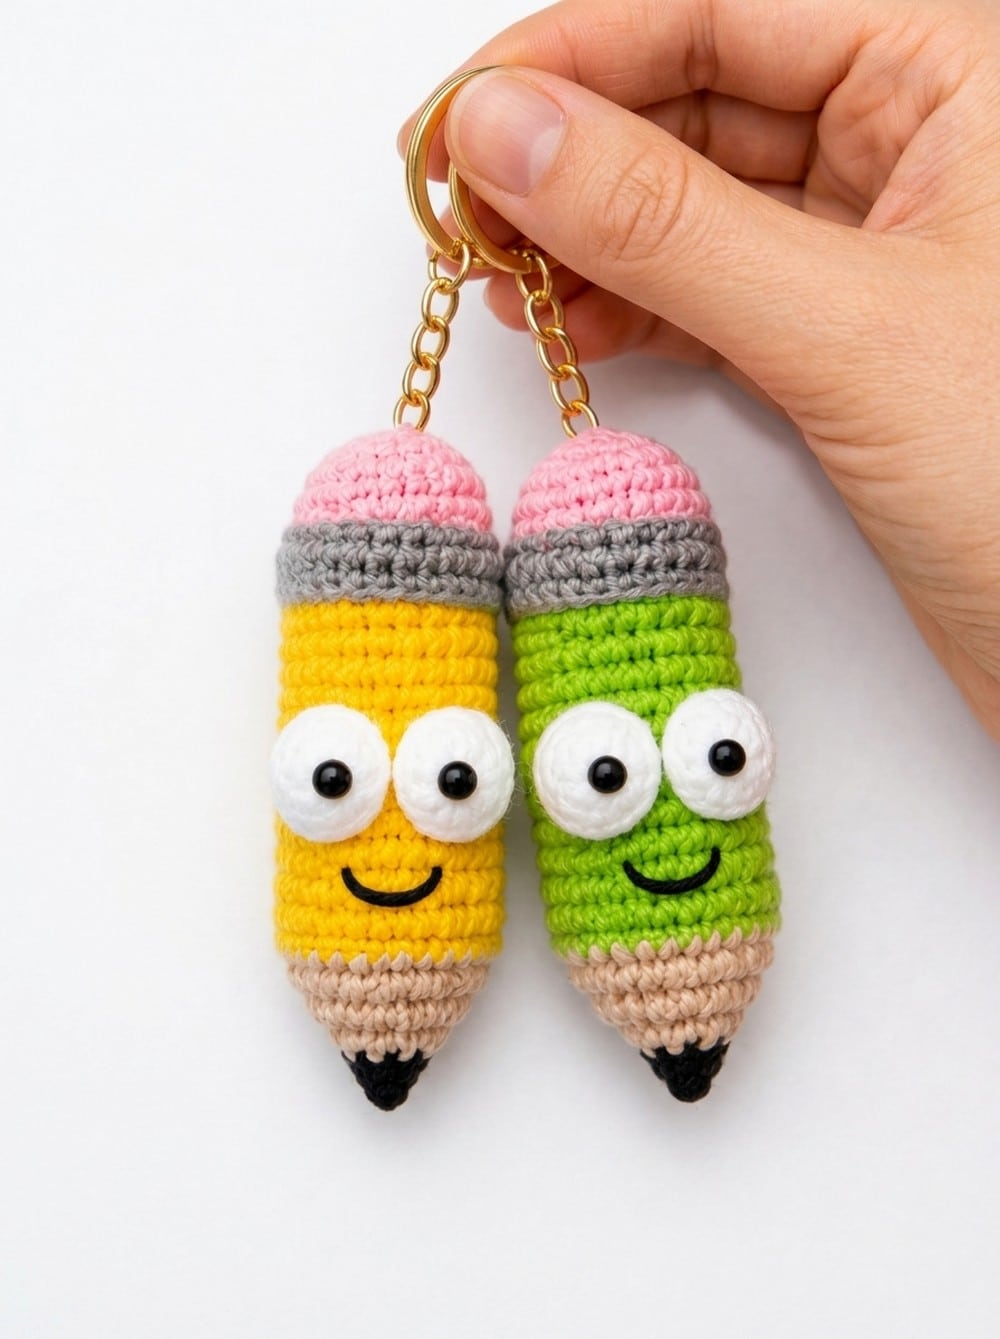
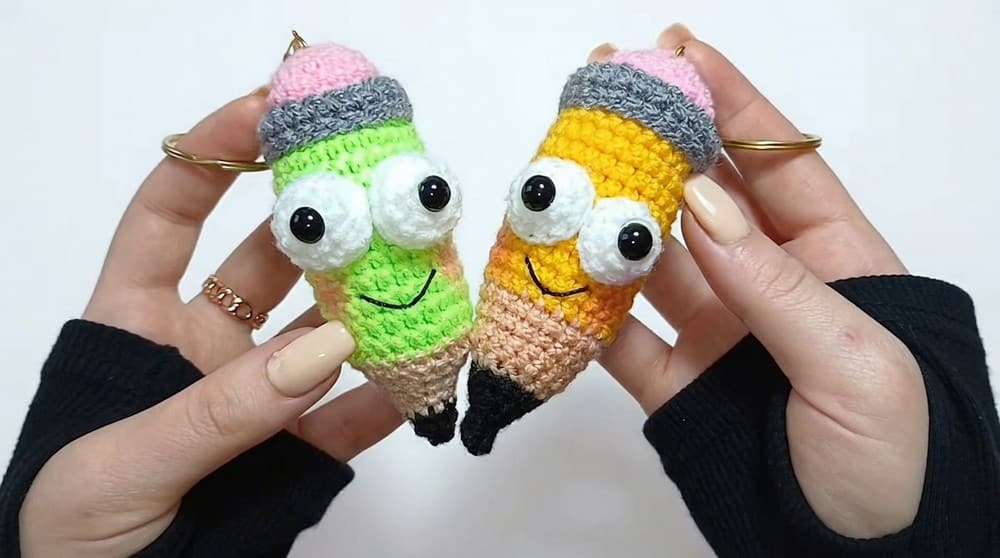
This crochet pencil keychain is a charming project that is both playful and functional. Perfect for gifting or personal use, the keychain adds a quirky touch to your favorite bag, set of keys, or school supplies. Its compact design is ideal for beginners yet provides enough variation to keep intermediate crocheters engaged. The design stands out because of its realistic pencil tip and the smooth transition of colors along the body, creating a fun and lively look. The shape is slim and straight with a pointed end, making it attractive and easy to carry. This pattern is great because it uses simple techniques with clear steps that let anyone create a finished item that looks professional and polished.
Materials
- Yarn: Acrylic yarn in the following colors:
- Yellow (main body)
- Pink (eraser portion)
- Gray (metal band near eraser)
- Black (tip of the pencil or detailing)
- Crochet Hook: 2.0 mm crochet hook
- Fiberfill: For stuffing the pencil and maintaining its structure
- Tools:
- Hot glue gun for secure assembly
- Keychain ring or attachment for hanging the pencil
- Safety eyes for added decoration (optional)
- Yarn needle for sewing and weaving ends
- Scissors for trimming yarn and cleaning up loose ends
Abbreviations
- CH: Chain
- SC: Single Crochet
- Inc: Increase (2 SC in one stitch)
- Dec: Decrease
- SL ST: Slip Stitch
Pattern Notes
This keychain is very useful because it helps keep your keys together in a way that is easy to find and hard to lose. Its size and light weight mean it won’t weigh down your bag or pocket, but it is still big enough to notice quickly when you need it. The soft texture is kind to your hands and won’t scratch surfaces around you. It works well as a small gift for friends or family, adding a personal touch to everyday items.
Special Stitches Used
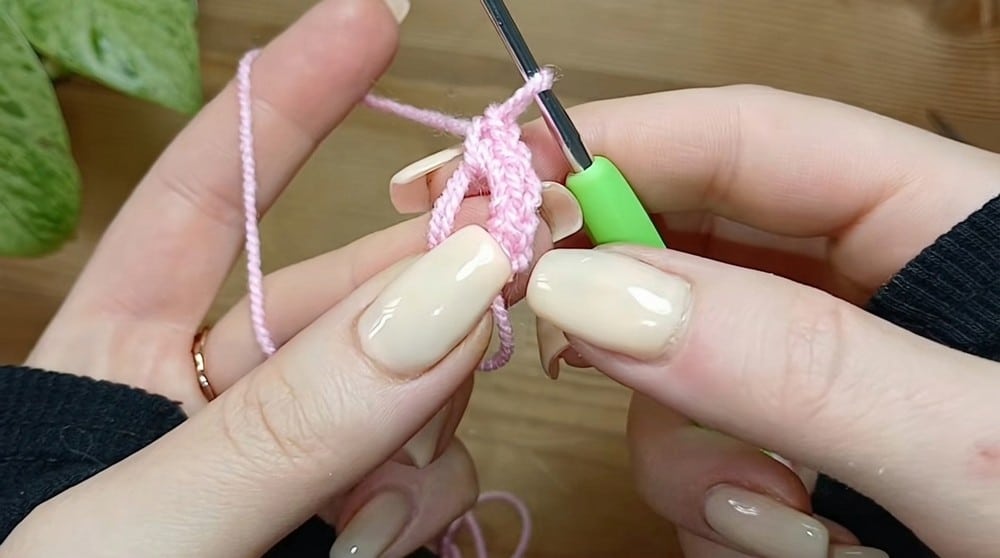
- Magic Ring: A closed loop used to work stitches into a tight circle for the base of 3D objects.
- Single Crochet (SC): Insert hook into the stitch, yarn over, pull up a loop (two loops on hook). Yarn over, pull through both loops.
- Increase (Inc): Work two single crochet stitches into the same stitch to increase the total number of stitches in the round.
- Decrease (Dec): Combine two stitches into one: Insert hook into the first stitch, yarn over, pull up a loop. Insert into the next stitch, yarn over, pull up a loop (three loops on hook). Yarn over, pull through all three loops.
- Slip Stitch (SL ST): Insert hook into the stitch, yarn over, pull through both the stitch and the loop already on the hook.
Pattern Instructions
Main Body
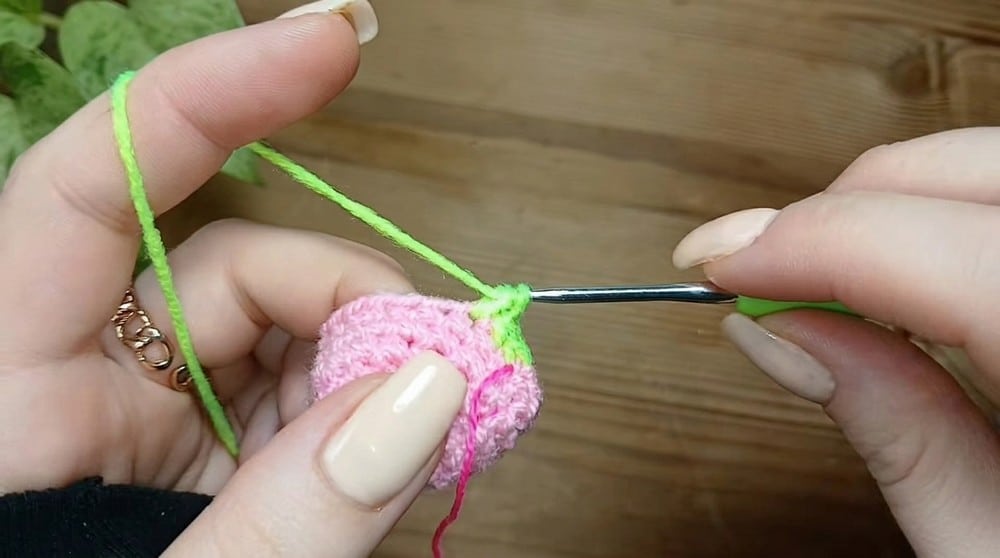
Use Yellow yarn for the main body of the pencil.
Round 1: Start with a magic ring using yellow yarn. Work 6 SC into the ring.
Round 2: Work 2 SC into each stitch around [12 SC total].
Round 3: Work [ 1 SC, 1 Inc ] around [18 SC total].
Rounds 4-6: Work 18 SC in each round with no increases or decreases. Maintain the shape at this stage.
Rounds 7-24: Gradually increase to 24 SC as shown in the video tutorial. Work even 24 SC for all of these rounds.
Round 25: Work 24 SC around, maintaining the structure (no increases or decreases).
Round 26: Work 4 SC , then 2 Dec , followed by 3 SC , 2 Dec , and finish the round with 3 SC .
Round 27: Work 5 SC , then 2 Dec , followed by 1 SC , 2 Dec , and finish the round with 1 SC .
Round 28: Work 8 SC , then 2 Dec , and finish with 3 SC .
Round 29: Work 3 SC , then 1 Dec , followed by 2 SC .
Round 30: SC around with no increases or decreases for one round to smooth the shape.
Round 31 (Final Round): Work 4 Dec , followed by 1 SL ST to close and secure the pencil tip.
Pencil Eyes (Optional)
Use Black yarn for the eyes.
Round 1: Start with a magic ring using black yarn. Work 6 SC into the ring.
Round 2: Increase in each stitch [12 SC total].
Round 3: Work 12 SC to complete the eye pieces. Fasten off and set aside.
Attach safety eyes or embroider custom expressions if you prefer not to make additional pieces.
Pencil Top (Gray Section)
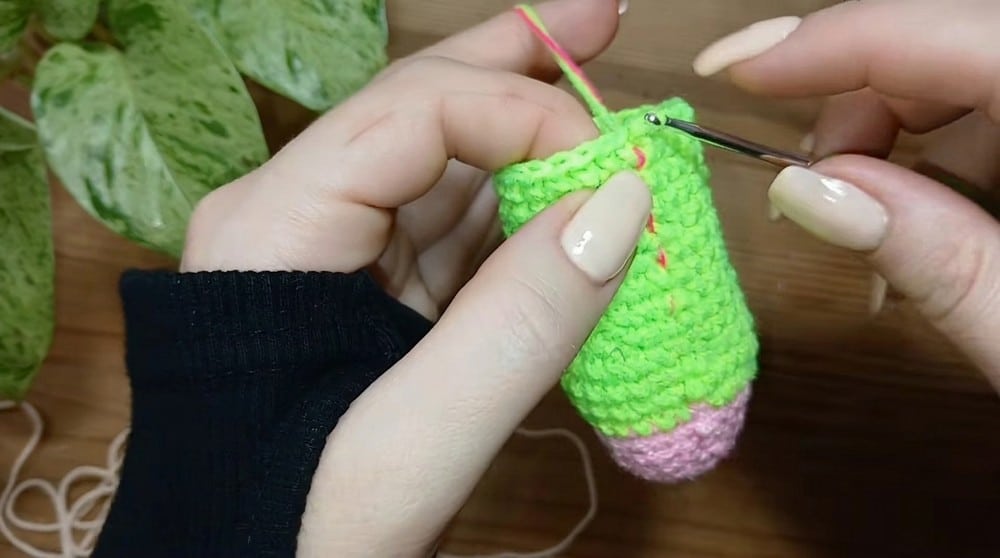
Use Gray yarn for the metal band/eraser portion.
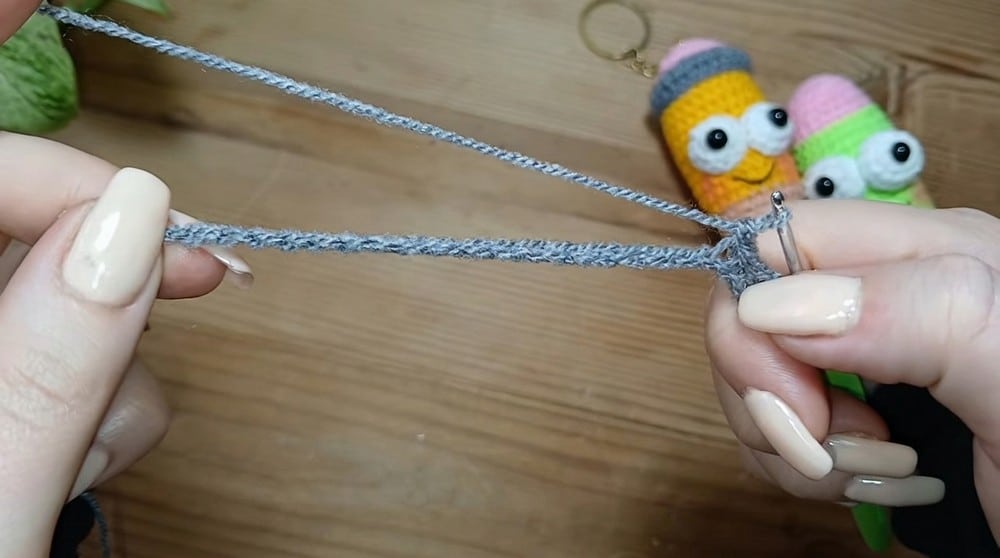
Foundation Chain: Using gray yarn, chain 22 stitches to create the pencil top decoration.
Rows 2–3: Turn your work and crochet 21 SC into the chain for each row. Fasten off when complete.
Assembly
Stuff the pencil body with fiberfill , ensuring it holds the shape of the pencil yet remains pliable for the keychain. Attach the pencil top portion to the top of the pencil using a hot glue gun. Position and glue the optional eyes or safety eyes onto the body. Attach a keychain ring or holder to the top using the hot glue gun or securely tie it using yarn.
Tips
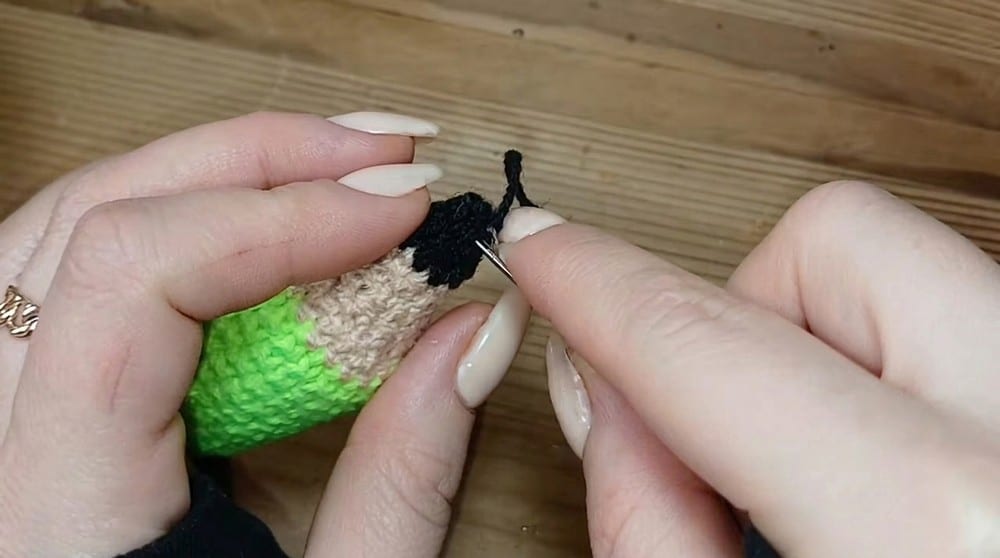
- Use Stitch Markers: Keep track of your rows and stitches using stitch markers or a scrap of yarn.
- Keep Consistent Tension: This will help maintain smooth, uniform stitches and result in a more polished keychain.
- Fiberfill: Use enough stuffing to ensure the pencil maintains its shape without gaps.
- Hot Glue Precision: Be careful not to use too much glue during assembly, as excess glue can seep through the yarn and look messy.
- Personalize Your Pencil: Experiment with different yarn textures, colors, and decorative details like faces, patterns, or initials to make your pencil unique.
FAQs
What type of yarn is best for this pattern?
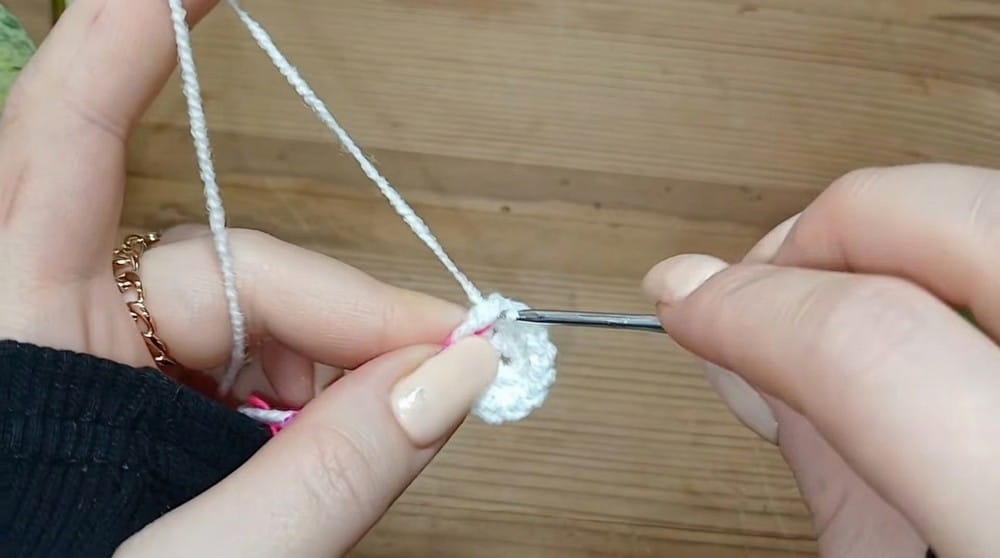
Acrylic yarn is recommended for this project because it is durable, holds its shape well after stuffing, and comes in the bright colors needed to mimic a real pencil.
Do I need to use a 2.0 mm hook?
A 2.0 mm hook is specified to ensure the stitches are tight enough that the fiberfill stuffing does not show through. If you use a larger hook, the fabric may become too loose.
Can I make this without the eye pieces?
Yes, the eye pieces are optional. You can simply embroider eyes with black yarn or attach safety eyes directly to the yellow body for a simpler finish.
How do I attach the keychain ring?
You can attach the keychain ring to the gray “metal band” section using a hot glue gun for a secure hold, or you can sew it on securely using yarn for a more traditional crochet finish.
Is this pattern suitable for beginners?
Yes, this pattern is appropriate for beginner to intermediate crocheters. It features basic stitches like single crochet, increases, and decreases, along with simple assembly.
After completing your pencil keychain, spend time practicing finishing techniques to ensure sturdy assembly and smooth edges. Experiment with different yarn weights and colors to create fun variations of this keychain design. Consider making a set in multiple colors as a personalized gift or for craft fairs. This crochet pencil keychain pattern combines creativity and functionality into a small, charming project. The detailed design and ability to customize colors make this ornament a versatile addition to your crafting portfolio. Whether you’re gifting these as unique holiday presents or creating them for personal use, this pattern lets you transform an ordinary tool into a vibrant handmade keepsake.
Pin This Crochet Pattern!