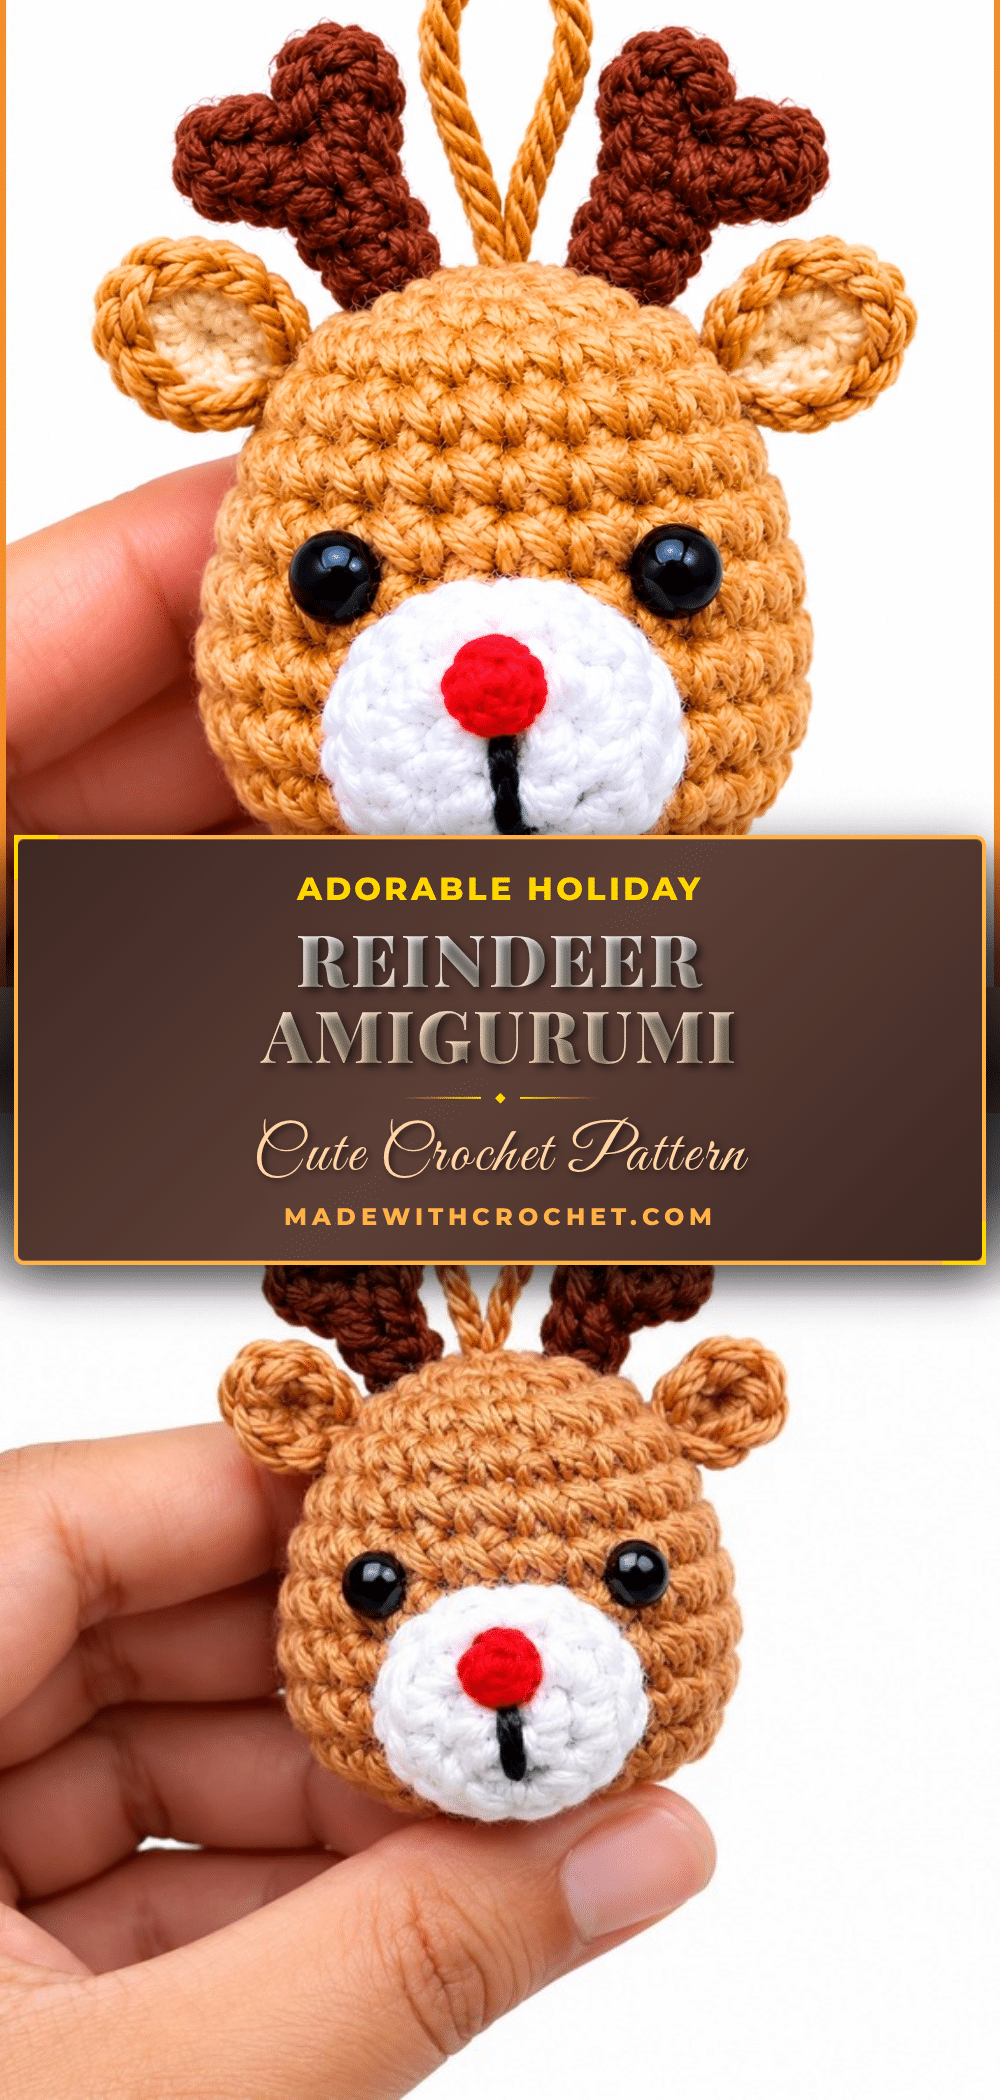
Looking for a charming way to bring holiday cheer to your home or a unique handmade gift for the season? This Cute Crochet Reindeer Amigurumi Pattern offers a delightful solution. Perfect for crocheters who enjoy small, detailed projects, this reindeer ornament combines simple shaping techniques with festive details to create a whimsical character. Whether you plan to hang it on your Christmas tree, attach it to a gift bag, or keep it as a desk companion, this pattern provides a rewarding crafting experience.
Gift and Use Ideas
While this reindeer is undeniably cute on its own, its small size makes it incredibly versatile for various holiday uses. It serves as a perfect “stocking stuffer” alternative or a unique addition to a holiday gift basket. Because the pattern includes instructions for attaching a keychain loop or ornament hook, you can easily transform this amigurumi into a functional accessory. Hang it on your car rearview mirror for a festive drive, attach it to a child’s backpack for school spirit, or display it on a mantel alongside other holiday decor. The soft, rounded shape and friendly expression make it an ideal comfort toy for children during the winter months.
Project Overview
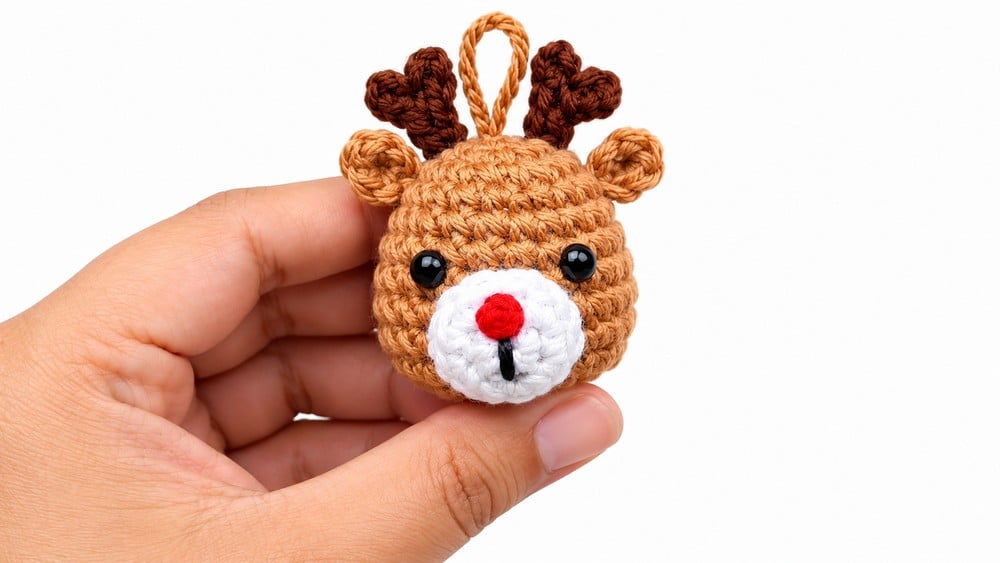
This amigurumi reindeer ornament features a softly rounded head shaped through strategic rounds of increases and decreases. Details such as the ears, snout, and antlers are crocheted separately then sewn on with care, ensuring neatness and dimension. The placement of safety eyes between specific rounds and distinctive embroidery for the mouth and red nose add warm personality. Optionally, it can be connected to a keychain or ornament loop for easy hanging. The pattern balances basic stitches with creative shaping suitable for dedicated beginners to intermediate crocheters.
Materials
Yarn
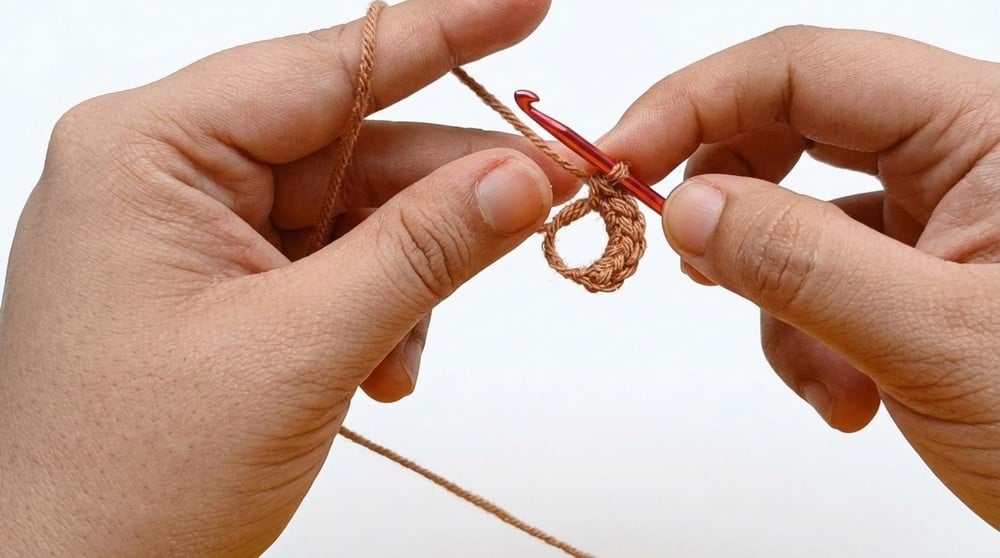
- Light brown (main head color)
- Dark brown (ears and antlers)
- White (optional highlights)
- Red (for nose)
- Black (for embroidery details)
Tools
- 3mm crochet hook
- Yarn needle
- Scissors
- Stitch marker
Extras
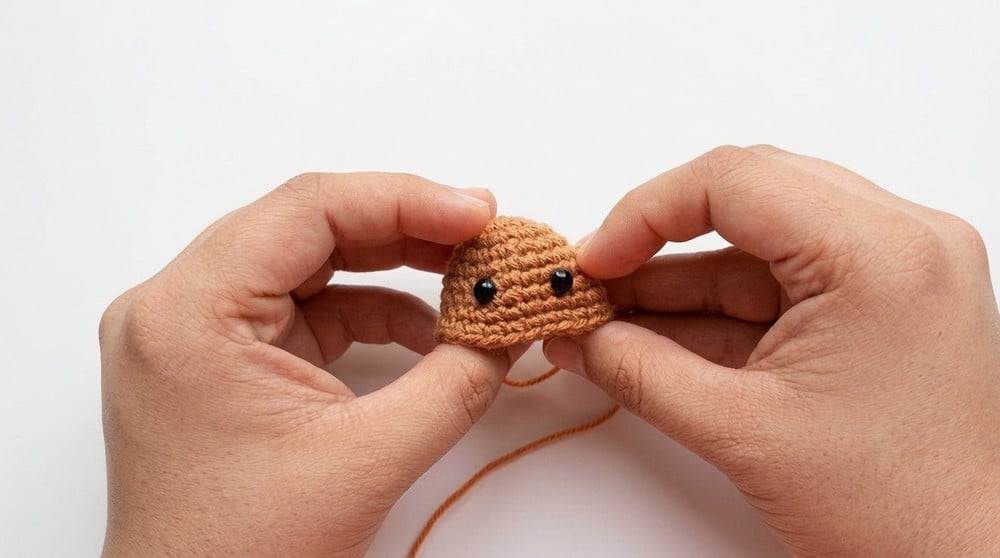
- Stuffing (fiberfill)
- 4mm safety eyes
- Keychain loop or ornament hook (optional)
Gauge and Finished Size
Gauge is not critical but stitches should be tight enough to hold stuffing without gaps. The head is created mainly with SC stitches worked in spirals with INC and DEC rounds shaping volume. The ears and snout use minimal rounds for compact shaping. Antlers utilize chains and slip stitches ( SL ST ) for a light branching effect.
The completed reindeer ornament’s head measures approximately 7-8 cm wide. Ears add an additional 2-3 cm in height. The antlers extend around 3 cm upward, giving the piece an elegant silhouette. Overall, it fits comfortably on trees, bags, or as a festive accent.
Abbreviations
- CH: Chain
- SC: Single Crochet
- INC: Increase (2 SC in one stitch)
- DEC: Decrease (Crocheting 2 stitches together)
- SL ST: Slip Stitch
- MC: Magic Circle (Ring)
Pattern Notes
- Work in continuous rounds without joining unless specified otherwise.
- Make use of stitch markers to mark round beginnings and ease count verification.
- Insert safety eyes before closing the head to secure them properly.
- Stuff the head firmly yet gently to keep shape without stretching stitches.
- Sew attachments securely to withstand handling.
- Use appropriate yarn colors for each component to capture the reindeer’s characteristic features.
- The antlers are formed with chains and slip stitches for delicate branching appearance.
Pattern Instructions
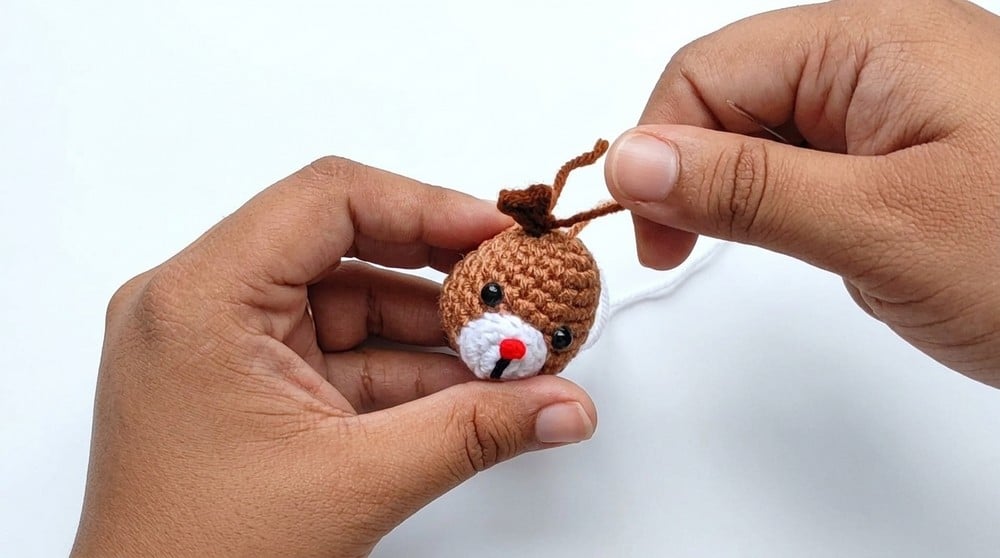
Head (Using Light Brown Yarn and 3mm Hook)
Round 1: Create a Magic Circle ( MC ) and work 6 SC into the ring. [6 stitches]
Round 2: INC in every stitch (2 SC in each stitch) around. [12 stitches]
Round 3: (1 SC, INC) repeat 6 times. [18 stitches]
Round 4: Work 1 SC in each stitch around. [18 stitches]
Round 5: (5 SC, INC) repeat 3 times. [21 stitches]
Round 6: Work 1 SC in each stitch around. [21 stitches]
Round 7: (6 SC, INC) repeat 3 times. [24 stitches]
Rounds 8-9: Work 1 SC in each stitch around. Maintain 24 stitches.
Insert 4mm safety eyes securely between rounds 6 and 7 , spacing them 3 stitches apart to create a balanced facial expression.
Round 10: (2 SC, DEC) repeat 6 times. [18 stitches]
Round 11: (1 SC, DEC) repeat 6 times. [12 stitches]
Stuff the head firmly at this point to give shape and maintain stability.
Round 12: DEC in each stitch around. [6 stitches]
Fasten off leaving a long tail, and sew the remaining hole closed using yarn needle with the tail. Weave in ends securely.
Ears (Make 2 Using Dark Brown Yarn and 3mm Hook)
Round 1: Create a Magic Circle ( MC ) and work 5 SC into the ring. [5 stitches]
Fasten off, leaving a long tail for sewing.
Snout (Using Light Brown Yarn and 3mm Hook)
Round 1: Make a Magic Circle ( MC ), work 6 SC into the ring and slip stitch ( SL ST ) to finish round. [6 stitches]
Round 2: Work INC in each stitch around to double stitch count (12 SC), finish round with a SL ST . [12 stitches]
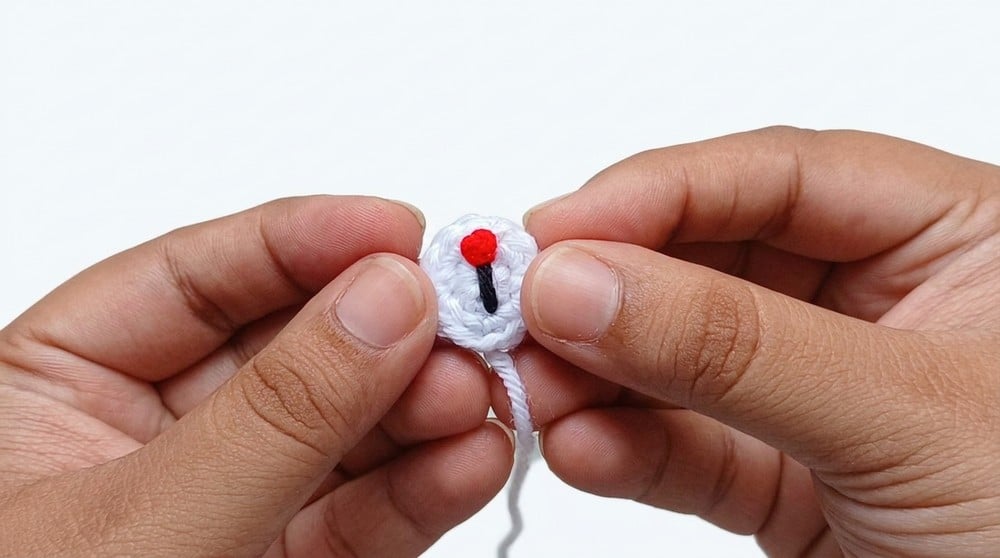
Embroider the mouth with black yarn neatly beneath the snout center. Create a red yarn French knot at the tip of the snout to represent Rudolph’s signature bright nose.
Antlers (Make 2 Using Dark Brown Yarn and 3mm Hook)
Chain 4. Skip the 1st chain, slip stitch ( SL ST ) into the back bump of the 2nd chain. This forms the first branch. Chain 2, skip the 1st chain again and slip stitch ( SL ST ) into the back bump of the 2nd chain to form the second branch. Slip stitch in remaining two chains to finish. Fasten off leaving tail for sewing.
Assembly
Sew the snout carefully centered between the eyes on the front of the head. Attach the antlers symmetrically on the top of the head, securing firmly. Sew the ears on the sides of the head at approximately the height of round 3 to provide proportionate balance. Optional: Attach a keychain loop or ornament hook to the top of the reindeer’s head for hanging.
Tips
For a polished finish, ensure your tension is consistent, especially when working the increases and decreases. If you are new to amigurumi, consider checking out our O Lenya Amigurumi Deer pattern for another woodland creature project that builds similar skills. When sewing on the antlers, use a yarn needle to weave the tail through the base of the antler and into the head multiple times to ensure they stay upright and secure.
FAQs
What size hook should I use?
The pattern recommends a 3mm crochet hook for all components to ensure tight stitches that hold the stuffing securely.
Can I make this reindeer larger?
Yes, you can use a larger hook or thicker yarn to create a bigger version, but you will need to adjust the stitch counts proportionally to maintain the shape.
Is this pattern suitable for beginners?
This project is suitable for advanced beginners or intermediate crocheters who are familiar with Magic Circle starts, basic stitches, and working in continuous rounds.
How do I attach the safety eyes?
Insert the safety eyes between rounds 6 and 7, spacing them 3 stitches apart. Secure them firmly with the provided washer or backing before the head is fully stuffed.
Can I use this pattern to make a keychain?
Absolutely. The pattern suggests attaching a keychain loop or ornament hook to the top of the head during assembly.
Celebrate the holiday season by creating a charming and whimsical Crochet Reindeer Ornament. This detailed pattern provides a step-by-step approach to crocheting each component — the head, ears, snout, and antlers — culminating in an adorable reindeer perfect for hanging on your tree or gifting as a festive keepsake. The combination of shaping through increases and decreases, thoughtful color changes, and intricate embroidery details brings this seasonal character delightfully to life.
Pin This Crochet Pattern!