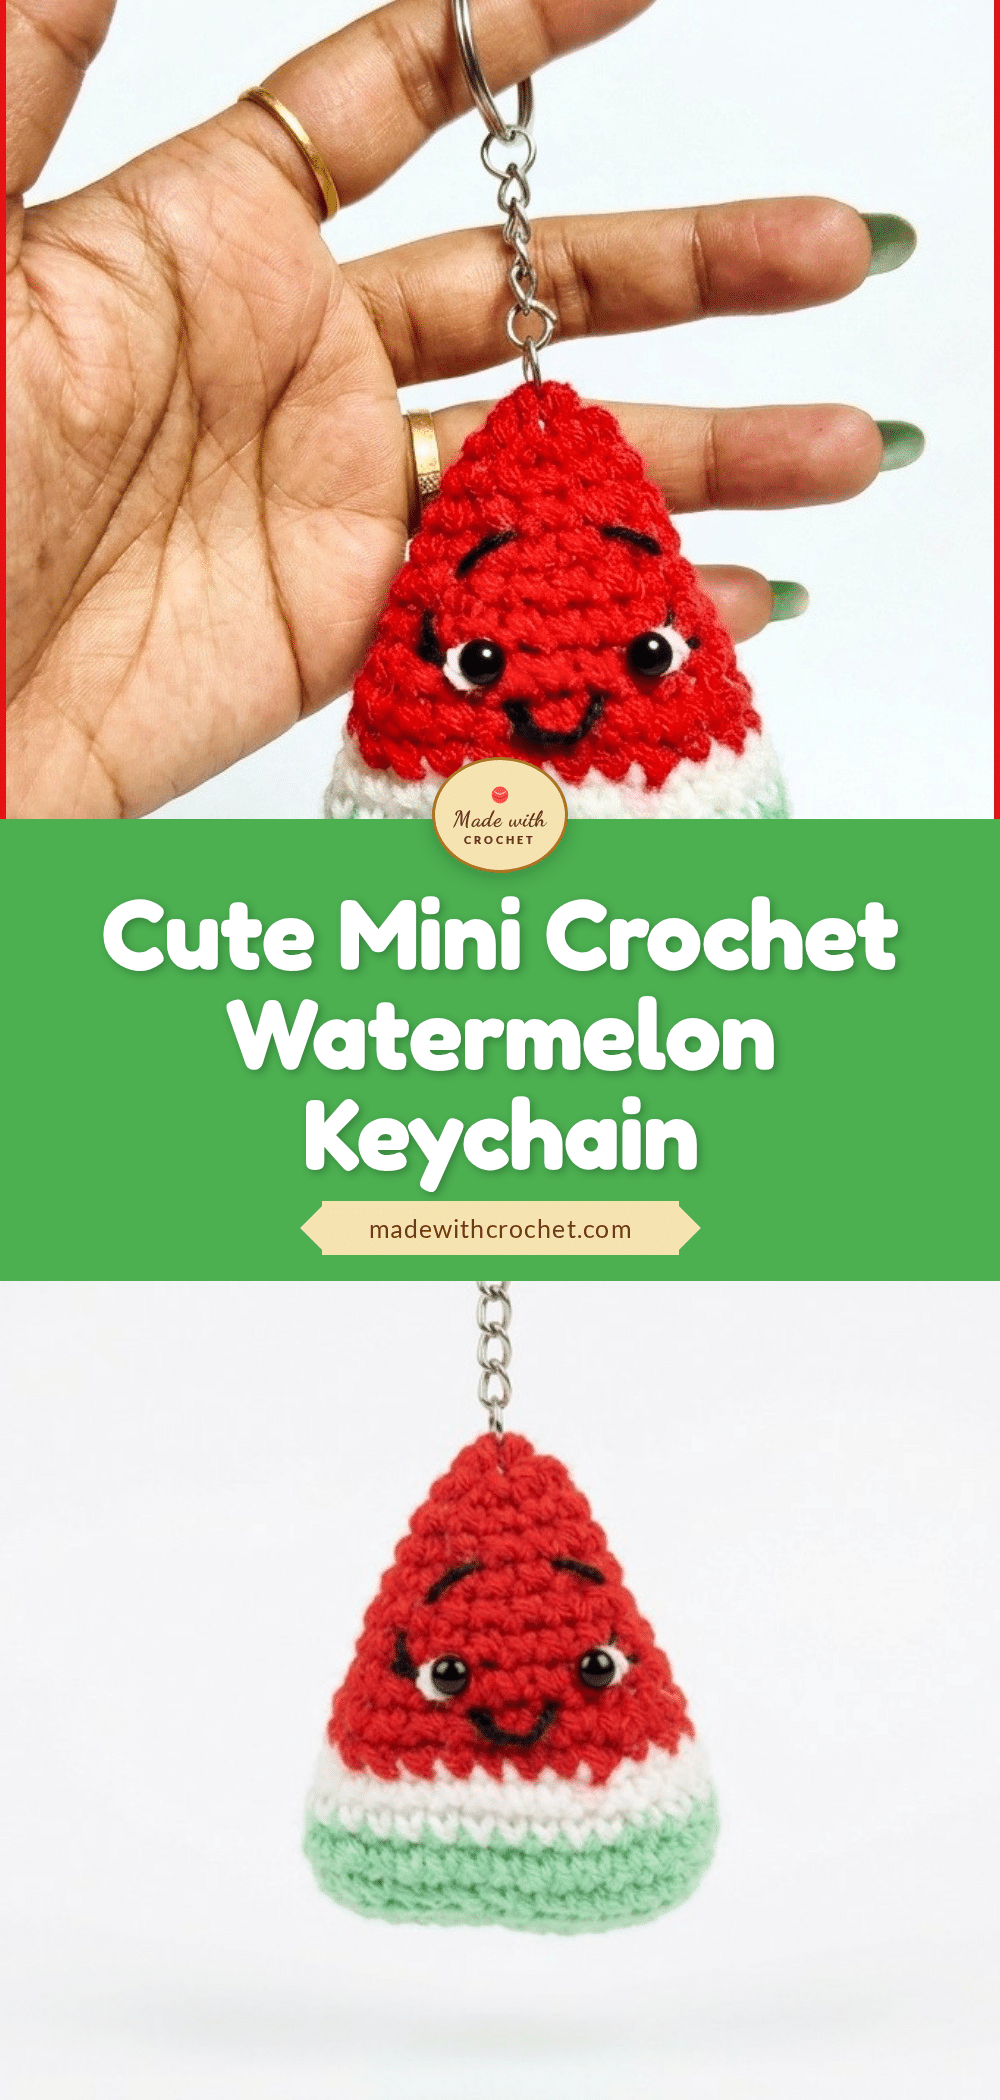
There is something undeniably satisfying about pulling a skein of bright red acrylic from the stash bin, only to realize it pairs perfectly with that leftover green scrap you’ve been saving. It’s a small, intentional moment of color theory in action. This mini watermelon keychain captures that exact feeling of summer freshness, transforming simple yarn scraps into a plump, cheerful slice of fruit. The texture of the rind and the smooth curve of the flesh come together to create a tactile accessory that feels as good as it looks.
Yarn and Color Notes
The charm of this project lies in its vibrant, high-contrast palette. Using a 4-ply acrylic yarn allows for crisp definition between the green rind, white pith, and red flesh. Acrylic holds its shape well when stuffed, ensuring the keychain remains plump and durable for daily use. The black yarn or embroidery thread is essential for bringing the character to life; it provides the necessary contrast for the seeds and facial features. When selecting your shades, consider using a deep, rich red for the flesh to mimic the juiciness of a real watermelon, while a lighter green works best for the outer rind to create visual depth.
Project Overview
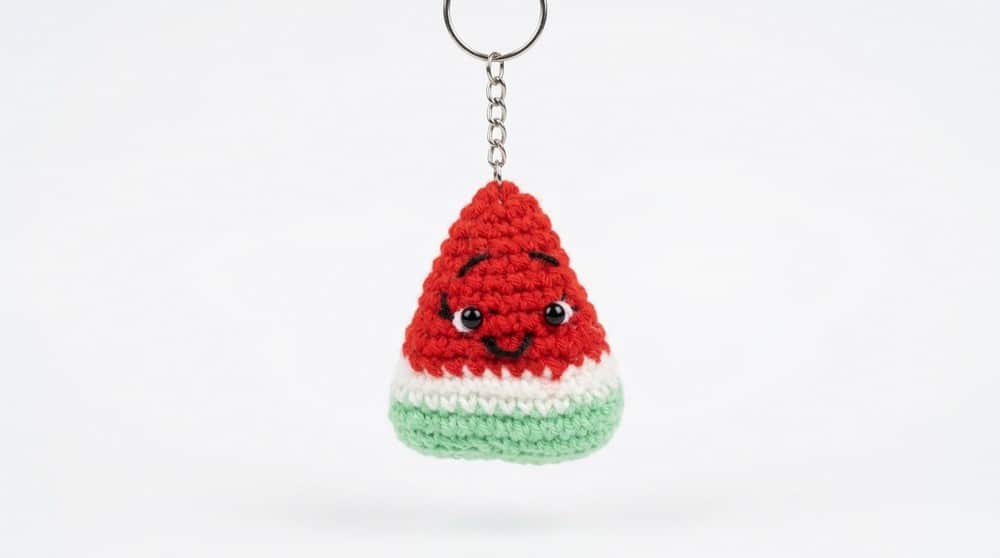
This amigurumi pattern creates a compact, playful watermelon slice that serves as both a functional keychain and a decorative charm for bags or backpacks. The design utilizes classic amigurumi techniques, including working in joined rounds, invisible decreases, and back loop only (BLO) stitches to create the ridged texture of the rind. The result is a piece that balances approachable technique with professional-looking details.
Materials
- Yarn: 4-ply acrylic yarn in green (rind), white (pith), red (flesh), and black (embroidery details)
- Hook: 3.5 mm (or size to suit tension)
- Stuffing: Polyester fiberfill or cotton
- 6 mm safety eyes (or black beads)
- Tapestry needle: for joining and embroidery
- Stitch marker: to mark rounds if needed
- Small scissors
- Keychain hardware: split ring/clasp
Gauge and Finished Size
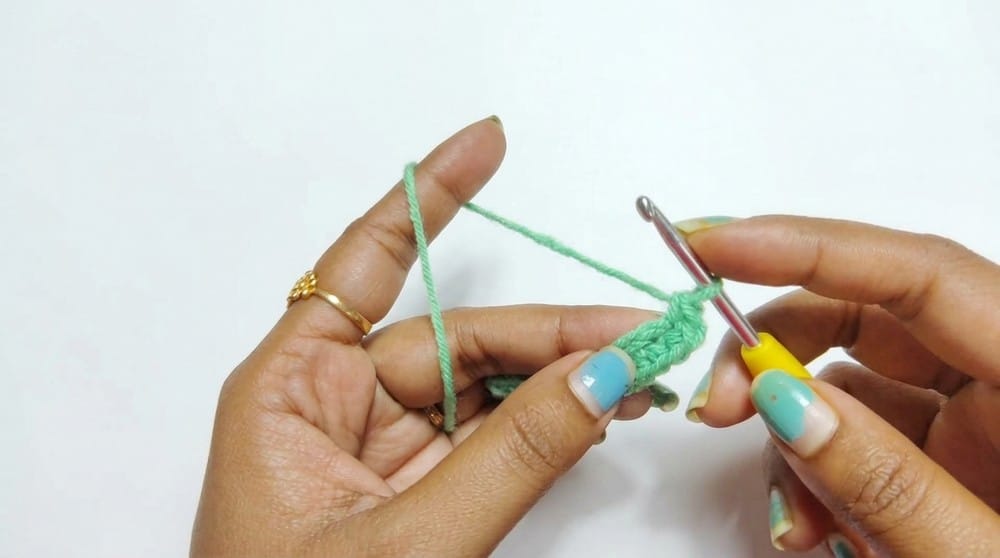
Gauge is not critical for amigurumi, but aim for tight single crochet with no visible stuffing. A good target is 11 sc and 12 rows = 5 cm x 5 cm (2″ x 2″).
The finished keychain measures approximately 6–7 cm (2.4″–2.7″) wide and 3–4 cm (1.2″–1.5″) high, with a thickness of 1.5–2 cm (0.6″–0.8″) when stuffed. This compact size makes it comfortable to attach to keys or bags without adding bulk.
Abbreviations
- CH – Chain
- SC – Single Crochet
- BLO – Back Loop Only
- INC – Increase (2 SC in same stitch)
- SL ST – Slip Stitch
- DEC – Decrease (sc2tog, or invisible decrease as noted)
Pattern Notes
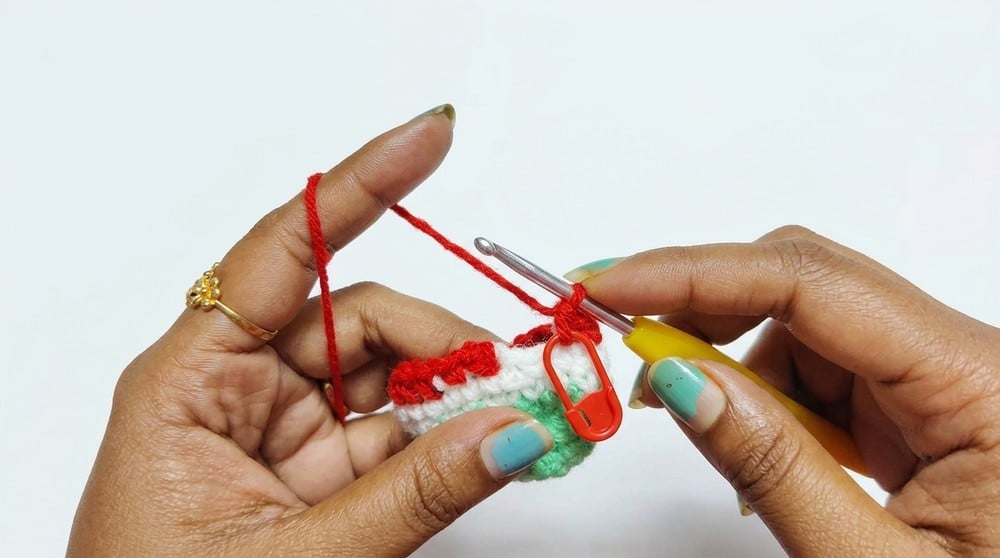
Maintain even tension throughout to ensure a uniformly curved watermelon slice. Use small, sharp scissors to snip ends and weave in tails after each color section for neatness. Secure color change transitions with invisible joins where possible: join new color in the first stitch of the row for a clean edge. Insert safety eyes before stuffing for precise placement and security. When using invisible decreases, always insert the hook into the front loops of the next two stitches. Don’t overstuff; shape as you fill to preserve the curved appearance. Carefully match yarn weights and hook sizes to avoid gaps or excessive bulk. Black embroidery can be used for seeds, mouth, eyebrows, and eyelashes to bring your character to life.
Special Stitches
Invisible Decrease: Insert hook into the front loop of each of the next two stitches, yarn over, pull through two loops, yarn over, pull through two loops.
Pattern Instructions
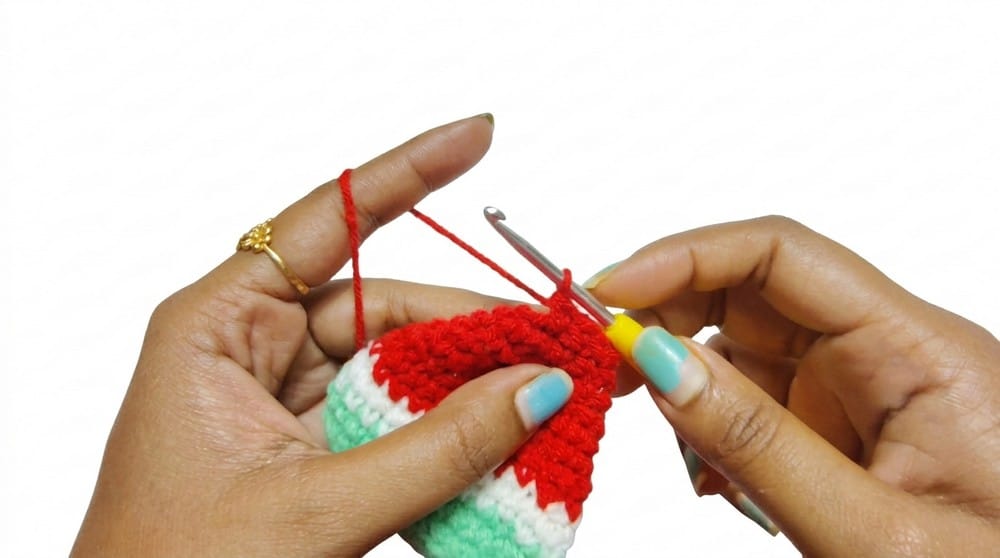
Base Foundation (Green Yarn)
Foundation: Make a slip knot. CH 13.
Row 1: SC in 2nd CH from hook and in next 10 CH (11 SC). In last CH: 3 SC (turns the end for working into the underside). Working along the opposite side of starting chain: 10 SC. In last CH: 2 SC (increase at end). SL ST to first SC.
Row 2: CH 1. 1 INC (2 SC in first st—place marker if desired). 10 SC, 3 INC (2 SC in each of next 3 sts), 10 SC, 2 INC (2 SC in each of last 2 sts). SL ST to join. (Should have 32 SC)
Row 3: CH 1. Working BLO, SC in each st around (32 SC). SL ST to join.
Row 4: CH 1. SC in each st around (32 SC). SL ST to join. Fasten off green yarn.
Middle Section (White Yarn)
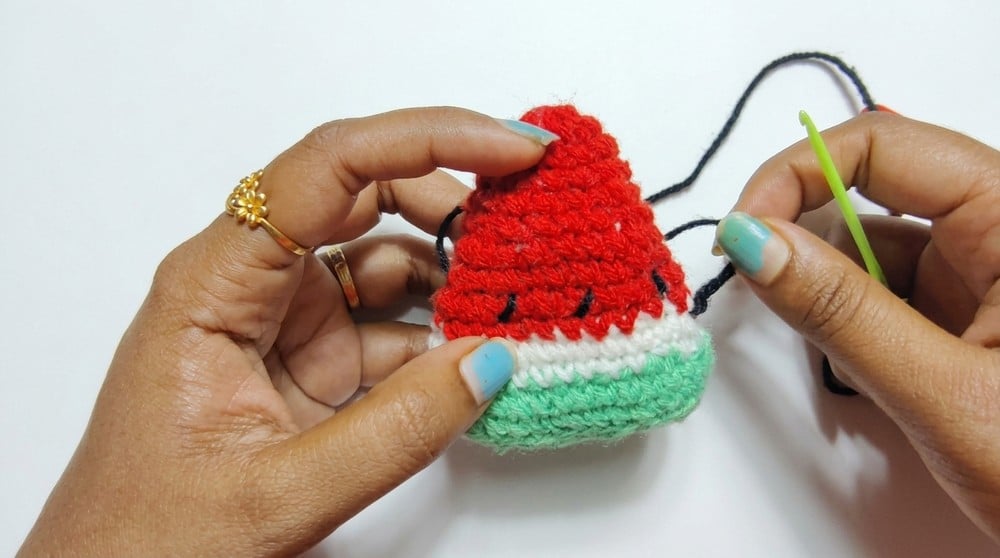
Row 5: Join white yarn to any st. 1 SC, 1 Invisible DEC, 10 SC, 1 DEC, 2 SC, 1 DEC, 10 SC, 1 DEC, 1 SC. SL ST to join. (28 SC)
Row 6: CH 1. SC in each st around (28 SC). SL ST to join. Fasten off white yarn.
Flesh Section (Red Yarn)
Row 7: Join red yarn. 1 SC, 1 DEC, 8 SC, 1 DEC, 2 SC, 1 DEC, 8 SC, 1 DEC, 1 SC. SL ST. (24 SC)
Row 8: CH 1. 24 SC, SL ST.
Row 9: 1 SC, 1 DEC, 6 SC, 1 DEC, 2 SC, 1 DEC, 6 SC, 1 DEC, 1 SC. SL ST. (20 SC)
Row 10: 20 SC, SL ST.
Row 11: 1 SC, 1 DEC, 4 SC, 1 DEC, 2 SC, 1 DEC, 4 SC, 1 DEC, 1 SC. SL ST. (16 SC)
Row 12: 16 SC, SL ST.
Row 13: 1 SC, 1 DEC, 2 SC, 1 DEC, 2 SC, 1 DEC, 2 SC, 1 DEC, 1 SC. SL ST. (12 SC)
Row 14: 12 SC, SL ST.
Assembly
Stuffing: Fill the keychain evenly with polyester stuffing.
Closing: (2 SC, 1 DEC) × 3 times around, SL ST. Fasten off, leaving a tail. Thread tail onto a needle and sew the front loops closed for a neat finish.
Face & Seeds: Use black yarn or embroidery thread to add seeds on both sides of the red section: place small straight stitches at intervals. Attach 6 mm safety eyes, positioning them between rows 3 and 4 of the red section for a friendly expression. Use embroidery to stitch eyebrows, eyelashes, and a smile as desired.
Attachment: Secure keychain hardware through a loop or discrete stitch at the top of the rind section.
Ensure all yarn ends are woven in on the inside after closing. Shape the slice gently with your hands for an even curve.
Tips
- Worked in joined rounds for consistent symmetry and clean color changes.
- Sections are clearly delineated by yarn changes for rind, pith, and flesh.
- Stretches of back loop only (BLO) single crochet enhance the texture of the watermelon’s outer rind.
- Invisible decrease technique produces smooth, hidden shaping.
- Secure increases and decreases in rounded ends prevent distortion during stuffing.
- All facial features and seeds are surface-embroidered for customization and definition.
- Final rows allow for easy closure of the tapered “slice” tip.
FAQs
What skill level is required for this pattern?
This project is rated Advanced Beginner. You should be comfortable with single crochet, working in rounds, basic increases, invisible decreases, and joining with slip stitch. Embroidery for the face and seeds is straightforward and adds personality.
Can I use a different hook size?
The pattern recommends a 3.5 mm hook. You can use a different size to suit your tension, but ensure your stitches are tight enough that the stuffing does not show through. Mismatched hook sizes can cause gaps or excessive bulk.
How do I make the invisible decrease?
To perform an invisible decrease, insert your hook into the front loop of each of the next two stitches, yarn over, pull through two loops, yarn over, pull through two loops. This creates a smoother join than a standard decrease.
Where should I place the safety eyes?
Attach the 6 mm safety eyes between rows 3 and 4 of the red section. This positioning helps create a friendly, balanced expression for your watermelon character.
Is this pattern suitable for beginners?
While it requires knowledge of working in rounds and decreases, the repetitive nature of the rows makes it accessible. If you are new to amigurumi, this is a great project to practice shaping and color changes. For more beginner-friendly amigurumi, you might also enjoy our adorable crochet bunny pattern.
How do I attach the keychain hardware?
Secure the keychain hardware through a loop or discrete stitch at the top of the rind section. Make sure to weave in any loose ends securely so the hardware does not pull out during use.
Pin This Crochet Pattern!