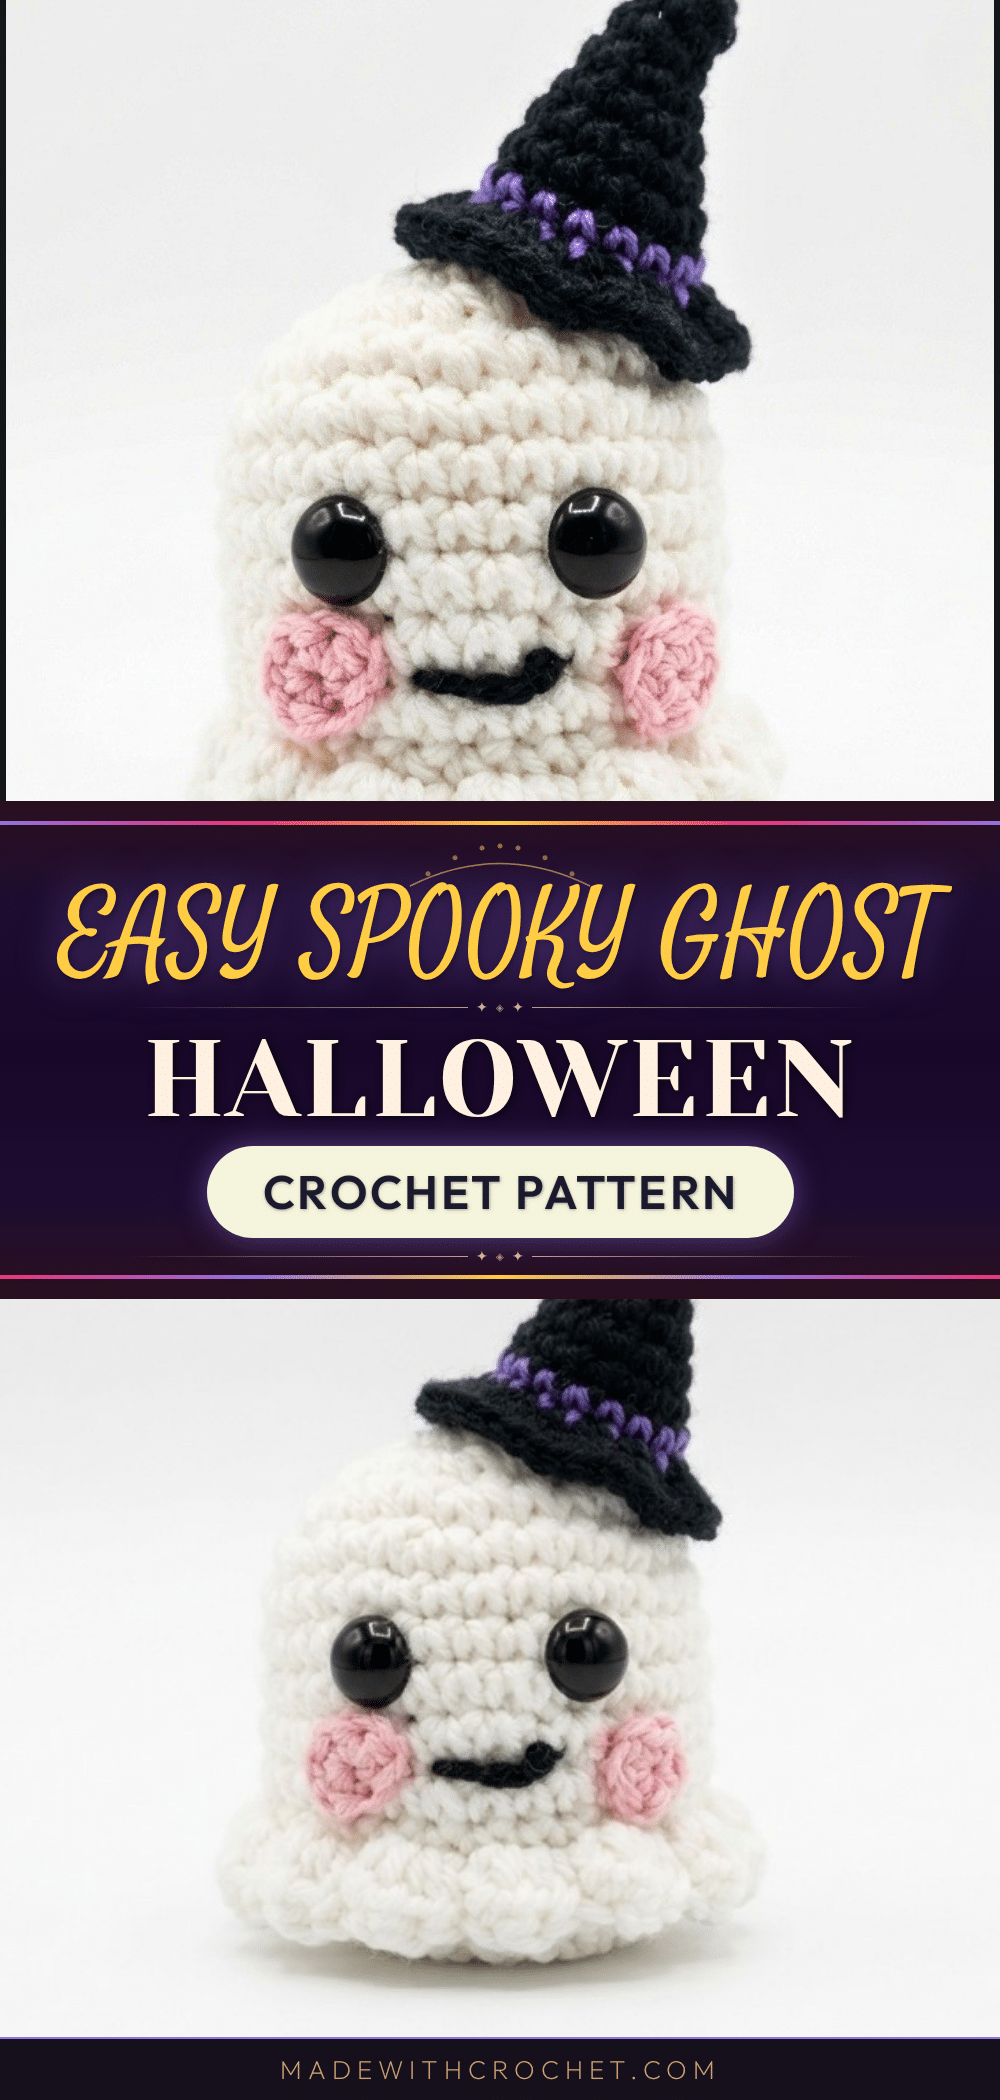
There is a specific kind of magic in the quiet hours of the evening when the house settles down and the only sound is the rhythmic click of the crochet hook. It is a ritual of counting stitches, pulling loops through one another, and watching a simple ball of yarn transform into something with personality and charm. This Easy Crochet Ghost Halloween Pattern invites you to slow down and embrace that cozy process. With its friendly face and playful witch hat, this amigurumi is a delightful way to bring a touch of seasonal whimsy into your home while enjoying the meditative flow of your favorite craft.
Small Details That Make It Better
What truly elevates this little ghost from a simple project to a cherished decoration is the attention to those small, finishing details. The soft, rounded body of the ghost is designed to look like it is gently floating, a shape that feels warm and homemade rather than scary. The addition of the witch hat introduces a pop of festive color with the purple body and black brim, creating a charming contrast against the white yarn. The bottom frill, worked with half-double crochet clusters and slip stitches, adds a lovely texture that mimics the flowing shape of a classic sheet ghost. These elements combine to create a piece that is not just a Halloween prop, but a cute companion for your shelf or desk.
Project Overview
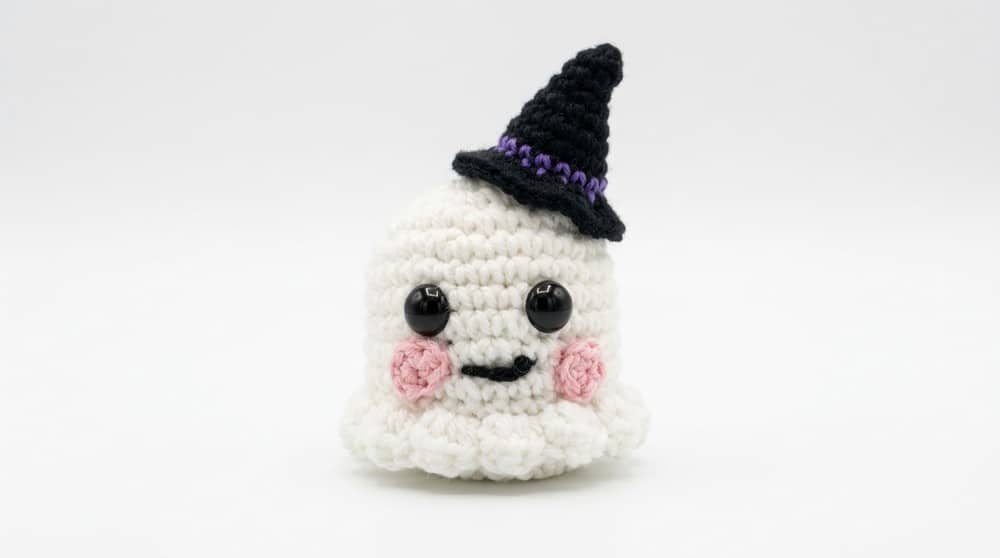
This crochet project guides you through making an adorable baby ghost decorated with a charming witch’s hat. The ghost’s body is worked from the bottom up in rounds, incorporating shaping through increases and decreases. The hat features a neat color change and a flared brim to complete the festive look. Detailed instructions and stitch-by-stitch guidance ensure this project is accessible, fun, and perfect for Halloween décor or gifts. It is a wonderful addition to your handmade collection, adding a playful spooky feeling to a room, shelf, or party table.
Materials
- Medium worsted weight yarn in:
- White (ghost body and frill)
- Black (witch hat brim)
- Purple (witch hat body)
- 3.25 mm crochet hook
- Yarn needle for weaving ends and embroidery
- Scissors
- Stitch marker
- Safety eyes for the ghost’s face (size according to preference)
- Polyester stuffing
Gauge and Finished Size
Gauge is flexible; focus on consistent tension for shaping. The entire ghost body and hat (excluding brim) are worked mostly in single crochet (SC) rounds. The bottom frill uses half-double crochet (HDC) clusters combined with slip stitches for texture.
Finished Size:
- Finished ghost approximately 8–10 cm (3.1–3.9 inches) tall excluding hat.
- The witch hat sits delicately on the ghost’s head, about 3–4 cm (1.2–1.6 inches) tall.
- Both pieces are ideally sized for tabletop décor, keychains, or plush amigurumi accessories.
Abbreviations
- MR = Magic Ring
- SC = Single Crochet
- INC = Increase (2 SC in one stitch)
- DEC = Decrease (single crochet two stitches together)
- HDC = Half Double Crochet
- CH = Chain
- SL ST = Slip Stitch
- BLO = Back Loops Only
Pattern Notes
- Use a stitch marker to identify the beginning of each round, especially when working increases or decreases.
- Keep your tension consistent for smooth shaping and neat stitches.
- Work back loops only in Round 13 of the ghost to enhance shaping.
- Always complete color changes neatly by finishing the last stitch of the old color with the new yarn.
- Stuff the ghost firmly but gently before closing to maintain shape and softness.
- When embroidering the face, sew slowly and carefully to keep lines neat and proportional.
Pattern Instructions
Baby Ghost Body
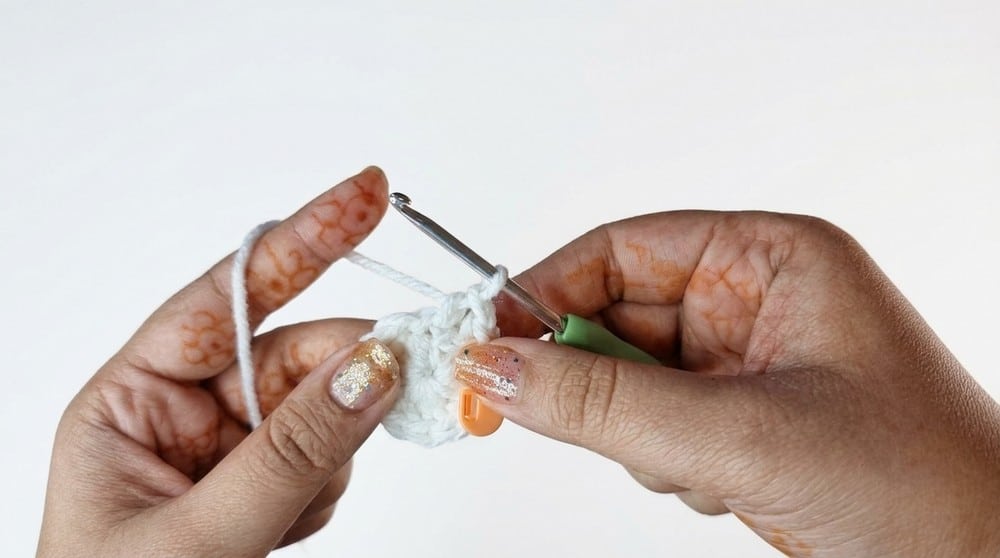
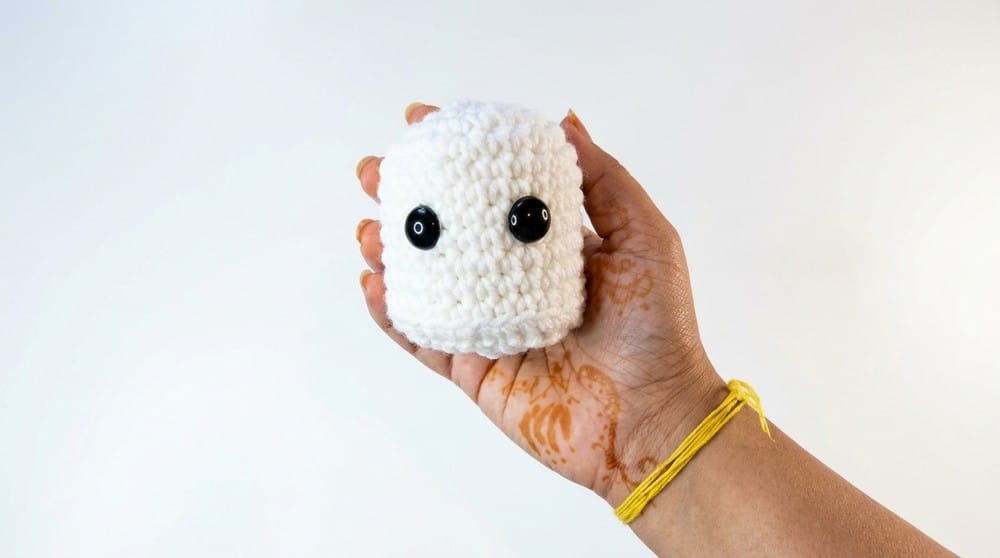
Worked entirely in rounds using single crochet (SC) stitches. Starts with a magic ring to create a tight, hole-free center. Uses increases and decreases to shape the ghost’s rounded body.
Round 1:
Begin with a Magic Ring (MR). Work 6 SC into the ring. (6 stitches)
Round 2:
INC in every stitch (2 SC in each stitch). (12 stitches)
Round 3:
1 SC, INC around. (18 stitches)
Round 4:
2 SC, INC around. (24 stitches)
Round 5:
3 SC, INC around. (30 stitches)
Rounds 6 to 12:
Work 1 SC in each stitch for 7 rounds. (30 stitches each round)
Round 13 (BLO):
Work in Back Loops Only (BLO): 3 SC, DEC around. (24 stitches)
Placement of safety eyes between Rounds 6 and 7 is recommended now.
Round 14:
2 SC, DEC around. (18 stitches)
Stuff the baby ghost body firmly but gently at this stage to maintain shape.
Round 15:
1 SC, DEC around. (12 stitches)
Round 16:
DEC around, 6 stitches remain. Close off the hole by sewing with a yarn needle.
Bottom Frill
Join white yarn at the base of the ghost. Chain 2, then work 2 HDC in the same stitch. Skip 1 stitch, SL ST in the next stitch. 3 HDC in one stitch, skip 1, SL ST — repeat around the base for a ruffled effect.
Facial Details
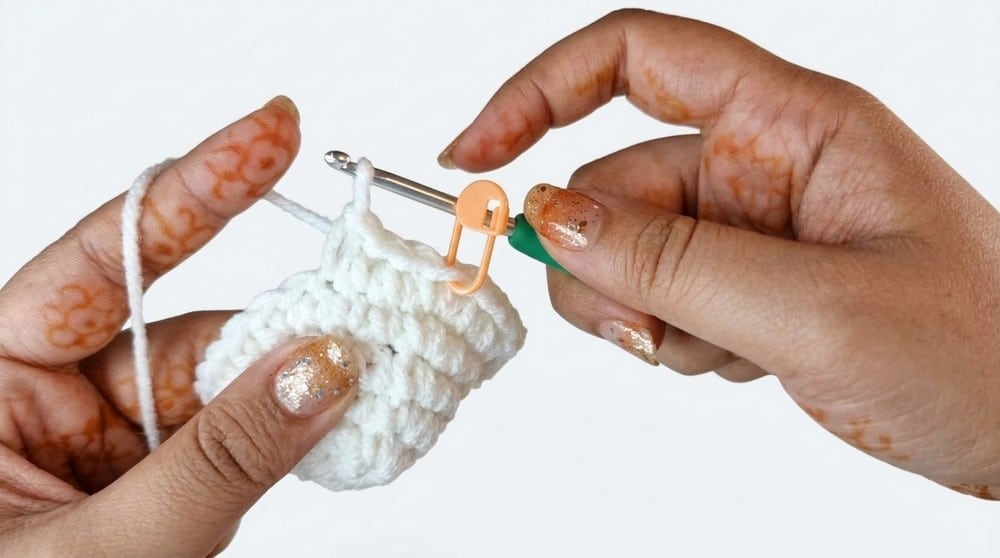
Using yarn needle and black yarn or embroidery thread, stitch a small smile spanning about two stitches beneath the safety eyes.
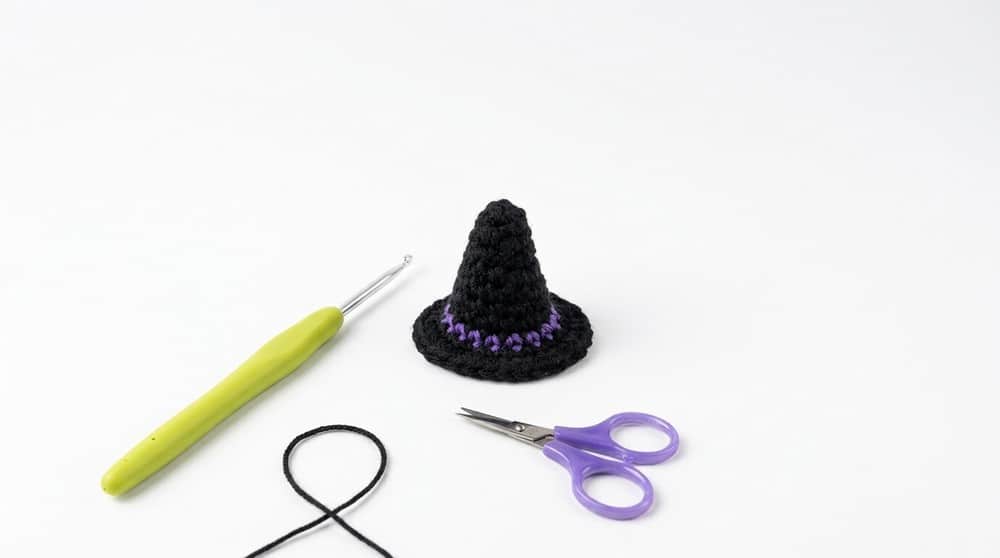
Witch Hat
The hat features a neat color change and a flared brim to complete the festive look. It uses increases to shape the conical form.
Round 1:
Using black or chosen base color yarn, start with a Magic Ring (MR). Work 4 SC into the ring. (4 stitches)
Round 2:
1 SC, INC repeat. (6 stitches)
Round 3:
2 SC, INC repeat. (8 stitches)
Round 4:
3 SC, INC repeat. (10 stitches)
Round 5:
4 SC, INC repeat. (12 stitches)
Round 6:
5 SC, INC repeat. (14 stitches)
Round 7:
6 SC, INC repeat. (16 stitches)
Switch to purple yarn at this point for the next rounds.
Round 8:
Work 1 SC in each stitch around. (16 stitches)
Brim:
Change yarn to black. Work 2 HDC in every stitch around. Slip stitch to join and finish the brim.
Assembly
- Position and sew the safety eyes between rounds 6 and 7 on the ghost body before stuffing.
- Stuff the ghost firmly but gently.
- Attach the finished witch hat securely onto the baby ghost’s head by sewing around the base of the hat.
- Embroider the facial smile neatly after assembly to maintain stitch tension.
- Weave in all loose ends carefully inside the body or hat to create a polished finish.
Tips
- Use a stitch marker to identify the beginning of each round, especially when working increases or decreases.
- Keep your tension consistent for smooth shaping and neat stitches.
- Work back loops only in Round 13 of the ghost to enhance shaping.
- Always complete color changes neatly by finishing the last stitch of the old color with the new yarn.
- Stuff the ghost firmly but gently before closing to maintain shape and softness.
- When embroidering the face, sew slowly and carefully to keep lines neat and proportional.
FAQs
What size safety eyes should I use?
The pattern suggests using safety eyes according to your preference. For an 8–10 cm ghost, smaller eyes (around 6mm or 8mm) usually look best to maintain the cute, proportional face.
Can I use a different yarn weight?
The pattern is designed for medium worsted weight yarn. If you use a different weight, you will need to adjust your hook size and potentially the stitch counts to achieve the correct finished size.
How do I make the frill stand up more?
The frill is created by working multiple HDC stitches into single stitches and skipping stitches in between. Ensuring you pull your yarn slightly tighter when working the HDC clusters can help the frill pop more.
Is this pattern suitable for beginners?
This is an intermediate beginner pattern. You should be comfortable with magic rings, single crochet, half-double crochet, increases, decreases, and basic color changes.
Can I make this as a keychain?
Yes, the finished size is ideal for keychains. You can add a keyring to the back of the hat or the body after assembly.
How do I attach the hat securely?
Use the yarn needle and the tail from the hat’s final round to sew around the base of the hat, stitching it directly to the top of the ghost’s head. Weave the ends in securely to prevent it from falling off.
Pin This Crochet Pattern!