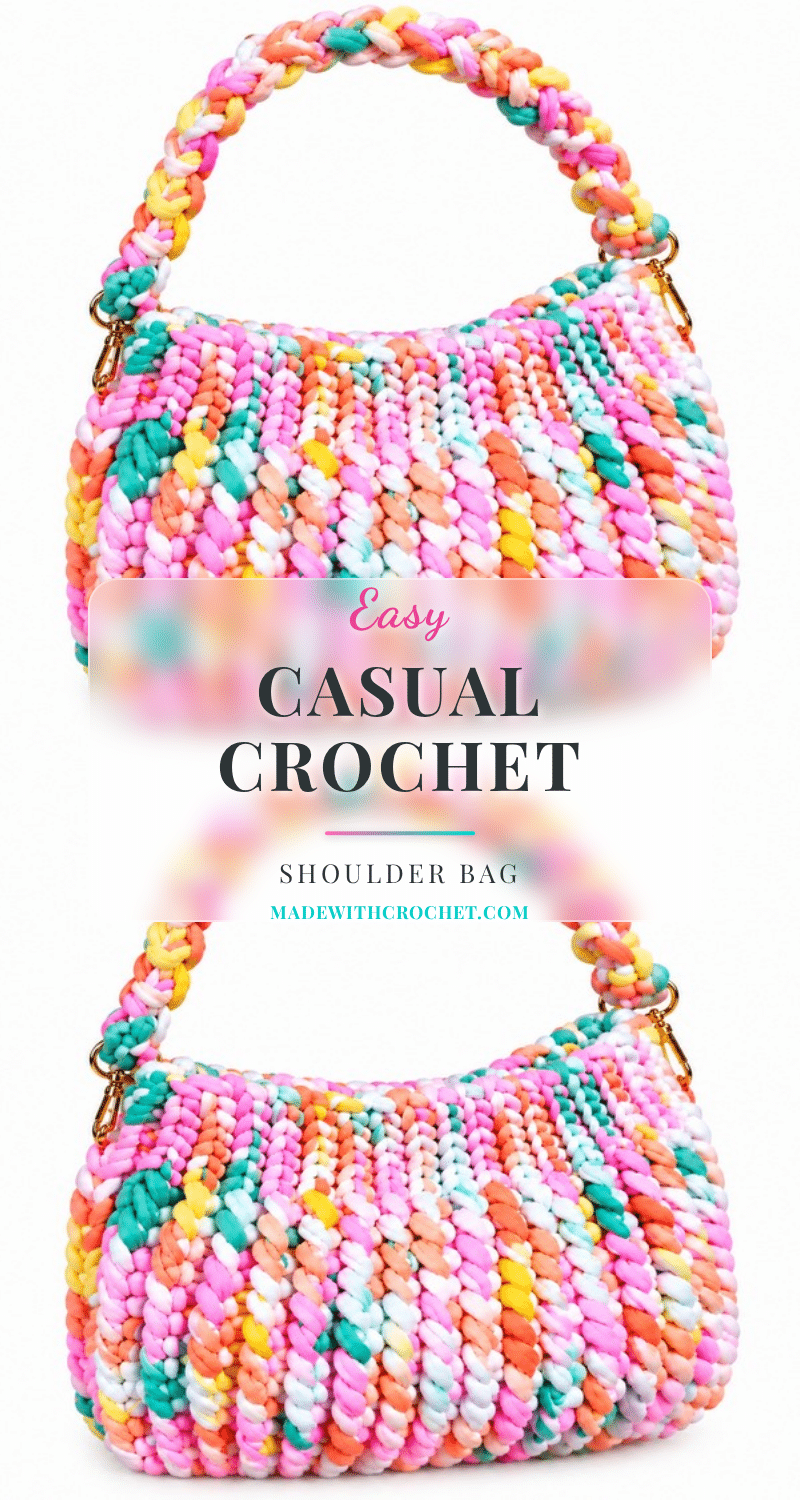
There is something deeply satisfying about watching a simple row repeat transform into a structured, durable fabric. This Easy Crochet Shoulder Bag Pattern leverages the forgiving nature of t-shirt yarn alongside an easy-to-remember stitch sequence to produce a highly functional, contemporary bag. The textural contrast between slip stitch and unique elongated stitches presents not only visual depth but also practical flexibility, enabling the finished tote to stretch gently while maintaining its form. It is a project that rewards patience with a polished, modern finish.
Texture and Stitch Notes
The heart of this bag lies in its stitch definition. By alternating bands of slip stitches with a distinctive stretched stitch, the pattern creates pronounced ribbing that mimics the look of a dense, modern knit. The special elongated stitch produces a smooth, almost knit-like appearance that is ideal for chunky yarns, while the slip stitch sections provide a firm, stable border. This combination results in a fabric that is sturdy enough for daily errands yet flexible enough to accommodate your essentials without losing its shape. The visual rhythm of the pattern—six slip stitches, fourteen elongated stitches, a central band of five, and another fourteen elongated stitches—creates a striking, symmetrical design that looks far more complex than it is to make.
Project Overview
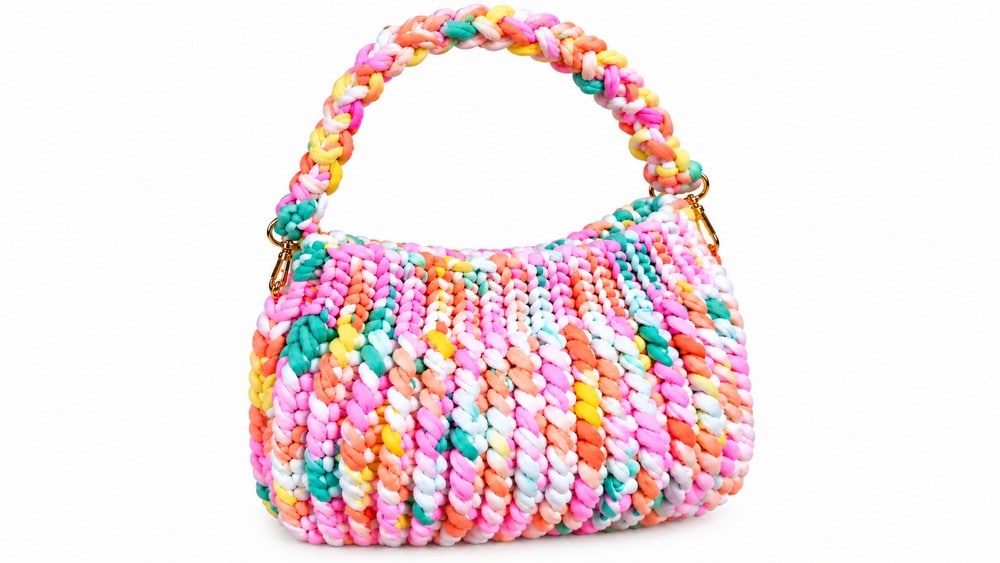
This shoulder bag is worked flat in rows and seamed at the sides for a clean, finished look. The easy-to-memorize one-row repeat lends itself to quick progress, making it an excellent project for crocheters who want a substantial accessory without a steep learning curve. The dense, I-cord-inspired handle construction delivers durability without sacrificing style or usability. This bag is well-suited for everyday errands, casual outings, and makes an excellent gift for those who appreciate sturdy crochets with modern flair.
Materials
- T-shirt yarn, 500g (or equivalent super bulky recycled cotton/polyester yarn)
- 6mm crochet hook
- Tapestry needle (large eye, for sewing thick yarn)
- Four stitch markers
- Two swivel snap hooks (for attachable handle, optional)
- Scissors
- Measuring tape
Gauge and Finished Size
Finished Size: Approximately 28 cm width × 21 cm height (excluding handle; adjust row repeat for larger or smaller sizes).
Gauge: 10 stitches × 7 rows = 10 cm × 10 cm in pattern (one repeat of slip stitches plus special stitch section).
Handle: Adjustable; suggested 45–55 cm or as needed for function. Easily adjusted for larger/smaller sizes by increasing/decreasing foundation chain or working more/less row repeats.
Abbreviations
- ch – chain
- sl st – slip stitch
- st – stitch
- YO – yarn over
- rep – repeat
- RS/WS – right side/wrong side
Pattern Notes
- Leave a long starting and ending tail (50-60 cm) for assembly and seaming—the thick yarn requires sturdy seams to avoid unraveling with regular use.
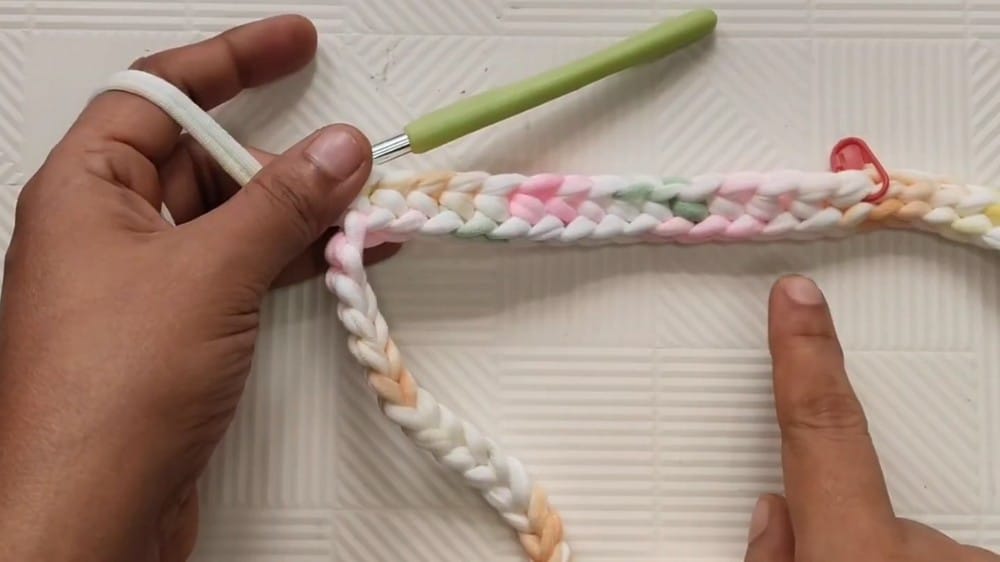
- Use stitch markers to segment the rows. This is especially helpful due to the repetition and bulk of t-shirt yarn, ensuring even sides and properly aligned special stitch panels.
- Maintain a relaxed tension while working slip stitch passages, as they can become tight, especially in t-shirt yarn.
- When working the handle, match the thickness and tension to ensure comfortable carrying and durability.
- Keep an even tension throughout to help the finished piece maintain a balanced shape.
Special Stitches Used
Special Elongated Stitch
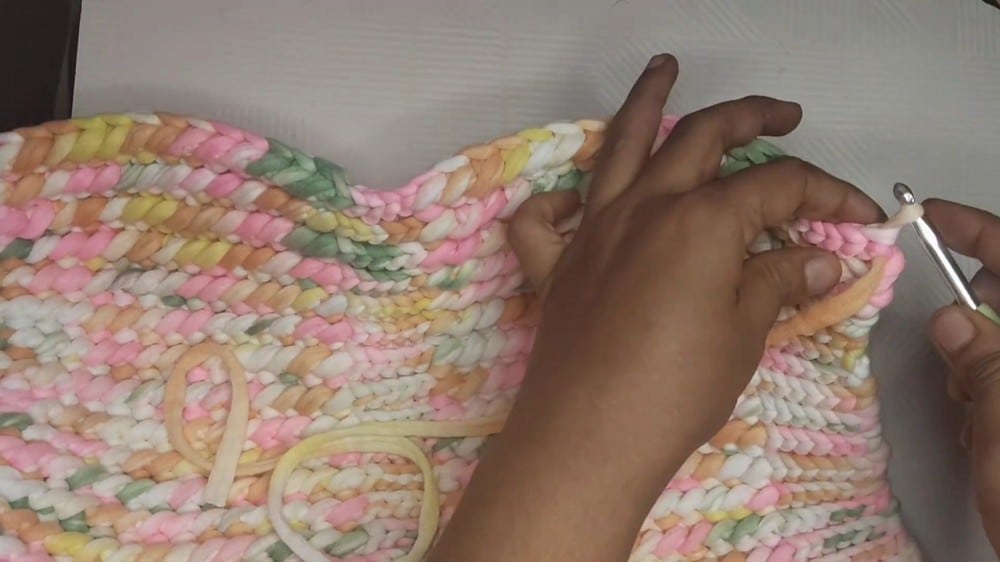
Yarn over, insert hook in indicated stitch, yarn over, pull up a loop, stretch loop up to match the height of the previous stitch (keep even), pinch the loop, yarn over, draw through both loops on hook. This produces a smooth, almost knit-like, elongated stitch ideal for chunky yarn.
Slip Stitch in Back Bar
Insert hook under the horizontal “back bar” (third loop) along the chain (not the top loops). This provides a stretchy, professional-looking foundation row.
Pattern Instructions
Preparation and Foundation Chain
Reserve 50–60 cm of yarn before beginning for seaming later. Make a slip knot, chain 45. (Including chain 1 for turning = 46 total chains) Turn work.
Row 1: Establish the Pattern (RS)
Work into the back bars of the foundation chain:
- 6 sl st into first 6 back bars. (Place marker in 6th st)
- 14 special elongated stitches as described above; each in consecutive back bars.
- 5 sl st in next 5 back bars. (Mark the 5th st)
- 14 special elongated stitches in next 14 back bars.
- 6 sl st in final 6 back bars.
Turn.
Row 2: The One-Row Repeat (WS)
Ch 1, turn. Work into the back loops only for sl st sections; for special stitches, use both loops:
- 6 sl st in BLO.
- 14 special elongated stitches in both loops, one per stitch.
- 5 sl st in BLO.
- 14 special elongated stitches in both loops.
- 6 sl st in BLO.
Turn.
Rows 3–34: Continue Pattern
Rep Row 2 for a total of 34 rows (including Row 1 as first row). Each row should begin and end with 6 slip stitches, feature a central band of 5 slip stitches, and have 14 special stitches forming block panels on each side of the center. Continue marking the 6th slip stitch at each border to ensure straight, even sides.
Assembly
Seaming Sides
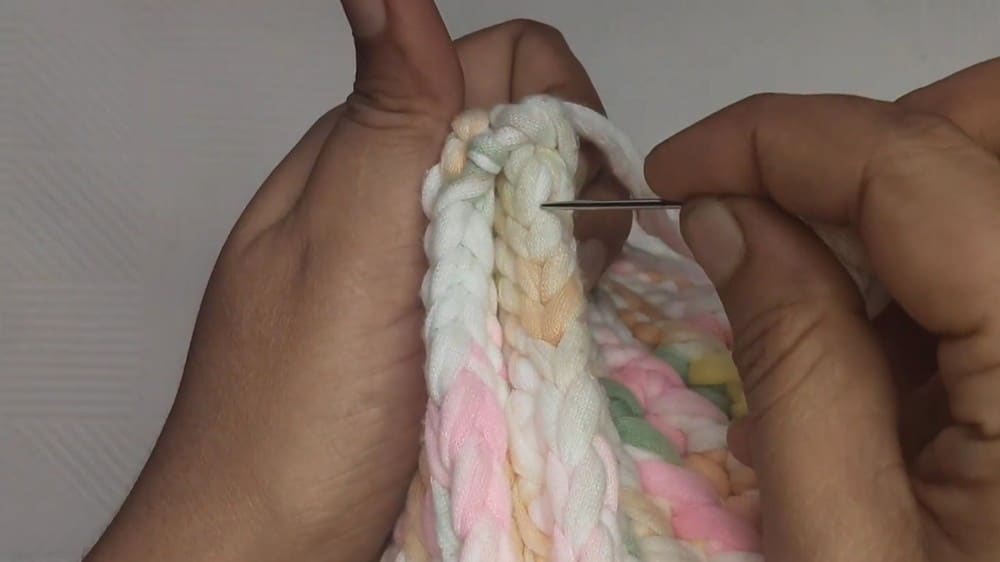
Fold the rectangle with right sides together. Using the long starting and ending tails and a tapestry needle, sew the sides closed. Insert the needle into the outer loops only of the foundation and final rows for a neat, sturdy seam. Secure and weave in all remaining ends.
Handle Construction
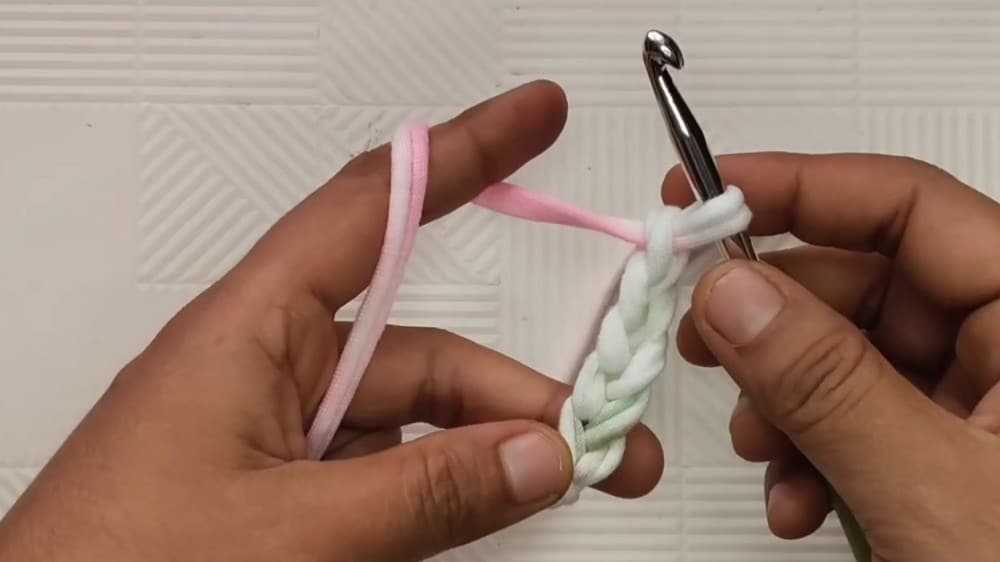
Cord Technique: Make a slip knot, ch 2. Insert hook in first chain, pull up a loop, slip stitch (as in I-cord). To elongate, repeat: Work into the same spot, pull up a loop, slip stitch, working up a dense cord to desired length (usually 45–55 cm for a shoulder/crossbody, shorter for a clutch). Attach swivel snap hooks (optional) for a removable handle or sew the ends directly to the interior sides of the bag for a fixed handle. Secure handle ends with tight overhand knots or reinforced whipstitching; weave in any excess.
Tips
There are several ways to personalize the finished accessory. Choose neutral shades for an understated appearance or work with brighter colors for something more noticeable. Tassels, buttons, decorative edging, or other small accents can be included, while the strap length may be adjusted when the pattern construction allows. If you enjoy making textured accessories, you might also appreciate the easy crochet sunflower keychain for a quick, matching detail.
FAQs
What type of yarn is best for this bag?
T-shirt yarn is recommended because it is sturdy and holds its shape well. You can also use an equivalent super bulky recycled cotton or polyester yarn.
How do I adjust the size of the bag?
You can easily adjust the size by increasing or decreasing the foundation chain for width, or by working more or fewer row repeats for height.
Is the handle removable?
The pattern allows for both options. You can sew the handle ends directly to the interior sides for a fixed handle, or attach swivel snap hooks for a removable option.
Why use stitch markers?
Stitch markers help segment the rows and ensure that the slip stitch panels and elongated stitch sections remain aligned, which is crucial for maintaining the bag’s structure.
Can I use this pattern for a clutch?
Yes. By working fewer row repeats and creating a shorter handle cord, you can adapt this pattern into a clutch size.
Pin This Crochet Pattern!