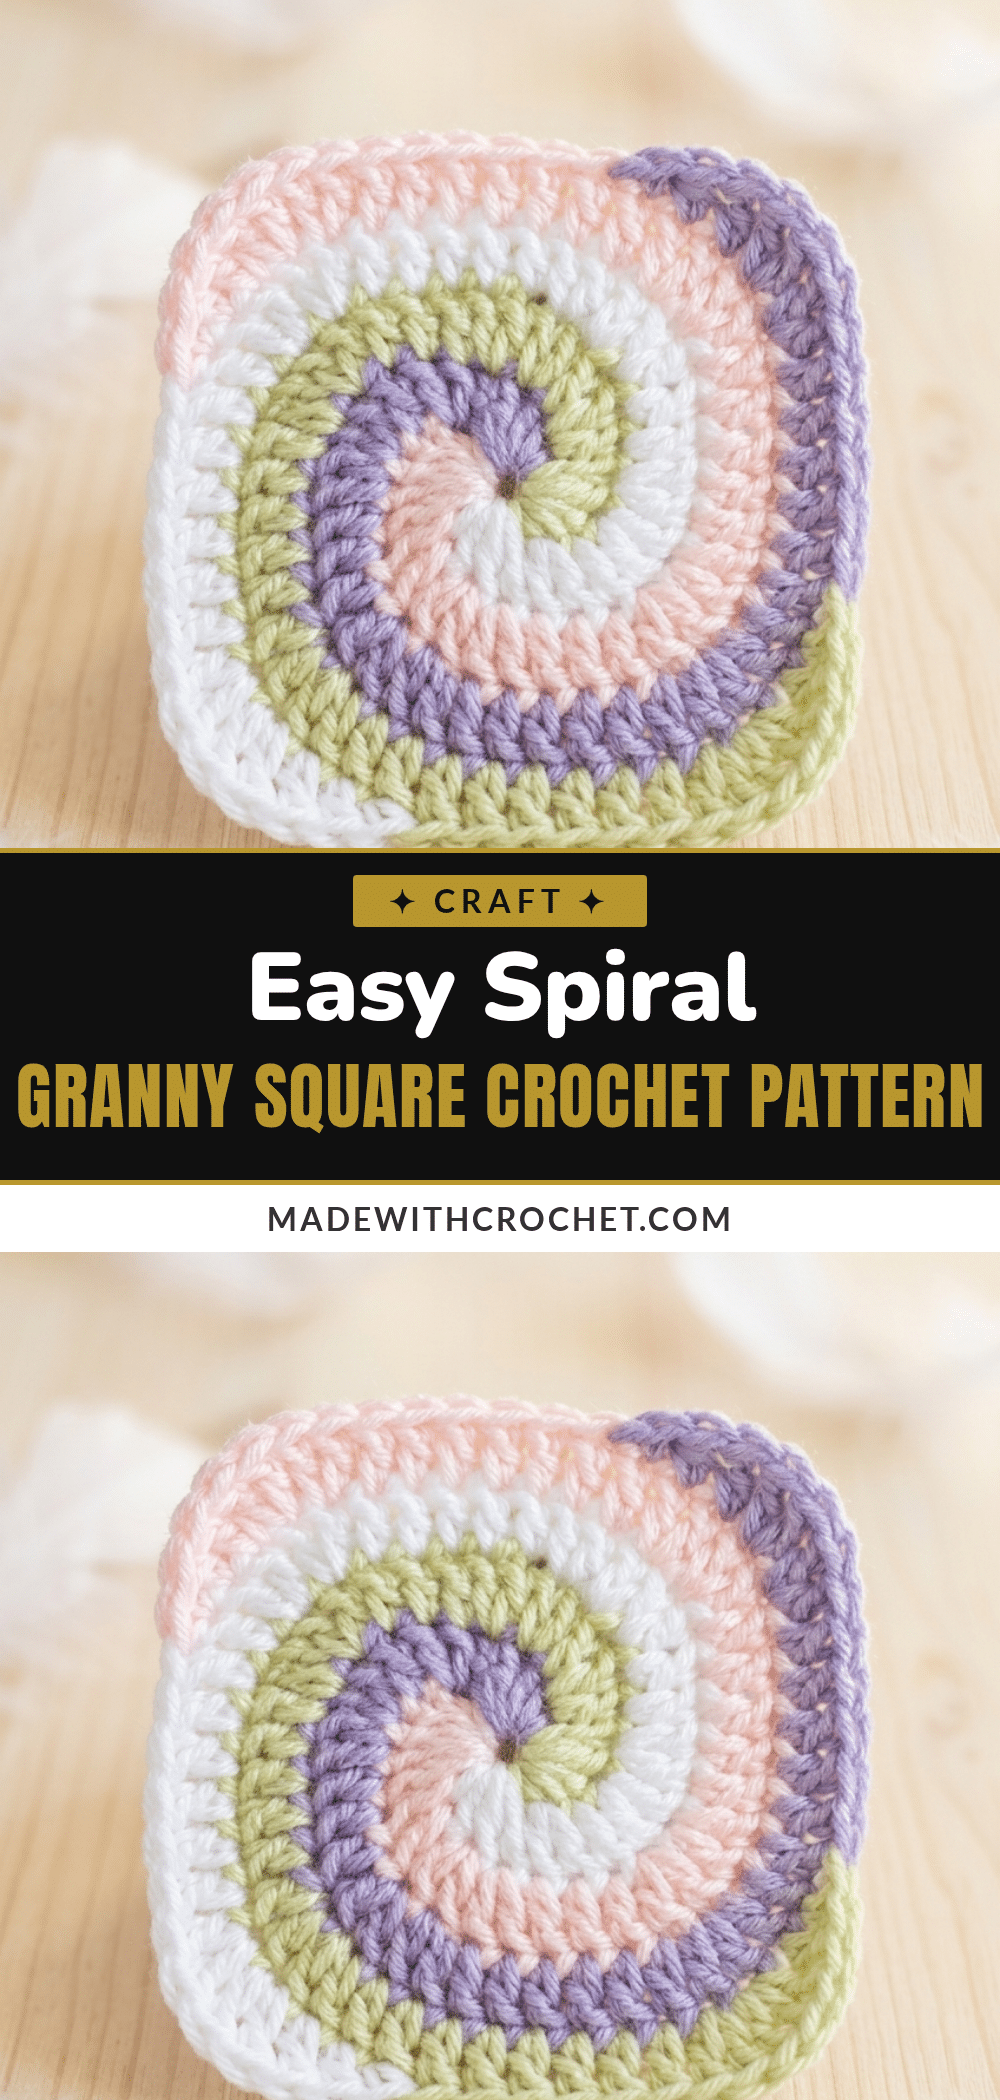
There is something deeply satisfying about pulling a few DK scraps from the stash bin and realizing they are the perfect match for a project that demands both structure and flair. This spiral granny square started as a simple experiment in color management, but the hypnotic, pinwheel effect it creates is anything but simple. By working four colors simultaneously in a continuous spiral, you get a motif that flows outward without the usual stopping and starting of traditional rounds. It is a design that feels intentional from the very first loop, turning leftover yarn into a wearable piece of art.
Yarn and Color Notes
The beauty of this pattern lies in its flexibility and the way the colors interact. Because all four colors are worked at the same time, the specific order you assign to Colors A, B, C, and D completely changes the final look of the square. I recommend thinking through your color placement before you start; a high-contrast palette will make the spiral effect pop, while a tonal scheme will create a more subtle, textured look. DK weight is the ideal choice here—it is substantial enough to give the square body but light enough to show off those crisp color transitions. Whether you are making a single square for a bag or a stack for a blanket, the yarn choices you make will define the character of the finished piece.
Project Overview
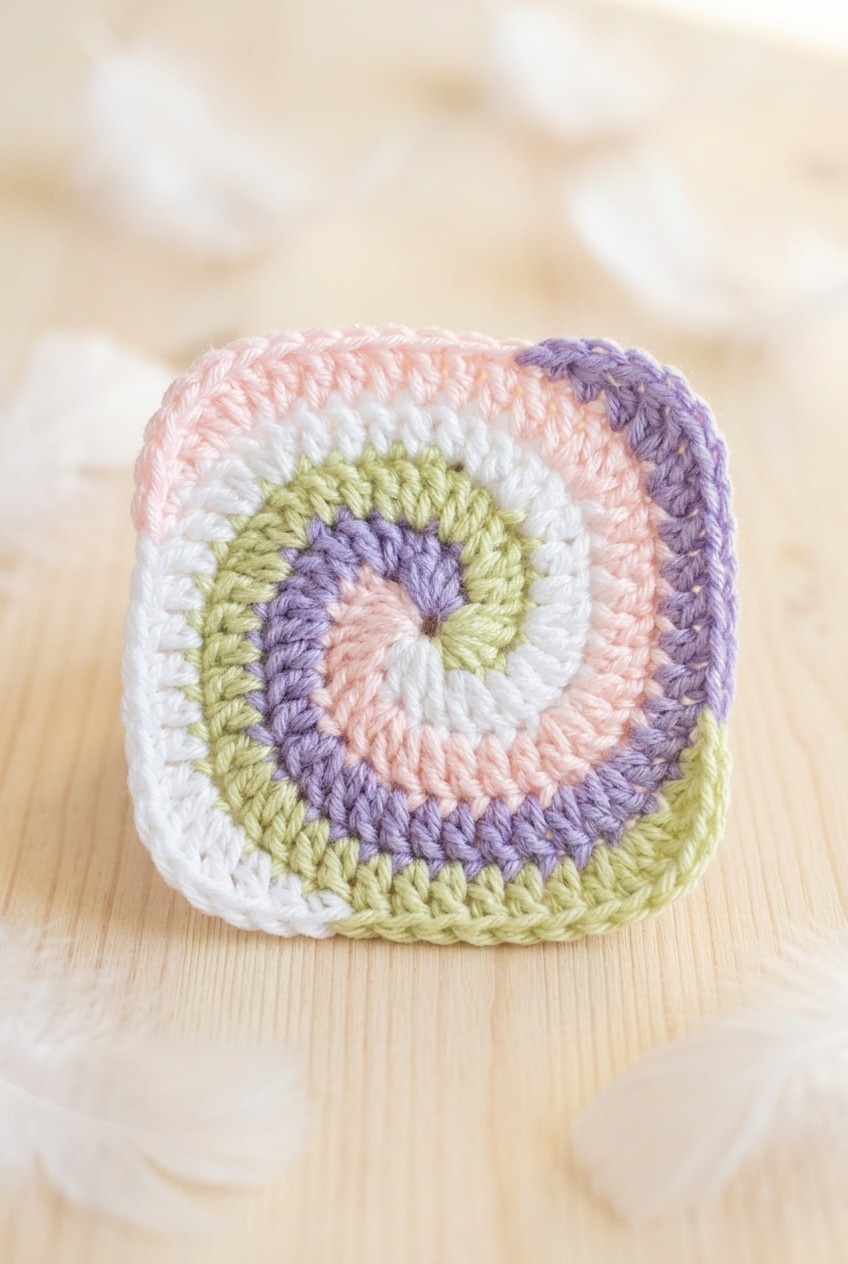
This spiral granny square is a versatile, easy-level motif that uses a continuous spiral construction rather than traditional rounds. It is fully adjustable, meaning you can create a small coaster or a large blanket square using the same instructions. The design is particularly great for using up small amounts of yarn, as each color is only used for a portion of each round.
Materials
- Yarn: DK Weight / Light Worsted Yarn in 4 Colors (labeled A, B, C, and D). This project is scrap-friendly; you do not need full skeins of each color.
- Crochet Hook: 3.5 mm hook. This size pairs well with DK weight to create a firm but flexible fabric.
- Notions: Yarn needle, scissors, and a stitch marker (optional but helpful).
Gauge and Finished Size
Gauge: Gauge is not critical for this project. Use the suggested hook size or adjust as needed to get a fabric you like for your square size and intended use.
Finished Size: Adjustable. You can make the square as large as you like by continuing the pattern rounds.
Abbreviations
All standard US crochet abbreviations are used:
- ch = chain
- dc = double crochet
- hdc = half double crochet
- sc = single crochet
- sl st = slip stitch
- st(s) = stitch(es)
Pattern Notes
This square uses 4 colors worked simultaneously in a spiral. All four are active at the same time. Each color works its own section, then you drop the hook and pick up the next color. Nothing is cut and rejoined between rounds. Because of this, it is worth marking which color you started with (Color A) so you always know when you have completed a full rotation.
If four colors feels like too much to manage, you can work it in just 2 colors by using the same two shades twice. The color ordering still matters, though; different arrangements will produce noticeably different results. There are no special stitches and no seaming. The construction is continuous from the center out, and the only thing that changes round to round is how many dc stitches fall in the middle section of each color’s segment. Always end with the Finishing round, no matter how large you have made the square.
Pattern Instructions
Spiral Granny Square
The whole square is worked from a central loop outward, with four colors spiraling around each other rather than being worked in traditional corner clusters. You will be dropping your hook and picking up the next color repeatedly throughout. Keep your loops secure and your colors organized before you start.
Round 1: With A, ch 4, sl st in first ch to form a loop, then *1 sc, 1 hdc, 2 dc into center of loop; remove hook*; with B repeat from *-*; remove hook; with C repeat from *-*; remove hook; with D repeat from *-*; remove hook. Each color is getting its own little cluster into that same starting loop, so you will have four separate yarn strands hanging off the work when this round is done. Don’t tighten the loop too snugly before all four colors are in—you need room to work into it.
Round 2: Return to A and *2 dc in next st (working into B—you should have 4 sts), 1 dc in next st, 2 dc in next st, skip last st for now; remove hook*; repeat from *-* for B, C, and D; remove hook. Each color is now working into the stitches left by the color ahead of it in the spiral. The “skip last st for now” is intentional—you will come back to it as the spiral continues to build.
Round 3: Return to A and *2 dc in next st, 1 dc in next 3 sts, 2 dc in next st, skip last st for now; remove hook*; repeat from *-* for B, C, and D; remove hook.
Round 4: Return to A and *2 dc in next st, 1 dc in next 5 sts, 2 dc in next st, skip last st for now; remove hook*; repeat from *-* for B, C, and D; remove hook. The pattern here is consistent: each round adds two more dc to the center run between the increases. The square is growing one increase-pair per color per round.
Round 5: Return to A and *2 dc in next st, 1 dc in next 7 sts, 2 dc in next st, skip last st for now; remove hook*; repeat from *-* for B, C, and D; remove hook.
Round 6 (Finishing Round): Return to A and *2 dc in next st, 1 dc in next st, 1 hdc in next st, 1 sc in next st, sl st in next st; remove hook*; repeat from *-* for B, C, and D; fasten off all yarns and sew in all tail ends. This final round tapers each color’s arm down from dc to sl st, which draws the outer edge of the square into its finished shape. Work the decreasing stitch heights in order—the sequence matters for the curve to lie flat.
Assembly
Fasten off all yarns and sew in all tail ends.
Tips
Marking Color A: Put a stitch marker or a small piece of scrap yarn on your Color A tail right at the start. Color A marks the beginning of each round, so knowing where it is at a glance saves a lot of counting. Once you have done a few rounds it becomes second nature, but that first marker really helps.
Managing Yarn: It can get messy if the balls are loose on a table. I keep each color in a small zip bag or a separate bowl so they don’t migrate toward each other. The strands do twist a little as you work around, but every few rounds you can just lift the whole square and let them unwind. It is less chaotic than it looks at first.
Blocking: Granny squares almost always look better after a light block, and this spiral version is no exception. Since the fiber isn’t specified here, check your yarn label before you do anything. For most acrylic DK yarns, I just pin the square to a foam mat, spritz it with water, and leave it overnight. Natural fibers like cotton or wool can handle a proper wet block. Either way, blocking really does settle those corners and evens out the spiral sections in a way that pressing with an iron never quite achieves.
FAQs
How does the spiral effect actually work? Are there color changes mid-round?
There are no traditional color changes. All four colors are worked at the same time from the very first round. Each color works its own section, then you drop that hook and pick up the next color. Because you keep returning to each color in the same order every round, the colors spiral outward automatically. You never cut and rejoin mid-round.
Can I make this with fewer than four colors?
Yes, two colors work fine. Just use the same two shades for A and C, and the same two shades for B and D, or any combination you like. Different ordering of the colors produces noticeably different spiral effects, so it is worth playing around before you commit to a full square.
How do I know how big to make the square?
The square is fully adjustable. Keep repeating the round pattern for as many rounds as you need, adding 2 more double crochet stitches to the middle section of each color per round. Round 2 has 1 dc in the middle, Round 3 has 3, Round 4 has 5, and so on. Just make sure you always finish with the Finishing round, regardless of size.
I keep losing track of which color is Color A. Any tips?
Use a stitch marker or a distinct piece of scrap yarn attached to the tail of Color A. Since Color A marks the beginning of each round, having a visual marker helps you track your progress and ensures you complete full rotations correctly.
Is managing four live yarn strands at once as tangled as it sounds?
It is less chaotic than it looks at first. The key is organization. Keep your yarn balls separated in bowls or bags to prevent tangling. As you work, the strands will twist slightly, but you can simply lift the square every few rounds to let the yarn unwind and relax.
For more inspiration on using granny squares in wearable projects, check out this easy sunflower granny square cardigan set or this easy sunset ombre granny square baby romper.
Pin This Crochet Pattern!