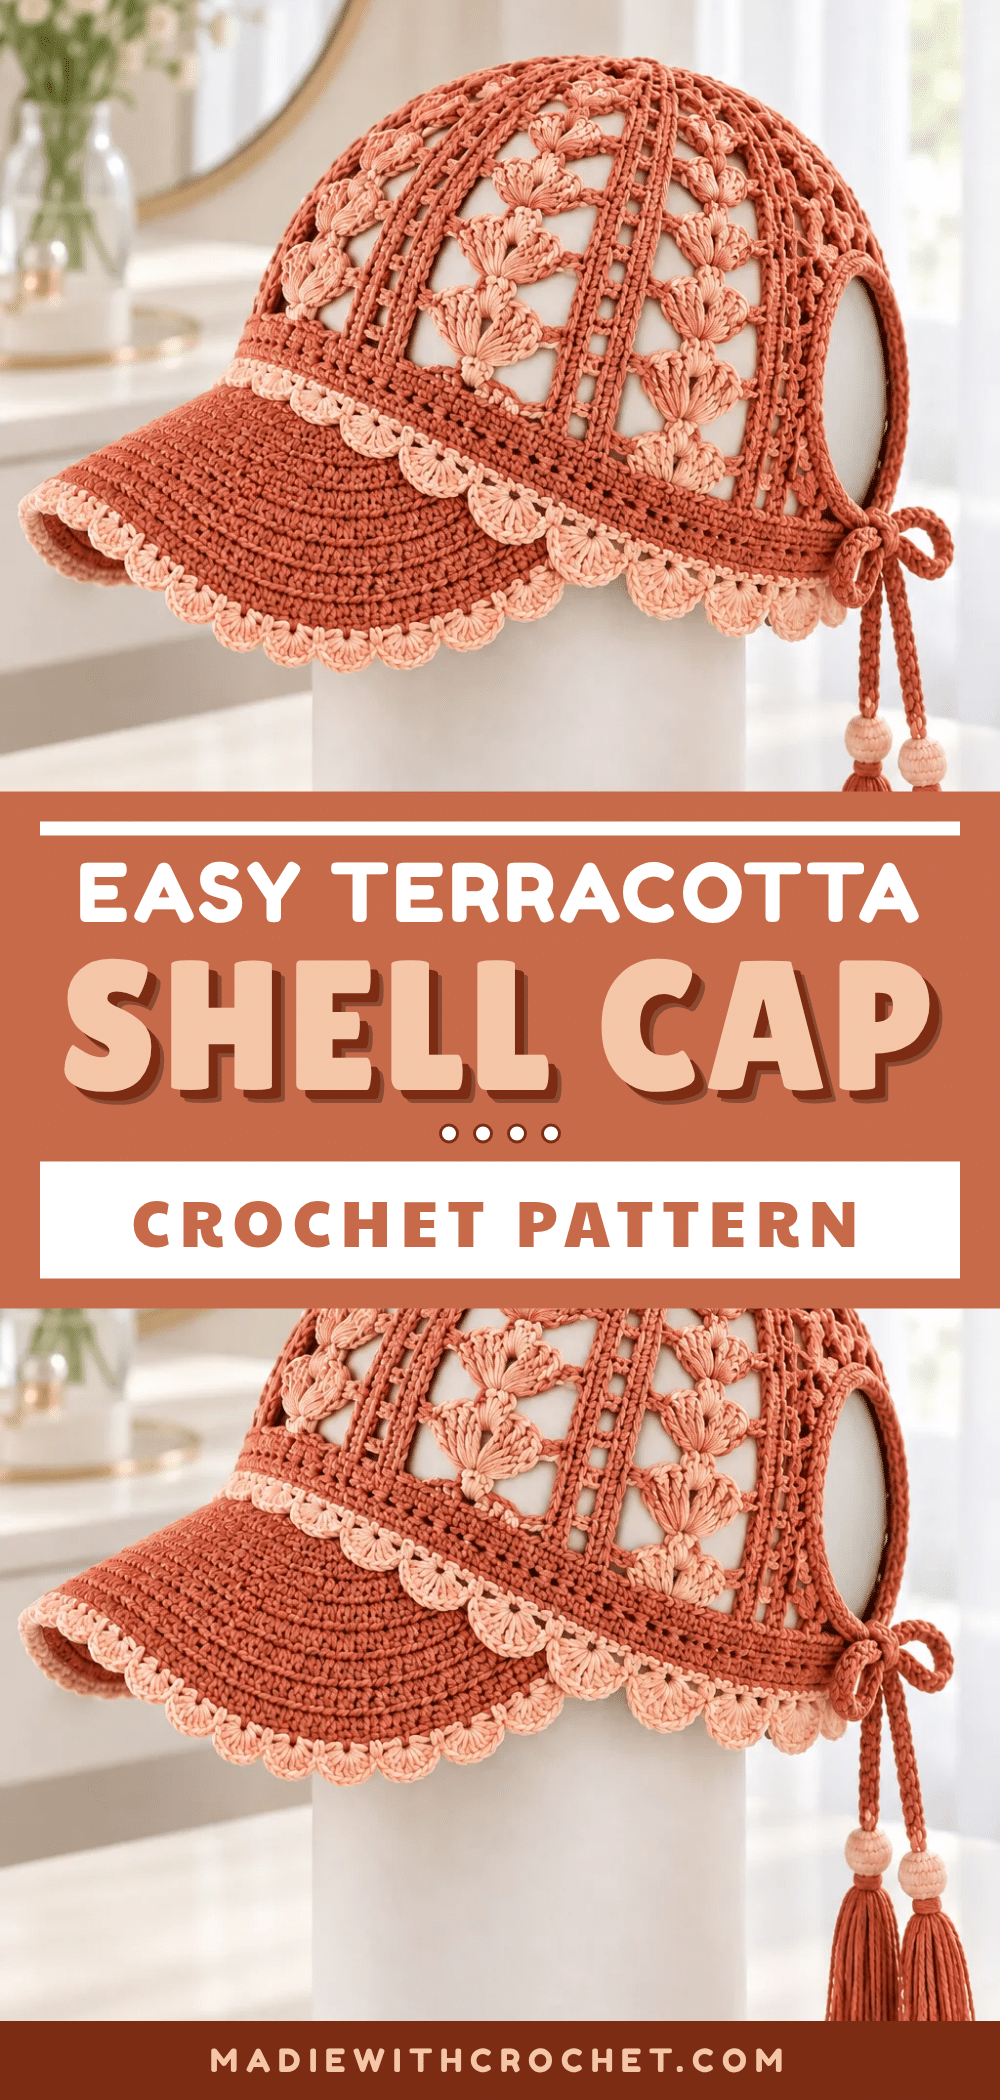
There is a specific kind of magic that happens when the yarn is laid out on the table and the hook is ready in your hand. The project begins to take shape not just as a pattern of stitches, but as a wearable piece of art. This terracotta shell cap is that perfect moment of creation—a structured visor meets a delicate lace crown, designed to keep the sun off your face while letting your hair flow freely. It is a project that balances technical precision with playful styling, resulting in a cap that feels as good as it looks.
Why This Project Works
The terracotta and pale peach colour combination gives this cap a warm, earthy aesthetic that feels both grounded and fresh. You could easily adapt the palette to suit your personal style—try navy with white trim for a nautical look, or soft sage with cream for something more subtle. The construction moves from the top down, starting with a circular lace disc, then opening the rear section, and finishing with a structured visor and decorative edgings. Whether you are heading to the farmer’s market, working in the garden, or spending a day at the beach, this cap works up beautifully in smooth fingering cotton. The open lace crown keeps you cool, the dense double-layer visor provides real shade, and the rear opening lets your hair flow freely. It is a thoughtful gift for anyone who enjoys outdoor activities but wants to keep their hair up and out of the way.
Project Overview
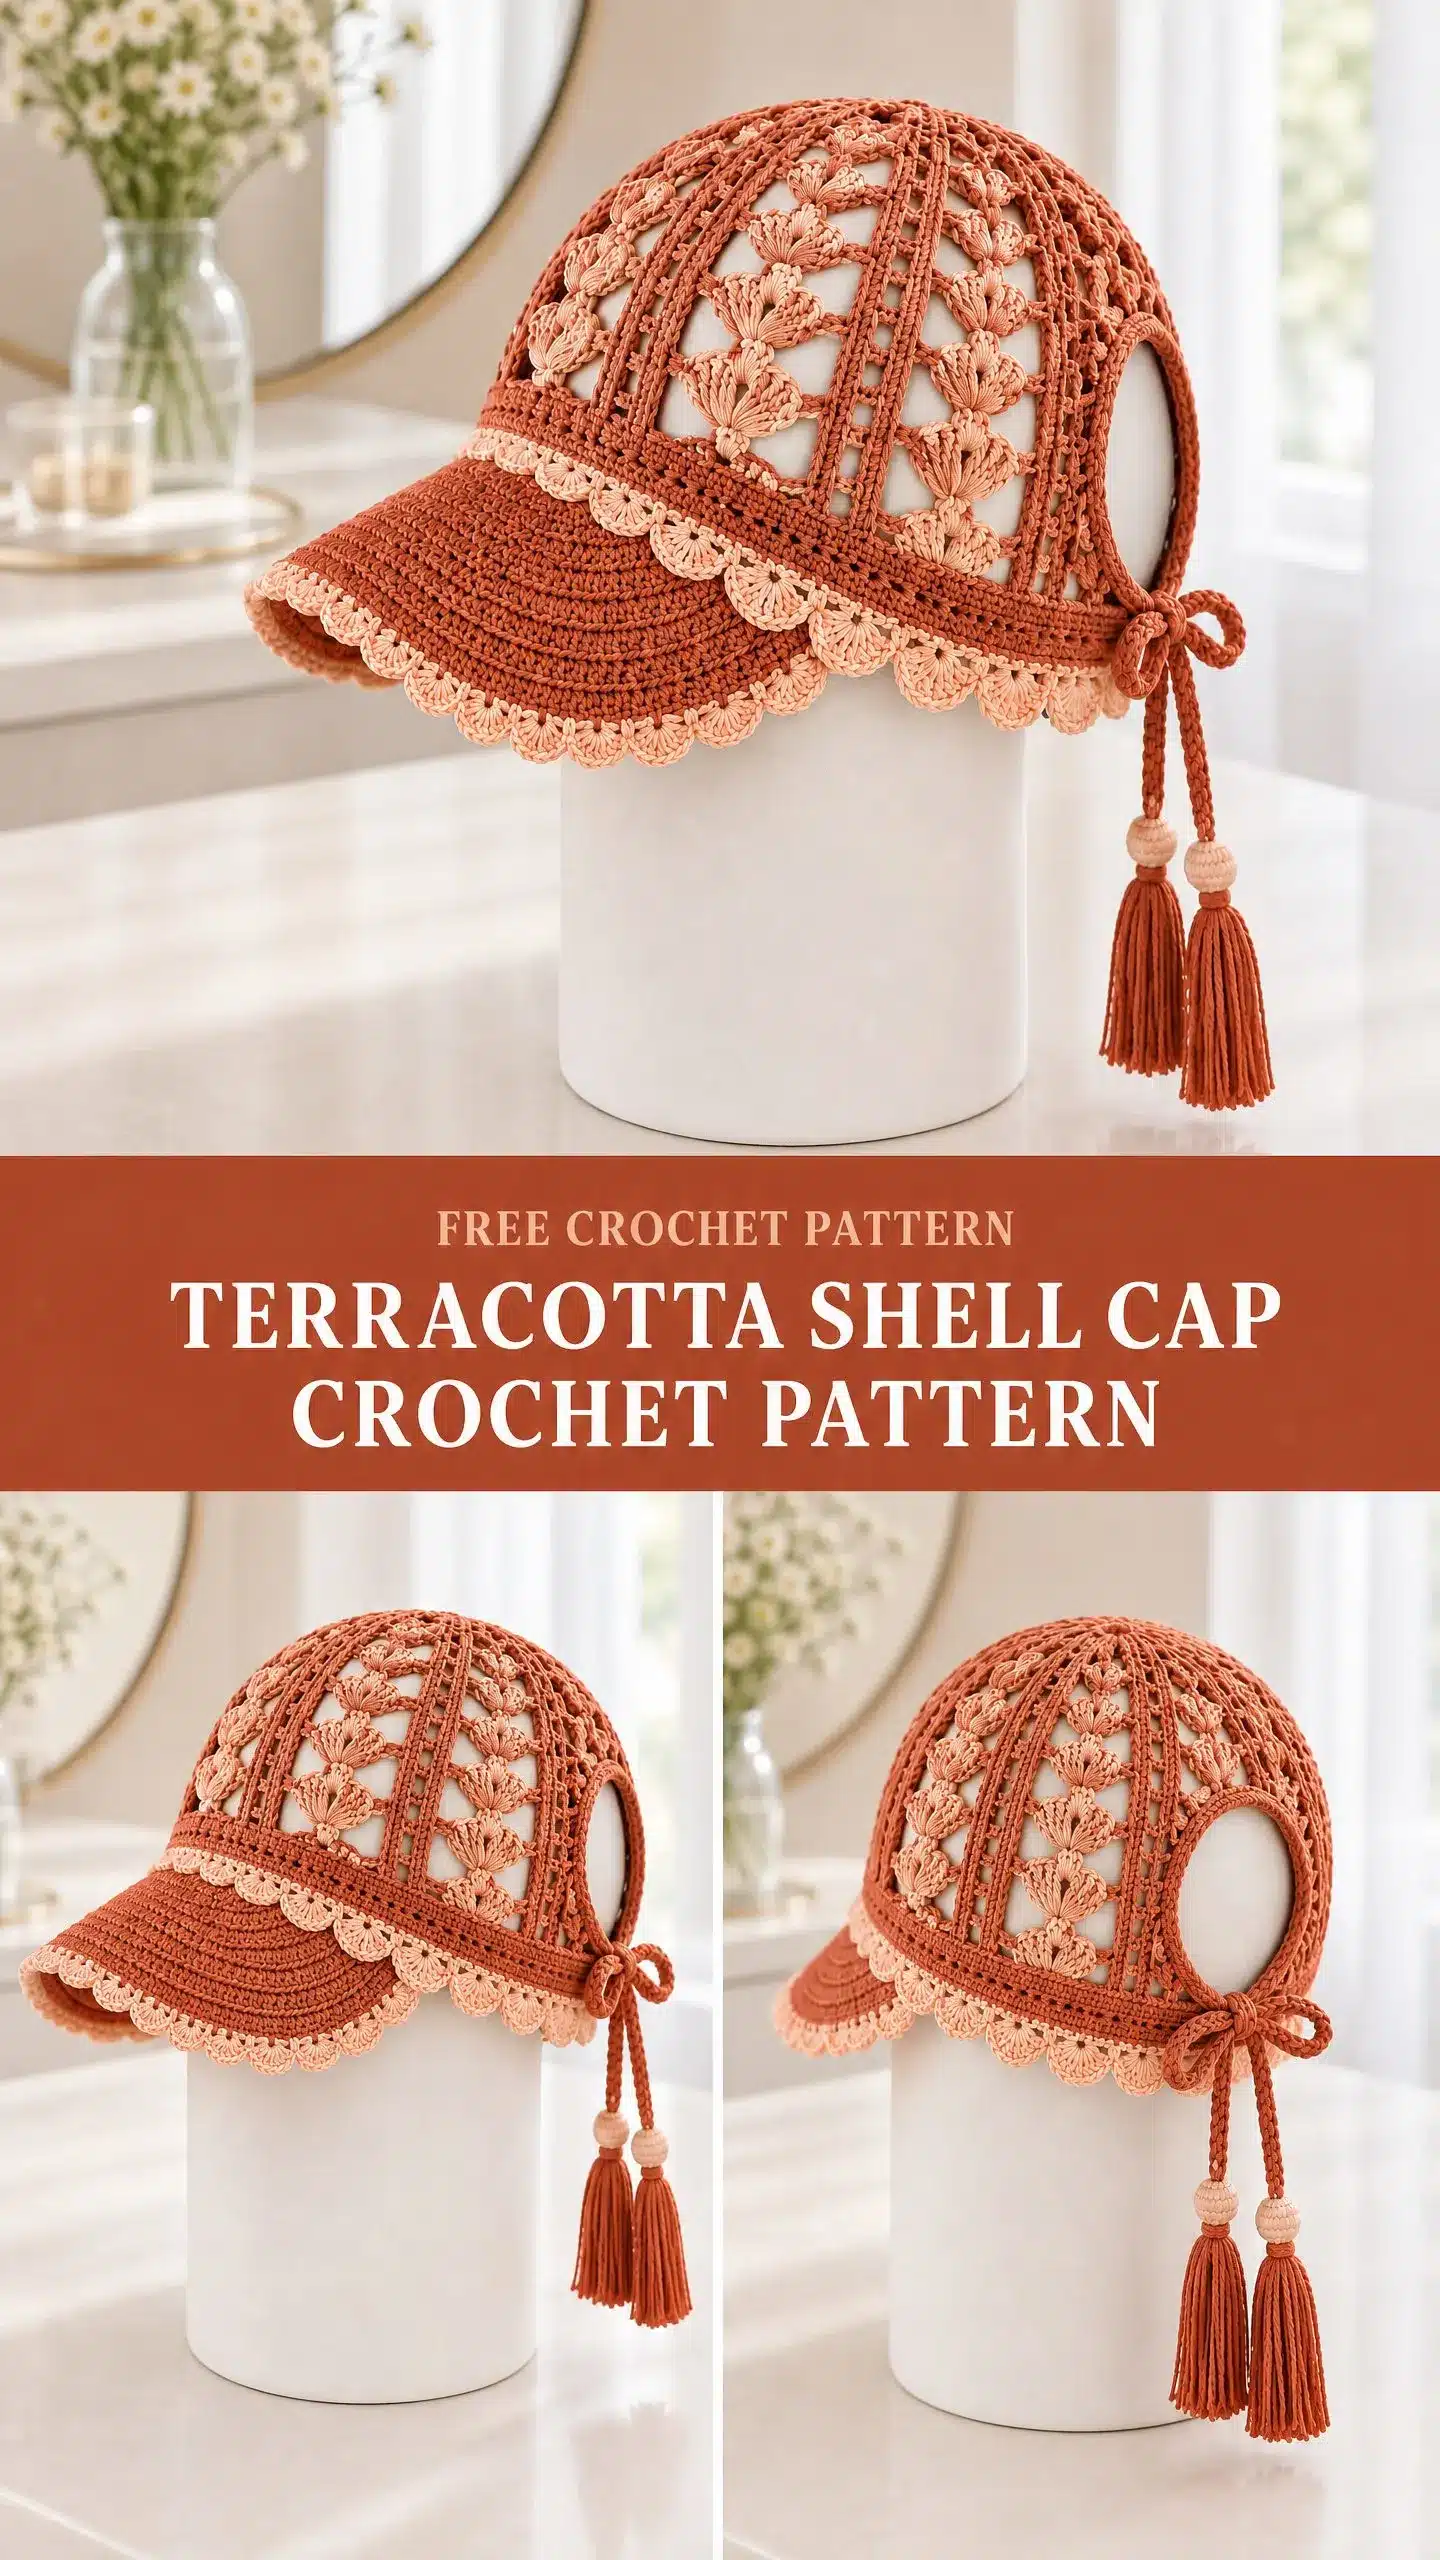
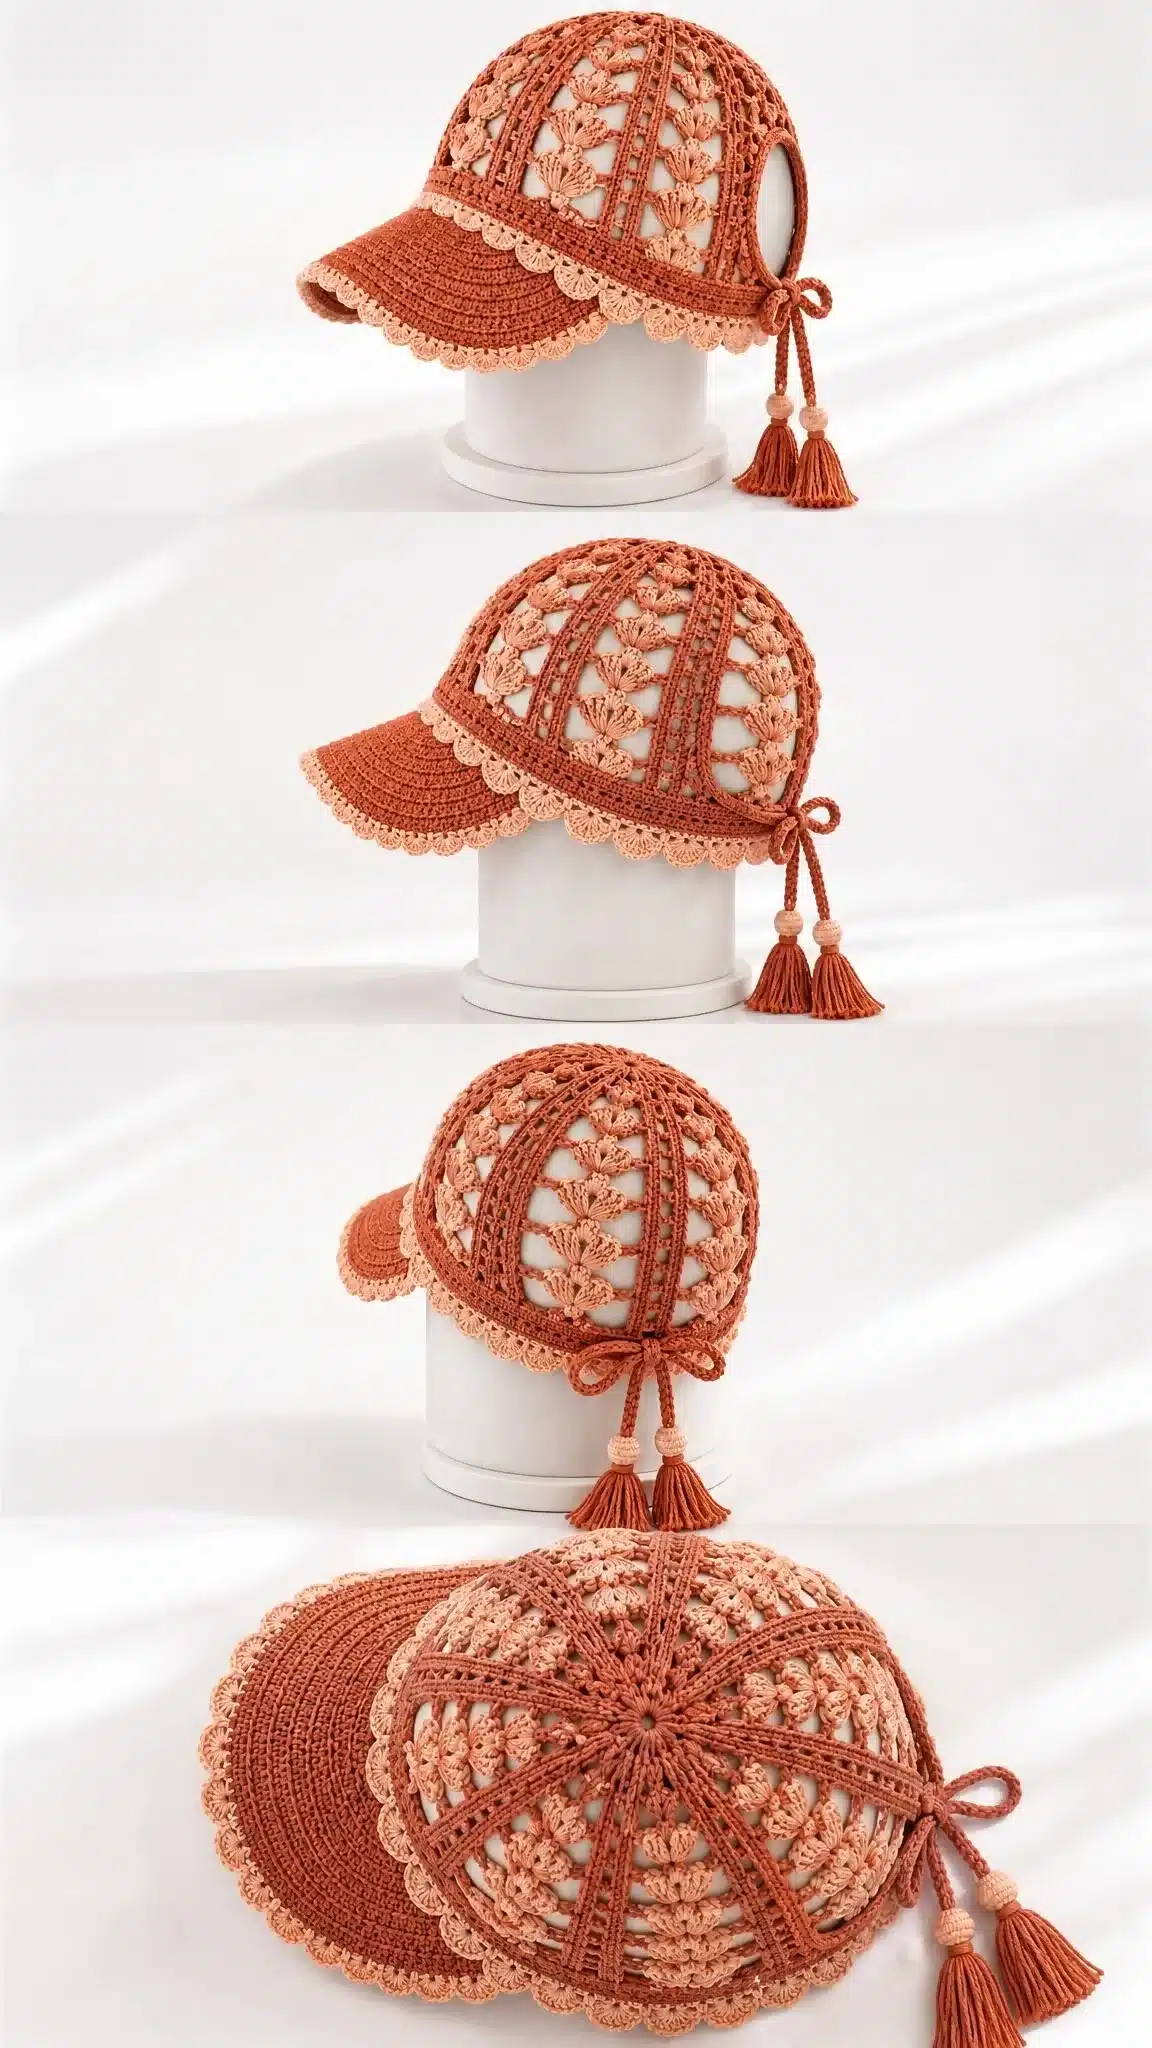
This intermediate-level pattern creates a fitted visor cap with a shell-decorated mesh crown. The design features a ponytail opening at the back, adjustable ties, and plain tassels. It is designed for adult heads measuring 54 to 57 cm.
Materials
Gathering your supplies before you begin makes the process smoother. Here is everything the pattern calls for:
- Yarn:
- Main colour (terracotta): 100 g / 400 m smooth fingering cotton, approximately 200 m per 50 g
- Contrast colour (pale peach): 15 g / 60 m for shell edging
- Hooks:
- 2.5 mm hook for the crown
- 2.25 mm hook for the visor and trim
- Notions:
- Tapestry needle
- 8 stitch markers
- Scissors
- Tape measure
- Optional: washable flexible visor insert, cut 3 mm smaller than the crocheted layers
The estimated yarn quantities include the appliques and the double visor layer. Always purchase a bit extra to account for swatching and any adjustments.
Gauge and Finished Size
Getting your gauge right ensures your cap fits properly. Cotton lace can stretch and lengthen while worn, so accuracy here matters.
- Crown gauge: 22 stitch positions (11 small-mesh cells) x 12 rows = 10 cm
- Dense visor gauge: 22 single crochet (sc) x 24 rows = 10 cm
- Crown circumference: The 120-position crown circumference measures approximately 54.5 cm.
Make a swatch at least 15 x 15 cm. Wash and dry it the same way you plan to care for the finished cap. Measure the central 10 cm without stretching. If your swatch runs large, go down a hook size. If it runs small, go up. Record both width and height measurements.
Finished measurements:
- Head circumference: 54 to 57 cm
- Crown depth: approximately 18 cm
- Rear opening: approximately 6 x 5 cm
- Visor: 20 x 6 cm
Abbreviations
This pattern uses US crochet terminology throughout. Here are the abbreviations you will encounter:
- ch = chain
- st(s) = stitch(es)
- sp = space
- sl st = slip stitch (insert hook, yarn over, pull through both loops on hook)
- sc = single crochet (insert hook, yarn over, pull up a loop, yarn over, pull through both loops)
- hdc = half double crochet
- dc = double crochet (yarn over, insert hook, yarn over, pull up a loop, yarn over, pull through two loops, yarn over, pull through remaining two loops)
- tr = treble crochet
- BLO = back loop only
- RS/WS = right side / wrong side
- rep = repeat
- inc = increase
- sc2tog = single crochet two stitches together (a decrease)
Pattern Notes
A few things to keep in mind as you work:
- The turning chain 3 counts as a double crochet. Chain 1 does not count as a single crochet.
- Join rounds with a slip stitch unless stated otherwise. Flat rows turn after each row. Joined rounds do not turn.
- Brackets [ ] enclose a repeat. Do not count joining slip stitches in your stitch totals.
- Sew with right sides together unless directed otherwise.
- Work the main fabric in terracotta. Use pale peach for the shell edging and any named trims.
This pattern provides one adult size only. Check the measurements against your head before committing your yarn. Altering stitch counts requires recalculating motif placement and shaping.
Special Stitches
- Small mesh (flat): Chain 3 (counts as first double crochet), then work [chain 1, skip next chain-1 space, double crochet in next double crochet] to the end. Work the double crochet into the post stitch, not the gap. A mesh cell is one chain-1 space bounded by double crochet posts. Flat work with C cells has C+1 double crochet posts and C chains. Total positions = 2C+1.
- Shell trim: On a prepared single crochet edge with a multiple of 6 stitches, work [skip 2 sc, 5 dc in next sc, skip 2 sc, sl st in next sc] across.
- Picot trim: Work [sc in next 3 sts, ch 3, sl st into third ch from hook] across.
Pattern Instructions
Crown Lace Disc Instructions
This section creates the top of the cap. You will start with an adjustable ring and increase outward.
Round 1: Into an adjustable ring, ch 3 (counts as first dc), 11 dc; join with sl st to top of ch 3. 12 dc.
Round 2: Ch 3, ch 1; [dc in next dc, ch 1] 11 times; join. 12 dc + 12 ch-1 spaces; 12 cells.
Round 3: Sl st into first ch-1 space. Work [(dc, ch 1, dc, ch 1) in next space, (dc, ch 1) in each of next 1 spaces] 6 times; replace first dc with ch 3 and join. 18 dc + 18 ch-1 spaces; 18 cells.
Round 4: Sl st into first ch-1 space. Work [(dc, ch 1, dc, ch 1) in next space, (dc, ch 1) in each of next 2 spaces] 6 times; replace first dc with ch 3 and join. 24 dc + 24 ch-1 spaces; 24 cells.
Round 5: Sl st into first ch-1 space. Work [(dc, ch 1, dc, ch 1) in next space, (dc, ch 1) in each of next 3 spaces] 6 times; replace first dc with ch 3 and join. 30 dc + 30 ch-1 spaces; 30 cells.
Round 6: Sl st into first ch-1 space. Work [(dc, ch 1, dc, ch 1) in next space, (dc, ch 1) in each of next 4 spaces] 6 times; replace first dc with ch 3 and join. 36 dc + 36 ch-1 spaces; 36 cells.
Round 7: Sl st into first ch-1 space. Work [(dc, ch 1, dc, ch 1) in next space, (dc, ch 1) in each of next 5 spaces] 6 times; replace first dc with ch 3 and join. 42 dc + 42 ch-1 spaces; 42 cells.
Round 8: Sl st into first ch-1 space. Work [(dc, ch 1, dc, ch 1) in next space, (dc, ch 1) in each of next 6 spaces] 6 times; replace first dc with ch 3 and join. 48 dc + 48 ch-1 spaces; 48 cells.
Round 9: Sl st into first ch-1 space. Work [(dc, ch 1, dc, ch 1) in next space, (dc, ch 1) in each of next 7 spaces] 6 times; replace first dc with ch 3 and join. 54 dc + 54 ch-1 spaces; 54 cells.
Round 10: Sl st into first ch-1 space. Work [(dc, ch 1, dc, ch 1) in next space, (dc, ch 1) in each of next 8 spaces] 6 times; replace first dc with ch 3 and join. 60 dc + 60 ch-1 spaces; 60 cells.
Round 11: Ch 3; [ch 1, dc in next dc] 59 times; ch 1, join to top of ch 3. 60 dc + 60 ch-1 spaces.
Rounds 12 to 14: Ch 3; [ch 1, dc in next dc] 59 times; ch 1, join. 60 dc + 60 ch-1 spaces. Repeat this instruction for each round.
Creating the Rear Opening
This section shapes the ponytail opening at the back of the cap.
Mark a rear arc of 7 mesh cells. Place the working start at the first boundary post of the remaining 53-cell front arc. Cut and rejoin yarn there if needed.
Row 15: Ch 3; [ch 1, dc in next dc] 53 times along the front arc. Leave rear 7 cells unworked; turn. 54 dc + 53 ch-1 spaces; 53 cells.
Rows 16 to 19: Work small mesh across; turn. 54 dc + 53 ch-1 spaces; 53 cells. Repeat this instruction for each row.
Checkpoint: Crown circumference before opening measures approximately 54.5 cm. Rear notch measures approximately 6.4 cm wide x 4.2 cm deep. Block the crown to approximately 18 cm depth. Adjust only the straight mesh-row count if needed.
Visor Instructions
Make two matching layers. Use your 2.25 mm hook. The starting edge attaches to the cap later.
For the wide version, block width to 21 cm. For petite versions, block to 19 cm without changing stitch counts.
Row 1: Ch 45; sc in second ch and each remaining ch; turn. 44 sc.
Row 2: Ch 1, sc2tog, sc in next 40 sts, sc2tog; turn. 42 sc.
Row 3: Ch 1, sc2tog, sc in next 38 sts, sc2tog; turn. 40 sc.
Row 4: Ch 1, sc2tog, sc in next 36 sts, sc2tog; turn. 38 sc.
Row 5: Ch 1, sc2tog, sc in next 34 sts, sc2tog; turn. 36 sc.
Row 6: Ch 1, sc2tog, sc in next 32 sts, sc2tog; turn. 34 sc.
Row 7: Ch 1, sc2tog, sc in next 30 sts, sc2tog; turn. 32 sc.
Row 8: Ch 1, sc2tog, sc in next 28 sts, sc2tog; turn. 30 sc.
Row 9: Ch 1, sc2tog, sc in next 26 sts, sc2tog; turn. 28 sc.
Row 10: Ch 1, sc2tog, sc in next 24 sts, sc2tog; turn. 26 sc.
Row 11: Ch 1, sc2tog, sc in next 22 sts, sc2tog; turn. 24 sc.
Row 12: Ch 1, sc2tog, sc in next 20 sts, sc2tog; turn. 22 sc.
Row 13: Ch 1, sc2tog, sc in next 18 sts, sc2tog; turn. 20 sc.
Row 14: Ch 1, sc2tog, sc in next 16 sts, sc2tog; turn. 18 sc.
Fasten off. Make a second identical layer.
Edgings and Details
Switch to your contrast colour (pale peach) for the shell trim. Use your 2.25 mm hook.
Edging round 1: Work sc around the rear opening and exposed lower rim. Use 1 sc per stitch or chain position and 2 sc per dc row end. Mark and record your actual total (this is your E count). E sc.
Edging round 2: Work 1 sc in each sc around. For the scalloped version, add shell trim on the exposed lower sides only, leaving up to 5 remainder stitches as plain sc. E base stitches consumed.
Ties (make 2)
Tie row 1: Ch 66, sl st in second ch and each remaining ch; fasten off. 65 sl sts per tie.
Attach one tie to each lower rear corner of the opening.
Plain Tassels (make 2)
Wrap yarn 12 times around a 5 cm card. Tie the top loops together securely. Cut the bottom loops. Bind the neck about 1 cm below the top with several tight wraps. Trim the ends evenly. Sew one tassel to the end of each tie.
Checkpoint: The ties should close comfortably without pulling the opening shut. All decorations should be secure, and the visor should remain centred.
Assembly
You will need your main colour yarn, 2.25 mm hook, tapestry needle, both visor layers, and your optional flexible insert.
Assembly pass 1: Align visor layers with wrong sides together. Whipstitch their shaped outer edges. If using the optional washable support insert, slide it in before closing the last edge. 2 layers joined.
Assembly pass 2: Centre the 44-stitch starting edge over the front 44 stitch positions of the cap rim. Sew through both visor layers and the cap edge once per position. 44 attachment stitches.
Checkpoint: The visor should sit symmetrically opposite the rear opening and curve down slightly. No sharp insert corners should protrude.
You will need matching yarn tails, a tapestry needle, a towel, and a head-shaped blocking form.
Finishing pass 1: Weave each tail through at least 4 cm of dense fabric, reverse direction, and trim. 0 unsecured tails.
Finishing pass 2: Damp-block the crown over a 54 to 55 cm form. Shape the visor by hand. Air-dry fully. 1 finished cap.
Final checkpoint: Target head range is 54 to 57 cm. Crown depth measures approximately 18 cm. Visor measures approximately 20 x 6 cm. Do not stretch the lace while wet.
Tips
- Working the mesh increases: The key to a flat lace disc is placing your increases evenly. Each round adds 6 cells by working (dc, ch 1, dc, ch 1) into one space while working single cells in the others. If your disc cups or ruffles, check that you are placing increases in the correct spaces.
- Joining the visor neatly: Take your time centring the visor before you begin sewing. Pin it in place if helpful. Sewing through all layers at once creates a clean, sturdy join.
- Blocking matters: Cotton lace really benefits from blocking. The stitches open up, the shells pop, and the whole cap takes on a polished look. Use a head form or stuff the crown with plastic bags wrapped in a towel.
- Customizing your cap: For a longer visor, add one or two more rows before beginning decreases. For a smaller head, check your gauge carefully and consider using the smaller hook throughout. The pattern is designed for one size, so significant adjustments require recalculating stitch counts.
FAQs
Can I use a different yarn weight?
This pattern is designed for smooth fingering cotton. Using a different weight will alter the gauge and the finished size significantly. If you change yarn, you must swatch carefully and adjust hook sizes and stitch counts accordingly.
How do I adjust the size for a smaller head?
The pattern is designed for one adult size (54-57 cm). For a smaller head, check your gauge carefully and consider using the smaller hook throughout. Significant adjustments require recalculating stitch counts and motif placement.
Is the visor stiff?
The visor is made of dense single crochet in two layers. You can insert a washable flexible visor insert (cut 3 mm smaller than the crocheted layers) for added structure, but it is optional. The double-layer crochet provides natural stiffness.
How do I care for the finished cap?
Hand-wash in cool water with mild detergent. Support the wet fabric to prevent stretching and dry flat away from direct heat. Remove any removable visor insert before washing. Do not wring, tumble dry, or iron acrylic components.
What if my crown cups or ruffles?
This usually indicates uneven increases. Ensure you are placing increases in the correct spaces as described in the rounds. Each round adds 6 cells by working (dc, ch 1, dc, ch 1) into one space while working single cells in the others.
Can I make this for a child?
The pattern is written for an adult size. To make a child’s version, you would need to reduce the number of increases in the crown rounds and shorten the visor rows, which requires recalculating the pattern based on your specific gauge.
Pin This Crochet Pattern!