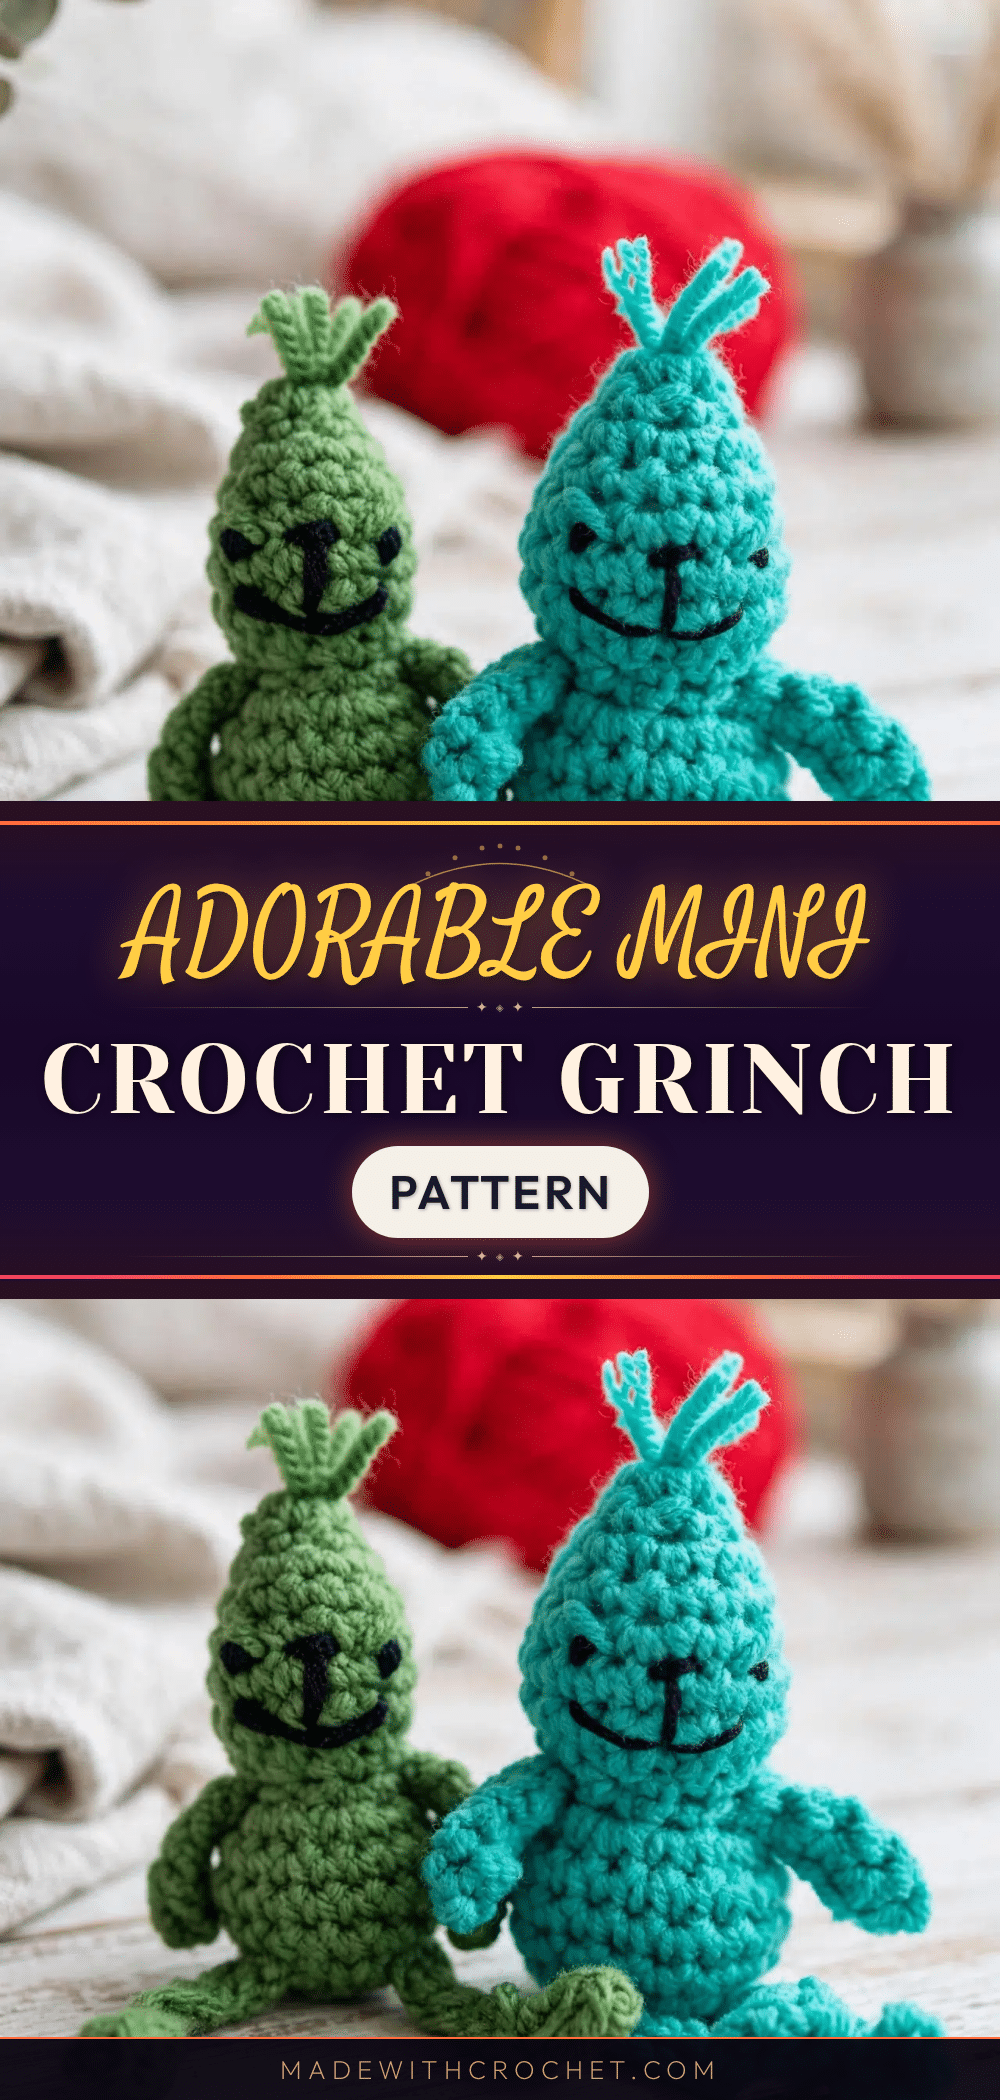
Looking for a festive addition to your holiday decor or a charming handmade gift? This adorable Mini Christmas Crochet Grinch Pattern is the perfect project. It brings a cute, grumpy personality to a small and friendly amigurumi that is welcoming for beginners yet quick enough for experienced makers to whip up in an afternoon. Whether you are planning a Christmas market table or just want a cozy seasonal character for your shelf, this compact design delivers big on charm.
Gift and Use Ideas
This mini Grinch is designed to be a versatile piece for your holiday celebrations. Because of its compact size and sturdy construction, it works beautifully as a standalone decoration or as part of a larger display. You can tuck it into a Christmas basket, place it on a mantelpiece, or add a hanging loop to use it as a tree ornament. It also makes a delightful gift for friends who enjoy quirky holiday characters, fitting perfectly alongside other seasonal handmade items.
Project Overview
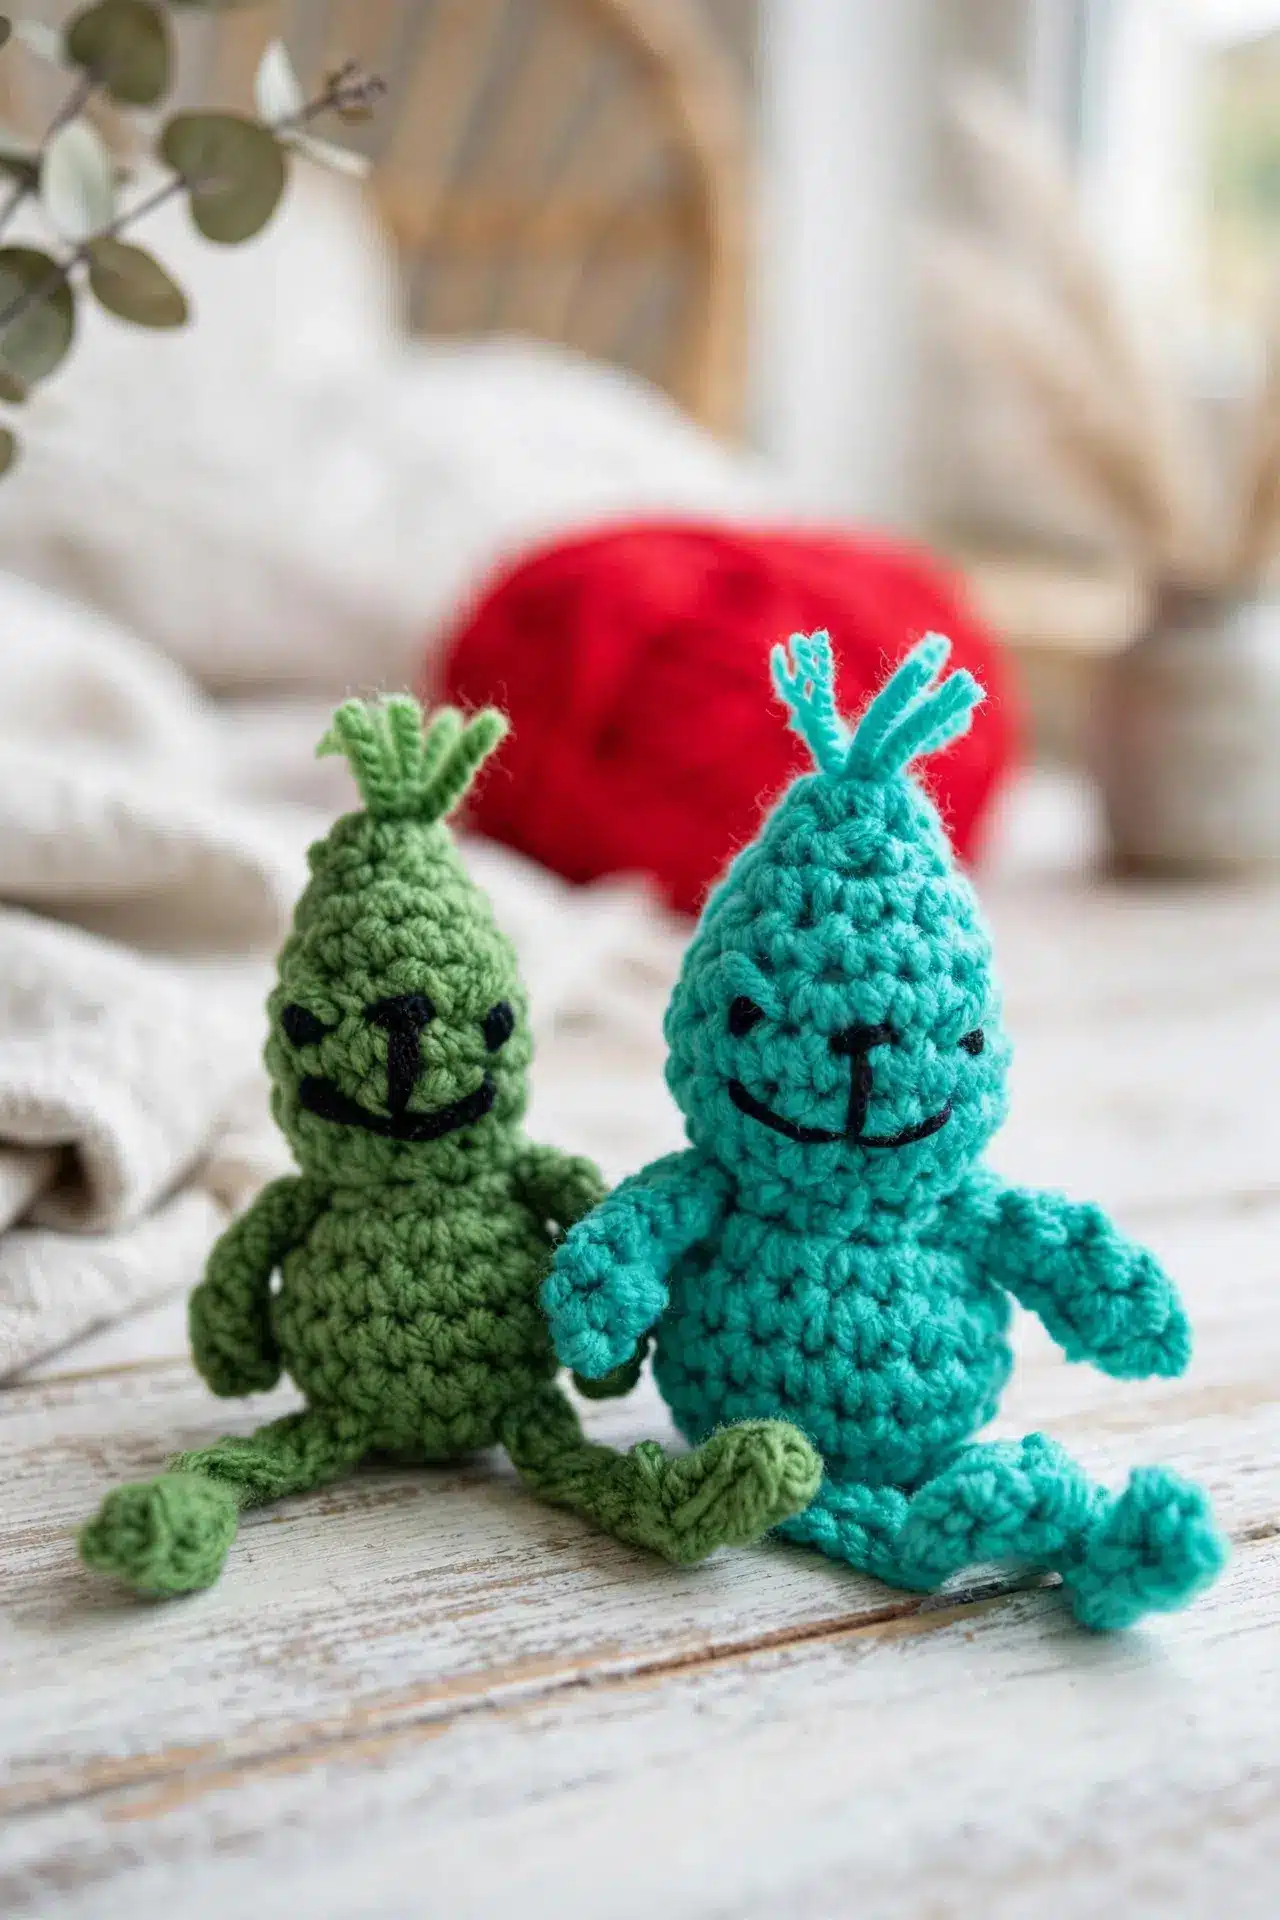
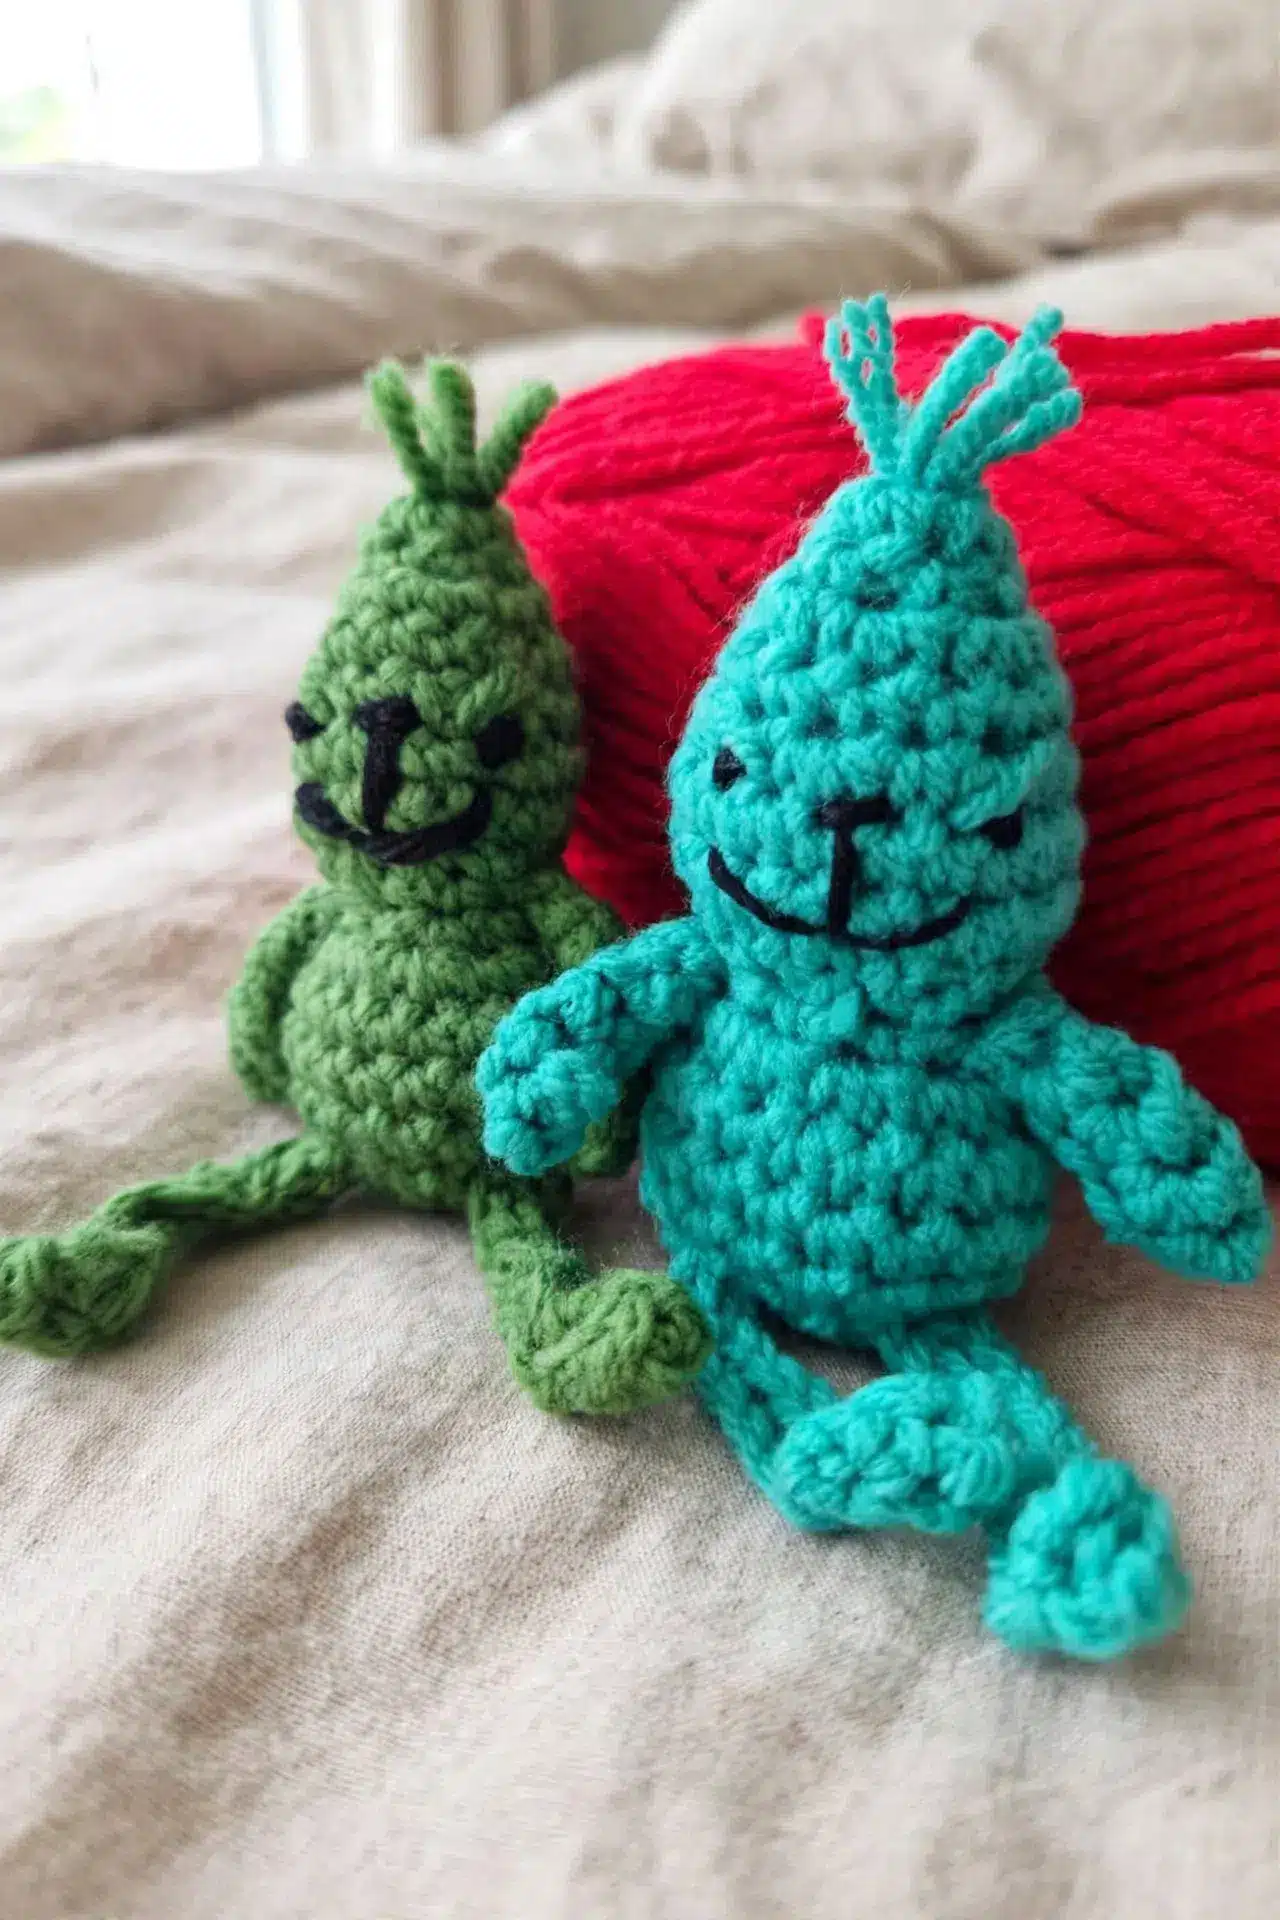
This pattern creates a small, grumpy Grinch character using simple stitches and compact construction. The design features a one-piece body where the head and torso are crocheted continuously, eliminating the need for complex joining. The shaping is achieved through straightforward increases and decreases, making it an accessible project for beginners. The short rounds and tiny limbs keep the stitch volume manageable, allowing you to finish the project in about 2-4 hours.
Materials
Gather your hook, yarn, filling, and basic finishing tools before you begin so you can stuff and assemble each part at the right moment.
- Yarn: DK / Light Worsted weight yarn (3). You can substitute another yarn weight, but it will change the finished size. Pair it with a hook that creates a firm fabric so the filling stays contained.
- Crochet Hook: 4.00 mm crochet hook
- Tools: Yarn needle, Scissors
- Stuffing: Toy stuffing or scraps for stuffing. Add either filling in small portions so you can shape the head and body without creating hard lumps.
- Optional: Stitch marker
Abbreviations
- ch – chain
- sl st – slip stitch
- sc – single crochet
- sc2tog – single crochet 2 stitches together for decrease
- st – stitch
- sts – stitches
Pattern Notes
The main body is worked in continuous rounds without joining. Keep the body rounds continuous and move a stitch marker to the first stitch of each new round if you need help tracking your place. The head and body are crocheted as one continuous piece rather than as separate parts. The decrease in Round 8 and increase in Round 10 create the transition between them, which removes the need for a separate joining seam.
Pattern Instructions
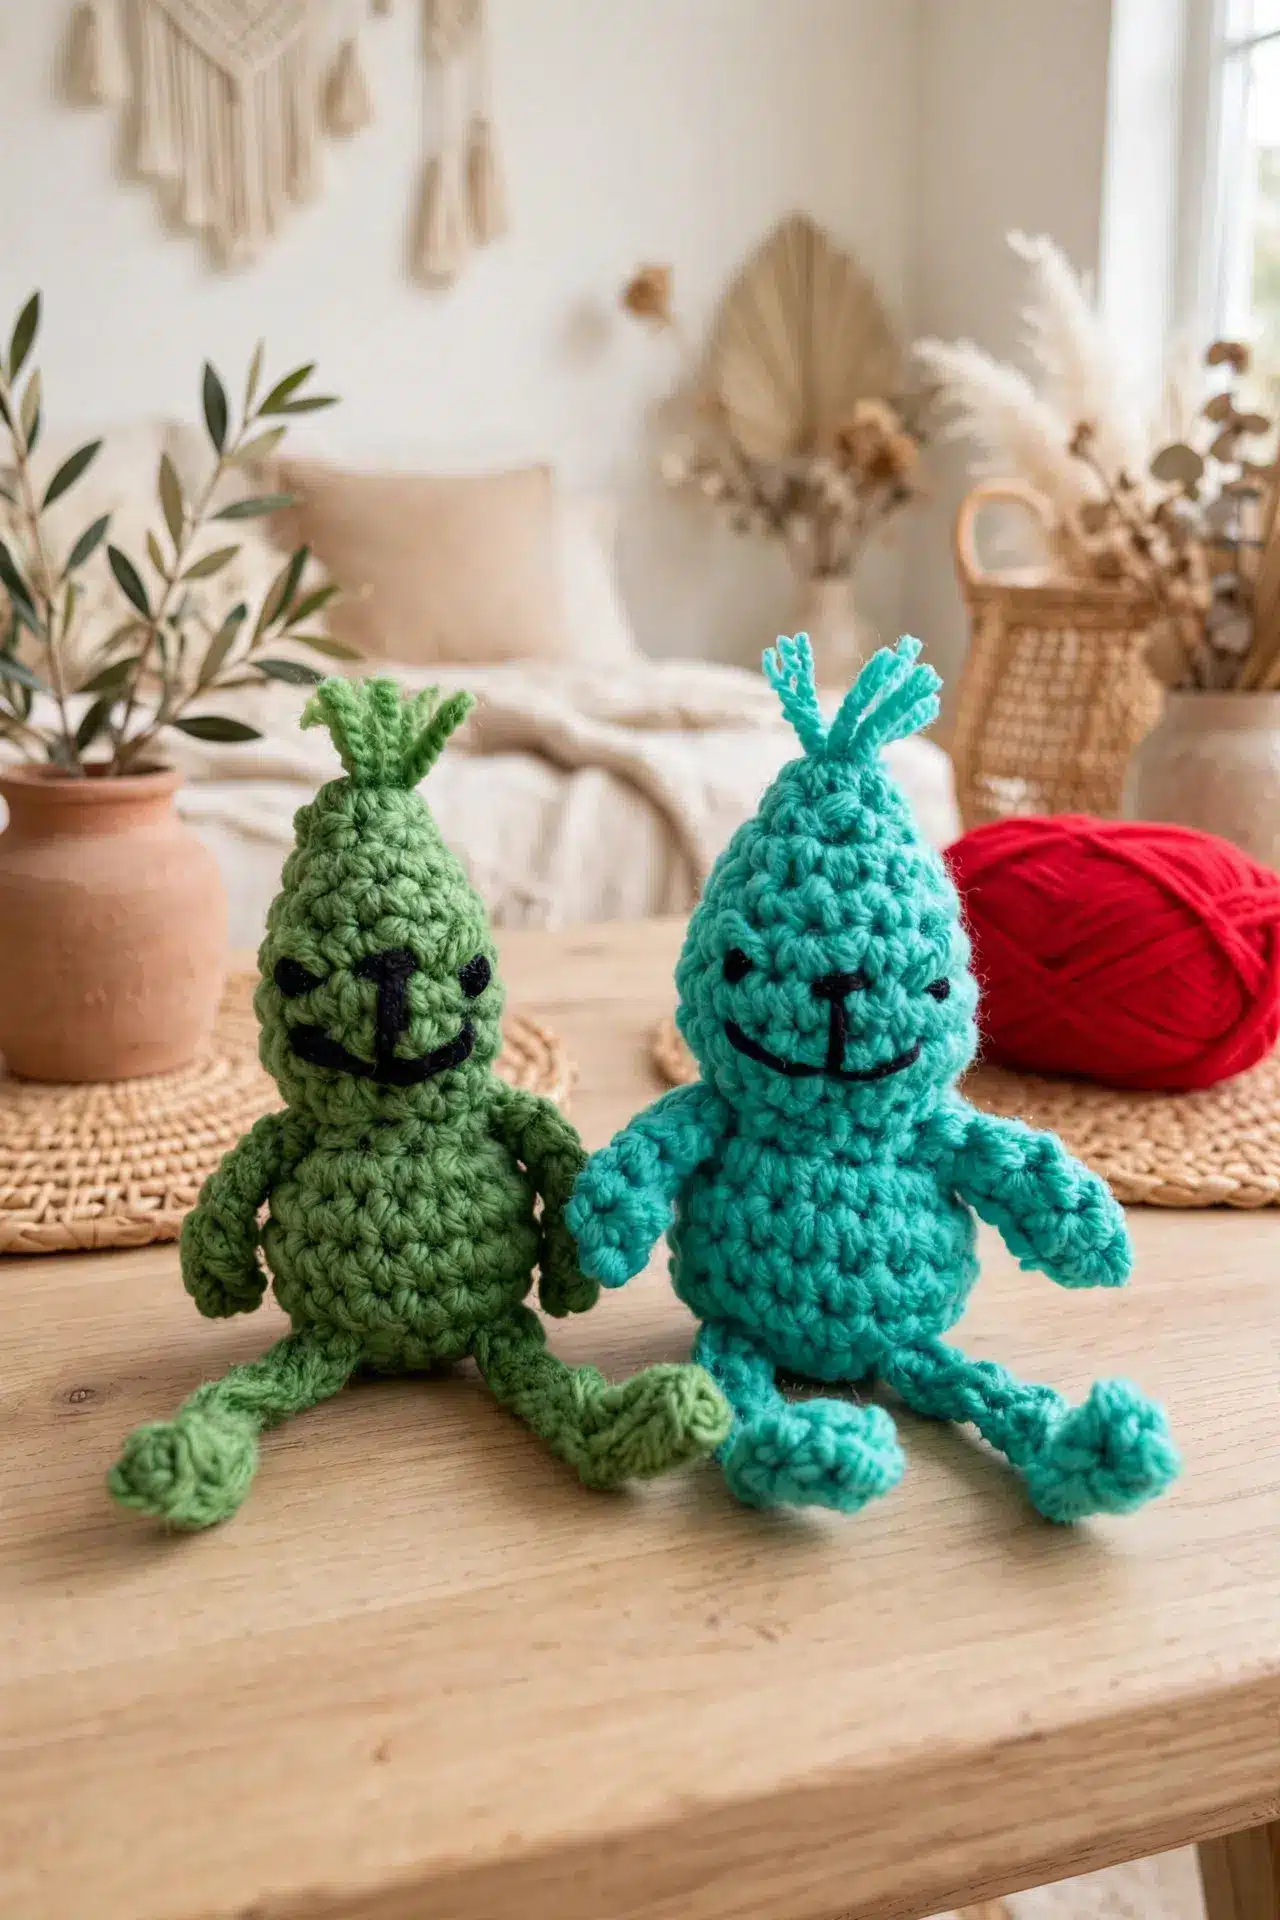
Work through the body first, then crochet two arms and two legs before sewing the small pieces in place.
Main Body
Do not join rounds. You can also use a magic ring.
- Round 1: Ch 4, sl st in first ch to form a loop, then work 6 sc in center of loop. (6)
- Round 2: 1 sc in each st around. (6)
- Round 3: 2 sc in each st around. (12)
- Round 4: 1 sc in each st around. (12)
- Round 5: *1 sc in next st, 2 sc in next st*; rep from * around. (18)
- Rounds 6-7: 1 sc in each st around. (18)
- Round 8: Sc2tog around. (9)
- Round 9: 1 sc in each st around. (9)
- Round 10: 2 sc in each st around. (18)
Stuff head at this point.
- Rounds 11-13: 1 sc in each st around. (18)
- Round 14: Sc2tog around. (9)
Stuff body at this point.
- Round 15: Sc2tog until last st, skip last st, fasten off, and sew remaining hole closed.
Arms
Make 2.
- Row 1: Ch 5. 1 sc in second ch from hook and in each ch along. Ch 1, turn. (4)
- Rows 2-3: 1 sc in each st along. Ch 1, turn. (4)
Legs
Make 2.
- Row 1: Ch 10. 1 sc in second ch from hook and in next ch. Turn, 1 sc in next 2 sts. Ch 1, turn. Sl st in next 2 sts, joining with the opposite side so the tiny foot is folded lengthwise. Sl st in remaining 7 chains back to beginning.
Assembly and Finishing
Follow these steps to attach the limbs securely to the body.
- Step 1: After Row 3, fasten off the arm, fold it lengthwise, and sew the sides together to form a tube. Sew onto body. Repeat for second arm.
- Step 2: Fasten off the leg and sew onto body. Repeat for second leg.
Tips for the Best Results
- Mark the round: The body isn’t joined at the end of each round, so place a marker in the first stitch and move it upward as you work.
- Stuff on schedule: Fill the head after Round 10 and the body after Round 14. These are the easiest points to reach each section without stretching the final opening.
- Count after decreases: Rounds 8 and 14 reduce 18 stitches to 9. Check that count before continuing because a missed decrease will affect the following shaping.
- Use small securing stitches: When attaching the arms and legs, take short stitches through both the limb and the body fabric. This helps the pieces sit securely without pulling large gaps into the body.
FAQs
Do I join the main body rounds?
No, work the main body in continuous rounds without joining. A stitch marker in the first stitch will show where each round begins, especially after the increase and decrease rounds. Joining would add extra slip stitches and chains that aren’t included in the stitch counts.
Are the head and body made separately?
Yes, the head and body are crocheted as one continuous piece rather than as separate parts. The decrease in Round 8 and increase in Round 10 create the transition between them, which removes the need for a separate joining seam.
When should I add the stuffing?
Stuff the head after Round 10 and the body after Round 14. Those points leave enough room for your fingers or a stuffing tool while preventing the filling from interfering with earlier stitches. Add small portions at a time and leave enough flexibility to complete the final decreases.
Can I use a different yarn weight?
Any yarn can be used, but its thickness will change the finished size and the amount of stuffing required. Choose a hook that produces tight, even stitches with no large gaps. Make both arms and both legs with the same yarn and tension so each pair matches.
How does the leg become a foot shape?
The short turned section at the beginning of Row 1 forms the tiny foot. After working back and forth over 2 stitches, fold that section lengthwise and join its sides with slip stitches. The remaining slip stitches travel back along the foundation chain to finish the leg.
Pin This Crochet Pattern!