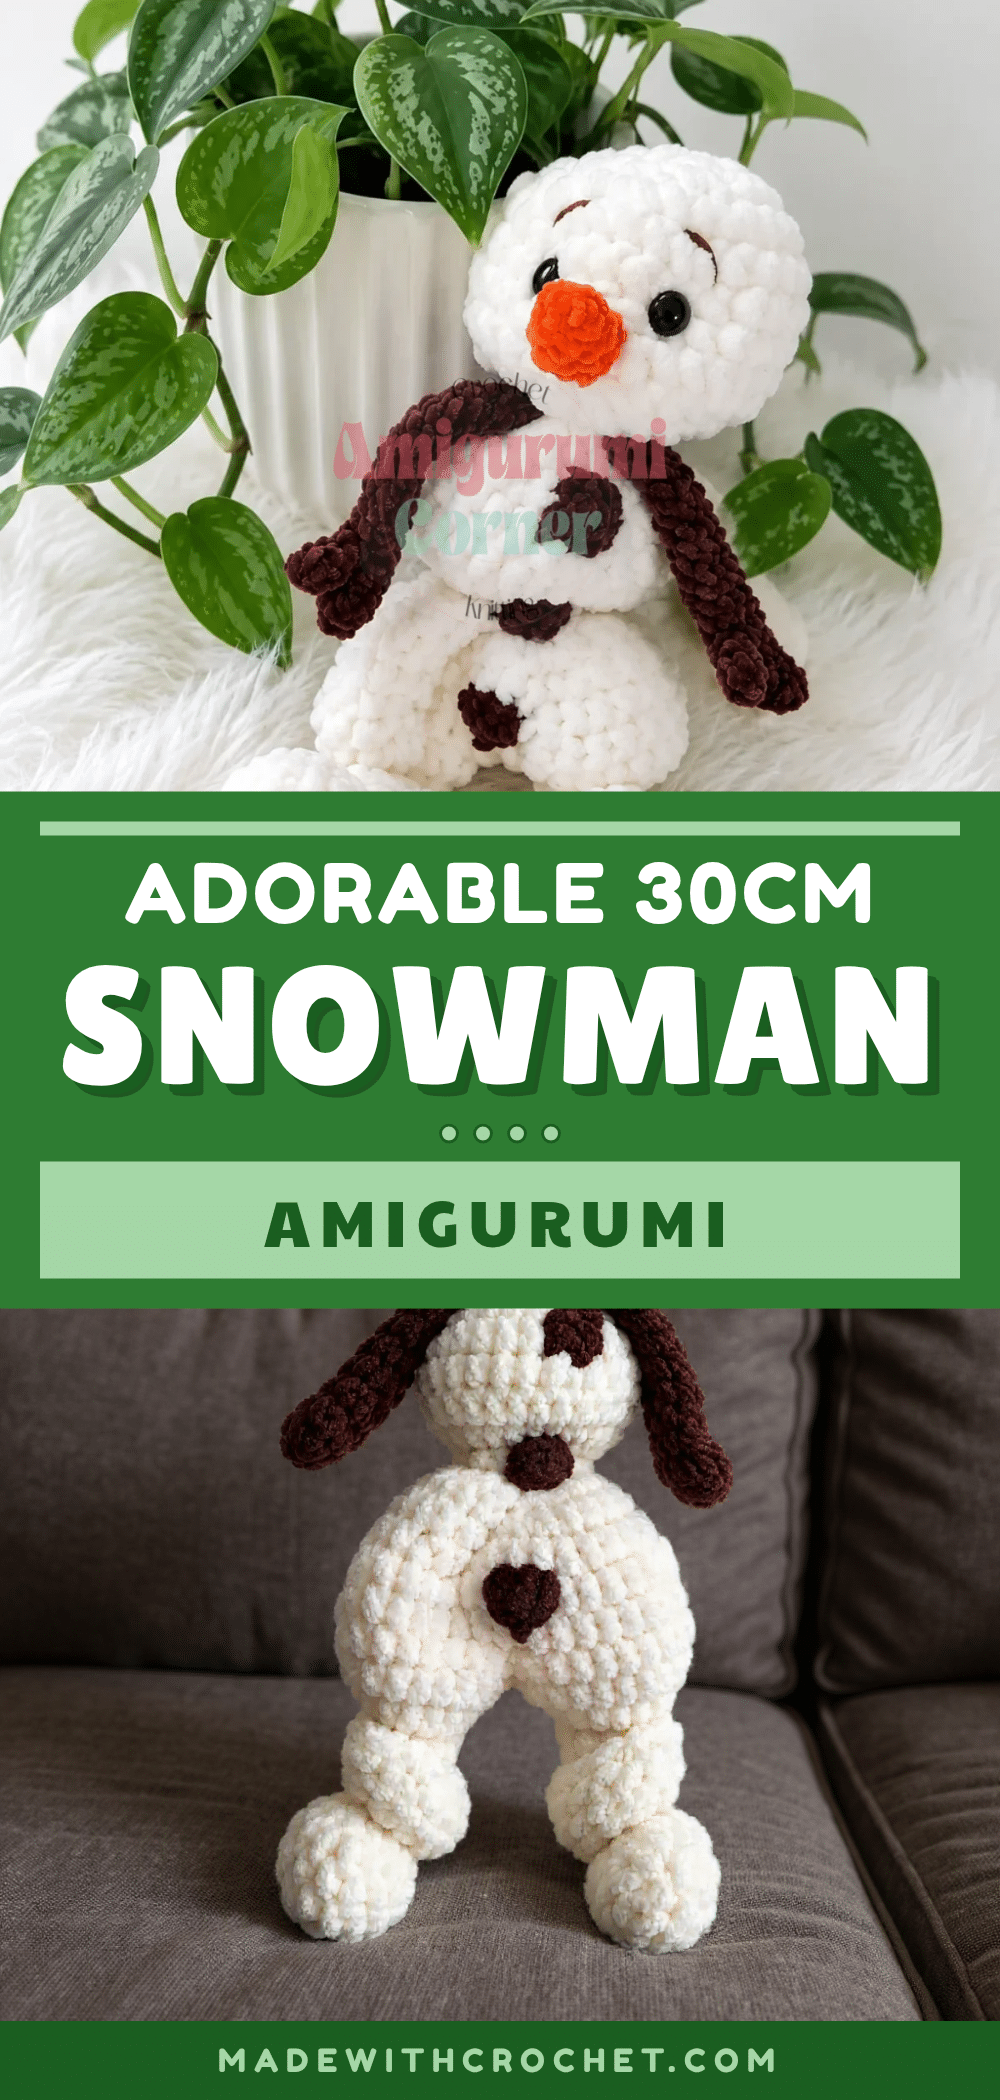
Yarn is pulled through the loop, the hook clicks softly against the table, and suddenly you have a small, round piece of magic taking shape. This 30cm snowman comforter amigurumi begins just like that—simple, tactile, and full of promise. With his velvety white body, tiny carrot nose, embroidered eyebrows, and three round brown buttons down his front, he is the kind of handmade gift that gets kept for years. This crochet snowman pattern combines two yarn types and two hook sizes, giving him a lovely textural contrast between his fluffy body and his finer detail pieces. The pattern is rated beginner-friendly to intermediate. If you are comfortable working in the round and have tried a basic decrease before, you have everything you need. Grab your hooks, pull out your yarn, and let’s build your snowman from the ground up.
Why This Project Works
What makes this snowman truly special is the deliberate use of contrasting materials. By switching from a bulky velvet yarn for the main body to a finer velour yarn for the details, the finished toy gains a distinct, professional silhouette. The velvet yarn works up dense and smooth, creating a soft, rounded look that is impossible to resist. Meanwhile, the smaller hook and finer yarn allow for crisp, detailed features like the articulated fingers and the classic carrot nose. It is a project that rewards patience with a high-end finish, making it a perfect centerpiece for holiday shelves or a cozy companion for winter evenings.
Project Overview
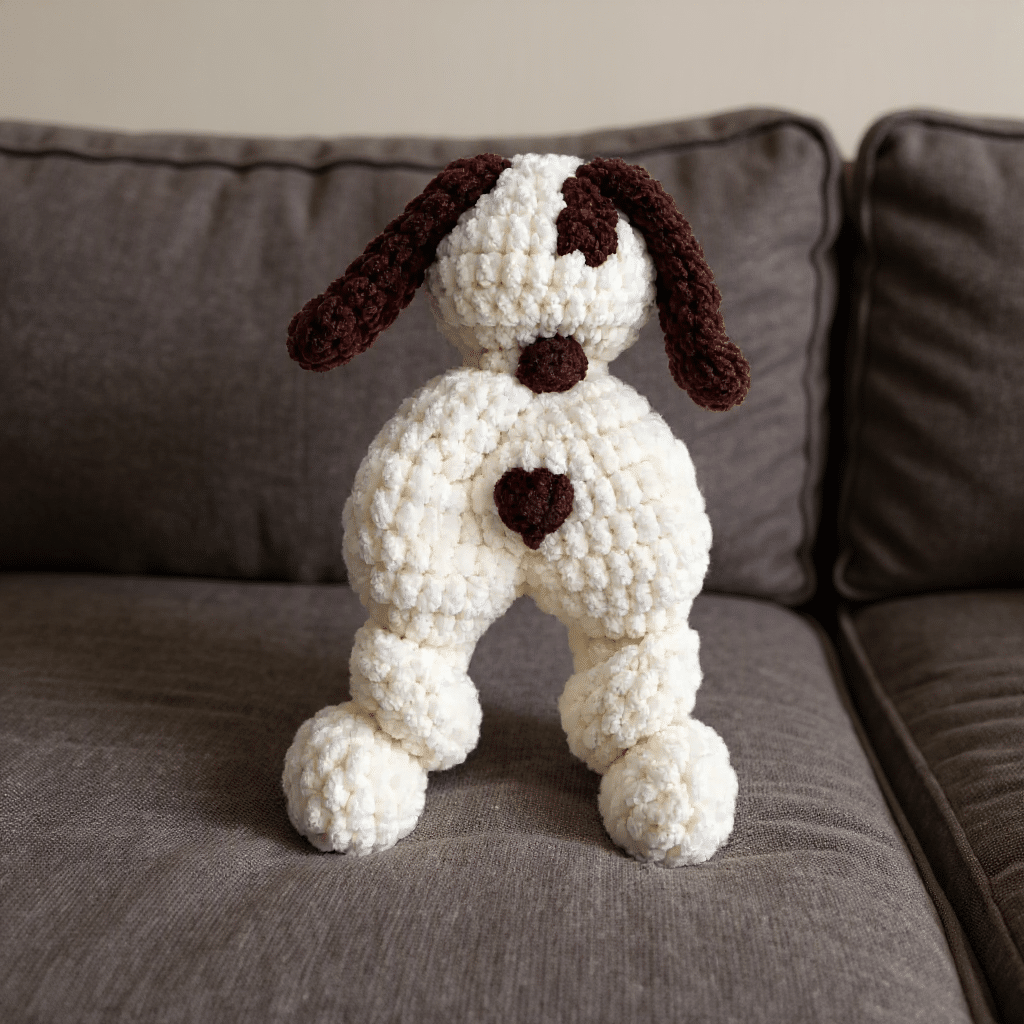
This pattern guides you through creating a 30cm amigurumi snowman using a continuous spiral technique. The project requires two distinct yarn weights and hook sizes to achieve the intended proportions. The body, legs, and head are constructed using a bulky velvet-style yarn and a larger hook, while the arms, nose, and buttons use a finer velour yarn and a smaller hook. The construction flows from the legs up to the body, with the head and details added during assembly. The pattern includes specific instructions for needle sculpting to create expressive eye sockets and embroidered facial features.
Materials
- Yarn (Body, Head, Legs): Alize Velluto in light cream/milk white, bulky weight velvet-style yarn. This specific yarn is strongly recommended because the stitch counts and finished measurements are calibrated to it.
- Yarn (Arms, Nose, Buttons): Alize Velour in brown (for arms and buttons) and orange/rust (for the carrot nose), fingering-to-sport weight velour yarn.
- Hook: US I-9 / 5.5 mm (for all Velluto body parts). Note: While a 3.5 mm hook is listed in some original sources, the pattern calls for a 5.5 mm hook with this specific bulky yarn.
- Hook: US B-1 / 2 mm (for all Velour detail parts).
- Safety eyes: 14 mm, 1 pair.
- Stuffing: Fiberfill.
- Notions: Stitch marker, yarn needle / tapestry needle, scissors.
Gauge and Finished Size
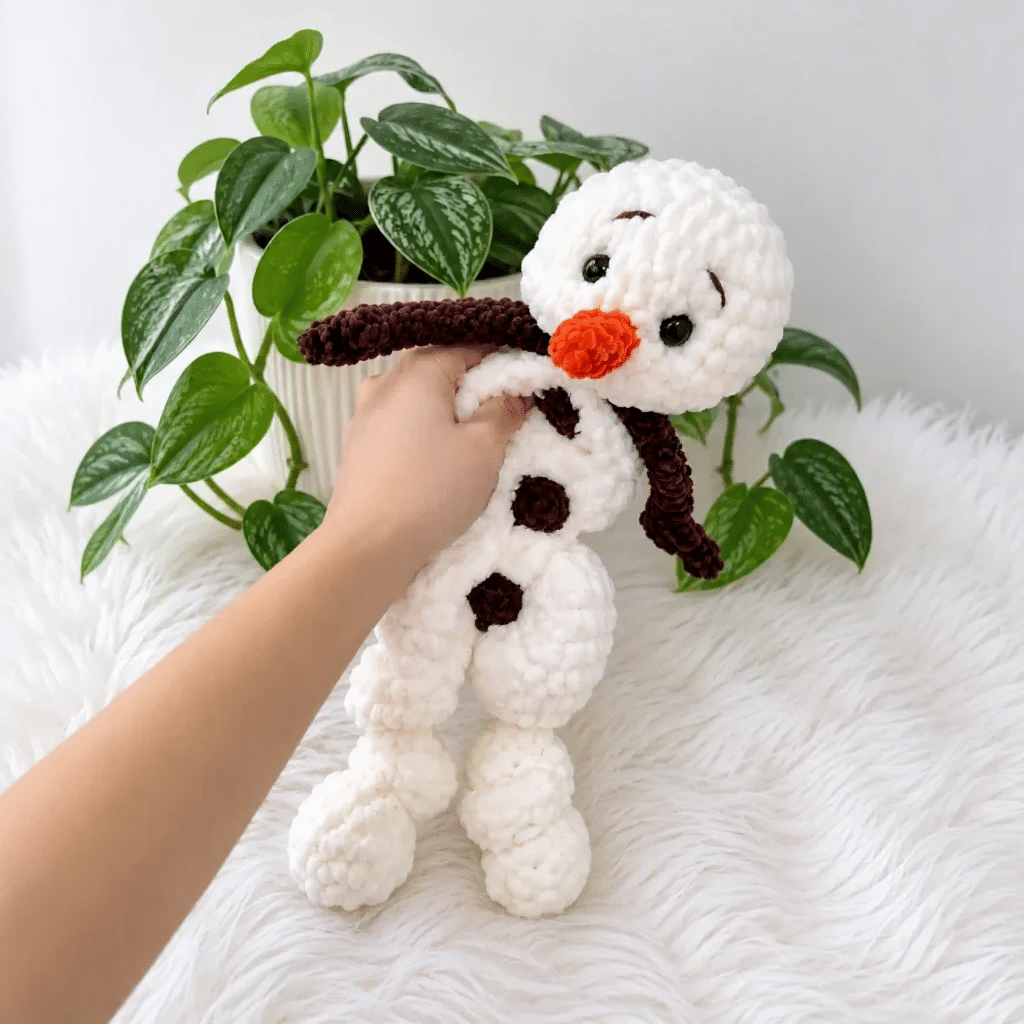
Finished Size: 30 cm.
Gauge: Gauge is not critical for this project, but using the recommended yarns and hook sizes will produce a finished toy close to 30 cm. Substituting different yarn weights will affect the final size.
Abbreviations
- ch: Chain
- dec: Decrease (invisible decrease recommended)
- hdc: Half Double Crochet
- inc: Increase (2 sc in same stitch)
- MR: Magic Ring
- sc: Single Crochet
- sl st: Slip Stitch
- st / sts: Stitch / Stitches
Pattern Notes
This pattern is written in US crochet terminology. All pieces are worked in a continuous spiral (no joining slip stitch, no turning chain) unless otherwise noted. Use a stitch marker to track the start of each round. The body and legs are worked in half double crochet (hdc) using the 5.5 mm hook and Alize Velluto. The arms, nose, and buttons are worked in single crochet using the 2 mm hook and Alize Velour. This intentional size difference creates the snowman’s distinct body shape. Stitch counts are given in parentheses at the end of each round: (12). Insert safety eyes between Rounds 5 and 6 of the Head, with 5 stitches between them, before closing the head. Stuff the head and body firmly so the snowman holds his shape. The body section (Rows 2 to 5) is worked even in hdc with no stitch count change. Based on the joining row (Row 1 = 32 hdc after decreases) and the subsequent shaping rows, work 32 hdc across Rows 2 to 5 with no increases or decreases.
Pattern Instructions
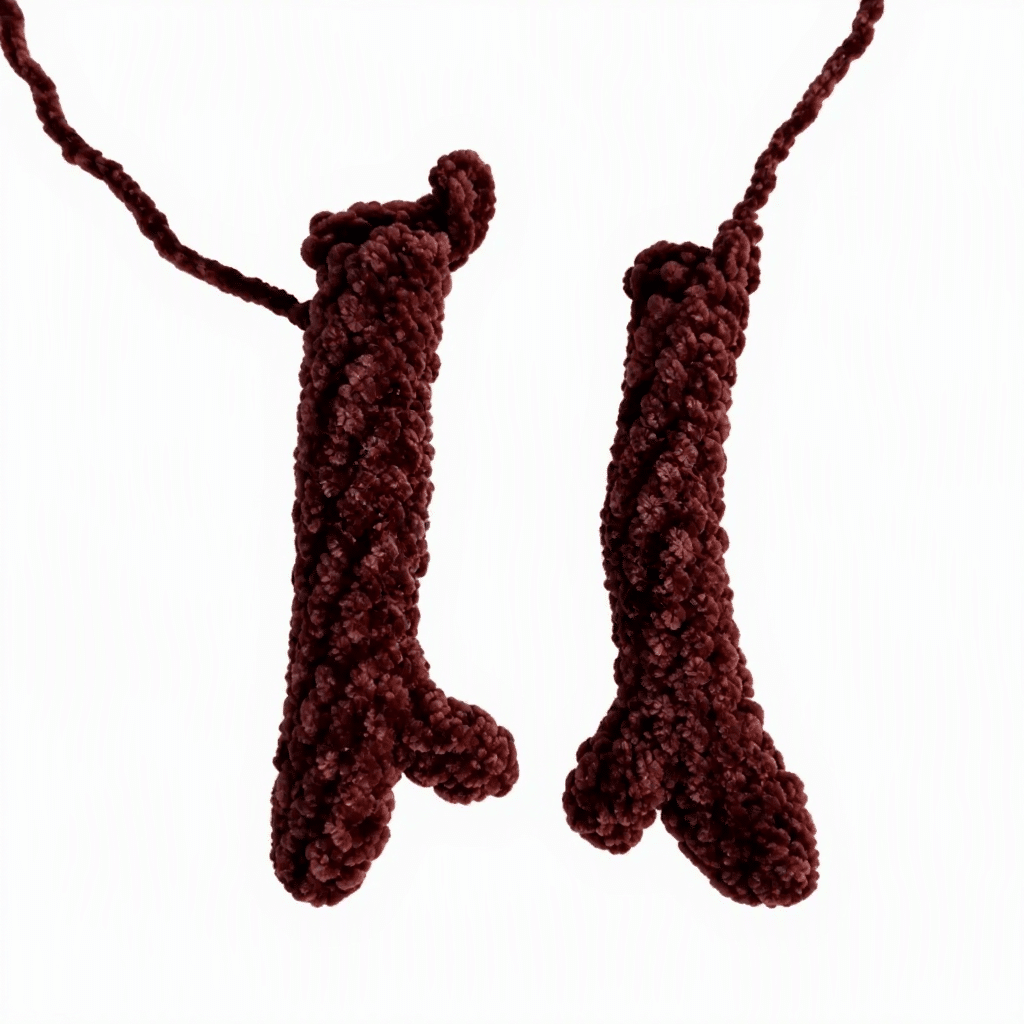
Arms (Make 1 Set: 2 Fingers + 1 Arm Piece Each)
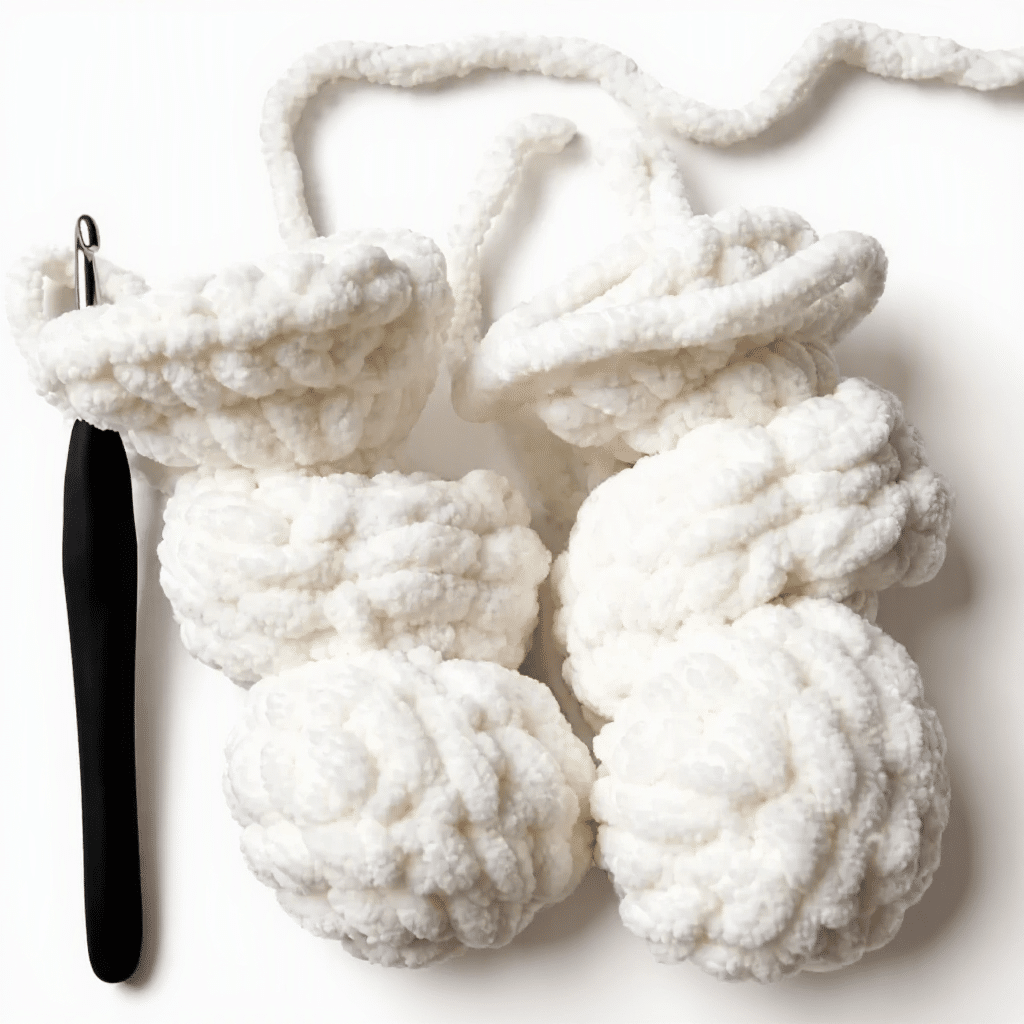
Use Alize Velour in brown and the 2 mm hook. Each arm is made from 1 arm piece and 2 finger pieces. Make 2 complete sets (2 arms total).
Finger (Make 2 per arm, 4 total):
- Rnd 1: 4 sc in MR. (4)
- Rnds 2-4: sc in each st around. (4) Work 3 rounds even.
Arm Piece (Make 2):
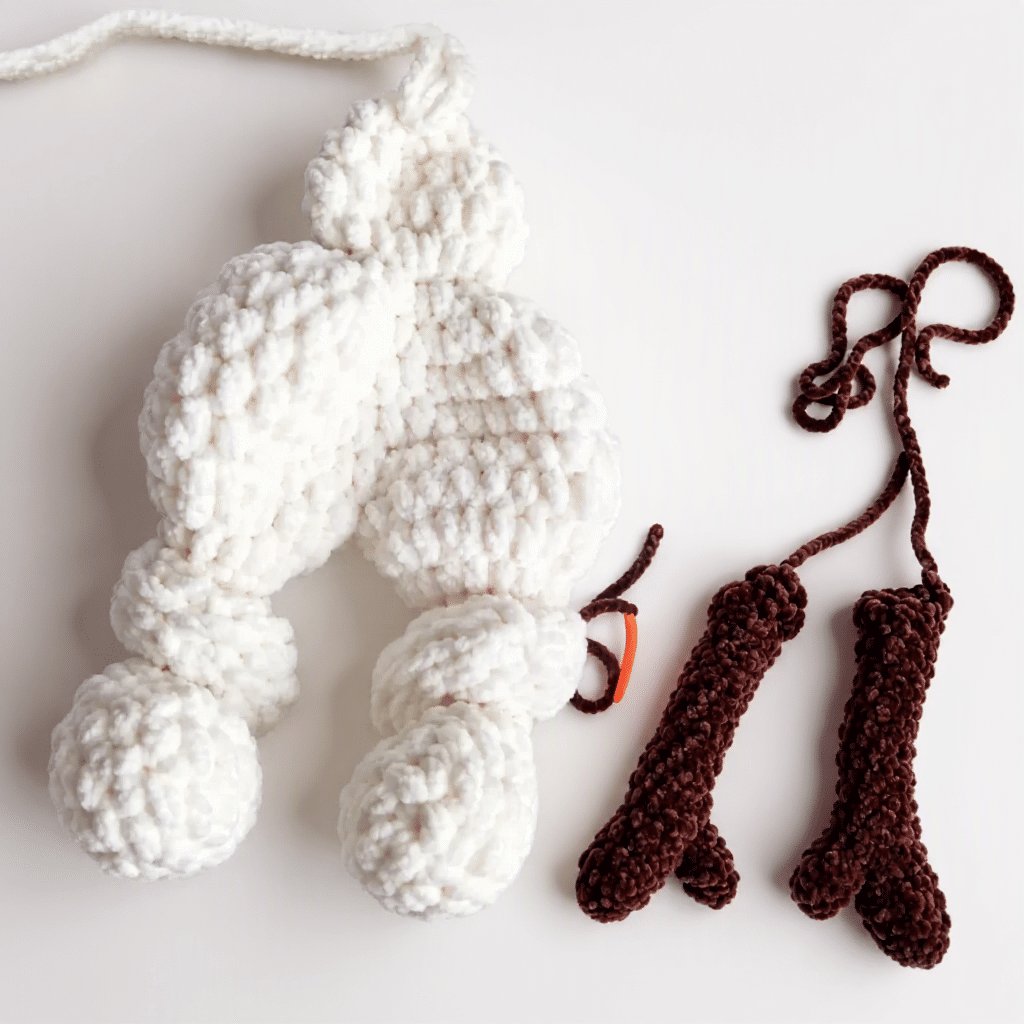
- Rnd 1: 9 sc in MR. (9)
- Rnds 2-21: sc in each st around. (9) Work 20 rounds even.
Lightly stuff the arm piece. Sew the 2 finger pieces to the open end of each arm piece before attaching to the body.
Legs (Make 2)
Use Alize Velluto in light cream/milk white and the 5.5 mm hook.
- Rnd 1: 6 sc in MR. (6)
- Rnd 2: inc in each st around. (12)
- Rnd 3: 2 sc, inc repeat 4 times around. (16)
- Rnd 4: sc in each st around. (16)
- Rnd 5: dec 5 times, 6 sc. (11) This shapes the foot. The dec stitches are worked at the toe area.
- Rnd 6: dec 3 times, 5 sc. (8)
Switch to hdc for the leg tube from here.
- Rnd 7: dec 2 times in hdc, 4 hdc. (6)
- Rnds 8-19: hdc in each st around. (6) Work 12 rounds even.
- Rnd 20: inc in each st around using hdc. (12)
- Rnd 21: 1 hdc, inc repeat 6 times around. (18)
Do not fasten off. The legs are joined to begin the body.
Body
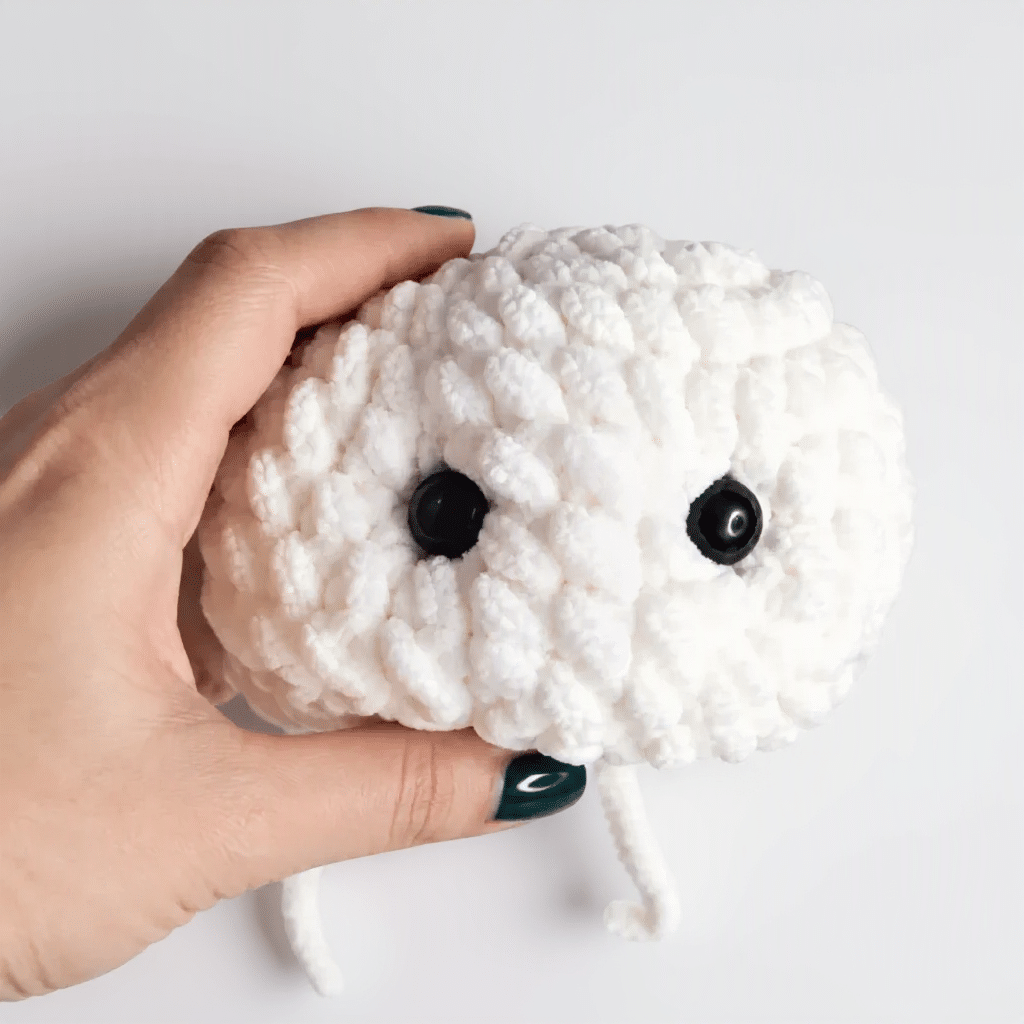
Use Alize Velluto in light cream/milk white and the 5.5 mm hook. Join the two legs together to begin the body.
To join the legs: place both legs with their open tops facing the same direction. Insert your hook into the first stitch of the second leg and continue working around, connecting both legs into one continuous round. The total stitch count after joining should be 36 hdc (18 hdc per leg). The first row applies decreases to shape the waist join.
- Rnd 1: dec 1 hdc, 16 hdc, dec 2 hdc, 16 hdc. (32)
- Rnds 2-5: hdc in each st around. (32) Work 4 rounds even.
- Rnd 6: dec 17 times in hdc, 1 hdc. (16) This cinches the waist tightly.
- Rnd 7: dec 9 times in hdc. (8) Closes the waist.
The body now expands again for the upper torso (chest):
- Rnd 8: inc in each st around using hdc. (16) Wait to sew on arms until the body is complete.
- Rnd 9: 2 hdc, inc repeat 6 times around. (24)
- Rnds 10-11: hdc in each st around. (24)
- Rnd 12: 2 hdc, dec repeat 6 times around. (18)
- Rnd 13: 1 hdc, dec repeat 6 times around. (12)
- Rnd 14: dec 6 times in hdc. (6)
Stuff the body firmly before the opening closes completely. Fasten off and close the opening.
Head
Use Alize Velluto in light cream/milk white and the 5.5 mm hook.
- Rnd 1: 6 sc in MR. (6)
- Rnd 2: inc in each st around. (12)
- Rnd 3: inc in each st around. (24)
- Rnd 4: 3 sc, inc repeat 6 times around. (30)
- Rnds 5-8: sc in each st around. (30)
Insert safety eyes between Rounds 5 and 6, with 5 stitches between them.
- Rnd 9: 3 sc, dec repeat 6 times around. (24)
- Rnd 10: 2 sc, dec repeat 6 times around. (18)
- Rnd 11: 1 sc, dec repeat 6 times around. (12)
- Rnd 12: dec 6 times. (6)
Stuff the head firmly. Fasten off, close the opening, and leave a long yarn tail for sewing to the body.
Carrot Nose
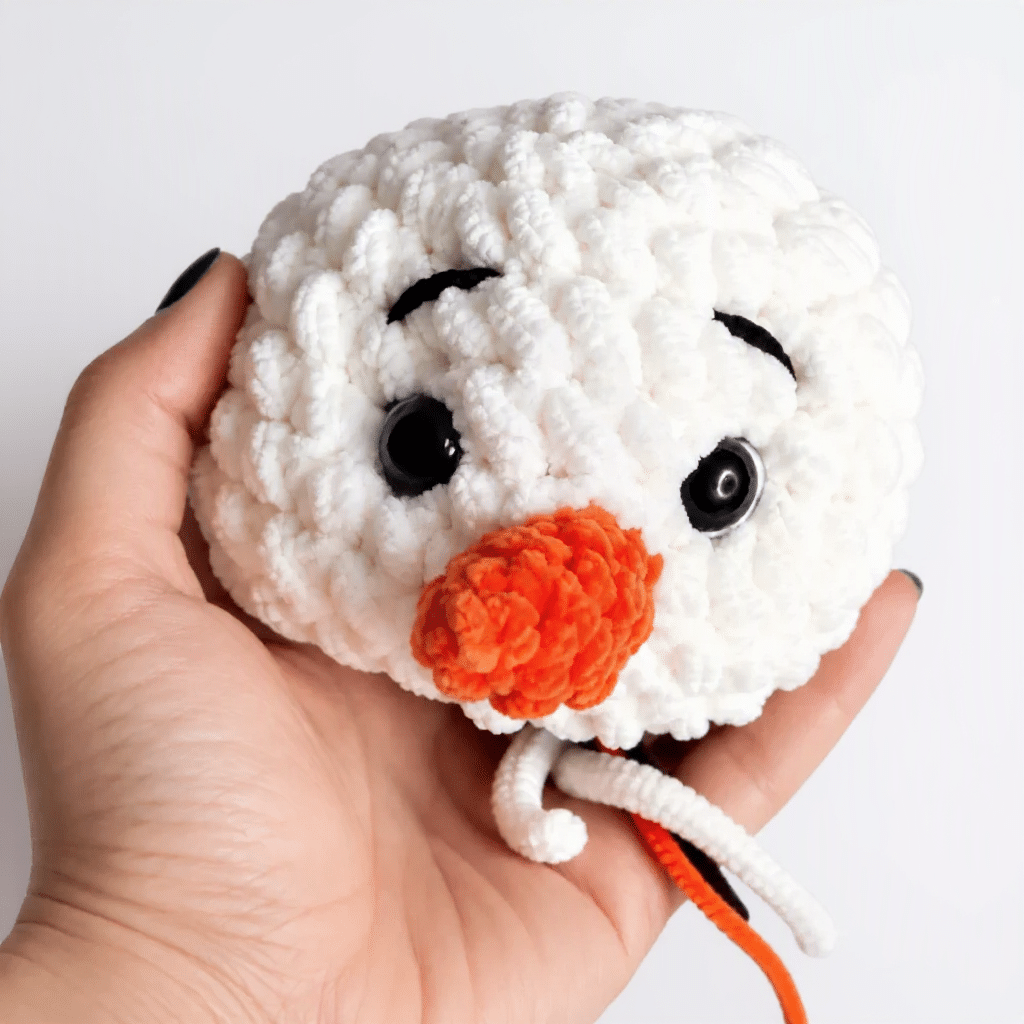
Use Alize Velour in orange/rust and the 2 mm hook.
- Rnd 1: 4 sc in MR. (4)
- Rnd 2: 1 sc, inc repeat 2 times around. (6)
- Rnd 3: sc in each st around. (6)
- Rnd 4: 2 sc, inc repeat 2 times around. (8)
- Rnd 5: sc in each st around. (8)
Lightly stuff the nose. Fasten off and leave a long tail for sewing. Attach between the eyes, 1 stitch below the eye line.
Buttons (Make 3)
Use Alize Velour in brown and the 2 mm hook.
- Rnd 1: 6 sc in MR. (6)
- Rnd 2: inc in each st around. (12)
Fasten off, leaving a long tail for sewing. Do not stuff.
Assembly
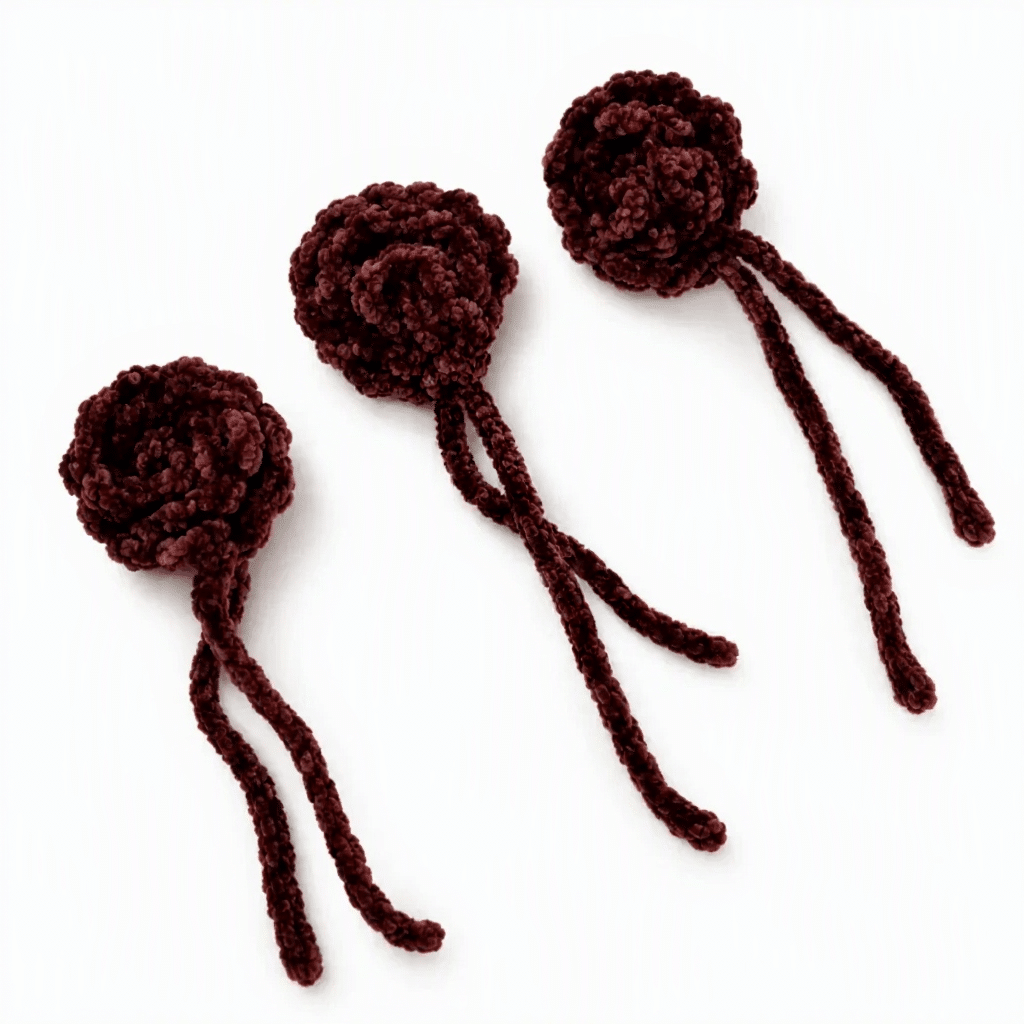
Sew the fingers to the arms. Attach the 2 finger pieces to the open end of each arm, arranging them side by side. Use the yarn tail and whipstitch to secure them firmly.
Attach the arms to the body. Sew one arm to each side of the upper torso (around Rnd 9 of the chest section). Use the yarn tail and stitch through several rows to keep them secure and facing forward. For a similar holiday character, you might also enjoy this adorable reindeer amigurumi.
Sew the head to the body. Use a whipstitch or mattress stitch around the full circumference. Work through both layers to create a sturdy, invisible join.
Attach the carrot nose. Position it centered between the eyes, approximately 1 stitch below them. Sew through from the inside of the head to pull the nose snug against the face.
Face sculpting (needle sculpting): Thread a yarn needle with light cream Velluto yarn. Enter at a point at the base of the head (Point 1). Bring the needle up near the inner corner of the left eye (Point 2), pass it back in just beside it (Point 3), then up near the inner corner of the right eye (Point 4), back in just beside it (Point 5), and bring the needle out near Point 1 (offset by 1 stitch). Pull gently to create a slight indent around the eye area, sculpting soft eye sockets. Tie off and hide the knot inside the head.
Embroider the eyebrows: Thread a yarn needle with the dark brown Velour yarn. Using the same anchor point at the base of the head (Point 1), bring the needle up and stitch across in an arc above each eye, passing through Points 2, 3, 4, and 5 to form both brows. Return to Point 1 (offset by 1 stitch), tie a small knot, and weave in the end.
Embroider the eyelashes: Continuing with the dark brown yarn and the same Point 1 anchor, stitch short lashes radiating below each eye, passing through Points 6 and 7 (left eye) and Points 8 and 9 (right eye). Return to Point 1 (offset by 1 stitch), knot, and weave in the end.
Attach the three buttons. Sew the buttons down the front of the body in a vertical line: the first button a few rows down from the chest edge, the second at the waist center, and the third on the lower torso. Space them as evenly as possible. Weave in all remaining ends.
Tips
- Use the recommended yarns if you can. Alize Velluto is a velvet-style yarn that works up dense and smooth with a 5.5 mm hook, giving the snowman his characteristic soft, rounded look. If you substitute, choose a similarly weighted velvet or chenille yarn and check that your tension produces a fabric without visible gaps (since stuffing should not poke through).
- Keep your tension firm throughout. Amigurumi fabric should be tight enough that you cannot see the stuffing through the stitches. If you can see light through your work, go down half a hook size. This is especially important with the Velluto sections, where loose tension creates a floppy toy.
- Stuff in stages, not all at once. For the legs and body, add stuffing gradually as you close each section. The waist cinch (Rnds 6 to 7 of the body) works best if the lower body is already stuffed before you begin those decrease rounds.
- Take your time with the face sculpting. The needle-sculpting step (pulling yarn through the head to create eye socket indents) is what separates a flat-faced toy from a character with real expression. Work slowly, pulling the thread with even, light tension. You can redo this step if the first pass does not look quite right.
- Sew the head on last and use plenty of stitches. A 30 cm toy has a relatively heavy head. Work your whipstitch all the way around the neck join at least twice, pulling firmly as you go, so the head sits upright and does not droop to one side over time.
FAQs
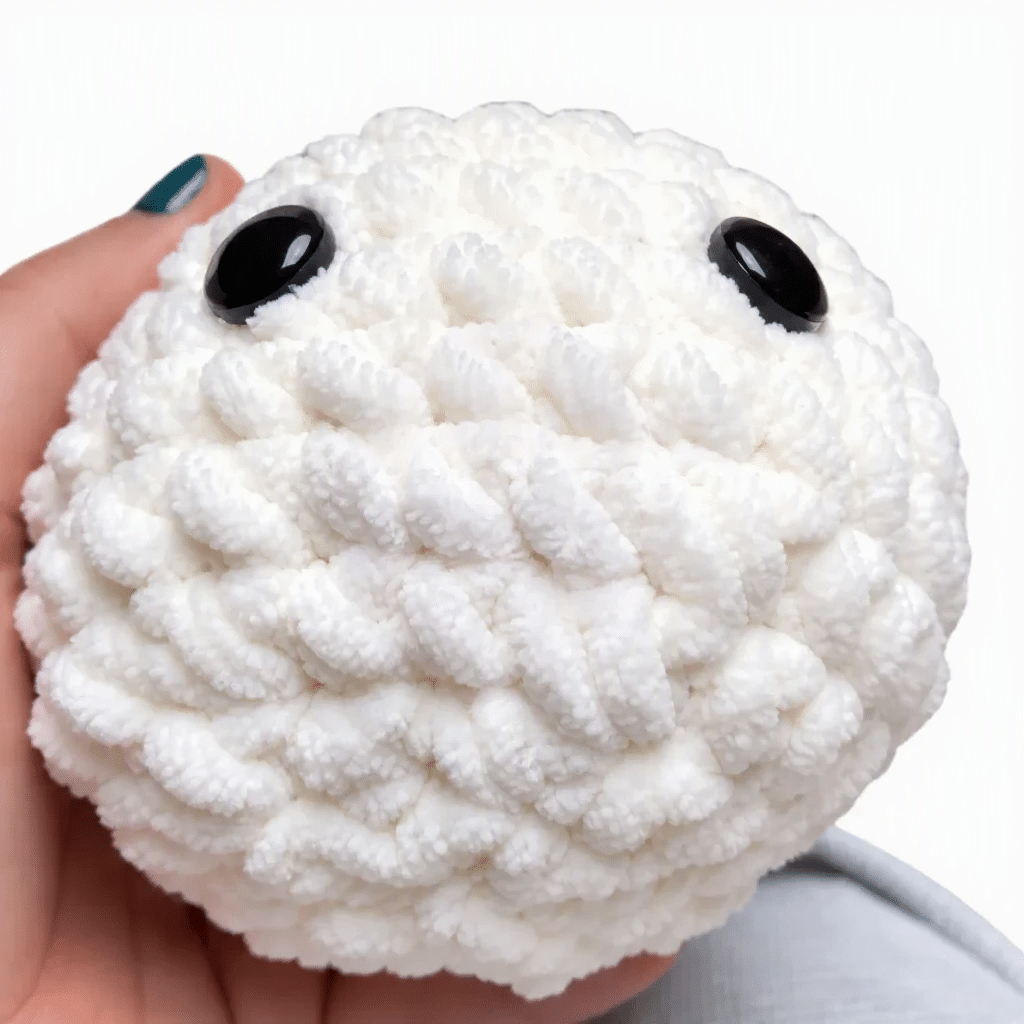
Can I use a different yarn brand?
While you can substitute yarn, the stitch counts and finished measurements are calibrated to the recommended Alize Velluto and Velour. Substituting different yarn weights will affect the final size and texture. If you substitute, choose a velvet or chenille yarn for the body and a velour yarn for the details to maintain the intended look.
Why are there two different hook sizes?
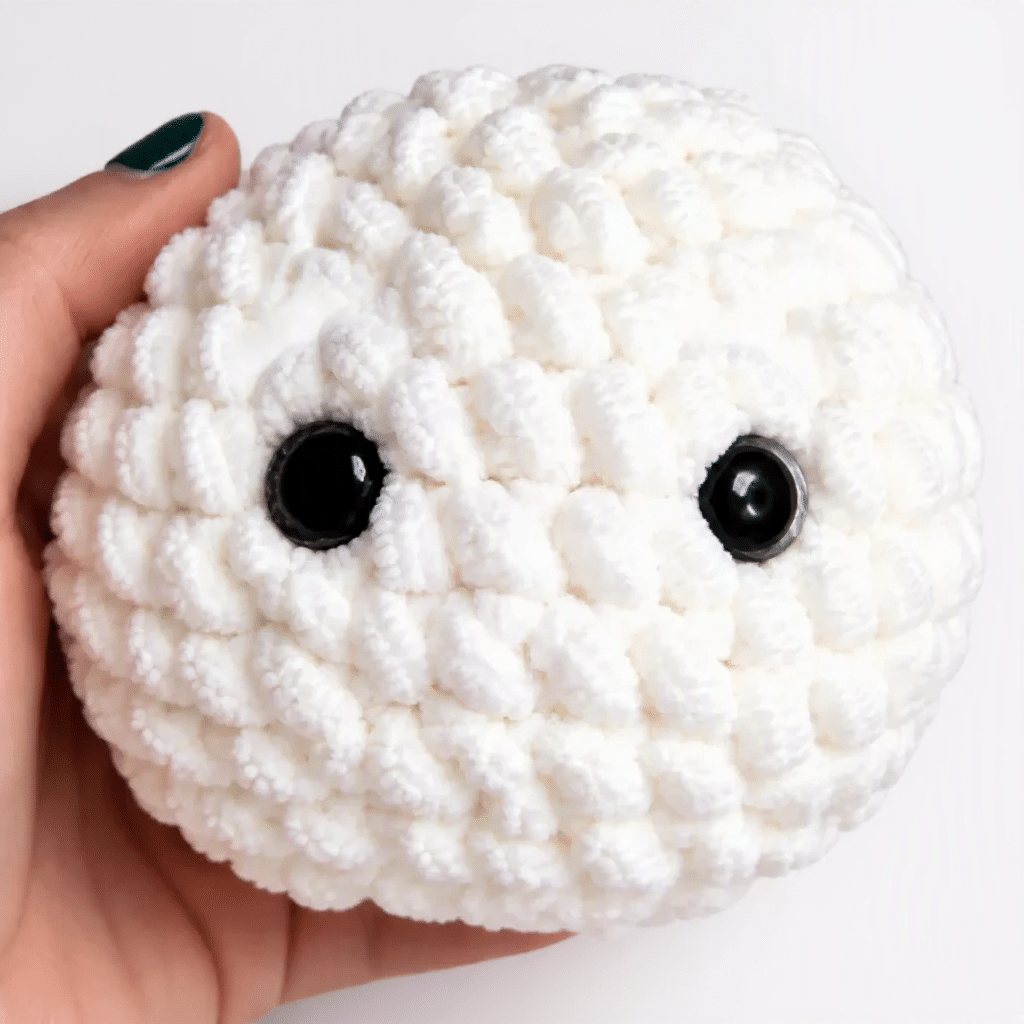
The pattern uses a 5.5 mm hook for the bulky body yarn and a 2 mm hook for the finer detail yarn. This creates a distinct textural contrast and ensures the small details like fingers and buttons are proportionate to the larger body.
How do I insert the safety eyes?
Insert the safety eyes between Rounds 5 and 6 of the Head, with 5 stitches between them. Make sure to secure them firmly before continuing to round 7.
What is needle sculpting?
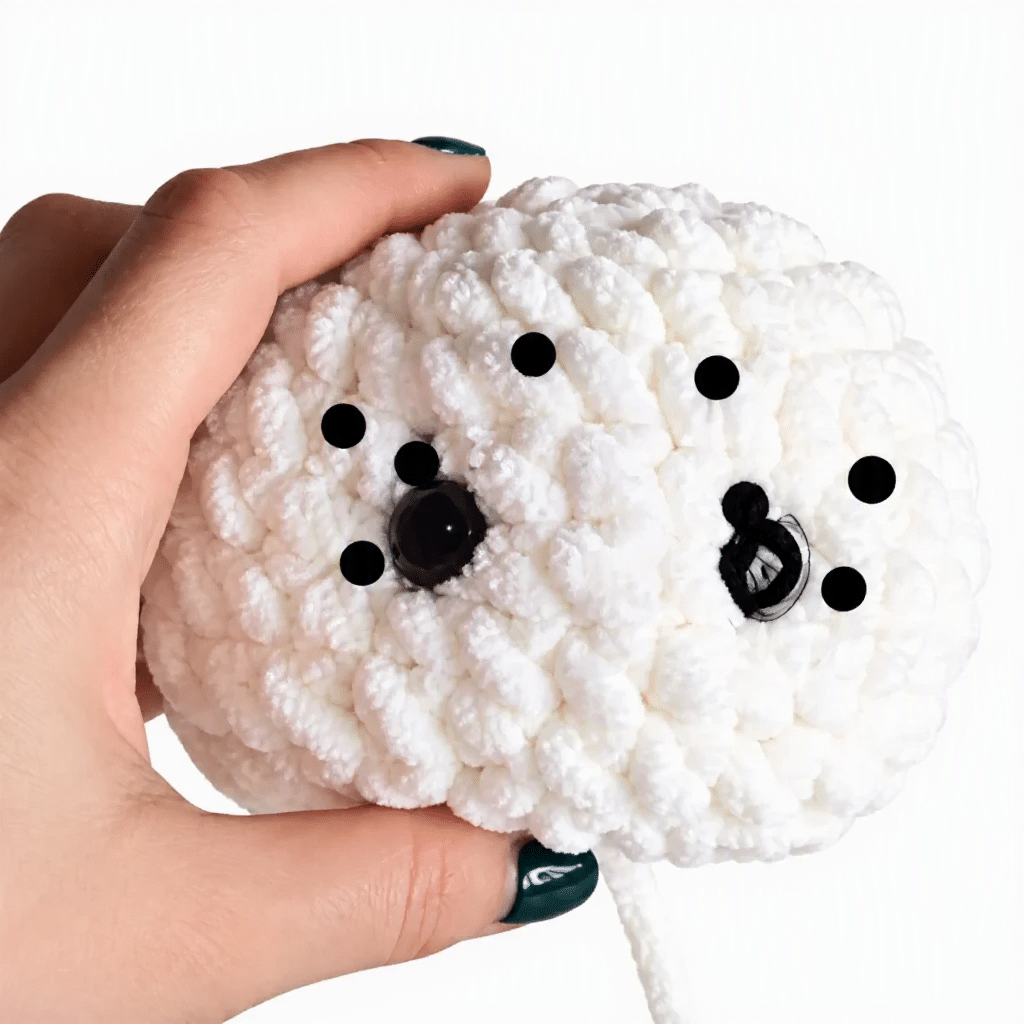
Needle sculpting involves threading a yarn needle through the inside of the head to pull the fabric inward around the eyes. This creates subtle indentations that give the face depth and expression, rather than having a flat surface.
How do I join the legs to the body?
Place both legs with their open tops facing the same direction. Insert your hook into the first stitch of the second leg and continue working around, connecting both legs into one continuous round. The total stitch count after joining should be 36 hdc.
Is this pattern suitable for beginners?
Yes, the pattern is rated beginner-friendly to intermediate. If you are comfortable working in the round and have tried a basic decrease before, you have everything you need to complete this project.
Pin This Crochet Pattern!