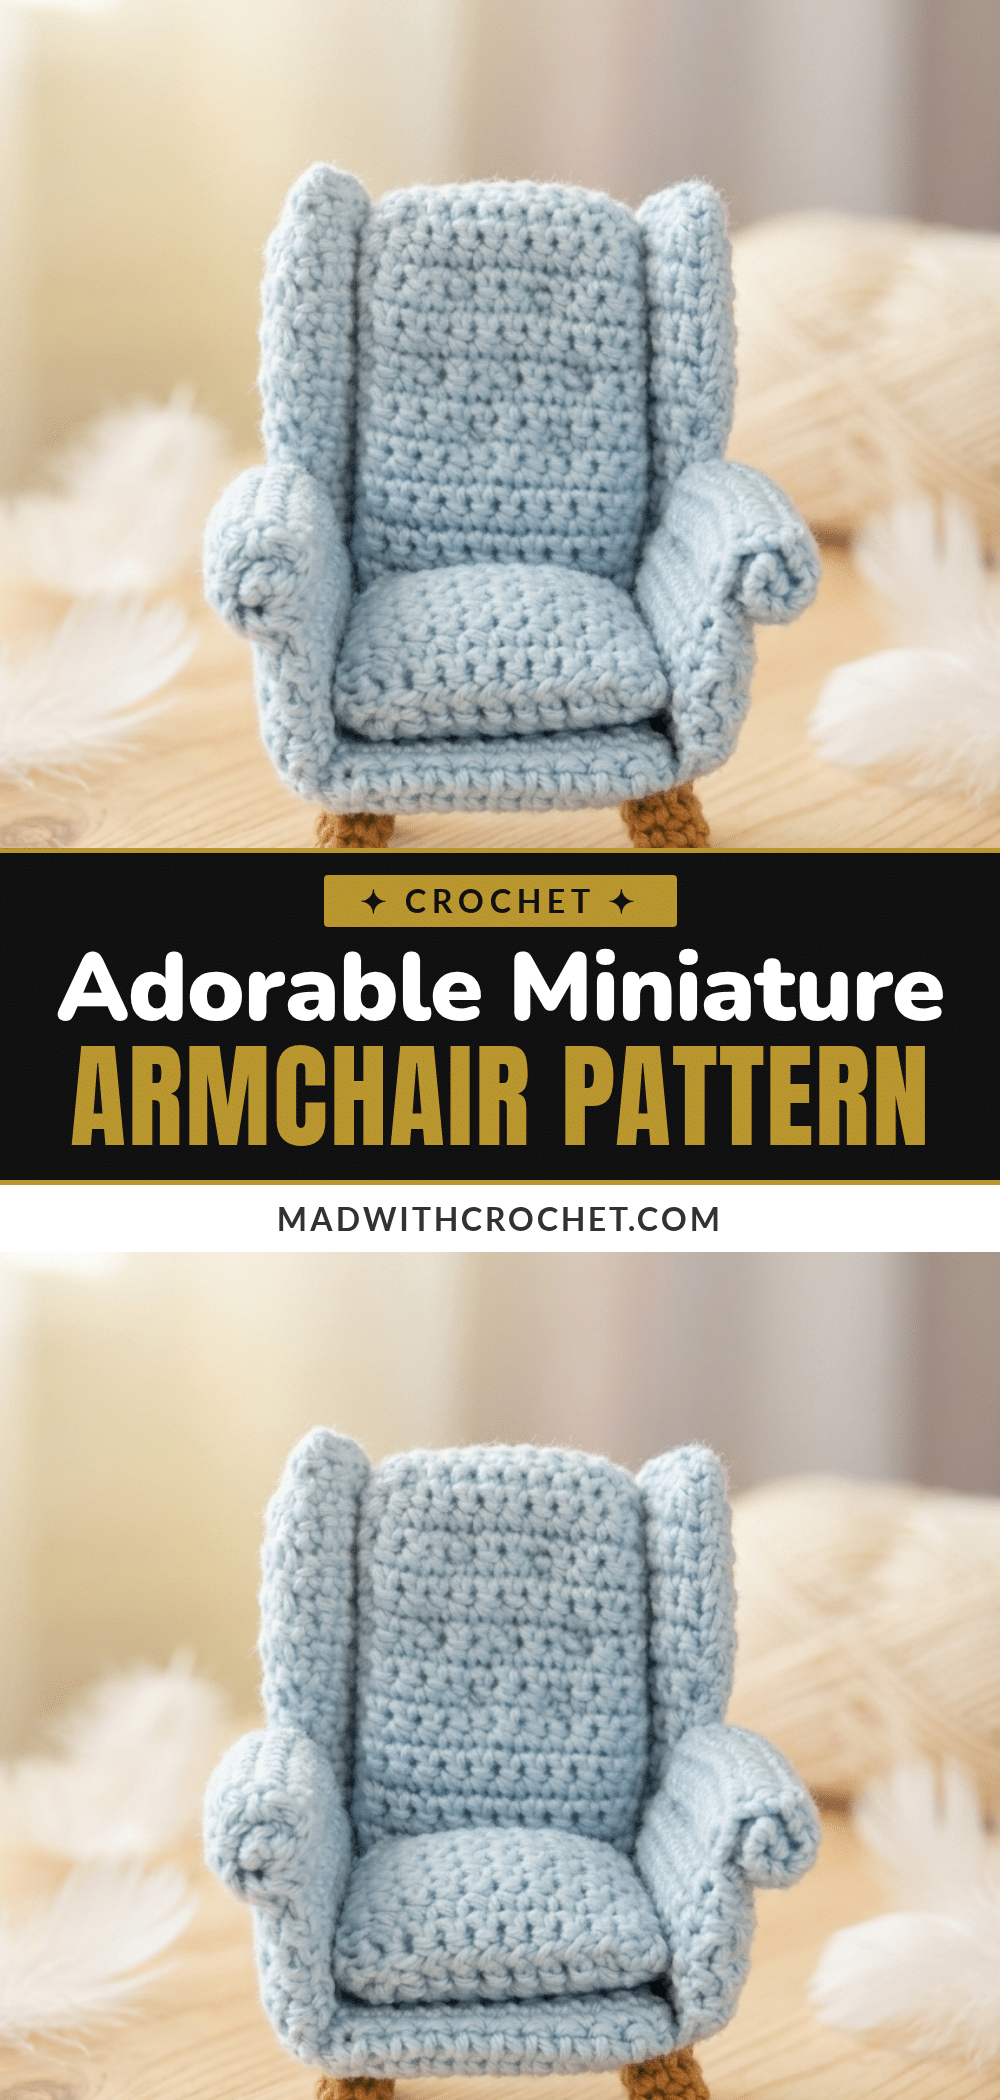
There is something deeply satisfying about creating furniture that fits in the palm of your hand. This miniature armchair pattern takes the traditional dollhouse accessory and elevates it with a structured build that mimics real upholstery. By combining crochet with simple cardboard inserts and wooden skewers, you create a piece that stands upright and looks like a genuine miniature sofa. It is a perfect project for beginners who want to move beyond simple amigurumi shapes and explore structured crafting.
Seasonal Styling Ideas
While this armchair is a year-round delight, its small scale makes it incredibly versatile for seasonal displays. During the autumn months, drape a tiny crocheted blanket over the seat or place a miniature pumpkin nearby to create a cozy vignette. For winter holidays, swap your yarn for a festive red or green to match a dollhouse Christmas tree, or use the chair as a charming centerpiece for a miniature nativity scene. In the spring, style it with pastel-colored cushions to brighten a nursery shelf or a dollhouse sunroom. The neutral structure allows you to change the mood of your display simply by swapping the yarn color or adding tiny seasonal props.
Project Overview
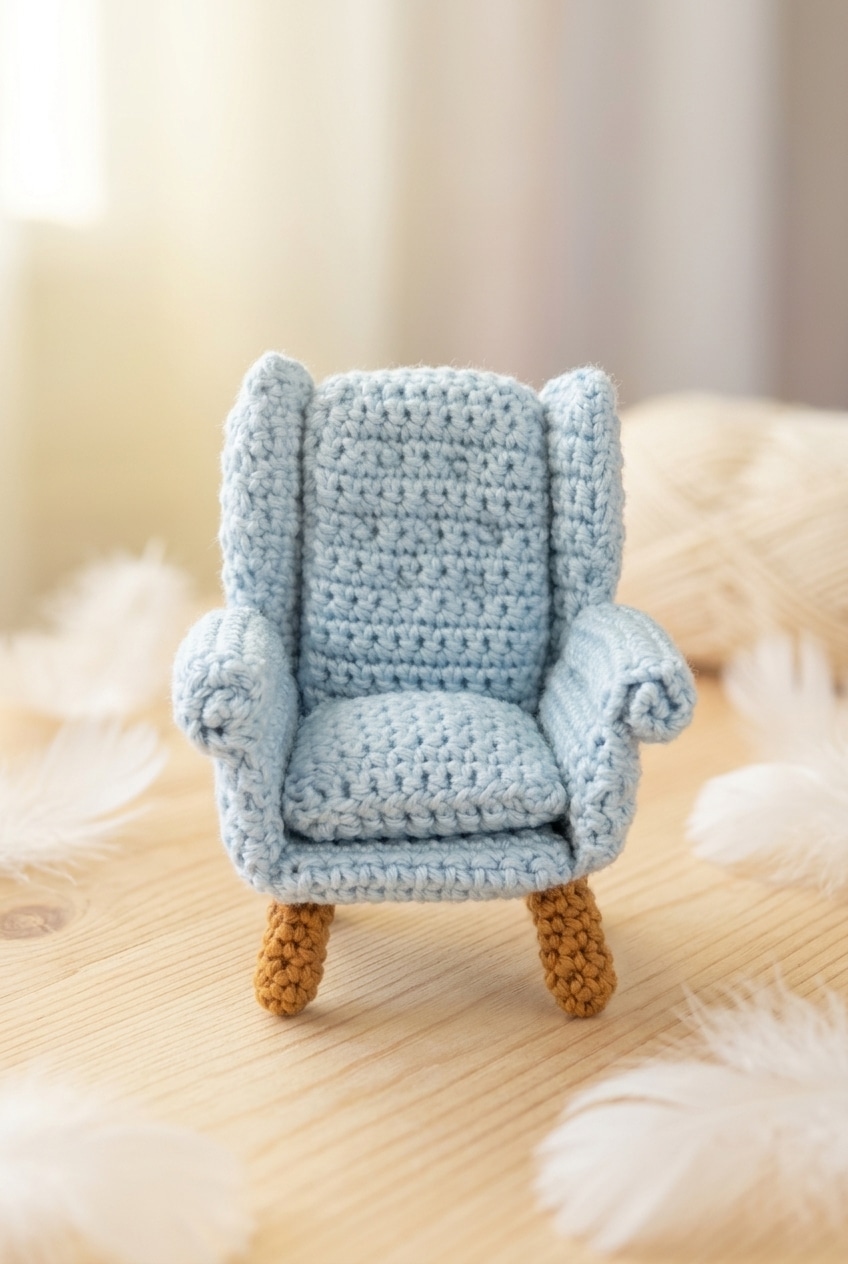
This project is a 1:12 scale miniature armchair. It is classified as a structured build rather than a standard amigurumi because it relies on internal supports to hold its shape. The chair is constructed from flat crocheted panels that are folded over cardboard inserts and sewn together. It features a back panel, a base panel, a back cushion, a seat cushion, armrest sides, top sides, and four weighted feet. The skill level is beginner, relying on basic single crochet stitches and simple shaping.
Materials
- Yarn: Sport Weight Yarn (Weight 2 Fine). This is the heaviest yarn recommended for this scale to maintain detail. You will need approximately 15 to 25 meters. The fiber is not specified, so use what you have on hand.
- Crochet Hook: 2.00 mm. This size ensures tight fabric that prevents stuffing from showing through.
- Stuffing: Toy stuffing. Use sparingly; a small pinch is sufficient for the cushions.
- Cardboard: 3–4 mm thickness. Cereal box cardboard is too thin. You will need to cut the following panels:
- 1 Seat Cushion Panel: 4 cm x 4.4 cm
- 2 Base/Back Panels: 7 cm x 4 cm each
- 2 Arm Rest Panels: 7 cm x 2 cm each
- 2 Top Side Panels: 5.5 cm x 1.7 cm each
- Wooden Skewers or Toothpicks: Cut into 16 pieces, each 1.5 cm long. Toothpicks are recommended as they are the correct diameter and length.
- Notions: Yarn needle, scissors.
Gauge and Finished Size
Finished Size: 1:12 Miniature Scale.
Gauge: Gauge is not critical for this project. However, it is essential to use a hook size that creates a tight, firm fabric so that stuffing and cardboard do not show through. If your stitches look open, go down a hook size.
Abbreviations
- ch: chain
- sc: single crochet
- sc2tog: single crochet 2 together (decrease)
- sl st: slip stitch
- st(s): stitch(es)
- * *: repeat instructions between * * as directed
Pattern Notes
This project is a structured build. The sofa gets its form from cardboard panels inserted into each section before seaming. Before you begin crocheting, cut your cardboard pieces to the dimensions listed in the materials section. You will also need 16 wooden feet pieces cut to 1.5 cm each from skewers or toothpicks.
The arm rests are worked flat. Rows 8 through 22 roll up and get sewn in place to form the rounded arm shape. Pay attention to the direction you roll each one; the skipped stitches from Row 8 sit at the back of the chair, and the two arm rests are mirror images of each other. The lower half folds over the arm rest cardboard panel, gets a very light stuffing, and the edges are sewn closed before attaching to the main chair.
The top side panels work similarly: two crocheted pieces sandwich one cardboard panel, get a small amount of stuffing, and are sewn closed. These attach along the skipped stitches from Row 8 of the arm rest sides and to the back panel.
The back cushion features a tufted finish. Cut 7 short yarn lengths, tie 3 knots in the center of each, then sew the ends into the cushion and pull tight to form studs: 2 at the top, 3 in the middle, and 2 at the bottom. Leave a few rows clear at the bottom since that area sits behind the seat cushion and will not be visible.
Pattern Instructions
Back Panel
This is the structural backbone of the chair. It gets folded over a cardboard insert, so the fabric needs to be firm and even throughout. Consistent tension here makes the finished chair sit square.
- Row 1: 12 sc foundation sts. [12 sc] TURN. Alt Row 1: Ch 13, sc in 2nd ch from hook and in each ch across. [12 sc]
- Rows 2–20: Sc in each st across. [12 sc] TURN
- Row 21: Sc2tog, sc in next 8 sts, sc2tog. [10 sc] TURN. These decreases at both ends mark the fold point at the center of the panel.
- Row 22: 2 sc in next st, sc in next 8 sts, 2 sc in next st. [12 sc] TURN. The count is restored here, and you are back to the full width for the second half of the panel.
- Rows 23–42: Sc in each st across. [12 sc] TURN
- Fasten off. Fold in half over back panel cardboard piece, sew up edges.
Base Panel
The base panel forms the floor of the chair and is worked the same way as the back panel, just without the fold-point shaping. It also wraps around a cardboard insert.
- Row 1: 12 sc foundation sts. [12 sc] TURN. Alt Row 1: Ch 13, sc in 2nd ch from hook and in each ch across. [12 sc]
- Rows 2–42: Sc in each st across. [12 sc] TURN
- Fasten off. Fold in half over base panel cardboard piece, sew up edges.
Back Cushion
The back cushion sits against the back panel and gets stuffed, so it has a bit of dimension to it. Unlike the panels, this one starts narrower and expands before settling into the long straight section.
- Row 1: 10 sc foundation sts. [10 sc] TURN. Alt Row 1: Ch 11, sc in 2nd ch from hook and in each ch across. [10 sc]
- Row 2: 2 sc in next st, sc in next 8 sts, 2 sc in next st. [12 sc] TURN
- Rows 3–20: Sc in each st across. [12 sc] TURN
- Row 21: Sc2tog, sc in next 8 sts, sc2tog. [10 sc] TURN
- Row 22: 2 sc in next st, sc in next 8 sts, 2 sc in next st. [12 sc] TURN
- Rows 23–41: Sc in each st across. [12 sc] TURN
- Row 42: Sc2tog, sc in next 8 sts, sc2tog. [10 sc]
- Fold in half, stuff, sew up edges. Fasten off.
Seat Cushion
The seat cushion is shorter than the back cushion but constructed the same way—start narrow, expand, work straight, then close it up with stuffing inside.
- Row 1: 10 sc foundation sts. [10 sc] TURN. Alt Row 1: Ch 11, sc in 2nd ch from hook and in each ch across. [10 sc]
- Row 2: 2 sc in next st, sc in next 8 sts, 2 sc in next st. [12 sc] TURN
- Rows 3–15: Sc in each st across. [12 sc] TURN
- Row 16: Sc2tog, sc in next 8 sts, sc2tog. [10 sc] TURN
- Row 17: 2 sc in next st, sc in next 8 sts, 2 sc in next st. [12 sc] TURN
- Rows 18–30: Sc in each st across. [12 sc] TURN
- Row 31: Sc2tog, sc in next 8 sts, sc2tog. [10 sc]
- Fold in half, stuff, sew up edges. Fasten off.
Arm Rest Sides
Make 2. These are the most involved pieces to work—each arm rest side has a section that gets skipped mid-piece, then you rejoin to work the underside separately. Take your time with the rejoin in Row 23; it is straightforward once you find the right spot in the foundation chain.
- Row 1: 20 sc foundation sts. [20 sc] TURN. Alt Row 1: Ch 21, sc in 2nd ch from hook and in each ch across. [20 sc]
- Rows 2–7: Sc in each st across. [20 sc] TURN
- Row 8: Sc in next 14 sts, skip remaining sts. [14 sc] TURN. The 6 skipped stitches at the end of this row create the opening where the top side panel will eventually attach.
- Rows 9–22: Sc in each st across. [14 sc] Fasten off.
- Row 23: Rejoin yarn in beginning ch from Row 1, sc in each ch across. [20 sc] TURN. You are working into the other side of the foundation chain here, picking up those original loops to build the underside of the arm rest.
- Rows 24–29: Sc in each st across. [20 sc] TURN
- Fasten off.
Top Sides
Make 4. These small shaped pieces cap the tops of the arm rests. They are worked in pairs—two pieces sandwich a cardboard insert—so you will end up with two finished top sides total, one for each arm.
- Row 1: 5 sc foundation sts. [5 sc] TURN. Alt Row 1: Ch 6, sc in 2nd ch from hook and in each ch across. [5 sc]
- Rows 2–4: Sc in each st across. [5 sc] TURN
- Row 5: 2 sc in next st, sc in last 4 sts. [6 sc] TURN
- Row 6: Sc in each st across. [6 sc] TURN
- Row 7: 2 sc in next st, sc in last 5 sts. [7 sc] TURN
- Rows 8–14: Sc in each st across. [7 sc] TURN
- Row 15: Sc2tog, sc in last 5 sts. [6 sc] TURN
- Row 16: Sc in first 4 sts, sc2tog. [5 sc] Fasten off.
Feet
Make 4. These are worked in continuous rounds without joining. Each foot gets stuffed with wooden feet pieces before being sewn to the chair, so they have real weight and stability to them.
- Round 1: Ch 4, sl st in first ch to form a loop, 6 sc in center of loop. [6 sc] Do not join rounds. Alt Round 1: Use a magic ring, 6 sc in ring. [6 sc]
- Rounds 2–6: Sc in each st around. [6 sc]
- Fasten off.
Assembly
Final touches: With all the pieces finished, it is time to put the chair together.
- Frame: Start by sewing the back panel and base panel to each other to form the main chair frame. These two stiff, cardboard-reinforced pieces are the foundation everything else attaches to.
- Arm Rests: For each arm rest, take 2 top side pieces, place them over 1 top side panel cardboard piece, stuff very slightly, and sew up the edges to close. Then sew each assembled top side to the main chair along the skipped stitches from Row 8 of the arm rest side and to the back panel. The gap you left in Row 8 is exactly where this piece is meant to land.
- Cushions: The back cushion and seat cushion get sewn directly onto the chair frame—the back cushion against the back panel, the seat cushion on the base. Sew these on last so they cover any visible seams from the structural pieces underneath.
- Feet: Stuff each foot with 4 wooden feet pieces, then sew them to the underside corners of the main chair. The wooden inserts give each foot its weight, so make sure they are fully inside before closing up.
Tips
- Cardboard Thickness: The cardboard panels are what give the chair its structure. Without them, the pieces would be too floppy. Use 3 to 4 mm thick cardboard. Thinner cardboard tends to bow once the crochet is stretched over it, and thicker than 4 mm makes the finished piece feel blocky.
- Wooden Feet: The feet are crocheted tubes stuffed with four pieces cut from wooden skewers or toothpicks. Standard toothpicks cut to size work fine. The wood gives each foot enough rigidity to actually support the chair without collapsing.
- Arm Rest Shaping: Row 8 of the arm rest sides stops at 14 stitches and leaves the remaining stitches unworked. That creates the opening where the top side piece will sit. You come back later and rejoin yarn to work those skipped stitches separately. It is the main shaping move in the whole pattern, so read ahead before you get there.
- Top Side Stuffing: Each arm rest uses two top side pieces sandwiched around one cardboard panel. You place the cardboard between them, add just a tiny bit of stuffing, and sew the edges shut. Four pieces total, two per arm. The slight stuffing keeps the top from going flat against the cardboard.
- Scaling Up: Going up in hook size and yarn weight would scale the chair up, but the cardboard panel dimensions would need to change too since those are sized to match the crocheted pieces at the 2 mm hook and sport weight combination. It is doable, but it requires recalculating every panel measurement rather than just swapping materials.
FAQs
What is the cardboard for, and does the thickness really matter?
The cardboard provides the structural backbone of the chair. Without it, the crocheted pieces would be too floppy to hold the armchair shape. Thickness matters because 3–4 mm cardboard is rigid enough to support the fabric without bowing, while still being thin enough to look proportional at this tiny scale.
How do I make the wooden feet? Do I need to buy anything special?
You do not need to buy special feet. You can use standard wooden skewers or toothpicks. Cut them into 1.5 cm pieces. Each crocheted foot tube is stuffed with four of these wooden pieces to give it weight and stability so the chair can stand upright.
The arm rest section has a row where you skip stitches and come back later. What is that doing?
Skipping stitches in Row 8 creates an opening at the back of the arm rest. This allows you to attach the “Top Side” piece later, which forms the rounded top of the arm. Rejoining yarn in Row 23 allows you to work the underside of the arm rest separately, creating a 3D shape rather than a flat piece.
Why do I need to make four top side pieces instead of two?
Each arm rest requires two top side pieces to sandwich one cardboard panel. This creates a sturdy, padded look for the top of the arm. Since there are two arm rests on the chair, you need a total of four pieces.
Can I use a different hook size or yarn weight to make a larger version?
You can use a larger hook and yarn, but you cannot simply swap materials. The cardboard panels are cut to specific measurements that match the stitch count of the 2 mm hook and sport weight yarn. If you change the yarn or hook, you must recalculate and resize all the cardboard panels to match your new gauge.
For more beginner-friendly amigurumi ideas, check out our adorable chick and owl amigurumi or this easy crochet pumpkin trio.
Pin This Crochet Pattern!