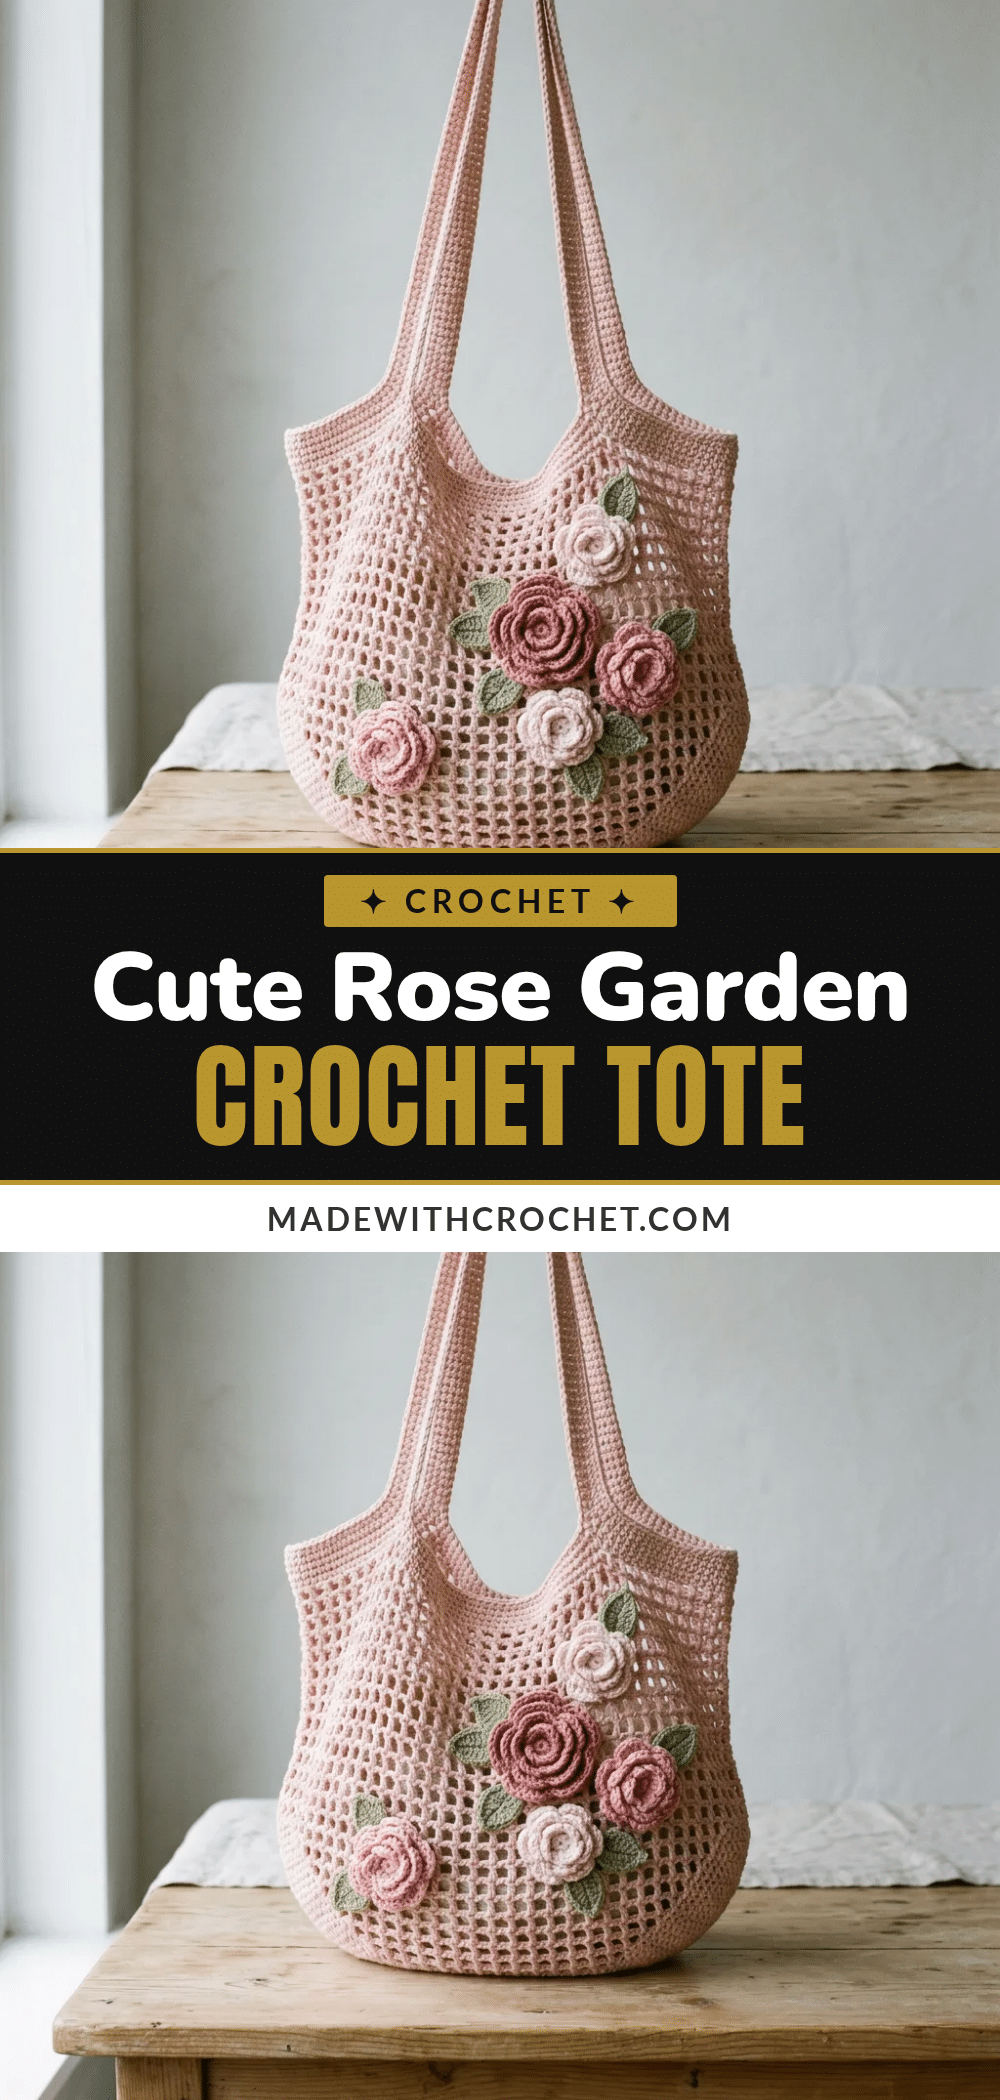
There is a specific kind of magic that happens when you pull a skein of dusty blush pink cotton from your stash and realize it is the perfect shade for a spring tote. This Rose Garden Tote pattern was born from that exact moment of intention. The choice of a tightly spun mercerized cotton wasn’t just about color; it was about structure. You need a fiber that can hold the tension of the mesh grid while remaining soft enough to drape over your shoulder. When you feel the smooth, plied yarn glide through your fingers, you know this bag will be more than just a container—it will be a piece of wearable art that feels as good as it looks.
Yarn and Color Notes
Choosing the right yarn is the secret to making this tote pop. The pattern calls for a worsted weight, 100 percent cotton yarn for the main body. I recommend Lion Brand 24/7 Cotton in Rose because its mercerized finish gives it a slight sheen and incredible durability. The mesh construction relies on stitch definition, so avoid fuzzy or halo yarns that might blur the open squares. For the roses, Paintbox Yarns Simply DK Cotton offers a beautiful range of mauves and pinks that provide excellent contrast against the blush background. If you are looking for an affordable international option, Drops Paris in dusty rose and sage is a fantastic choice with great drape. The key is to keep the yarn smooth and plied to ensure the bag retains its shape when loaded with groceries or library books.
Project Overview
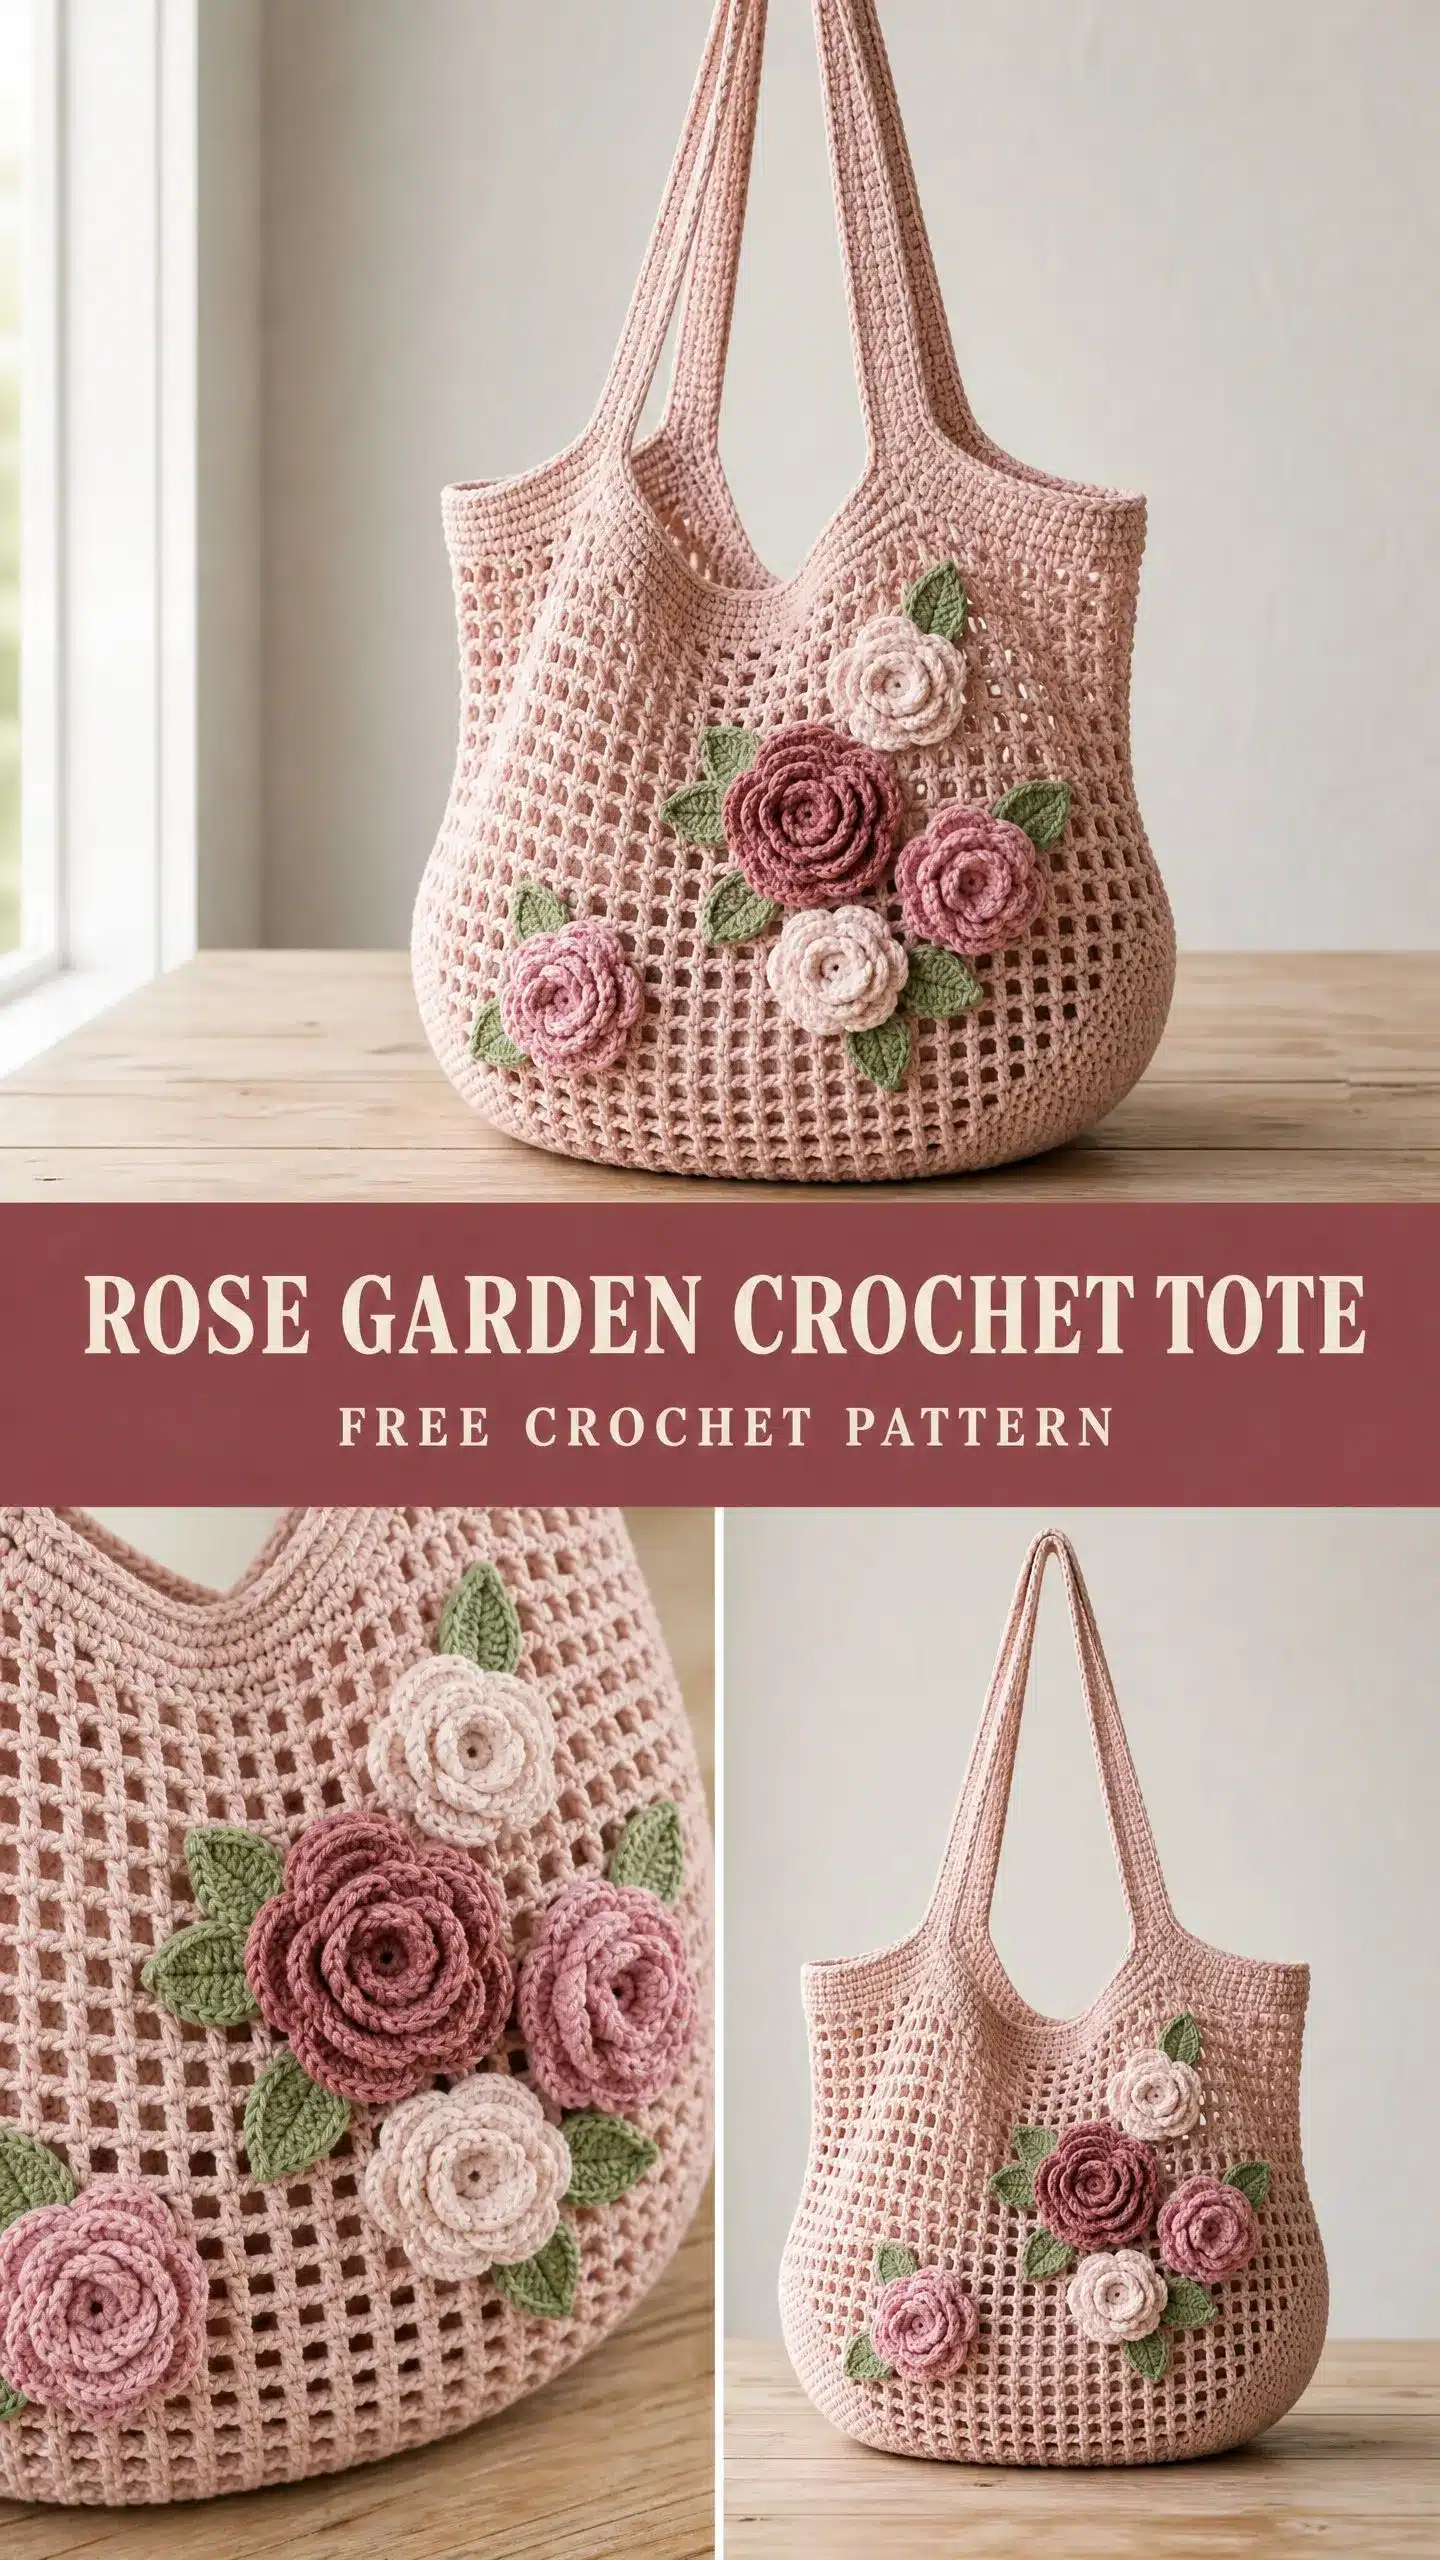
The Rose Garden Tote hits that sweet spot between practical and pretty. The mesh body means it folds down to almost nothing in your purse when empty, but expands to hold produce, craft supplies, or beach gear. The cotton yarn is machine washable, making this a durable choice for daily use. The dimensional roses add vintage charm without being fussy, and the construction is straightforward: a flat oval base, mesh rounds for the body, reinforced straps, and a floral cluster sewn on at the end. The total project time runs between 12 and 18 hours for an average intermediate crocheter, making it a perfect weekend project for watching TV or listening to podcasts.
Materials
Yarn
- Main Color (MC): Approximately 550 yards (503 m) of worsted weight, 100 percent cotton yarn in dusty blush pink.
- Rose Color A (RCA): Approximately 30 yards (27 m) in deep dusty rose.
- Rose Color B (RCB): Approximately 25 yards (23 m) in medium mauve pink.
- Rose Color C (RCC): Approximately 25 yards (23 m) in pale blush white.
- Leaf Color (LC): Approximately 35 yards (32 m) in sage green.
Recommended Yarns
- Lion Brand 24/7 Cotton: Works beautifully for the main color. This tightly spun mercerized cotton holds its shape in mesh constructions and washes well.
- Paintbox Yarns Simply DK Cotton: Offers a wide range of pinks, mauves, and greens with excellent stitch definition for the roses.
- Drops Paris: An affordable worsted cotton with good drape, available internationally in dusty rose and sage colorways.
Note: Choose a smooth, plied cotton or cotton blend yarn with good stitch definition. Avoid fuzzy or halo yarns, which will obscure the mesh pattern and flatten the rose texture. The yarn should have minimal stretch so the bag retains its shape when loaded.
Hooks
- US size H/8 (5.0 mm): For bag body and straps.
- US size G/6 (4.0 mm): For roses and leaves. The slightly tighter tension gives the florals better structure.
Notions
- Yarn needle with blunt tip and large eye
- Scissors
- 4 to 6 locking stitch markers
- Measuring tape
- Optional: Sturdy fabric or canvas for interior lining (14 inches by 28 inches)
- Optional: Sewing needle and coordinating thread for lining
Gauge and Finished Size
Gauge
With H/8 (5.0 mm) hook and MC:
- Mesh pattern: 14 mesh stitches and 10 mesh rows = 4 inches by 4 inches (10 cm by 10 cm). Each mesh stitch consists of 1 single crochet plus the chain 2 space that follows it, so 14 mesh stitches means 14 single crochet posts measured across 4 inches.
- Bag base in single crochet: 16 sc and 18 rows = 4 inches by 4 inches (10 cm by 10 cm) with H/8 hook.
Take time to check your gauge. An incorrect gauge will alter both the finished dimensions and the visual proportion of the mesh squares.
Finished Size
- Bag body: Approximately 14 inches wide by 13 inches tall, excluding straps (35.5 cm by 33 cm).
- Strap length: Approximately 24 inches (61 cm) each, giving a total drop of about 12 inches (30.5 cm) from the top of the bag.
- Depth at widest point: Approximately 5 inches (12.7 cm).
These measurements reflect the bag lying flat and empty. The mesh structure means the bag stretches gently under load.
Skill Level
Intermediate. The pattern uses simple mesh construction but requires working a flat oval base, managing even increases, crocheting 3D spiral roses, and assembling multiple components neatly. If you are comfortable working in the round, joining rounds, and sewing on appliques, you will find this approachable. For inspiration on other amigurumi projects, you might also enjoy our adorable crochet pumpkin trio or the adorable woodland fawn in sweater.
Abbreviations
- beg = beginning
- ch = chain
- ch-sp = chain space
- dc = double crochet (yarn over, insert hook, pull up loop, yarn over and pull through 2 loops twice)
- hdc = half double crochet (yarn over, insert hook, pull up loop, yarn over and pull through all 3 loops)
- lp = loop
- MC = main color
- pm = place marker
- rem = remaining
- rep = repeat
- rnd = round
- RS = right side
- sc = single crochet (insert hook, pull up loop, yarn over and pull through both loops)
- sk = skip
- sl st = slip stitch
- sp = space
- st(s) = stitch(es)
- tog = together
- WS = wrong side
- yo = yarn over
Pattern Notes
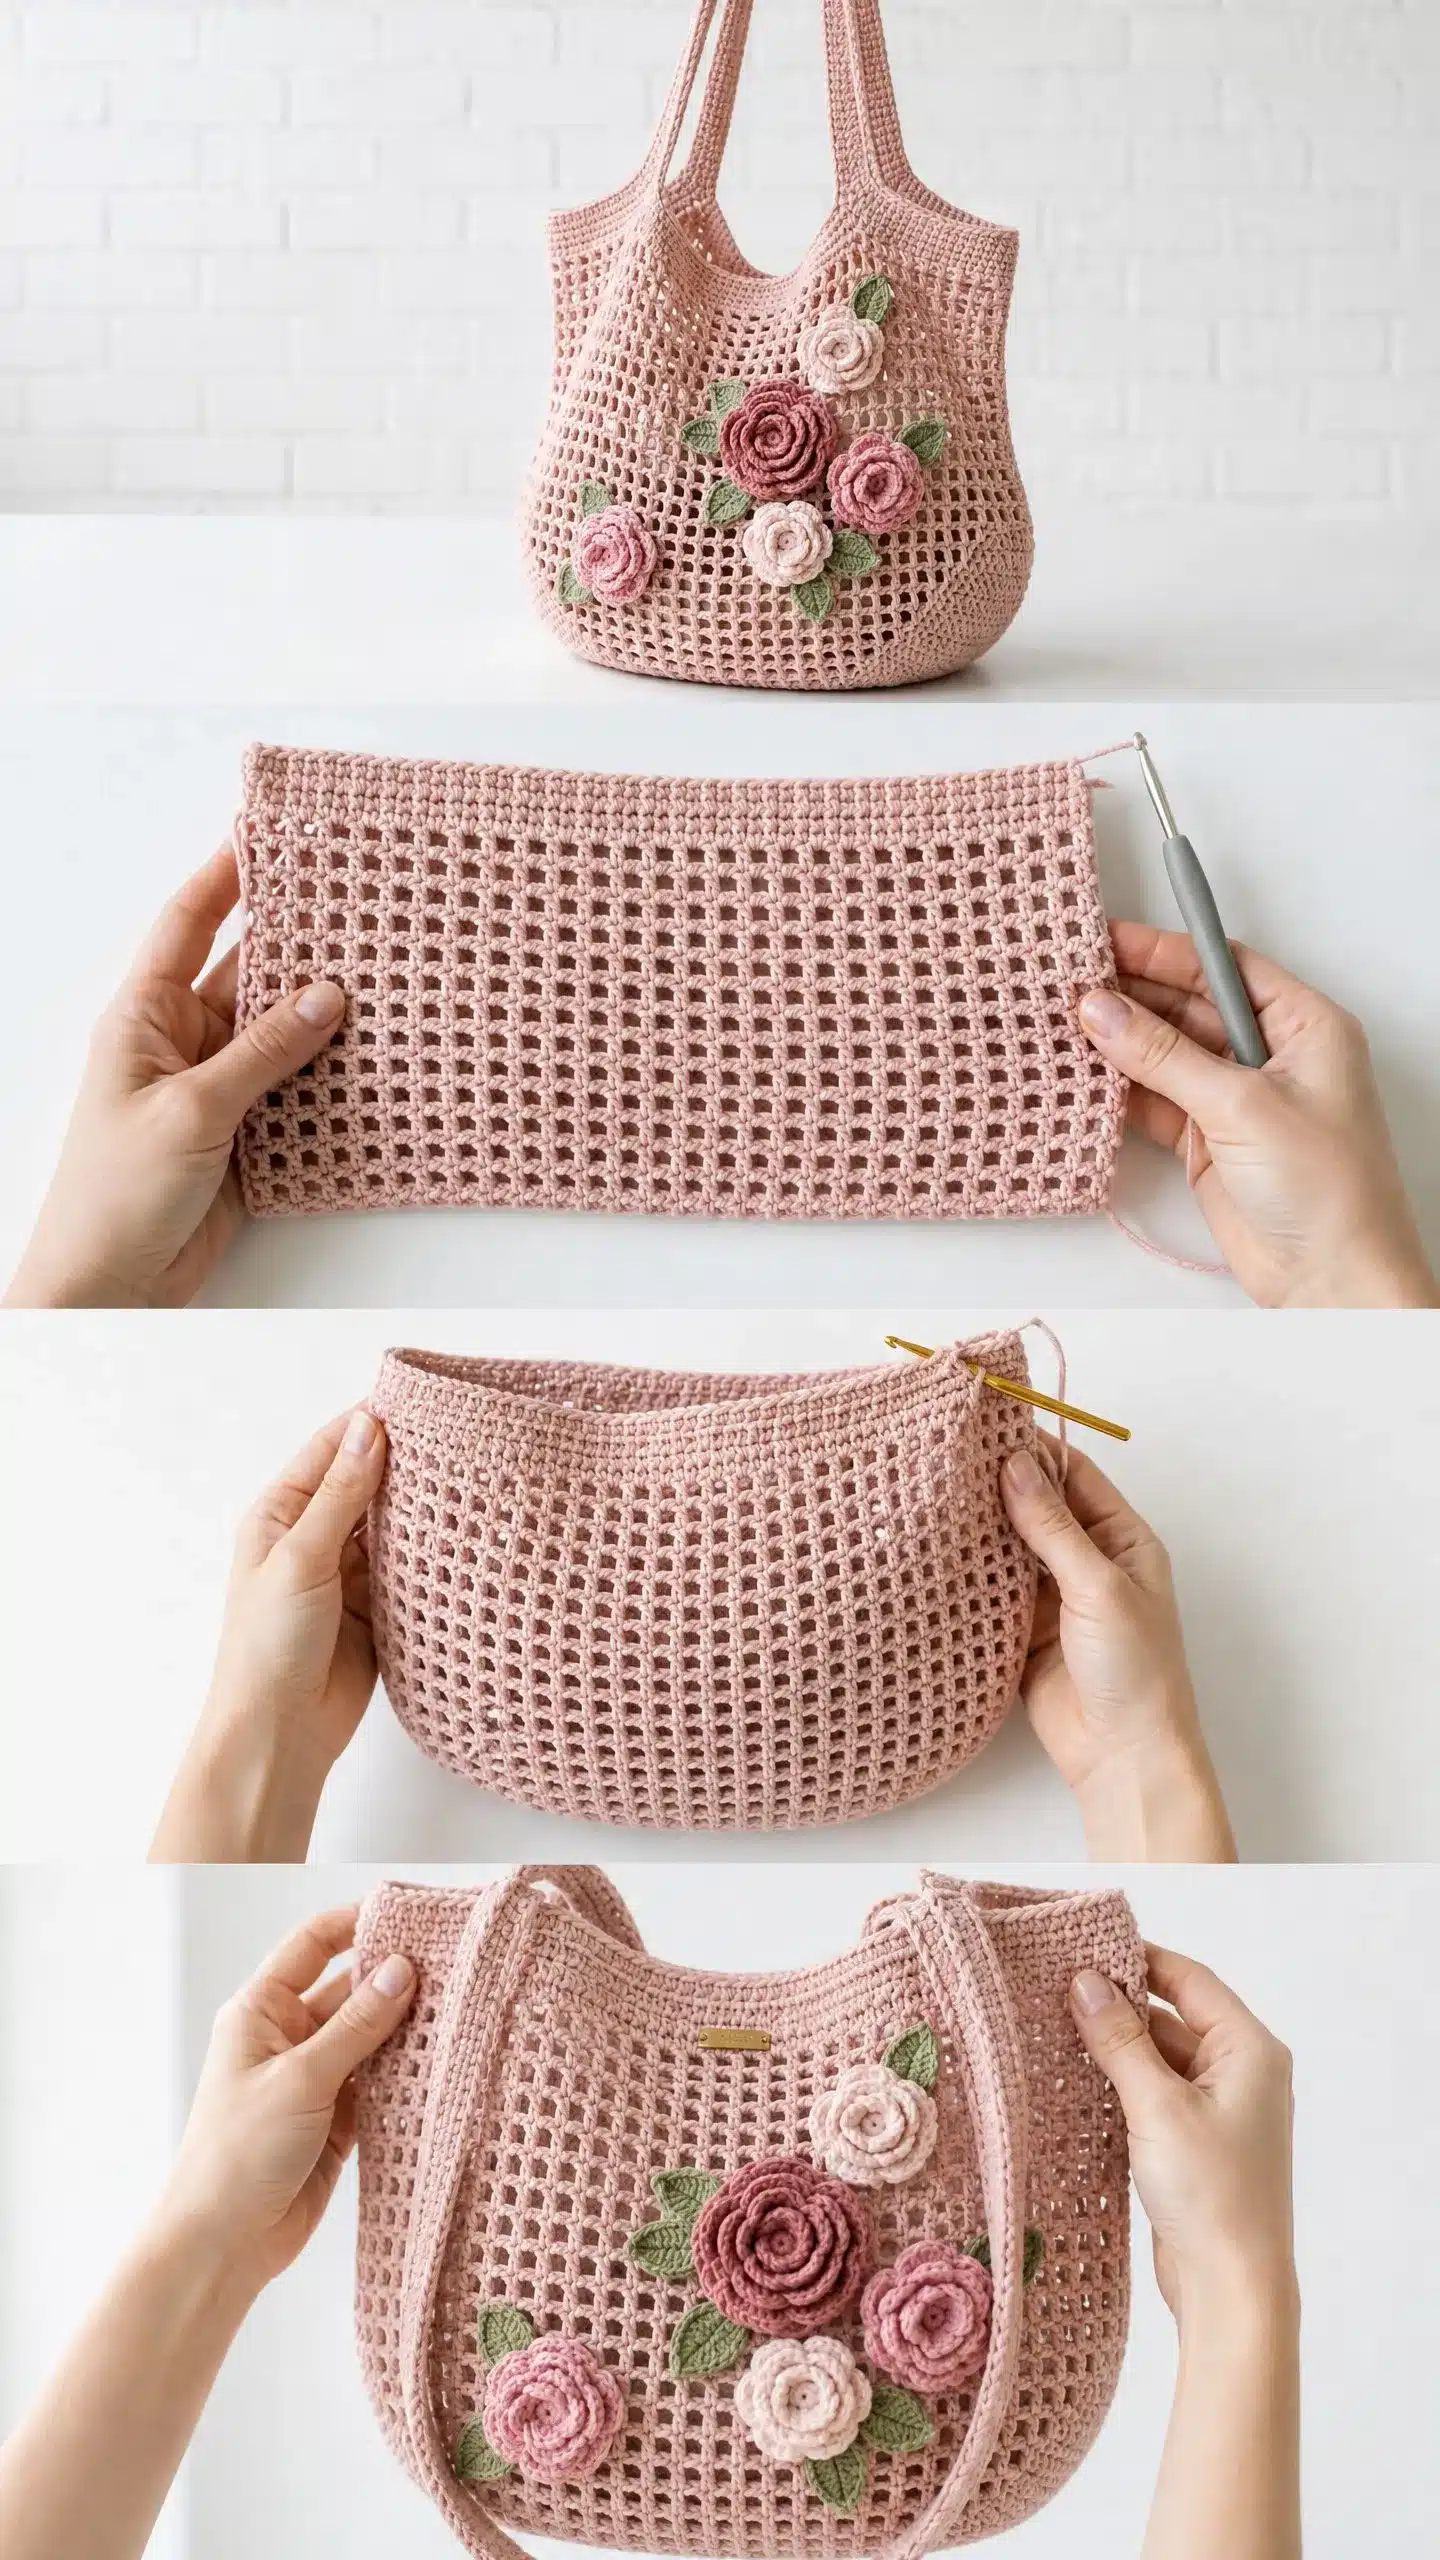
- The bag is constructed in four phases: a flat oval base worked in single crochet, a mesh body worked in rounds, long shoulder straps worked in rows and seamed, and the floral appliques made separately and sewn on.
- The base is worked as a flat oval, similar to the toe of a sock. This creates a rounded, self-standing bottom.
- The mesh body begins immediately after the base and is worked in joined rounds. Join each round with a sl st, then ch 1 to begin the next round. The chain 1 turning chain does NOT count as a stitch in any round.
- Stitch counts listed at the end of each round reflect the number of sc posts, not including chains. For the mesh rounds, the number of sc posts equals the number of mesh units.
- When working the oval base increases, markers are placed at each end of the oval to track the curved short ends. Move markers up each round.
- All flowers and leaves are crocheted with the smaller hook for firmness. Do not worry if they feel slightly stiff. This helps them stand away from the bag surface as dimensional appliques.
Pattern Instructions
Section 1: Flat Oval Base
The base is worked in continuous rounds. Do not join. Use a marker to track the start of each round.
Foundation chain: With MC and H/8 hook, ch 22.
Round 1: sc into 2nd ch from hook, sc into each of next 19 ch (20 sc across), work 3 sc into last ch (the far short end). Now rotate work and sc along the opposite side of the foundation chain: sc into each of next 20 ch, work 2 sc into the same stitch as your very first sc (the near short end). Do not join. Pm in first st. (45 sc)
Round 2: 2 sc into first st, sc into next 20 sts, 2 sc into next st, 2 sc into next st, sc into next 20 sts, 2 sc into last st. (49 sc)
Round 3: 2 sc into first st, sc into next 21 sts, (2 sc into next st) 3 times, sc into next 21 sts, (2 sc into next st) 2 times. (55 sc)
Round 4: 2 sc into first st, sc into next 22 sts, (2 sc into next st) 4 times, sc into next 22 sts, (2 sc into next st) 3 times. (63 sc)
Round 5: sc into first st, sc into next 24 sts, (2 sc into next st) 4 times, sc into next 24 sts, (2 sc into next st) 4 times, sc into last st. (71 sc)
Round 6: sc into first st, sc into next 26 sts, (2 sc into next st) 4 times, sc into next 26 sts, (2 sc into next st) 3 times, sc into last st. (78 sc)
Round 7: sc evenly around without increasing. (78 sc)
The oval base should measure approximately 10 inches long by 4.5 inches wide (25.5 cm by 11.5 cm) after Round 7. Sl st into the next stitch to prepare for the body. Do not fasten off.
Checkpoint: Your oval base should be firm and flat, with no cupping or buckling. If it cups, your tension is too tight. Go up half a hook size. If it ruffles and will not lie flat, your tension is too loose. Go down half a hook size.
The mesh pattern requires a stitch count divisible by 3. The base has 78 sc. 78 divided by 3 equals 26 repeat units. This is correct and no adjustment is needed.
Section 2: Mesh Body
Round 1 (Mesh Setup Round): Ch 1 (does not count as st), sc into same st as sl st, ch 2, sk next 2 sts, (sc into next st, ch 2, sk next 2 sts) around, sl st to first sc. (26 sc posts; 26 ch-2 spaces)
Round 2: Ch 1, sc into same sc, ch 2, (sc into next sc, ch 2) around, sl st to first sc. (26 sc posts; 26 ch-2 spaces)
Rounds 3 through 20: Rep Round 2. Work these rounds without any shaping. The mesh sides will grow straight up. (26 sc posts; 26 ch-2 spaces each round)
Checkpoint: After Round 20 of the mesh body, the bag from base to current round should measure approximately 10 inches (25.5 cm) in total height.
Rounds 21 and 22 (Transition Decrease Rounds, optional for a slightly narrower opening):
If you prefer a more defined taper, work as follows. Skip these rounds and go directly to Round 23 if you want a straight-sided bag.
Round 21: Ch 1, sc into same sc, ch 2, (sc into next sc, ch 2) 11 times, sc2tog over the next sc and the sc after the next ch-2 space (inserting hook into the sc, skipping the ch-2 sp, inserting hook into the following sc), ch 2, (sc into next sc, ch 2) 12 times, sc2tog as before, ch 2, sl st to first sc. (24 sc posts; 24 ch-2 spaces)
Round 22: Ch 1, sc into same sc, ch 2, (sc into next sc, ch 2) around, sl st to first sc. (24 sc posts; 24 ch-2 spaces)
If you skipped Rounds 21 and 22, continue with 26 sc posts into Round 23.
Round 23 (Top Reinforcement Round): Ch 1. Working into both the sc posts and ch-2 spaces of the previous mesh round, sc into each sc post and 2 sc into each ch-2 space around. Sl st to first sc. (78 sc if coming from 26-post mesh; 72 sc if coming from 24-post mesh after the taper)
The pattern is written for the 78 sc version from this point. If you worked the taper, adjust stitch counts proportionally.
Round 24 (Top Edge): Ch 1, sc into each sc around, sl st to first sc. (78 sc)
Fasten off, leaving a 12 inch tail for weaving in. The top edge should feel notably firmer than the mesh body.
Checkpoint: The bag body from base bottom to top edge should measure approximately 13 inches (33 cm) tall and approximately 14 inches (35.5 cm) wide when laid flat.
Section 3: Shoulder Straps (Make 2)
Each strap is a long sc rectangle folded lengthwise and seamed for durability and thickness. The finished strap is approximately 0.75 inch (2 cm) wide and 24 inches (61 cm) long before attachment.
With MC and H/8 hook, ch 90.
Row 1: sc into 2nd ch from hook, sc into each ch across. Turn. (89 sc)
Row 2: Ch 1, sc into each sc across. Turn. (89 sc)
Row 3: Ch 1, sc into each sc across. Turn. (89 sc)
Row 4: Ch 1, sc into each sc across. Do not turn. Fasten off, leaving a 24 inch tail. (89 sc)
Fold the strap in half lengthwise so the two long edges meet. Using the long tail, whipstitch the two long edges together firmly. The strap should now be a stiff doubled cord approximately 0.75 inch wide.
Strap attachment: Position one strap on the front of the bag, aligning one end with the top edge approximately 3 inches (7.5 cm) in from the left side edge and the other end approximately 3 inches in from the right side edge. The strap arcs up from both attachment points. Each strap end should overlap the top edge by approximately 1.5 inches (4 cm), folded to the inside. Using MC and a yarn needle, sew each strap end securely to the inside top edge of the bag with a box stitch. Sew a rectangle of stitches, then sew an X across the rectangle for maximum strength. Repeat for the second strap on the back of the bag, positioning the ends to mirror the front strap exactly.
Checkpoint: Once both straps are attached, try the bag on your shoulder. The base of the bag should hang approximately 10 to 12 inches (25.5 to 30.5 cm) below your shoulder. Adjust strap length before sewing if needed by working fewer or more foundation chains.
Section 4: Floral Appliques
Rose Quantity and Colors:
Each rose is worked following the Spiral Rose special stitch instruction below. Use RCA, RCB, and RCC for variety.
Leaf Quantity: Make 6 leaves in LC, following the Leaf special stitch instruction.
Finished rose diameter: approximately 1.75 to 2 inches (4.5 to 5 cm)
Finished leaf length: approximately 1.75 inches (4.5 cm)
Arranging and Sewing the Floral Cluster:
Place the bag on a flat surface with the front facing up. The floral cluster is positioned on the lower left quadrant of the front panel, roughly spanning from 3 inches (7.5 cm) up from the base to 8 inches (20 cm) up from the base, and from the center of the bag extending toward the left edge.
Lay out the roses and leaves before sewing to plan the arrangement. A suggested arrangement:
Thread a yarn needle with matching or invisible thread, or use thin yarn. Sew each rose to the bag by stitching through the flat base of the rose and catching the mesh bars of the bag underneath. Make several passes to ensure each rose is secure and will not flop forward. Sew leaves in the same manner, stitching along the center vein of the leaf to the bag surface.
Assembly
Weave in all yarn ends securely using a yarn needle, working the tails back and forth through multiple stitches so they cannot pull out.
Blocking: Fill the bag with plastic bags or crumpled paper to achieve its final shape. Lightly mist the entire bag with cool water using a spray bottle. Pat and shape the base so it sits flat and the sides are even. Gently pull the mesh panels so the mesh squares are even and square. Allow to dry completely in a well ventilated area, approximately 24 hours. Cotton will relax and the mesh will open up and become more defined after blocking.
Do not pin stretch the bag aggressively, as overstretching will distort the mesh squares and make the bag look uneven.
Optional lining: Cut a fabric lining piece using the blocked bag as a template. Ideally, use cotton canvas or quilting cotton. Sew the lining into a bag shape leaving the top open, fold the top seam allowance under, and slip stitch the lining to the inside of the bag along the top edge, just below the reinforced sc top border. This prevents small items from falling through the mesh.
Tips
- To make a smaller bag (approximately 11 inches wide by 10 inches tall): Begin the oval base with a ch 16 foundation and work 5 increase rounds. Work 14 mesh body rounds. All other steps remain the same.
- To make a larger market tote (approximately 17 inches wide by 15 inches tall): Begin the oval base with a ch 28 foundation and work 8 increase rounds to 96 sc (divisible by 3). Work 25 mesh body rounds. Increase strap chain to ch 110.
- To change strap length: Each 3 chains added to the foundation equals approximately 1 inch of strap length. Always check the drop height on your shoulder before seaming the strap.
FAQs
Can I wash this crochet tote in the washing machine?
Yes, the cotton yarn is machine washable. Wash on a gentle cycle in cool water. Lay flat to dry. Do not tumble dry, as heat will cause cotton to shrink and may distort the mesh. Do not wring or twist. If the bag loses its shape after washing, restuff with packing and allow to air dry in shape.
How do I fix a base that is cupping or ruffling?
If your oval base cups, your tension is likely too tight; try going up half a hook size. If it ruffles and will not lie flat, your tension is too loose; try going down half a hook size. The base should be firm and flat after Round 7.
Why do the roses feel stiff?
The roses and leaves are crocheted with a smaller hook (G/6) to create firmness. Do not worry if they feel slightly stiff; this helps them stand away from the bag surface as dimensional appliques rather than lying flat.
Can I make the bag deeper?
The pattern provides a standard depth of approximately 5 inches. To adjust the width (and thus the depth), you can modify the foundation chain of the oval base. However, ensure the final stitch count of the base is divisible by 3 for the mesh pattern to work correctly.
What is the best way to attach the straps?
For maximum durability, use a box stitch to attach the straps. Sew a rectangle of stitches where the strap meets the bag, then sew an X across the rectangle. This distributes the weight of the bag evenly and prevents the straps from tearing off.
Final Thoughts on the Rose Garden Crochet Tote Pattern
This crochet tutorial walks you through every step of creating a beautiful, functional tote that looks far more complicated than it actually is. The mesh body works up quickly once you get into the rhythm, and those spiral roses are genuinely fun to make. I find myself making extras just to have on hand for other projects. Whether you are looking for a handmade gift, a pretty market bag, or just a satisfying project to work on over a few evenings, this Rose Garden Tote delivers. The combination of practical mesh construction and romantic floral details makes it special without being precious. Thank you so much for choosing this pattern. I hope you enjoy every stitch of making your own Rose Garden Tote. If you make one, I would absolutely love to see it. Tag me on Instagram or share a photo in our Facebook group. If you loved this pattern, go ahead and pin it to your Pinterest boards so you can find it easily when you are ready to start. And please drop a comment below if you make one. I always love hearing how your projects turn out and seeing the color combinations you choose.
Pin This Crochet Pattern!