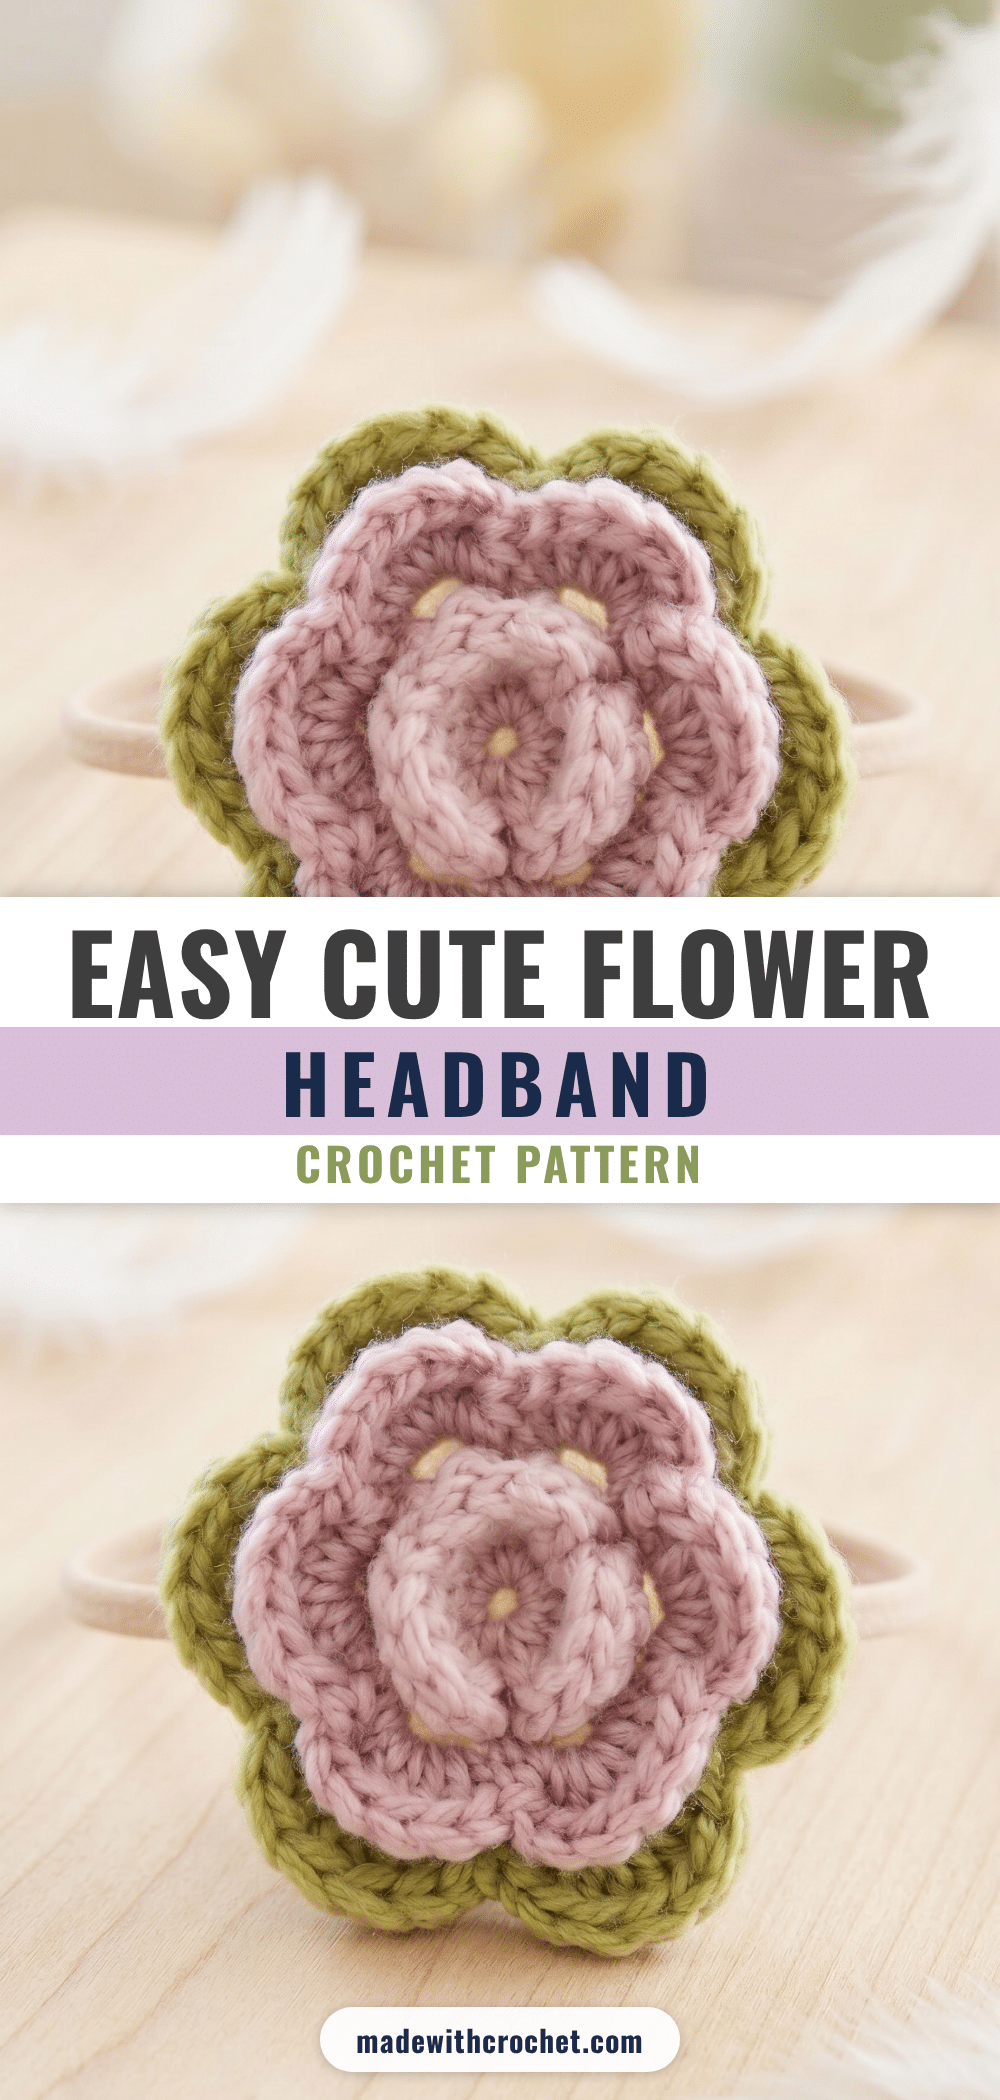
There is something undeniably delightful about a finished crochet flower headband. It is a small, tidy accessory that looks far more complex than it actually is, making it a perfect project for a quick, satisfying finish. The layered construction gives the bloom a lovely dimension that sits beautifully on the hair band, creating a piece that is both cute and useful. Whether you are making it for a child or yourself, the result is a display-worthy accessory that feels special without taking days to complete.
Why the Finished Piece Stands Out
What makes this layered flower construction truly special is the way the petals build upon one another. By working from the back and front of the piece in alternating rounds, the flower gains a natural, dimensional look that mimics a real bloom. The super bulky wool provides real body and a little natural spring, allowing the petals to hold their shape without any stuffing. This technique is not only beginner-friendly but also a useful construction method you can apply to other projects. The color changes—from powder pink to pink, and finally to light green—create a botanical look that reads as leaves against the center, adding a touch of elegance to a simple hair accessory.
Project Overview
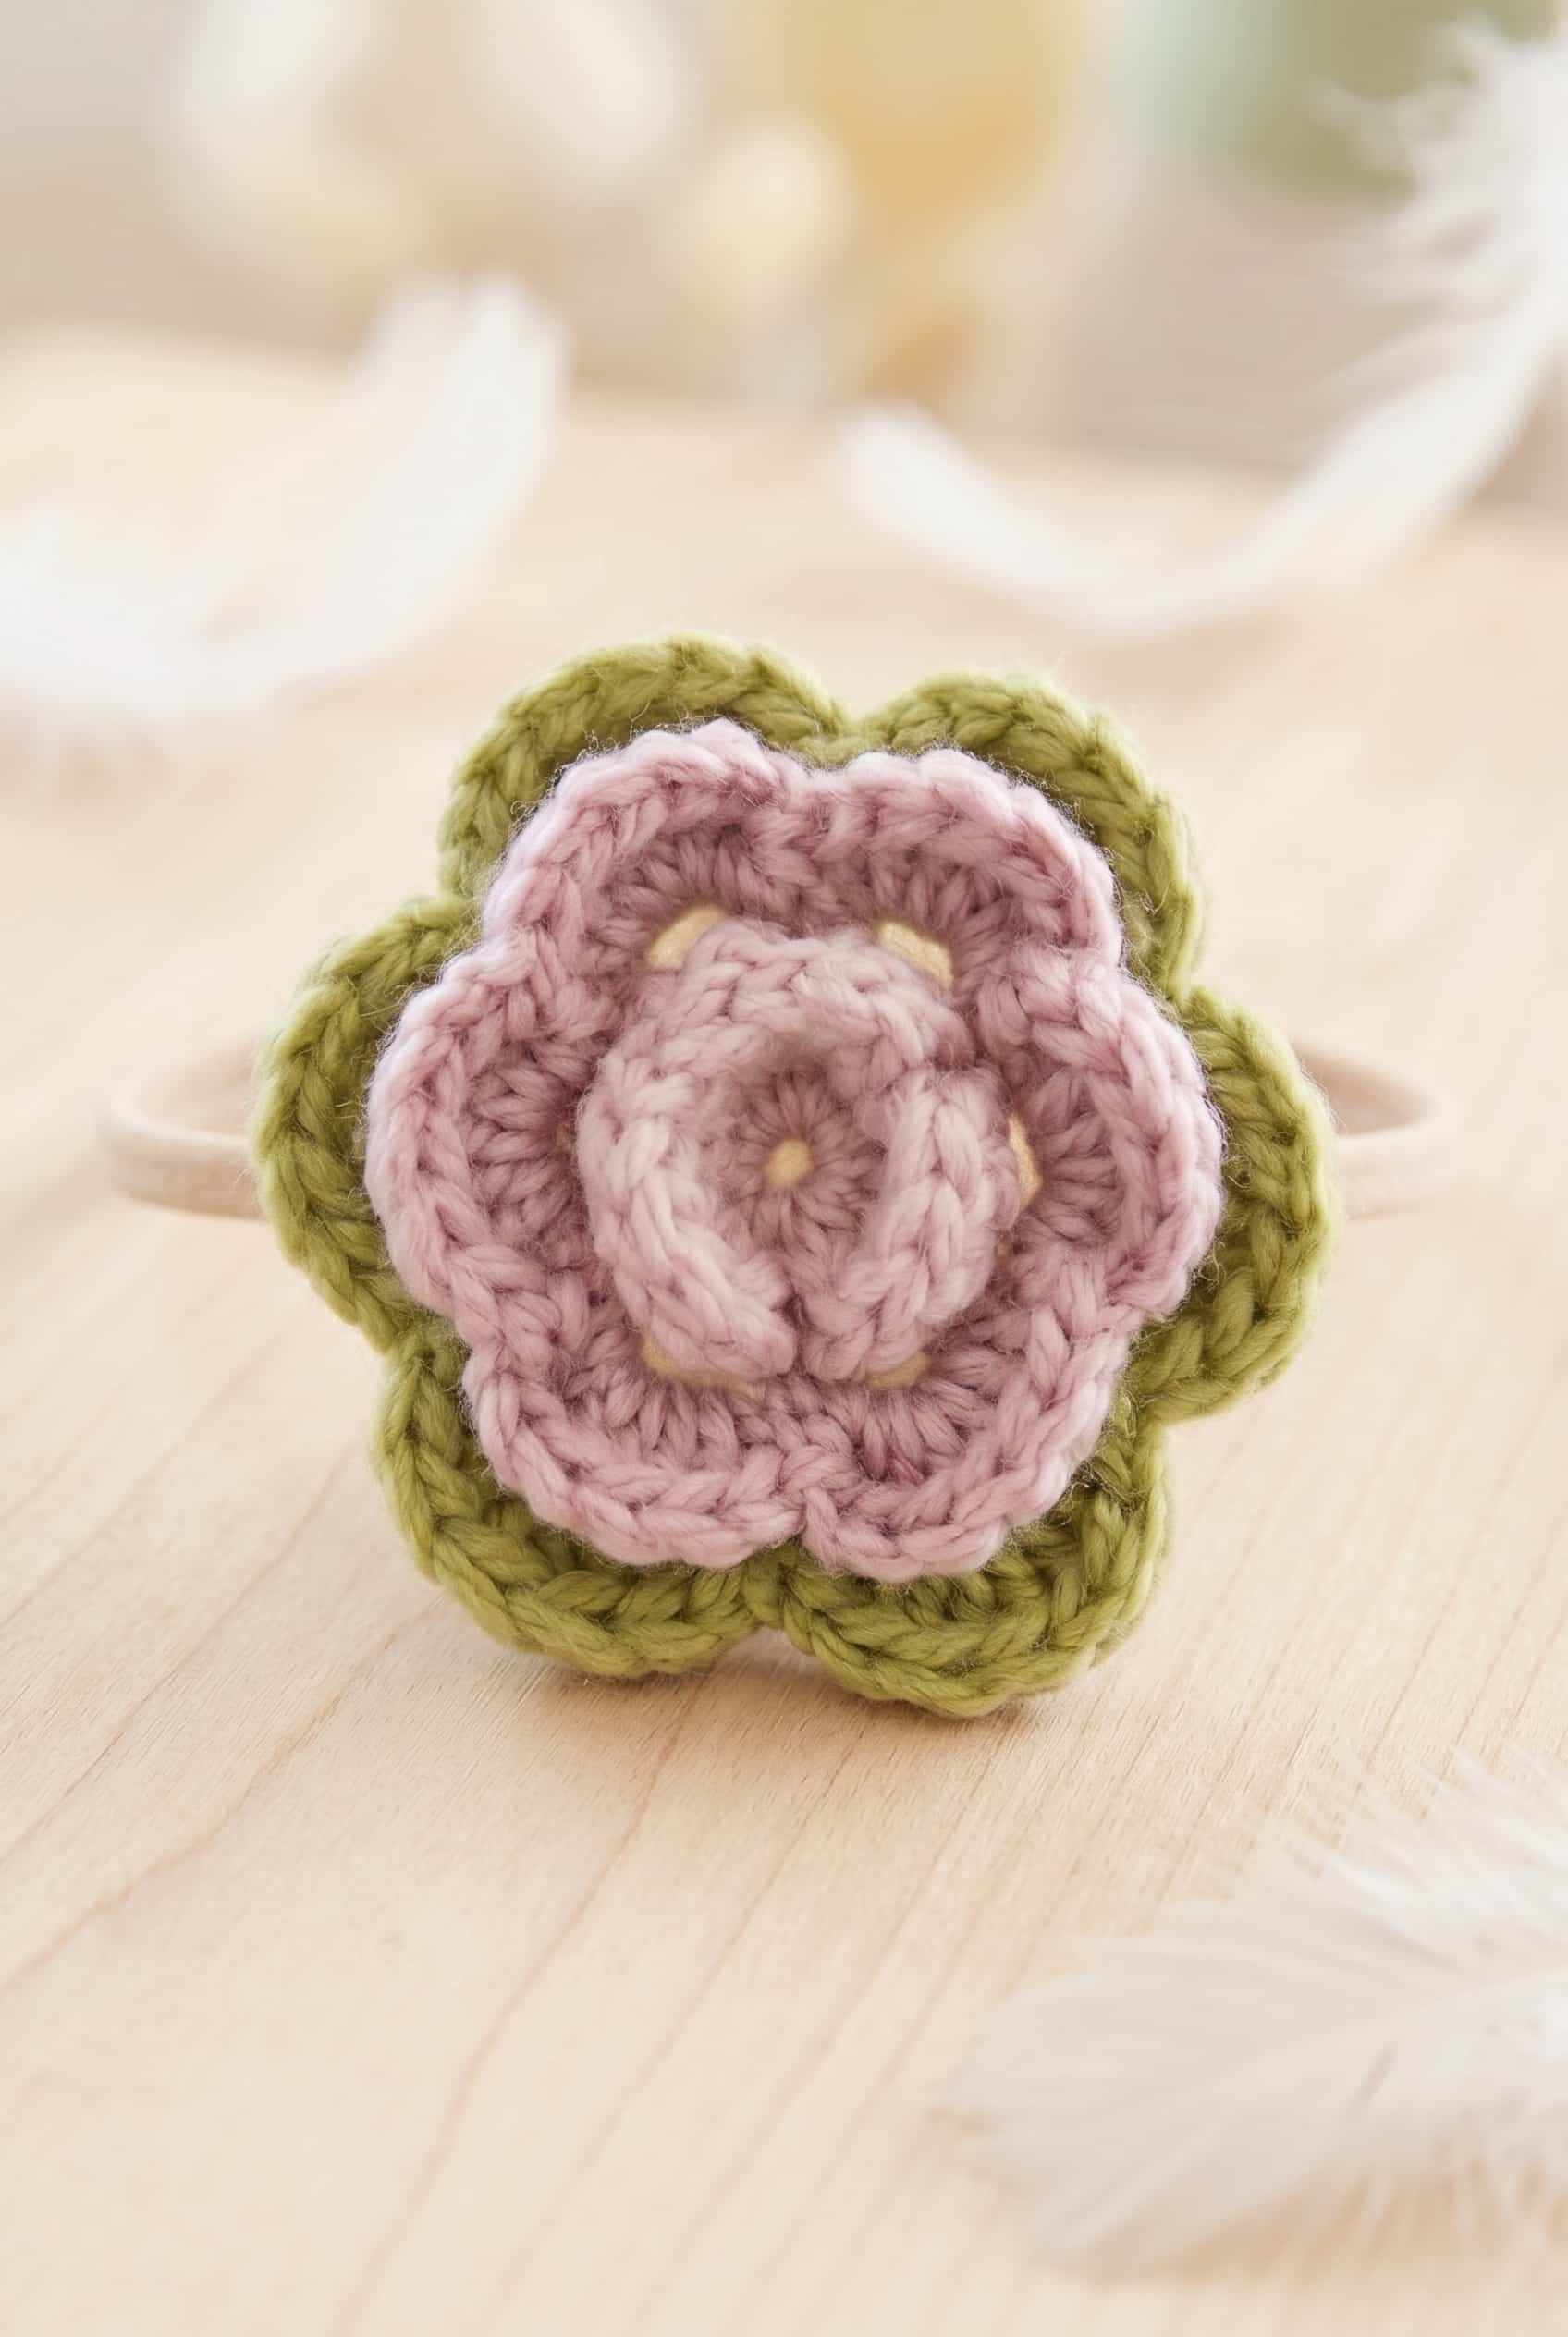
This flower headband is a quick, compact project that comes together faster than you might expect. It is designed to be easy, requiring no prior experience beyond basic crochet stitches. The pattern builds three distinct layers of petals from the center out, resulting in a full, dimensional flower that attaches directly to a standard hair band. It is an excellent gift idea because it is small, wearable, and customizable with different color combinations.
Materials
- Yarn: Super Bulky 100% Wool (Weight 6). You will need 50 g of powder pink (color no. 51), 50 g of pink (color no. 30), and 50 g of light green (color no. 55). The wool provides the necessary body and grip for the stitches.
- Hook: 6 mm / J-10 Hook. This size pairs well with super bulky wool to create a fabric that is neither too tight nor too loose.
- Hair Band: One standard hair band to attach the finished flower to.
- Notions: Scissors and a yarn needle for weaving in ends and assembly.
Alternative Yarn Suggestions: If 100% wool is difficult to find or too pricey, a wool-acrylic blend (at least 50% wool) in the same weight works well and offers a broader color range. Fully synthetic super bulky acrylic is also an option, though the flower will feel lighter and the stitches softer.
Gauge and Finished Size
Gauge is not critical for this project. Use a hook size that creates a fabric you like for the flower and that sits neatly on the hair band. The finished flower measures approximately 8 cm (3.25 in) in diameter.
Abbreviations
All abbreviations are US standard:
- ch = chain
- sc = single crochet
- dc = double crochet
- sl st = slip stitch
- beg = beginning
- rep = repeat
Pattern Notes
The flower is built in layers. As you work through the rounds, you will turn the piece so that some rounds are worked from the back and others from the front. The pattern will tell you when to turn, so just follow those cues as they come. Working into each chain space rather than individual stitches gives each petal its full, rounded shape. Once all the layers are complete, the finished flower gets attached to the hair band. That is the only assembly step.
Pattern Instructions
Building the Layered Crochet Flower
This flower is worked in rounds, building up three distinct layers of petals from the center out. Each layer sits slightly in front of or behind the last, so you will be turning the piece and working from both the front and back as you go.
Round 1: Ch 4 with powder pink and form a ring with 1 sl st in first ch.
Round 2: *1 sc in ring, ch 3* repeat 2 more times, and finish with 1 sl st in first sc from beg of round. [3 ch spaces] These three chain spaces are the foundation for your first layer of petals.
Round 3: In each ch space: 1 sl st, 5 dc, 1 sl st. [3 leaves] Turn piece; work next round from the back of flower. Working into each chain space rather than individual stitches gives each petal its full, rounded shape. After completing this round, flip the flower over before continuing.
Round 4: Ch 1, 1 sc around first sc from Round 2, ch 4, 1 sc at the bottom of first leaf from Round 3, *ch 4, 1 sc around next sc from Round 2, ch 4, 1 sc at the bottom of next leaf from Round 3* repeat from *-* until there are a total of 5 ch spaces, and finish with ch 4 and 1 sl st in first sc of round. [6 ch spaces] Change to pink. Turn piece; work next round from the front of flower. You are working around the stitches from Round 2 rather than into them—hook under the post of each sc to anchor your new chain spaces between the first-layer petals. This is where you change to pink.
Round 5: In each ch space: 1 sl st, 6 dc, 1 sl st. [6 leaves] Turn piece; work next round from the back of flower. Six petals this time instead of three, and one extra dc per petal compared to the first layer. Turn the piece again before moving on.
Round 6: Ch 1, 1 sc around first sc from Round 4, ch 5, *1 sc around next sc from Round 4, ch 5* repeat from *-* until there is a total of 5 ch spaces, and finish with ch 5 and 1 sl st in first sc of round. [6 ch spaces] Change to light green. Turn piece; work next round from the front of flower. Same principle as Round 4—you are anchoring into the Round 4 sc posts to build the outermost layer. Switch to light green here for the final set of petals.
Round 7: In each ch space: 1 sl st, 6 dc, 1 sl st. [6 leaves] Cut and fasten off.
Assembly
Once the flower is finished and fastened off, you sew it directly onto the hair band using your yarn needle. I like to stitch through several points around the back of the flower so it sits flat and doesn’t spin around during wear. A few secure passes through the band is all it takes.
Tips
- Color Changes: There are two color changes. The first happens at the end of Round 4: you finish the round in powder pink, then switch to pink before turning to work Round 5. The second change comes at the end of Round 6, where you swap to light green before turning and working Round 7. Both changes happen at the join, right before you turn the piece.
- Yarn Ends: Keep your yarn ends loose enough to weave in comfortably, because with three colors there will be a few of them to deal with before you attach the flower to the band.
- Customization: You can absolutely use fewer colors. Working the whole flower in one color is simple enough, or you can use two colors. The light green outer layer reads as leaves against the pink center, so if you want that botanical look, keeping the outer round a contrasting color is worth it.
Care Instructions
Because this headband is 100% wool, hand washing is the way to go. Wool felts fast with agitation and heat, so use cool water and a gentle squeeze rather than any wringing or rubbing. Lay it flat to dry so the flower keeps its shape. The hair band itself holds up fine with careful washing, but if you want to be safe, you can always detach the flower before washing and reattach it after.
Frequently Asked Questions
Why does the pattern have me turn the flower between rounds?
Turning the piece lets you work each new layer of petals from either the front or the back of the flower. The back-facing rounds build the foundation chain spaces that sit behind the existing petals, so you can then turn to the front and work the next set of petals right over them. It feels a little odd at first, but it is what gives the flower its layered, dimensional look.
How is the flower attached to the hair band?
Once the flower is finished and fastened off, you sew it directly onto the hair band using your yarn needle. Stitching through several points around the back ensures it sits flat and doesn’t spin during wear.
When exactly do the color changes happen?
The first change is at the end of Round 4 (switching to pink), and the second is at the end of Round 6 (switching to light green). Both occur at the join before turning the piece.
How many petals does the finished flower have in total?
The flower has three layers. The first layer has 3 petals, the second has 6, and the third has 6. That is 15 petals total, each worked in a chain space from the round before it.
Do I need all three colors, or can I make it in one or two?
You can absolutely use fewer colors. The color changes are just at the round transitions, so working the whole flower in one color is simple enough. Two colors also works well.
For more inspiration, check out our easy crochet sunflower keychain or explore our adorable crochet pumpkin trio for seasonal crafting ideas.
Pin This Crochet Pattern!