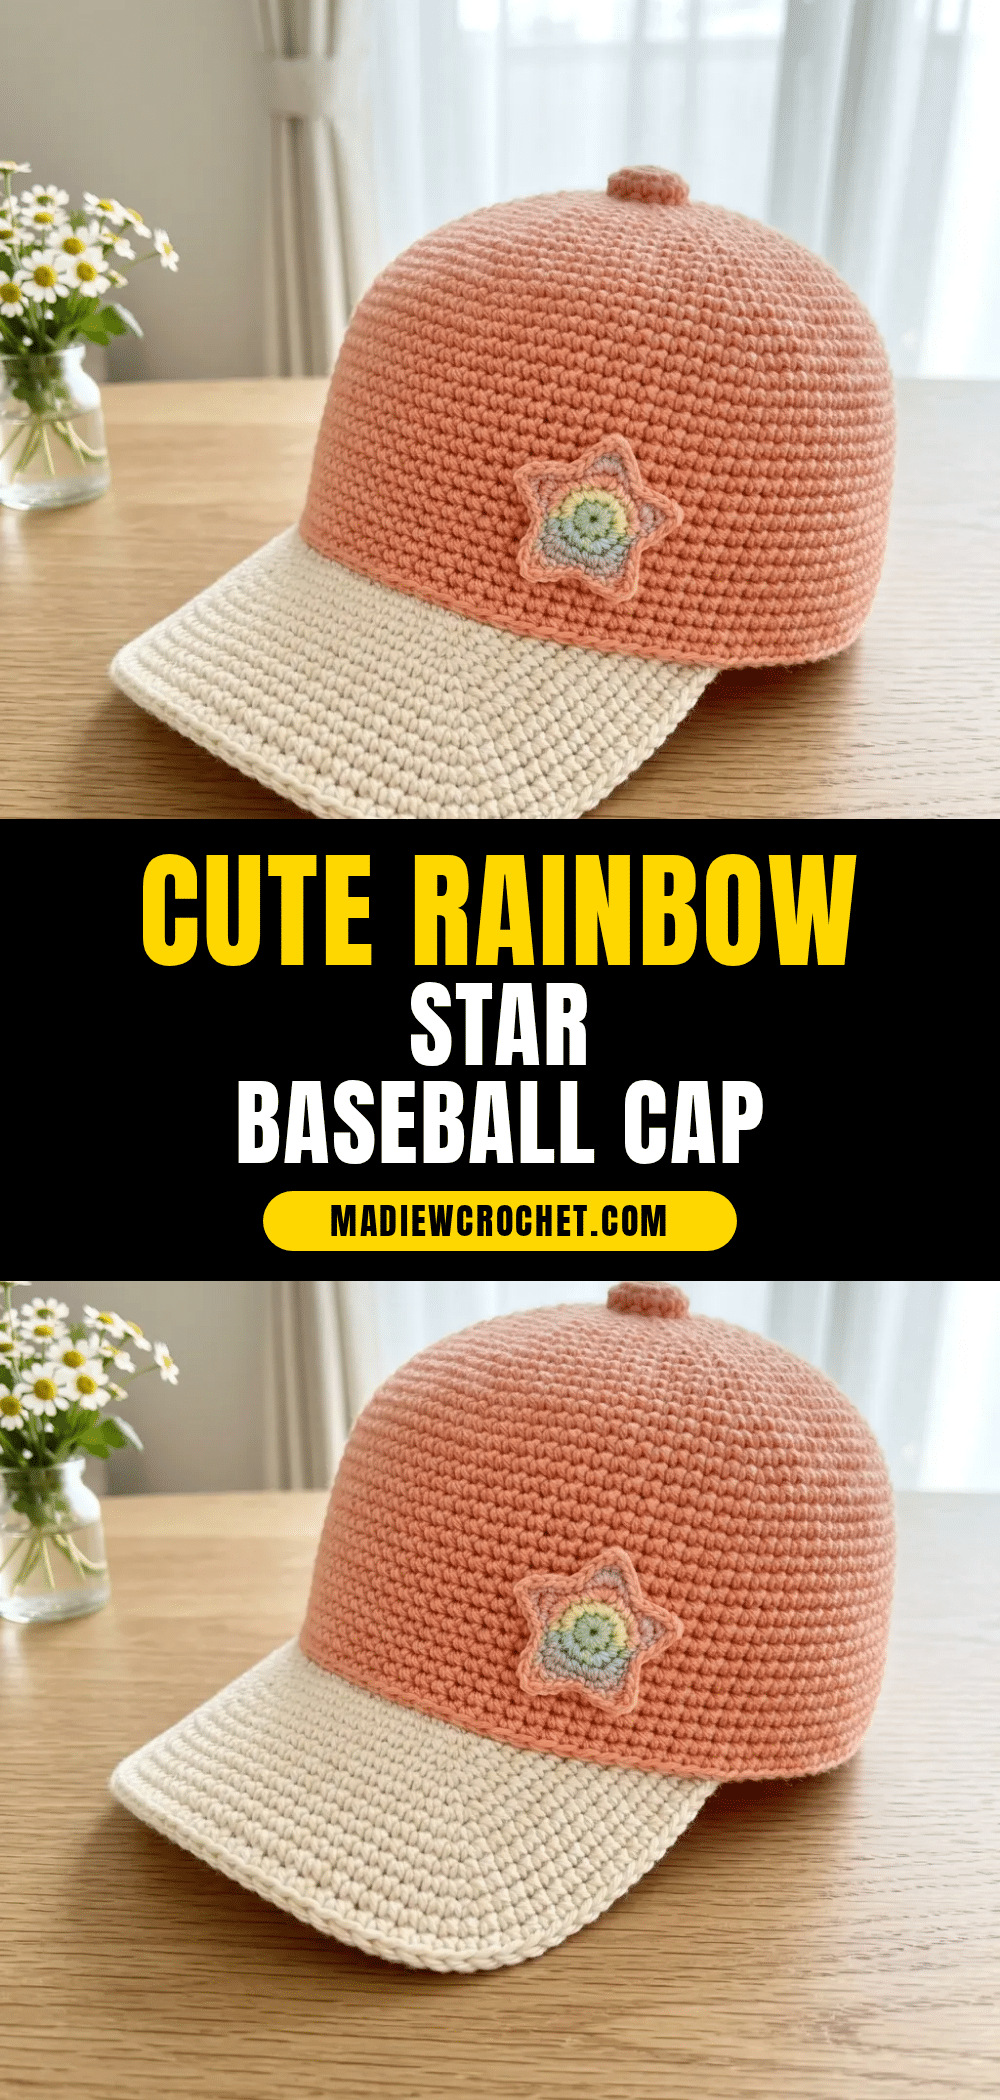
Did you ever start a crochet hat, only to panic when the crown refused to lie flat? It happens to the best of us. That dreaded ruffle or the dreaded cupping can make a structured baseball cap look more like a floppy beanie. But here is the good news: this Peachy Rainbow Star Baseball Cap is designed to be forgiving. The pattern uses a clever continuous round technique that builds that classic six-panel look naturally, and the checkpoints included in the instructions help you catch tension issues early. If you have ever wanted a hat that looks store-bought but feels handmade, this is the project for you.
Maker Notes
There is something undeniably charming about a baseball cap that feels like a wearable piece of art. The warm terracotta body paired with a crisp cream brim gives this hat a vintage, sun-drenched vibe that works just as well for a summer festival as it does for a casual coffee run. I love how the rainbow star applique adds a playful pop of color without overwhelming the design. It’s a subtle nod to whimsy that makes the hat feel special. The mercerized cotton yarn recommended here is a game-changer; it provides excellent stitch definition and holds its shape beautifully, meaning you won’t need to spend hours blocking to get that polished, boutique finish.
Project Overview
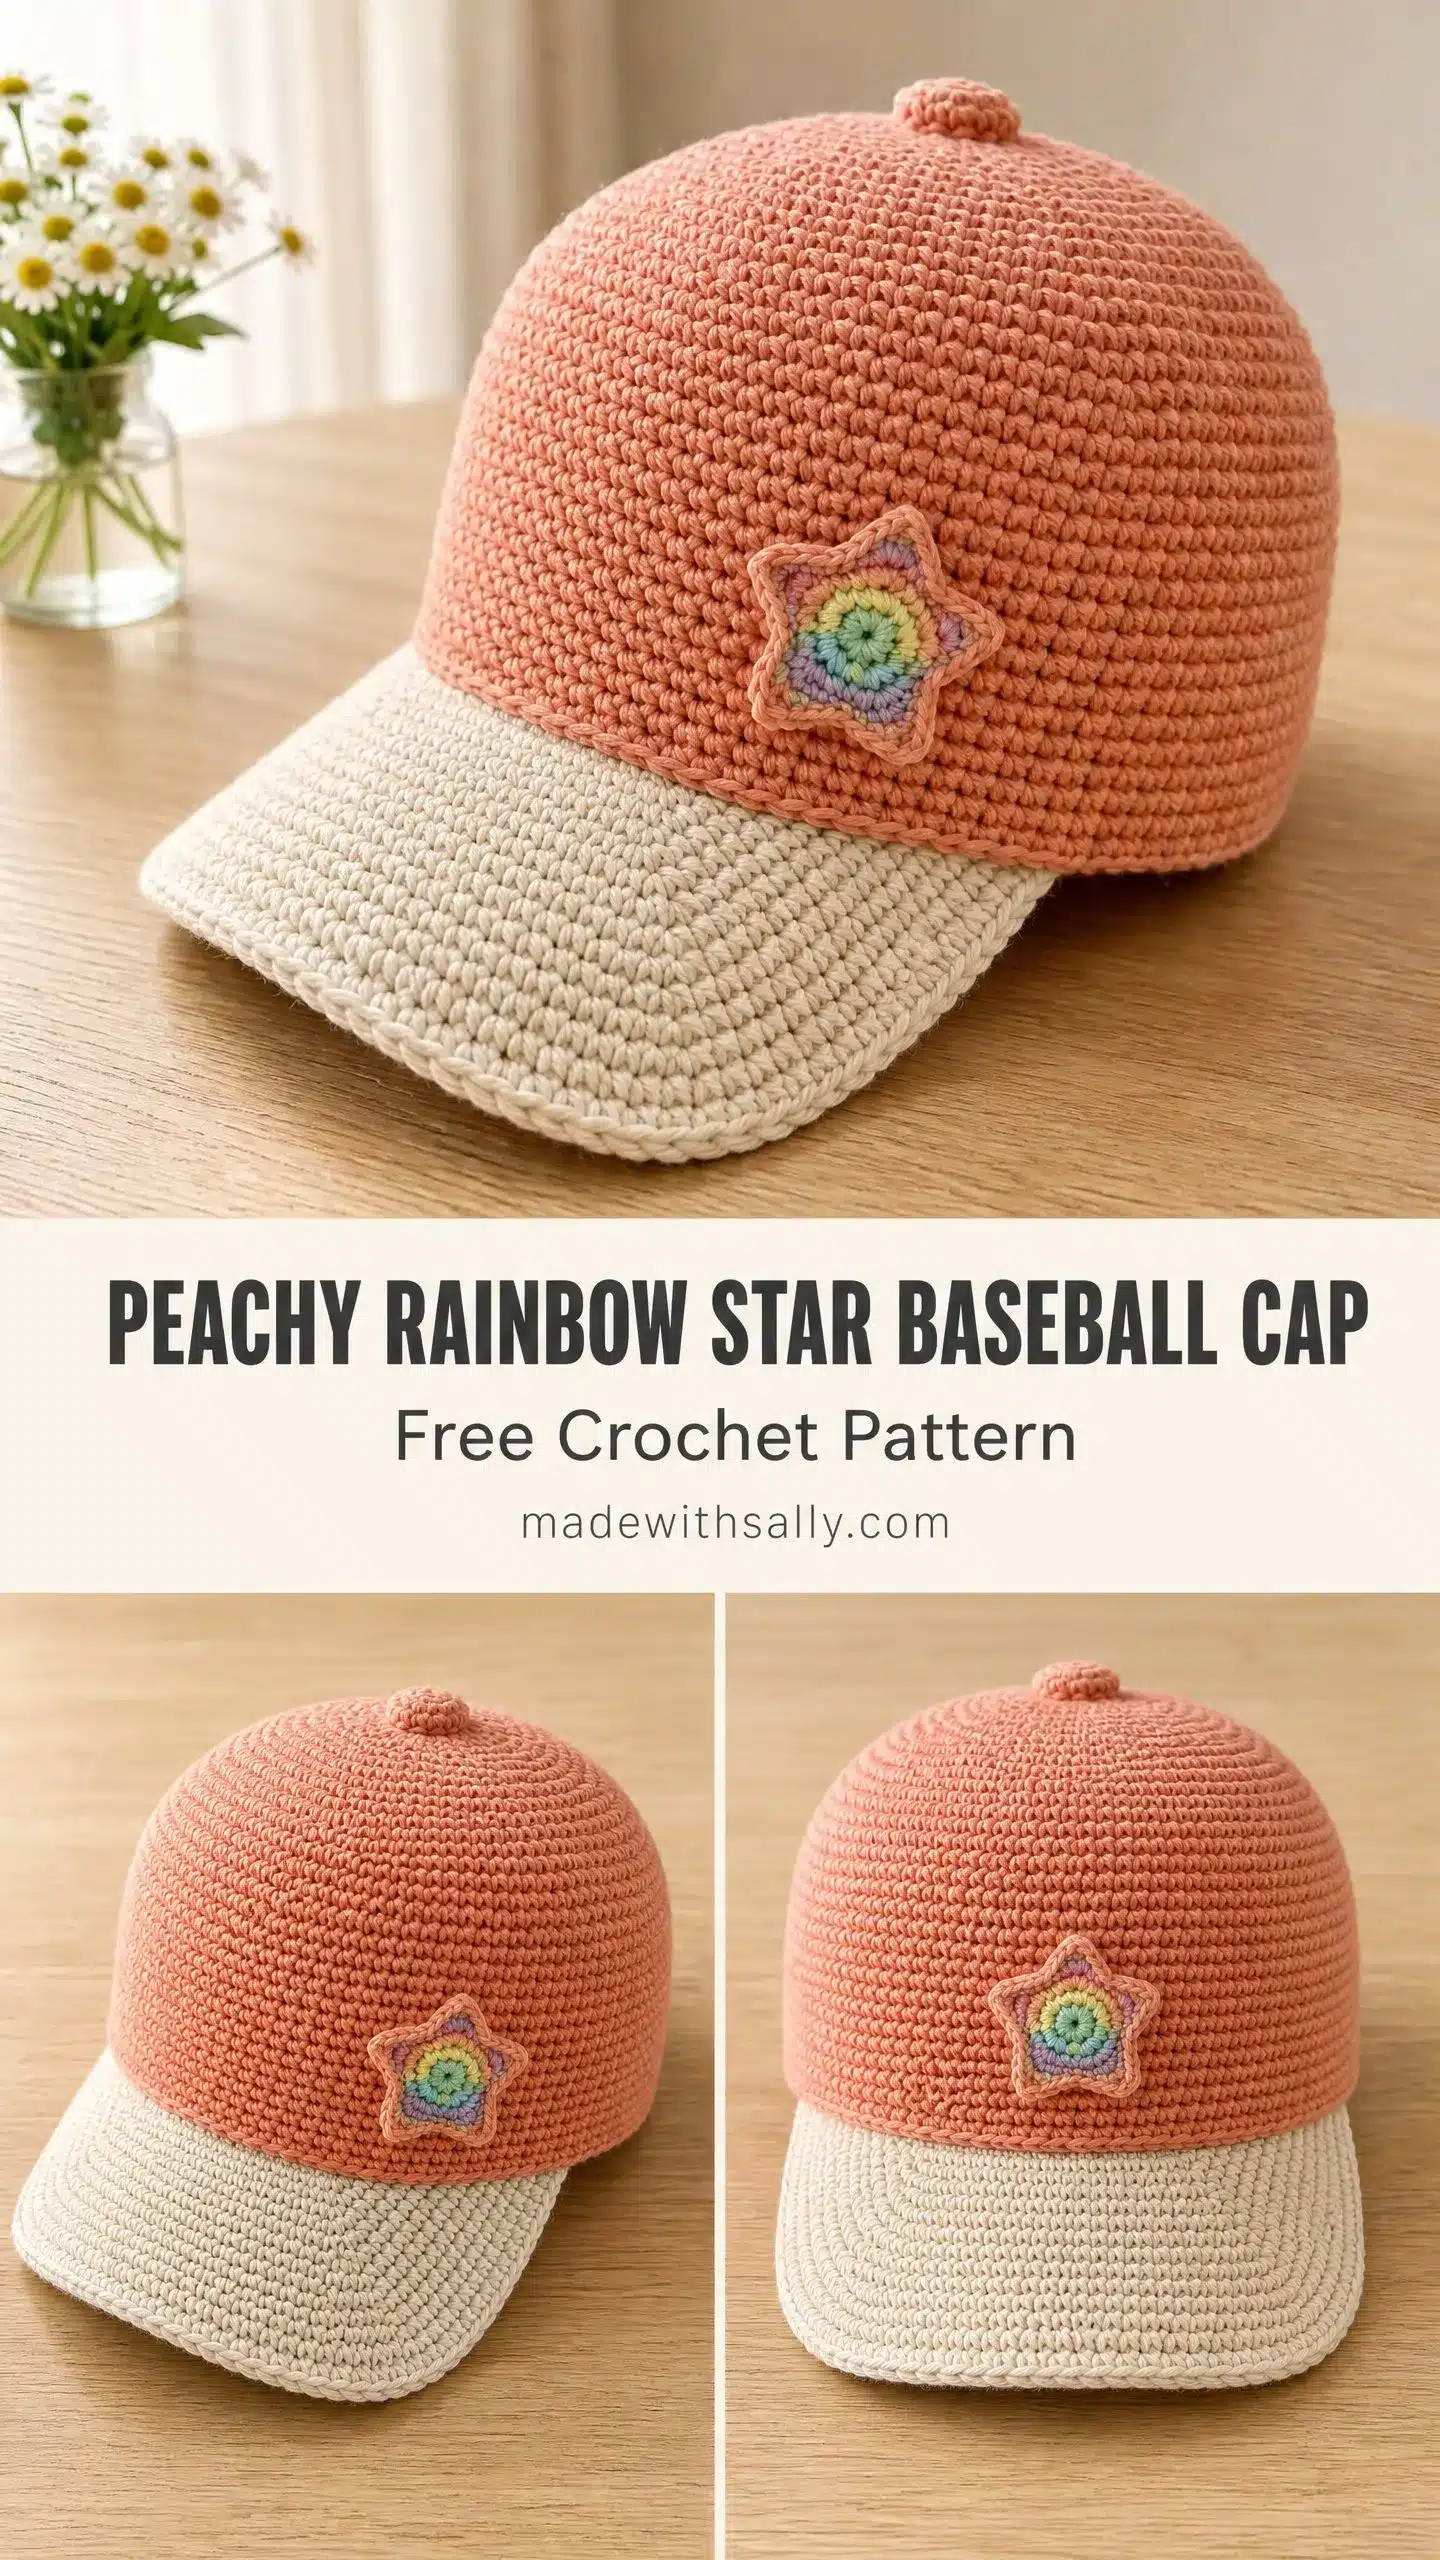
This crochet pattern creates an adult medium baseball cap designed to fit a head circumference of 22 to 22.5 inches. The cap body is worked in continuous rounds from the crown down, which means no seaming panels together. You will get that classic six-panel baseball cap look simply from the increase lines during the crown shaping. Pretty clever, right? The main body uses a warm peachy terracotta color with a contrasting cream brim. A sweet rainbow star applique gets sewn to the front panel, adding a playful pop of color that catches the eye without overwhelming the design.
Skill level: Intermediate. You should be comfortable working in the round with consistent tension. If you have made amigurumi or beanies before, you have the skills for this project.
Time estimate: Approximately 8 to 12 hours for an experienced crocheter, including the applique and all finishing work.
Materials You Will Need
Yarn
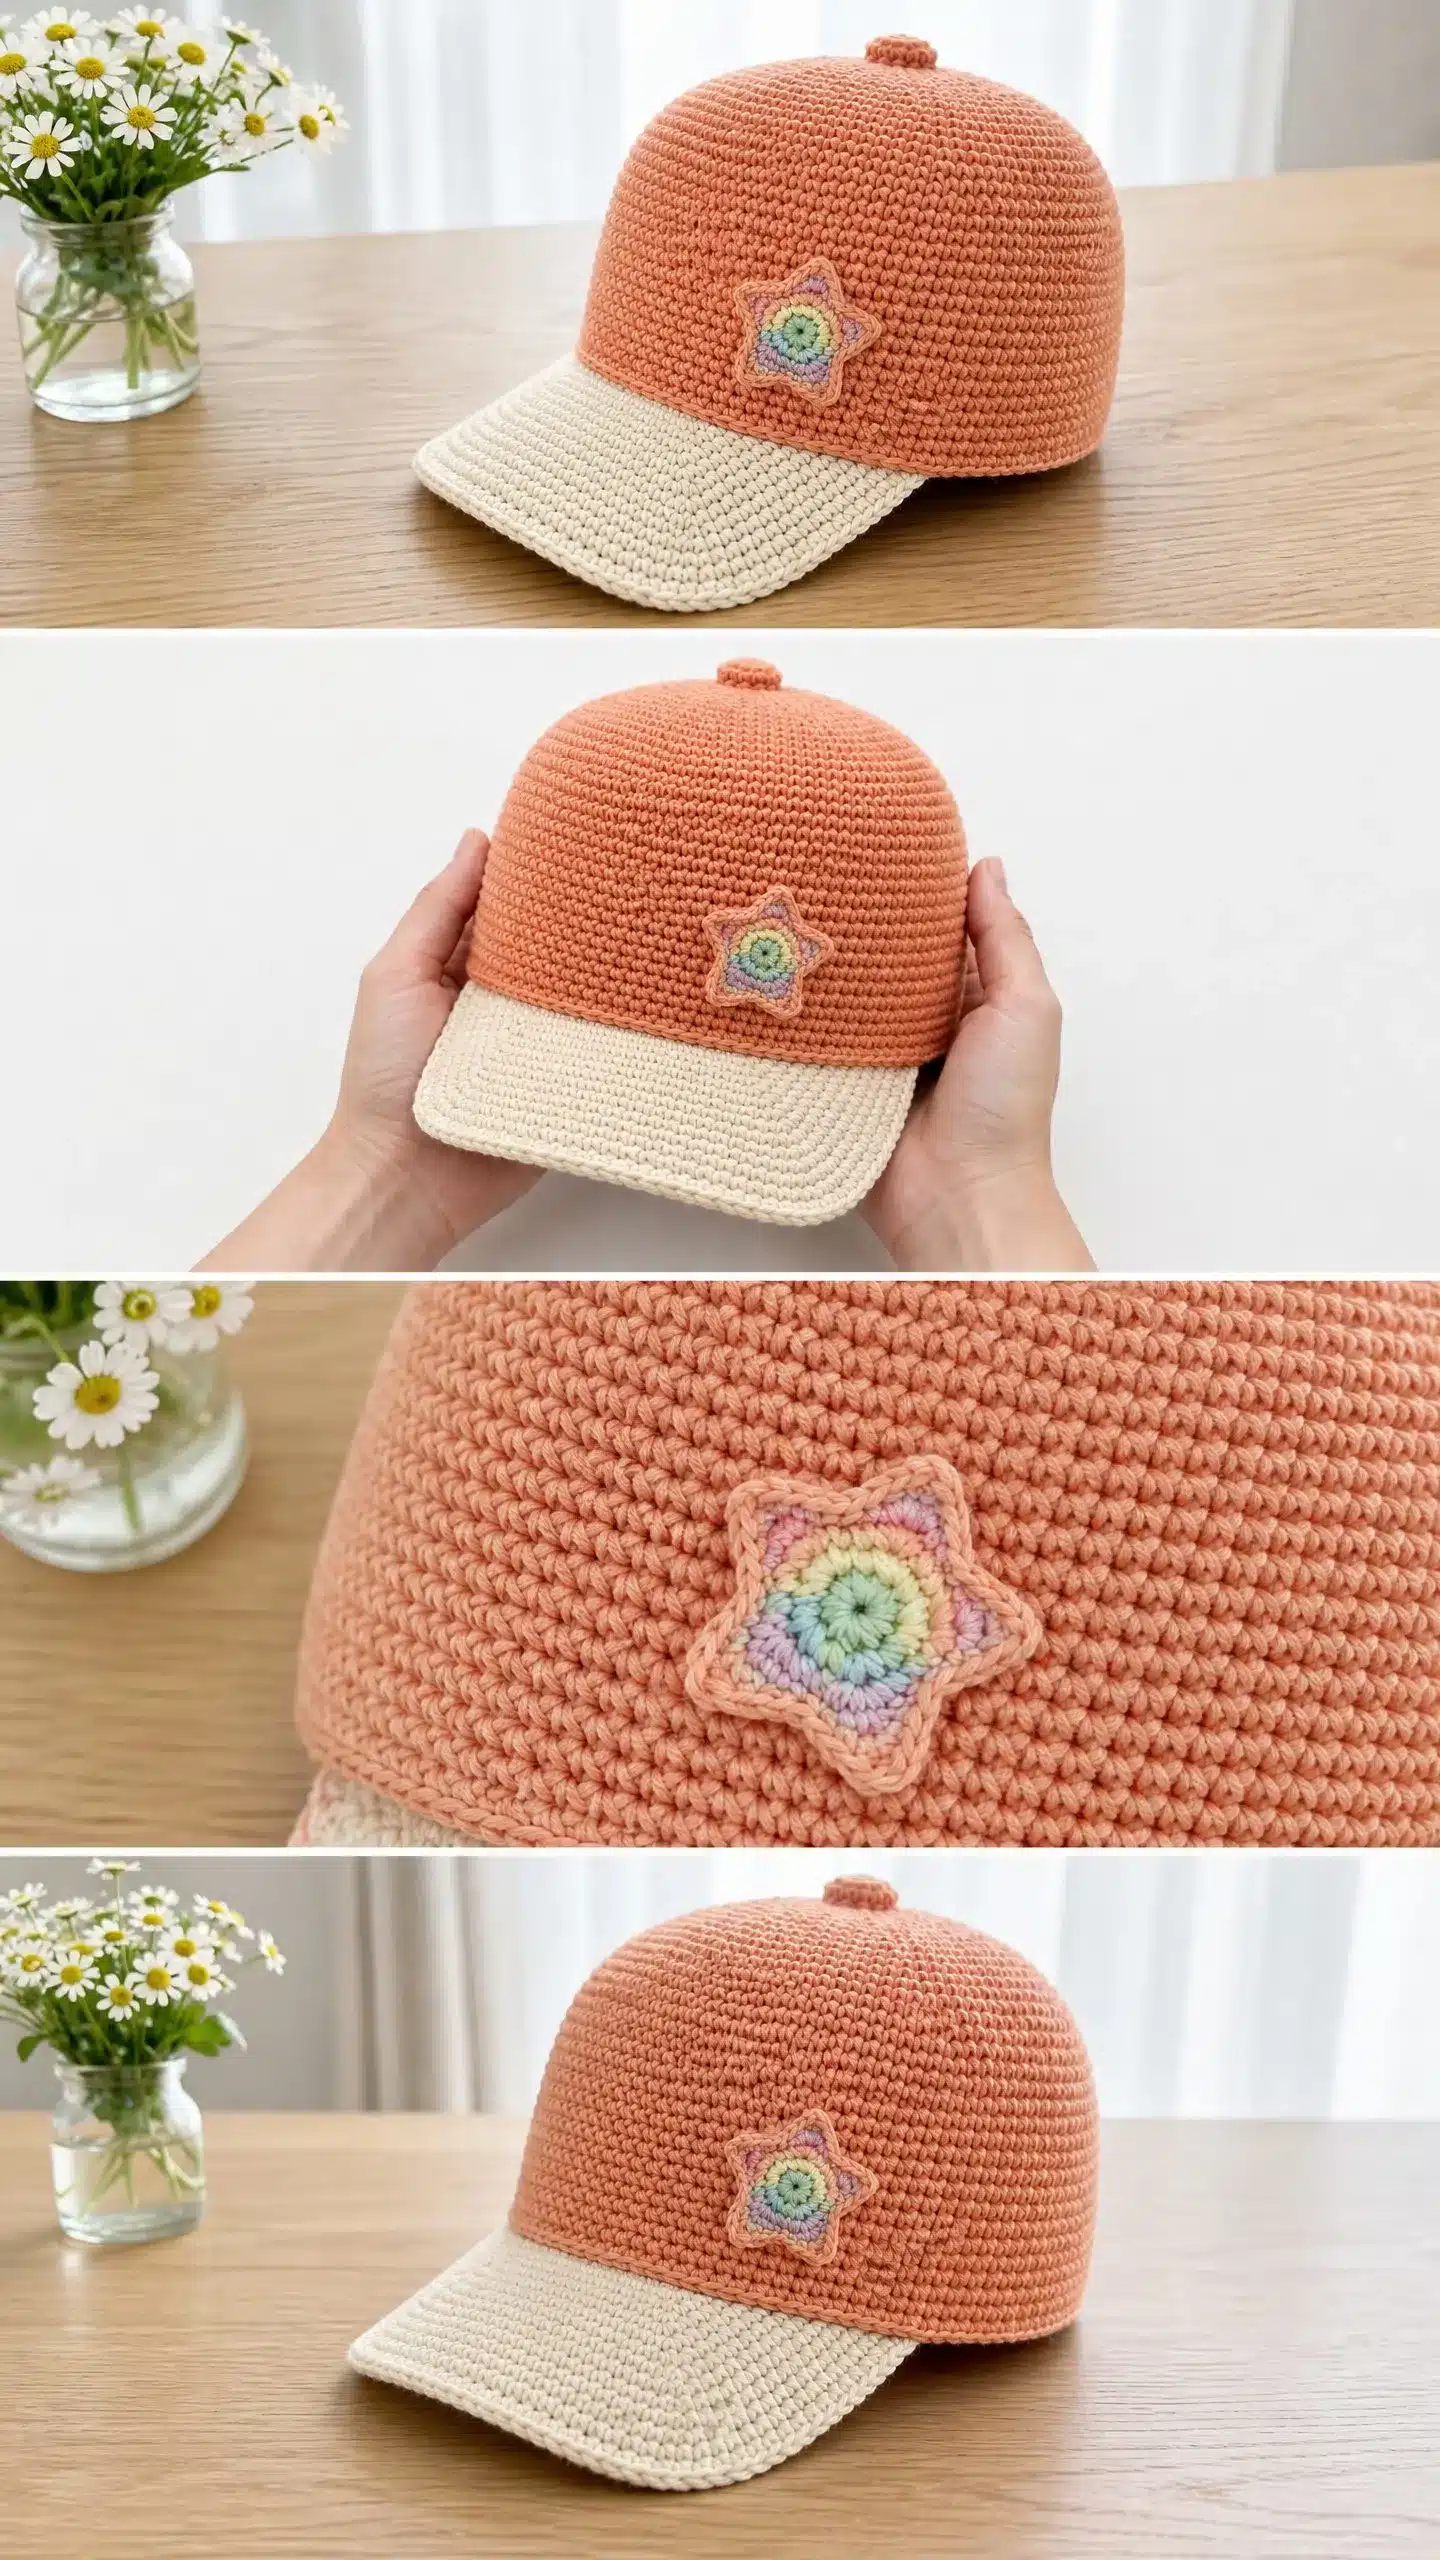
- Main Color (MC): Peachy terracotta, approximately 220 yards of DK weight cotton yarn.
- Contrast Color (CC): Cream or off-white, approximately 80 yards of DK weight cotton yarn.
- Rainbow Colors for Applique: Small amounts (under 5 yards each) in coral pink, soft yellow, mint green, sky blue, and lavender.
Recommended Yarn Brands
Lion Brand 24/7 Cotton in Terracotta and Ecru works beautifully here. The mercerized cotton has excellent stitch definition and holds its shape without blocking. Paintbox Yarns Simply DK or Hobbii Twister Cotton DK are also great options.
Hooks
- US size E-4 (3.5 mm) crochet hook for the cap body and brim.
- US size D-3 (3.25 mm) crochet hook for the applique (optional, but it keeps the star nice and firm).
Notions
- At least 4 stitch markers.
- Yarn needle for weaving ends and seaming.
- One wooden button, approximately 0.75 inch diameter.
- Sewing thread and hand needle for button attachment.
- Optional: brim stiffener spray or thin craft plastic for brim structure.
Gauge
18 single crochet stitches and 20 rounds equal 4 inches, worked in continuous rounds with a US E-4 (3.5 mm) hook.
Please take gauge seriously on this pattern. A looser gauge will make the hat too big and floppy. A tighter gauge will make it too small and stiff. Swatch first and adjust your hook size if needed.
Abbreviations and Stitch Definitions
Before we dive into the pattern, let me define every stitch you will use:
- ch: Chain. Wrap yarn over hook and pull through the loop on your hook.
- sl st: Slip stitch. Insert hook, yarn over, pull through both the stitch and the loop on your hook in one motion.
- sc: Single crochet. Insert hook, yarn over, pull up a loop (2 loops on hook), yarn over, pull through both loops.
- sc2tog: Single crochet two together. A decrease that turns 2 stitches into 1. Insert hook in next stitch, yarn over, pull up a loop. Insert hook in following stitch, yarn over, pull up a loop. Yarn over and pull through all 3 loops.
- inc: Invisible increase. Work 2 single crochets into the same stitch.
- MR: Magic ring. A method of starting rounds that creates a tight, gapless center.
- BLO: Back loop only. Insert your hook only into the back loop of each stitch.
- PM: Place marker.
- st(s): Stitch(es).
- rnd(s): Round(s).
How to Make a Magic Ring
The magic ring gives you a clean, tight center for your crown. Here is how to do it:
- Form a loop with your yarn, crossing the tail end behind the working yarn.
- Insert your hook through the center of the loop, yarn over, and pull up a loop.
- Chain 1 (this does not count as a stitch).
- Work your required number of single crochets into the center of the ring.
- Pull the tail end to close the ring snugly.
If magic rings intimidate you, you can chain 2 and work your stitches into the second chain from the hook instead. It will leave a tiny hole, but it gets covered by the crown button later.
Pattern Instructions
The crown is worked in continuous rounds. This means you do not join at the end of each round. Use a stitch marker in the first stitch and move it up as you go. Begin with MC and your E-4 hook.
Section 1: Crown
Round 1: MR, work 6 sc into ring, pull ring closed, PM in first st. (6 sc)
Round 2: Inc in each st around. (12 sc)
Round 3: (Sc in 1 st, inc in next st) 6 times. (18 sc)
Round 4: (Sc in 2 sts, inc in next st) 6 times. (24 sc)
Round 5: (Sc in 3 sts, inc in next st) 6 times. (30 sc)
Round 6: (Sc in 4 sts, inc in next st) 6 times. (36 sc)
Round 7: (Sc in 5 sts, inc in next st) 6 times. (42 sc)
Round 8: (Sc in 6 sts, inc in next st) 6 times. (48 sc)
Round 9: (Sc in 7 sts, inc in next st) 6 times. (54 sc)
Round 10: (Sc in 8 sts, inc in next st) 6 times. (60 sc)
Round 11: (Sc in 9 sts, inc in next st) 6 times. (66 sc)
Round 12: (Sc in 10 sts, inc in next st) 6 times. (72 sc)
Round 13: (Sc in 11 sts, inc in next st) 6 times. (78 sc)
Round 14: (Sc in 12 sts, inc in next st) 6 times. (84 sc)
Round 15: (Sc in 13 sts, inc in next st) 6 times. (90 sc)
Round 16: (Sc in 14 sts, inc in next st) 6 times. (96 sc)
Checkpoint: Your crown should measure approximately 4.25 inches across and lie flat without cupping or ruffling. If it cups, go up a hook size. If it ruffles, go down a hook size.
Section 2: Upper Band
Now we work straight rounds to build the sides of the cap.
Rounds 17 through 27: Sc in each st around. Work 11 rounds without any increases or decreases. (96 sc each round)
Checkpoint: The hat body should measure approximately 5.5 inches tall from crown to this point.
Section 3: Bottom Edging and Back Opening
The back of the hat has a small opening for size adjustment. After completing Round 27, sl st to close, then fasten off.
Identify the 6 stitches at the center back of your hat. Reattach MC to the stitch immediately to the left of these 6 stitches.
Working in BLO, sc evenly around 90 stitches (skipping the 6 center back stitches to create the gap). Sl st to close this modified round. Fasten off. (90 sc)
This BLO round creates a clean ridge at the base of the hat.
Section 4: Back Straps
Right Strap:
Reattach MC to the first stitch to the right of the gap opening.
Row 1 (RS): Ch 1, sc in same st and in next 4 sts. (5 sc)
Rows 2 through 6: Ch 1, turn, sc in each st across. (5 sc each row)
Row 7 (button loop row): Ch 1, turn, sc in 1 st, ch 3, skip 1 st, sc in rem 3 sts. (4 sc, 1 ch-3 loop)
Row 8: Ch 1, turn, sc in each st and 3 sc into ch-3 space. (7 sc)
Fasten off and weave in end.
Left Strap:
Reattach MC to the last stitch to the left of the gap opening.
Row 1 (RS): Ch 1, sc in same st and in next 4 sts. (5 sc)
Rows 2 through 8: Ch 1, turn, sc in each st across. (5 sc each row)
Fasten off. Sew your wooden button to the left strap, aligned with the button loop on the right strap.
Section 5: Brim
The brim is worked separately in CC (cream), then attached to the cap.
Foundation: Ch 49.
Row 1 (RS): Sc in 2nd ch from hook and in each ch across. Ch 1, turn. (48 sc)
Row 2: Sc in each st across. Ch 1, turn. (48 sc)
Row 3 (increase row): Sc in first 4 sts, inc in next st, (sc in 9 sts, inc in next st) 4 times, sc in rem 3 sts. Ch 1, turn. (53 sc)
Row 4: Sc in each st across. Ch 1, turn. (53 sc)
Row 5 (increase row): Sc in first 4 sts, inc in next st, (sc in 10 sts, inc in next st) 4 times, sc in rem 3 sts. Ch 1, turn. (58 sc)
Row 6: Sc in each st across. Ch 1, turn. (58 sc)
Row 7 (increase row): Sc in first 5 sts, inc in next st, (sc in 11 sts, inc in next st) 4 times, sc in rem 4 sts. Ch 1, turn. (63 sc)
Row 8: Sc in each st across. Ch 1, turn. (63 sc)
Row 9 (increase row): Sc in first 5 sts, inc in next st, (sc in 12 sts, inc in next st) 4 times, sc in rem 4 sts. Ch 1, turn. (68 sc)
Row 10: Sc in each st across. Ch 1, turn. (68 sc)
Row 11 (increase row): Sc in first 5 sts, inc in next st, (sc in 13 sts, inc in next st) 4 times, sc in rem 5 sts. Ch 1, turn. (73 sc)
Row 12: Sc in each st across. Ch 1, turn. (73 sc)
Row 13 (final shaping row): Sc in first 6 sts, inc in next st, (sc in 14 sts, inc in next st) 4 times, sc in rem 6 sts. Ch 1, turn. (78 sc)
Row 14: Sc in each st across. Do not turn. (78 sc)
Brim Edging: Sl st evenly around the outer curved edge and down both short sides. Fasten off.
Optional Brim Stiffening: For extra structure, work surface slip stitches across the underside of the brim in horizontal lines, spacing them every 2 rows. Alternatively, insert a piece of thin craft plastic cut to shape.
Checkpoint: Your finished brim should measure approximately 2.75 inches deep and 7 inches across the straight joining edge.
Section 6: Attaching the Brim
Align the straight edge of the brim (48 stitches) with 48 stitches across the front center of the cap lower edge. Using MC or CC, sl st through both layers across all 48 stitches. Fasten off and weave in ends.
Section 7: Rainbow Star Applique
Use your smaller D-3 hook for a tighter, firmer applique.
Star Center:
With coral pink, MR, work 6 sc into ring, close ring. Sl st to first sc to join. Fasten off.
Round 2: Join soft yellow with sl st. Ch 1. Inc in each st around. (12 sc) Sl st to join. Fasten off.
Round 3: Join mint green with sl st. Ch 1. (Sc in 1 st, inc in next st) 6 times. (18 sc) Sl st to join. Fasten off.
Round 4: Join sky blue with sl st. Ch 1. (Sc in 2 sts, inc in next st) 6 times. (24 sc) Sl st to join. Fasten off.
Round 5: Join lavender with sl st. Ch 1. (Sc in 3 sts, inc in next st) 6 times. (30 sc) Sl st to join. Fasten off.
Star Points (make 5):
Join MC to any stitch of Round 5. You will work each point across 6 stitches.
Row 1: Sc in each of next 6 sts, ch 1, turn. (6 sc)
Row 2: Sc2tog, sc in 2 sts, sc2tog, ch 1, turn. (4 sc)
Row 3: Sc2tog twice, ch 1, turn. (2 sc)
Row 4: Sc2tog. (1 sc)
Fasten off. Reattach MC to the next unworked stitch and repeat for the remaining 4 points.
Your finished star should measure approximately 2 to 2.25 inches across.
Attaching the Star: Center the star on the front panel, about 1 inch above the brim join. Sew securely using whip stitch around the outer edge.
Section 8: Crown Button
With MC, MR, work 6 sc into ring, close ring, sl st to join. Fasten off leaving a long tail. Sew this small circle to the very top center of the crown. This covers your starting point and adds that classic baseball cap button detail.
Finishing and Care
Weave in all your ends securely. For the best results, wet block your finished hat by hand washing in cool water with gentle soap. Stuff the crown with a rounded object (a small bowl works great) to hold the dome shape while drying. Press the brim flat. Allow everything to air dry completely.
Care instructions: Hand wash in cool water. Do not wring or machine dry. Reshape and air dry.
Size Customization Tips
For a child’s medium (20 inch circumference): Stop crown increases at Round 14 (84 stitches). Work straight rounds until the body is about 5 inches tall. Reduce the brim foundation chain to 43 stitches.
For an adult large (23 to 23.5 inch circumference): Add one more increase round after Round 16: (sc in 15 sts, inc in next st) 6 times (102 sc). Adjust the brim foundation to 51 stitches.
For a deeper crown: Add 2 to 4 extra straight rounds after Round 27.
FAQs
Why is my crown ruffling or cupping?
This usually indicates your gauge is off. If the crown ruffles, you are likely using a hook that is too large. If it cups, your hook is likely too small. Check the checkpoint in Round 16 and adjust your hook size accordingly.
Can I make this hat for a toddler?
Yes! Follow the size customization tips in the pattern. For a child’s medium, stop the crown increases at Round 14 and reduce the brim chain to 43 stitches.
How do I keep the brim stiff?
For extra structure, you can work surface slip stitches across the underside of the brim in horizontal lines. Alternatively, insert a piece of thin craft plastic cut to shape before attaching the brim.
What yarn is best for this pattern?
Cotton DK yarns are recommended because they hold their shape well. Lion Brand 24/7 Cotton, Paintbox Yarns Simply DK, and Hobbii Twister Cotton DK are excellent choices that provide good stitch definition.
Do I need to join rounds?
No, the crown is worked in continuous rounds. Just remember to move your stitch marker up at the end of each round to keep track of your first stitch.
You Did It! Your Peachy Rainbow Star Baseball Cap is complete. Whether you are wearing it yourself or gifting it to a loved one, this hat is a wonderful blend of structure and charm. If you enjoyed this pattern, you might also like our adorable crochet bunny or this easy sunflower keychain for more cute crochet projects.
Pin This Crochet Pattern!