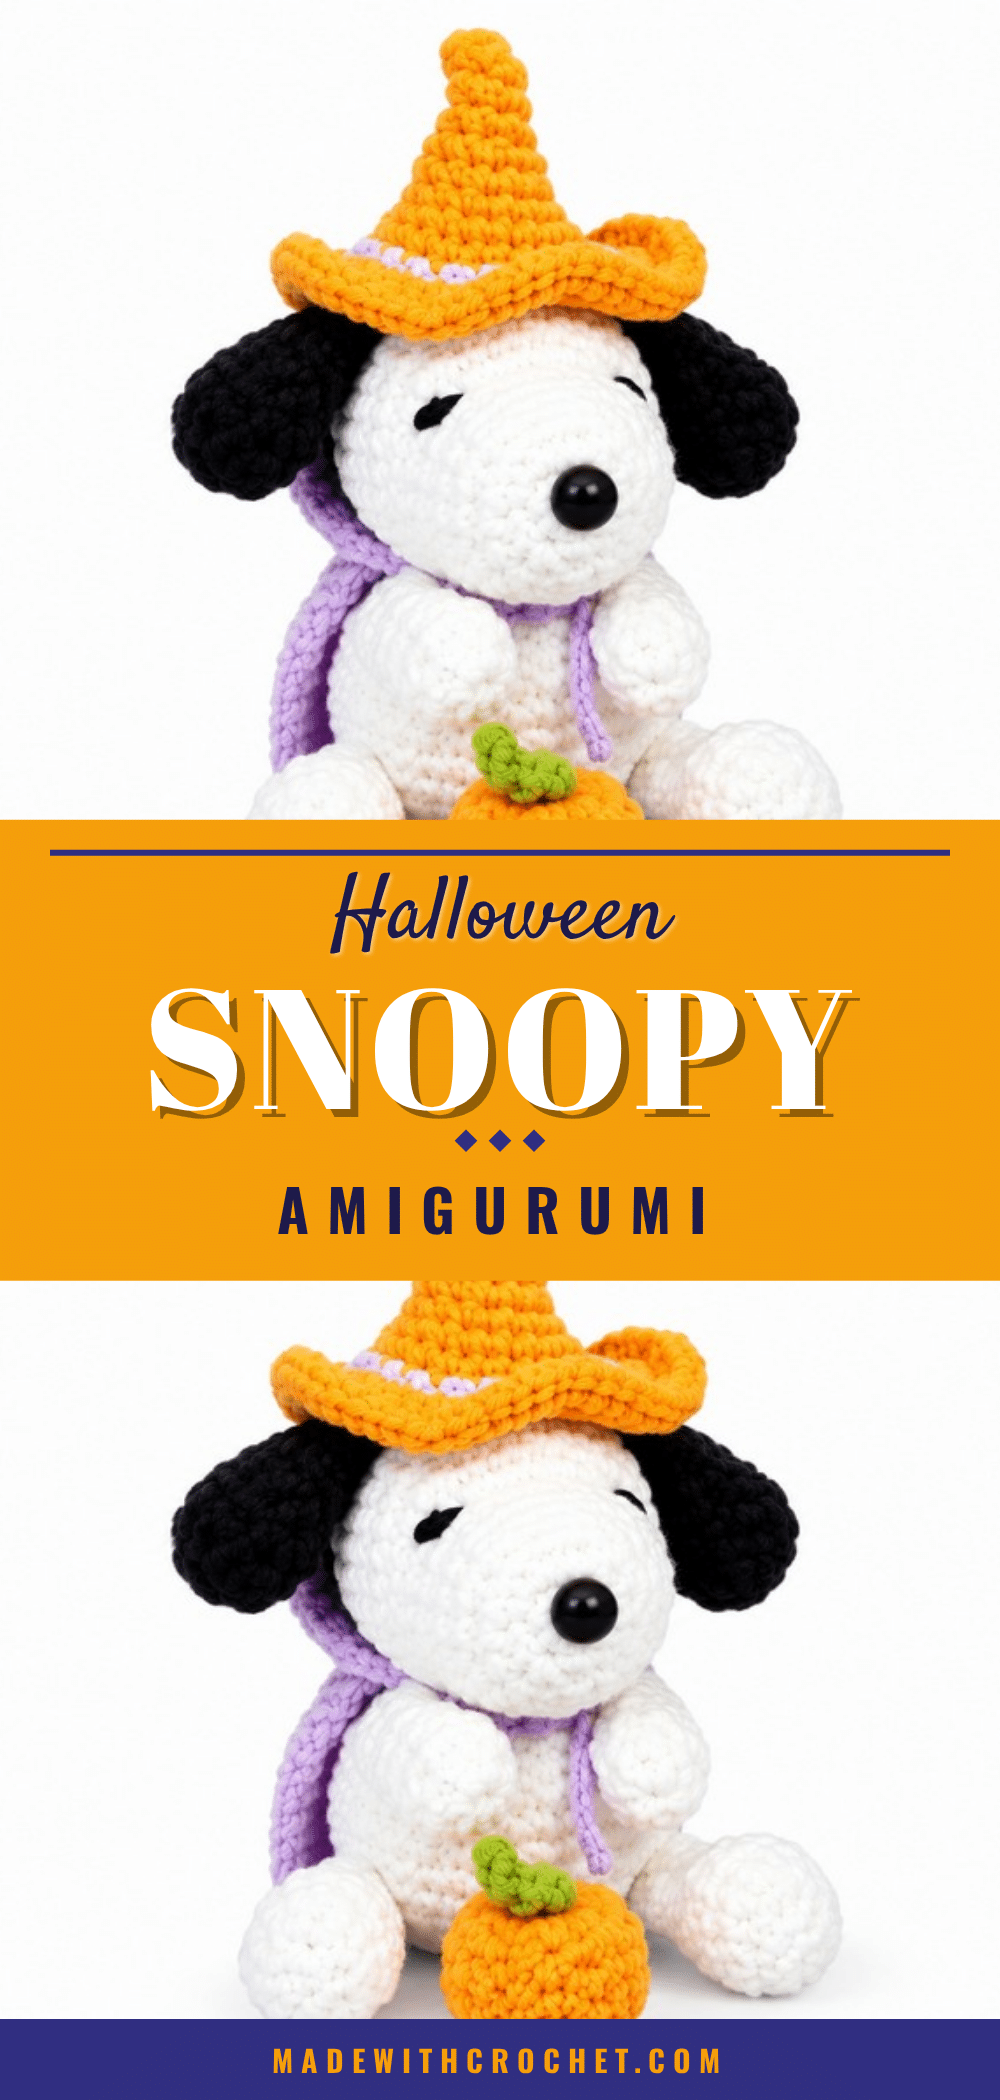
As the leaves begin to turn and the air gets crisp, there is no better way to embrace the season than with a handmade project that captures the spirit of fall. This Cute Snoopy Halloween Amigurumi Pattern brings together the beloved character in a festive, spooky outfit, making it an ideal companion for your autumn decor. Whether you are looking for a unique gift for a child or a charming addition to your own Halloween display, this project offers a delightful blend of character charm and seasonal cheer.
Seasonal Styling Ideas
Once you have finished crocheting your festive Snoopy, there are several ways to showcase this adorable creation. The Halloween Snoopy stands approximately 15 to 20 cm tall, making it the perfect size for a tabletop display. You can place him on a shelf surrounded by easy crochet pumpkin trio amigurumi to create a cohesive autumn vignette. Alternatively, because the doll is handmade and sturdy, it makes a wonderful gift for kids who love Snoopy, adding a personal touch to their Halloween celebrations. The textured cape and pumpkin accessories add a layer of visual interest that pairs beautifully with other fall-themed crafts, such as mini crochet pumpkins, to enhance your seasonal decor.
Project Overview
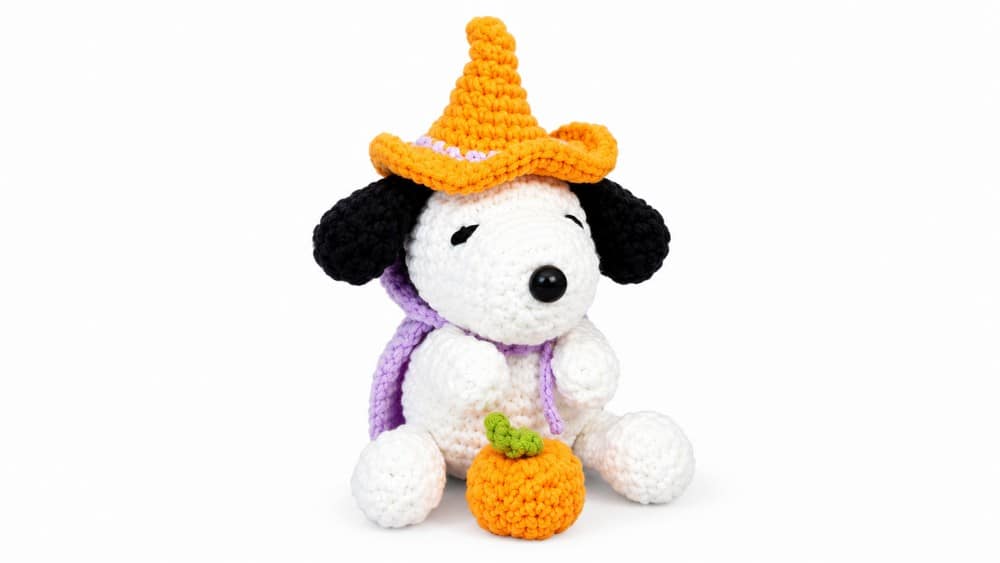
This Halloween Snoopy amigurumi is crocheted in parts, including a head with detailed shaping, a body with gradual increasing and decreasing stitches, legs formed from a chain foundation, and separately worked arms and ears. The project is distinguished by its seasonal accessories: a pumpkin, a witch hat, and a cape featuring color changes. The pattern uses basic amigurumi techniques like magic rings, increases, decreases, and slip stitching, combined with colorwork for accessories. Its style is playful and festive, perfect for adding a touch of Halloween spirit to your home.
Materials
- Yarn in appropriate colors: white (Snoopy’s body), black (ears, arms), orange/purple/green (accessories)
- Crochet hook matching yarn weight (commonly 2.5 mm to 3.5 mm)
- Fiberfill stuffing
- Tapestry needle for sewing pieces together
- Stitch markers (optional)
- Scissors
Gauge and Finished Size
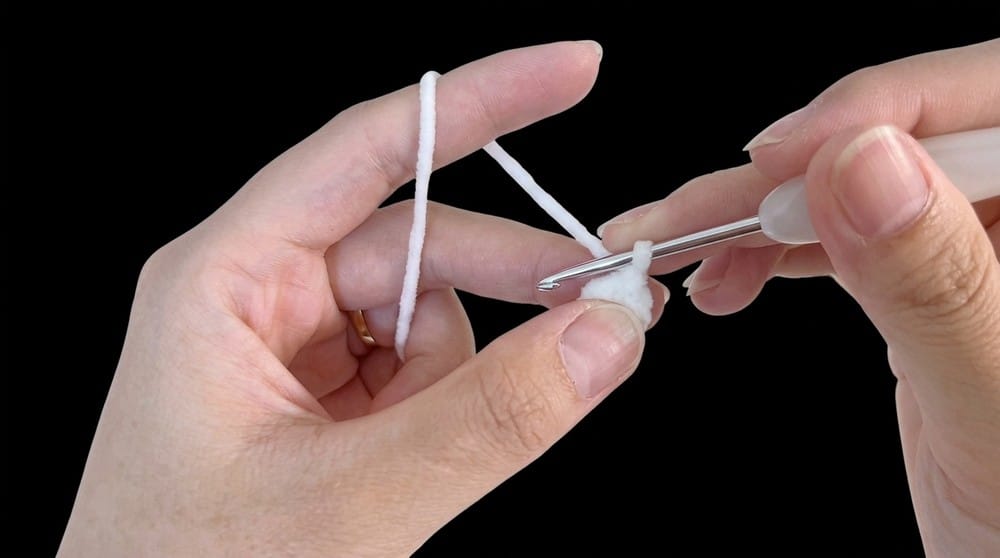
The gauge is primarily worked in single crochet (sc), with rounds of consistent stitch counts. Increases and decreases shape the amigurumi form, while accessories include surface slip stitches and back loop working for texture. The final figure is approximately 15–20 cm in height depending on yarn and tension. Proportions based on stitch counts and rounds ensure a balanced doll. When fully assembled, the Halloween Snoopy stands approximately 15 to 20 cm tall, depending on yarn tension and hook size. The stuffing and firm sewing ensure the doll retains its shape and stability.
Abbreviations
- ch: Chain
- sc: Single Crochet
- inc: Increase (2 sc in one stitch)
- dec: Decrease (crochet two stitches together)
- sl st: Slip Stitch
- mag ring: Magic Ring or Magic Circle
Pattern Notes
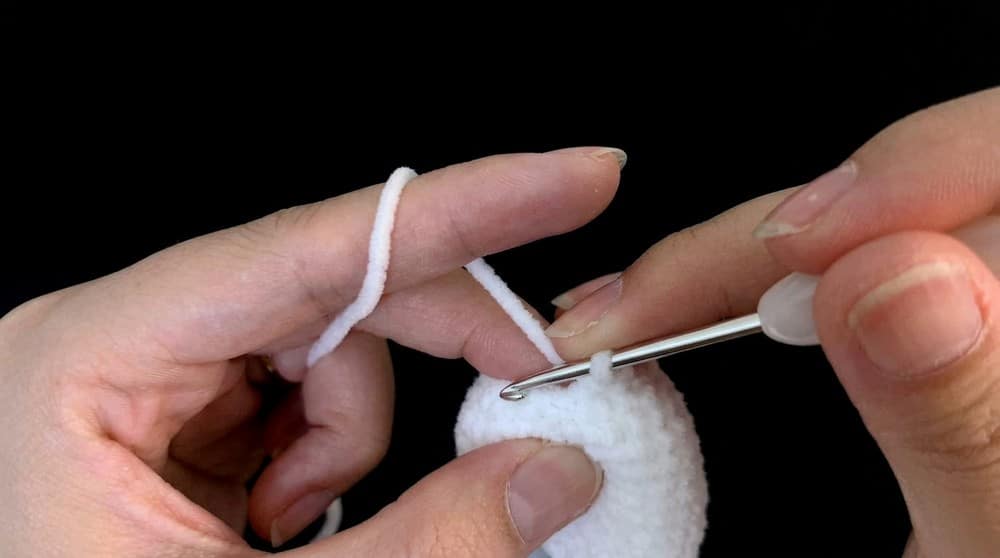
Work in rounds continuously unless specified otherwise. Stuff limbs and body firmly for shape retention before closing and assembly. Use stitch markers to track rounds easily. Pay attention to color changes in accessories for an authentic Halloween look. Embroidery or safety eyes can be added per preference (not described here). Crochet tension affects size; maintain even tension for consistent results. Stuff limbs before assembly to properly shape the doll.
Special Stitches and Techniques
- Magic Ring: Start rounds creating tight, hole-free centers.
- Back Loop Only (BLO): Used in pumpkin and cape for texture differentiation.
- Slip Stitches Rows: Used in pumpkin and cape to create texture and details.
- Color changes: Accessories feature planned color changes to enhance appearance.
Pattern Instructions
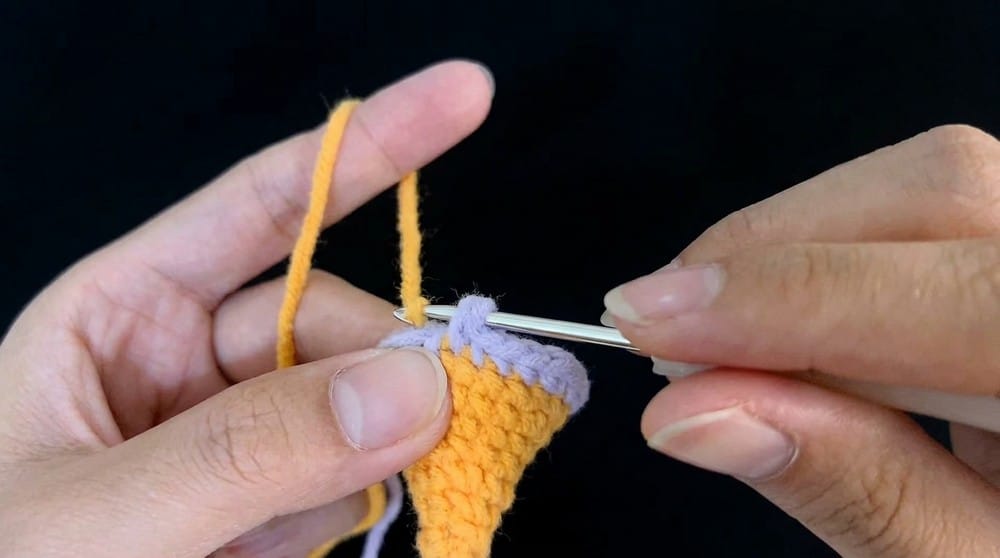
1. Head
- Round 1: Start with a magic ring, work 7 single crochet (7 sc).
- Round 2: Increase (inc) in every stitch (14 sc total).
- Round 3: Work 14 sc evenly around.
- Round 4: Alternate 1 sc and 1 inc (1 sc, 1 inc) repeated 7 times — 21 stitches total.
- Rounds 5 & 6: Work 21 sc each round.
- Round 7: Work 8 sc, then 5 inc, then 8 sc (total 26 sc).
- Round 8: 9 sc, then repeat (1 sc, 1 inc) 4 times, then 9 sc (total 30 sc).
- Rounds 9 to 13: 30 sc each round.
- Round 14: Alternate (3 sc, 1 dec) 6 times — 24 stitches.
- Round 15: Alternate (2 sc, 1 dec) 6 times — 18 stitches.
- Round 16: Alternate (1 sc, 1 dec) 6 times — 12 stitches.
- Round 17: 6 decreases to close.
2. Body
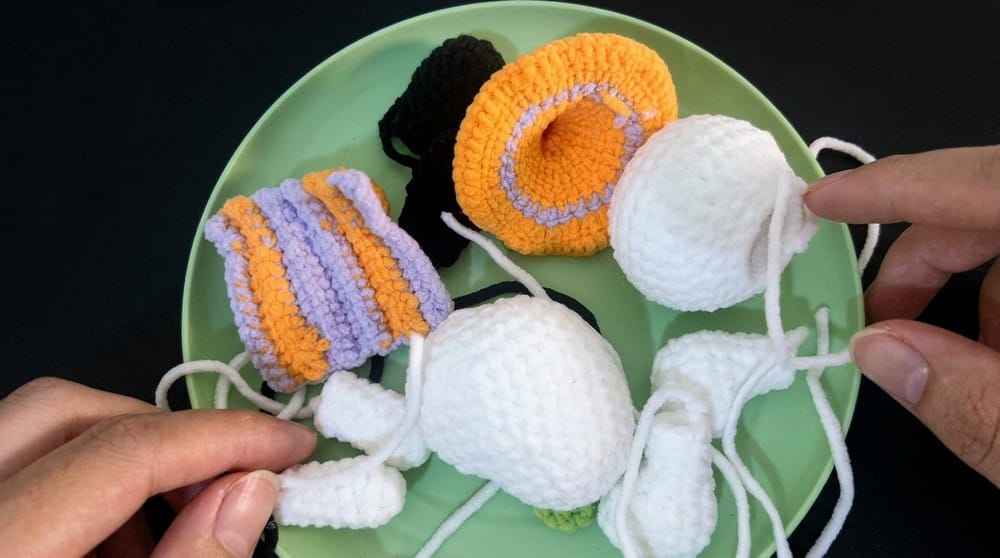
- Round 1: Magic ring, 8 sc (start of body).
- Round 2: Increase in all stitches — 16 sc.
- Round 3: Repeat (1 sc, 1 inc) 8 times — 24 sc.
- Round 4: 24 sc evenly.
- Round 5: (3 sc, 1 inc) repeated 6 times — 30 sc.
- Rounds 6 to 9: 30 sc each round.
- Round 10: (4 sc, 1 dec) x5 — 25 sc.
- Round 11: (3 sc, 1 dec) x5 — 20 sc.
- Round 12: 20 sc even.
- Round 13: (1 sc, 1 dec, 1 sc) repeated 5 times — 15 sc.
3. Legs (worked flat)
- Round 1: Chain 5. Starting in second chain from hook: 1 inc, 2 sc, 4 sc in last chain; then 2 sc and 1 inc on the opposite side.
- Round 2: Work 1 sc, 1 inc, 3 sc, 2 inc, 3 sc, 1 inc, 1 sc (total 16 sc).
- Round 3: 16 sc.
- Round 4: 4 sc, 4 decreases, 4 sc — 12 stitches.
- Round 5: 2 sc, 4 decreases, 2 sc — 8 stitches.
- Rounds 6 & 7: 8 sc each round.
4. Arms & Ears
Arms: Start with magic ring, 8 sc in the ring. Rounds 2 to 7: 8 sc per round.
Ears: Start with magic ring, 8 sc. Round 2: (1 sc, 1 inc) x4 — 12 stitches. Rounds 3 to 6: 12 sc evenly. Round 7: (1 sc, 1 dec) x4 — 8 sc. Round 8: 8 sc. Round 9: Fold ear flat and sc 4 across the fold.
5. Accessories
Pumpkin: Chain 9. Work alternating rows back and forth with slip stitches and single crochet in back loops only to create ridges. Sew ends together to form a 3D pumpkin shape.
Witch Hat: Magic ring, 4 sc to start. Increase rounds: 6, 8, 12, 18, 24, 30 stitches (note a color change at round 10). Round 12 and 13: 60 stitches each to create the hat’s brim or top curve.
Cape: Chain 15 to start the cape. Work rows combining single crochet, slip stitches, and alternating colors (orange and purple) in back loops only to create a textured Halloween cape.
Assembly
Stuff the head, body, arms, legs, and ears firmly. Sew all limbs and accessories to the main body securely. Weave in all loose ends. Attach any additional embellishments as desired for character and personality.
Tips
- Use stitch markers to track rounds easily.
- Pay attention to color changes in accessories for an authentic Halloween look.
- Stuff limbs before assembly to properly shape the doll.
FAQs
What skill level is required for this pattern?
This pattern is suitable for intermediate crocheters comfortable with working in the round, increases and decreases in single crochet, reading stitch counts, color changes, and basic shaping and assembly techniques.
How tall will the finished Snoopy be?
The finished Halloween Snoopy stands approximately 15 to 20 cm tall, depending on yarn tension and hook size.
Can I use safety eyes for Snoopy?
Yes, embroidery or safety eyes can be added per preference, though they are not explicitly described in the written pattern instructions.
What yarn weight should I use?
Use yarn appropriate for your hook size, commonly a 2.5 mm to 3.5 mm hook is recommended. White is used for the body, black for ears and arms, and orange/purple/green for the accessories.
Where can I find video tutorials?
For step-by-step guidance, you can check out the YouTube channel Yunee Crochet, which shares easy tutorials and helpful tips for this project.
Pin This Crochet Pattern!