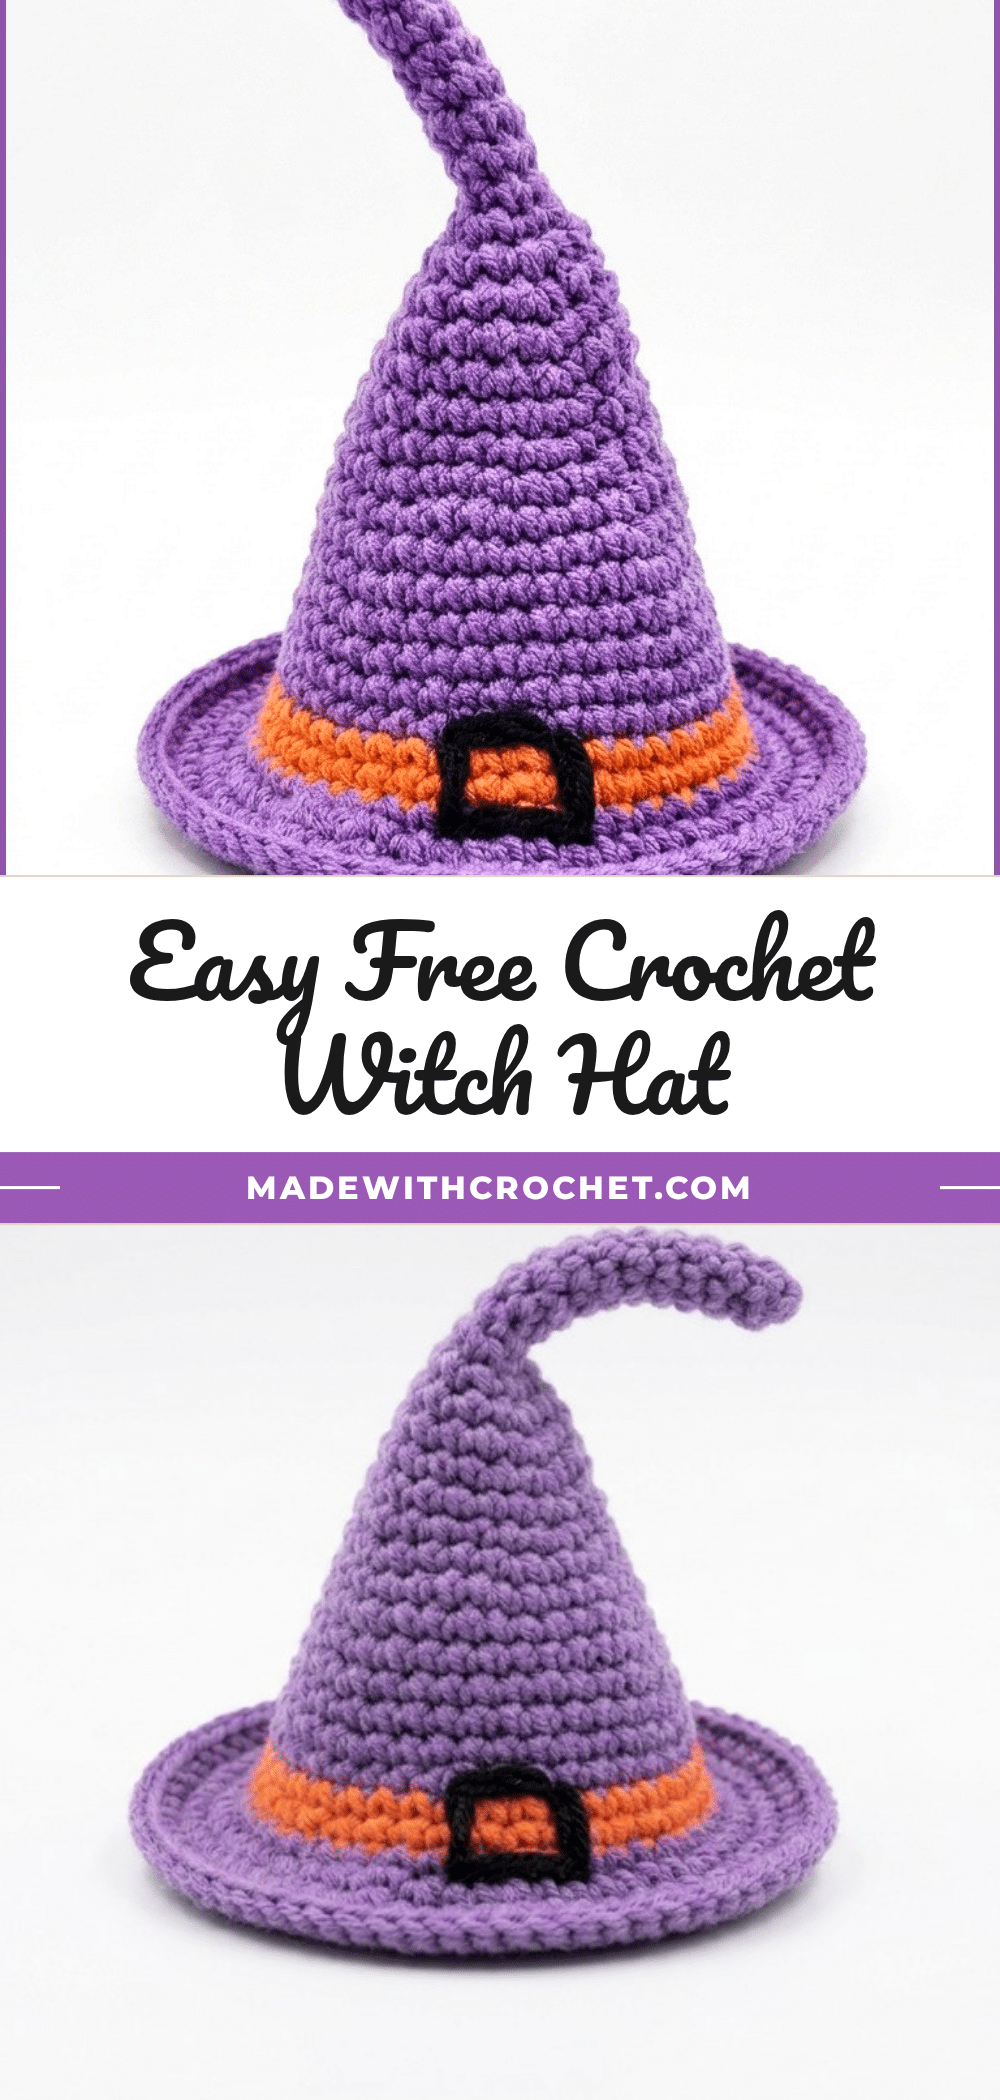
Have you ever started a Magic Ring and worried that the center hole would never close, leaving a messy gap in your work? It is a very common fear for beginners, but this mini witch hat pattern proves that with a little tension and the right technique, you can create a perfectly tight, professional-looking finish. This project is designed to be approachable, guiding you through the shaping process with simple increases and a clean color change, ensuring your spooky accessory looks as magical as it feels.
Maker Notes
There is something undeniably charming about a miniature witch hat. While store-bought versions can feel stiff and uncomfortable, this handmade version is soft, lightweight, and perfect for adding a whimsical touch to your Halloween decor. The compact size makes it an ideal keychain fob or a delightful accessory for amigurumi figures. We love the contrast of the deep purple crown against the bright orange band, finished with a simple embroidered buckle that adds a touch of personality. It is a fantastic project for practicing color changes and embroidery without committing to a large garment.
Project Overview
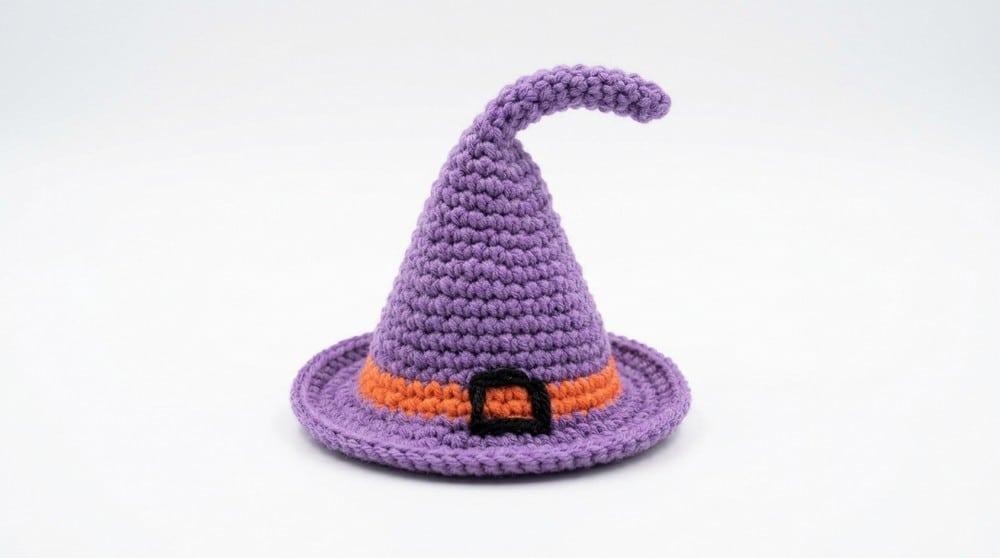
This free crochet pattern creates a cute mini witch’s hat perfect for keychains or amigurumi accessories. The design uses basic crochet stitches, simple shaping with increases, a colorful band, and a finishing embroidered buckle for charm. The hat is worked in continuous rounds with single crochet stitches, starting with a magic ring base for a tight, hole-free center. Gradual increases form the cone-shaped body, followed by a color change for a distinct bright orange band, and a flared brim worked with additional increases.
Materials
- Sport weight yarn in Purple, Orange, and Black
- 2.5 mm crochet hook
- Stitch marker
- Yarn needle
- Scissors
- Optional: Keychain ring to attach finished hat
Gauge and Finished Size
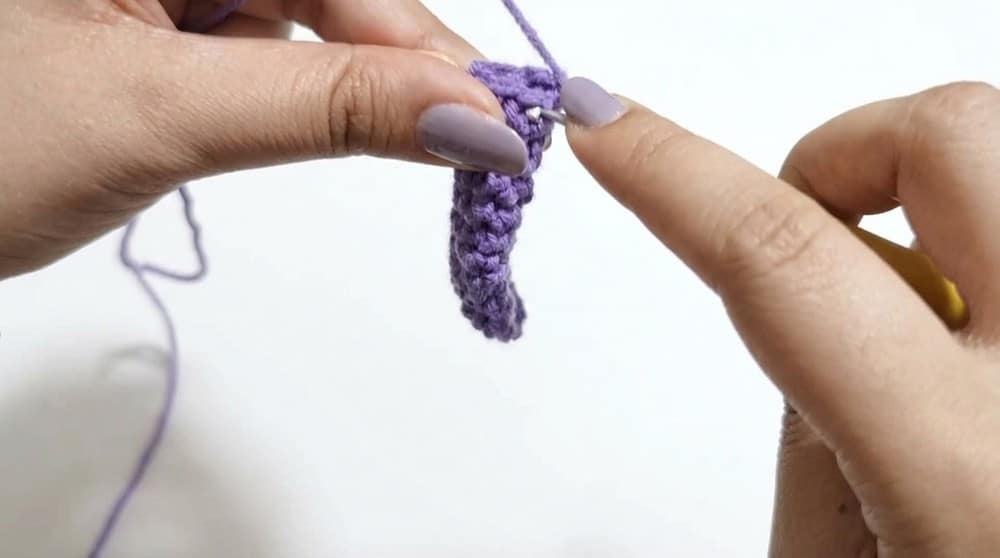
Gauge is not critical for this pattern, but you should work with consistent tension for balanced shaping. The entire hat is made with single crochet stitches.
The finished hat is approximately 5 to 6 cm (2 to 2.4 inches) tall. It is a compact cone with a flared brim, suitable for small accessories, attaching as a keychain fob, or adding to amigurumi figures.
Abbreviations
- MR = Magic Ring
- SC = Single Crochet
- INC = Increase (2 SC in one stitch)
- Ch = Chain
- SL ST = Slip Stitch
Pattern Notes
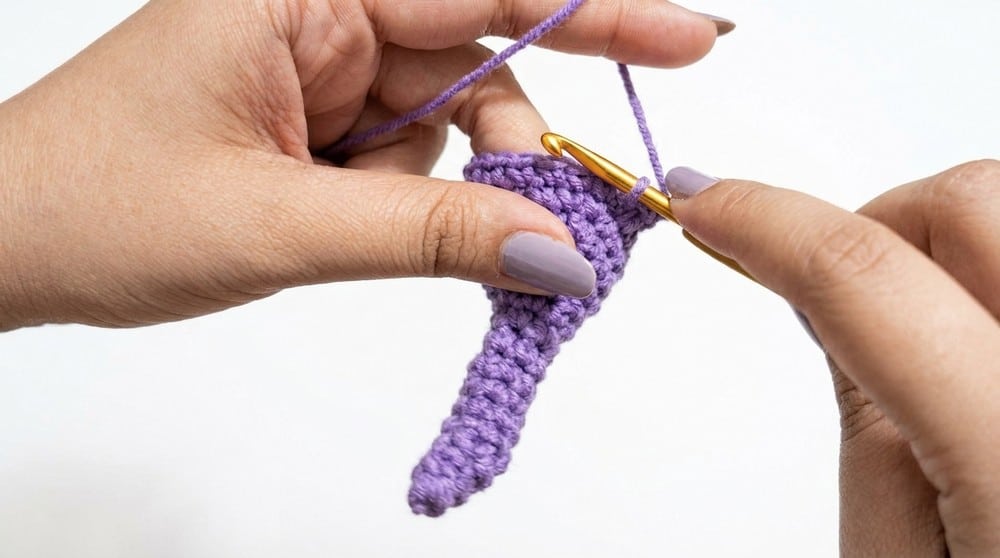
- Use a stitch marker to track the start of each round.
- Chains at round starts are for stitch height and are not counted as stitches.
- Keep tension consistent for smooth shaping.
- Change colors seamlessly at the end of rounds for clean transitions.
- Weave in ends securely to avoid unraveling.
Special Stitches
Magic Ring (MR): Create a loop with yarn, crochet into it, then pull tight to close the circle securely.
Increase (INC): Work 2 single crochets into the same stitch to widen your circle.
Backstitch Embroidery: Using a yarn needle and yarn to sew a line or design on finished crochet fabric for embellishment.
Pattern Instructions
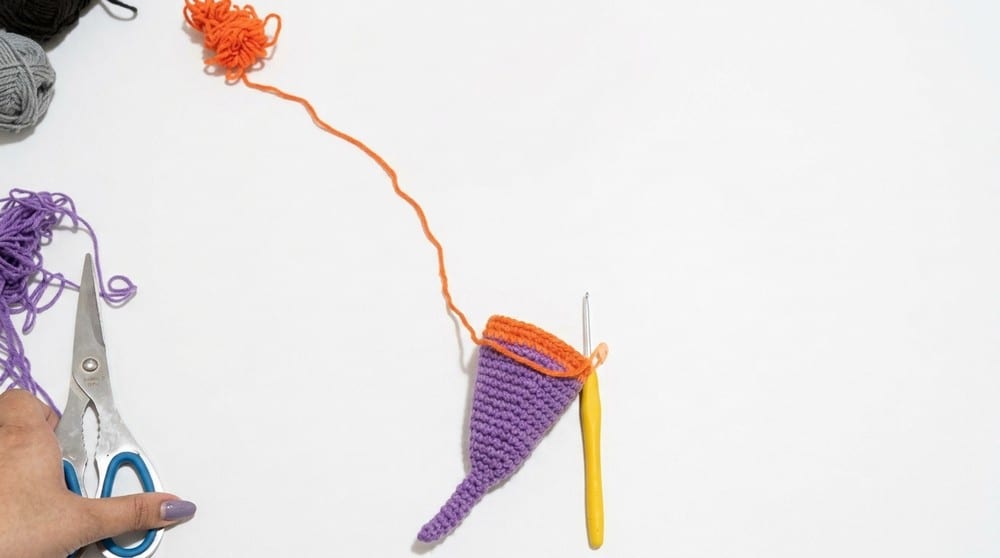
1. The Tip & Body
Round 1: Start with a Magic Ring (MR). Work 6 SC into the ring. Pull tight to close the hole.
Rounds 2 to 10: Work 1 SC in each stitch around (6 SC total per round). No increases, forming the narrow tip of the hat.
Round 11: Begin increasing: (1 SC, 1 INC) repeat 3 times. Total stitches: 9 SC.
Round 12: (2 SC, 1 INC) repeat 3 times. Total stitches: 12 SC.
Round 13: (3 SC, 1 INC) repeat 3 times. Total stitches: 15 SC.
Round 14: (4 SC, 1 INC) repeat 3 times. Total stitches: 18 SC.
Round 15: (5 SC, 1 INC) repeat 3 times. Total stitches: 21 SC.
Round 16: (6 SC, 1 INC) repeat 3 times. Total stitches: 24 SC.
Round 17: Work 1 SC in each stitch around (24 SC). No increases this round.
Round 18: (7 SC, 1 INC) repeat 3 times. Total stitches: 27 SC.
Round 19: Work 1 SC in each stitch around (27 SC).
Round 20: (8 SC, 1 INC) repeat 3 times. Total stitches: 30 SC.
Round 21: Work 1 SC in each stitch around (30 SC).
Round 22: (9 SC, 1 INC) repeat 3 times. Total stitches: 33 SC.
Round 23: Work 1 SC in each stitch around (33 SC).
Round 24: (10 SC, 1 INC) repeat 3 times. Total stitches: 36 SC.
Round 25: Work 1 SC in each stitch around (36 SC).
2. The Color Change
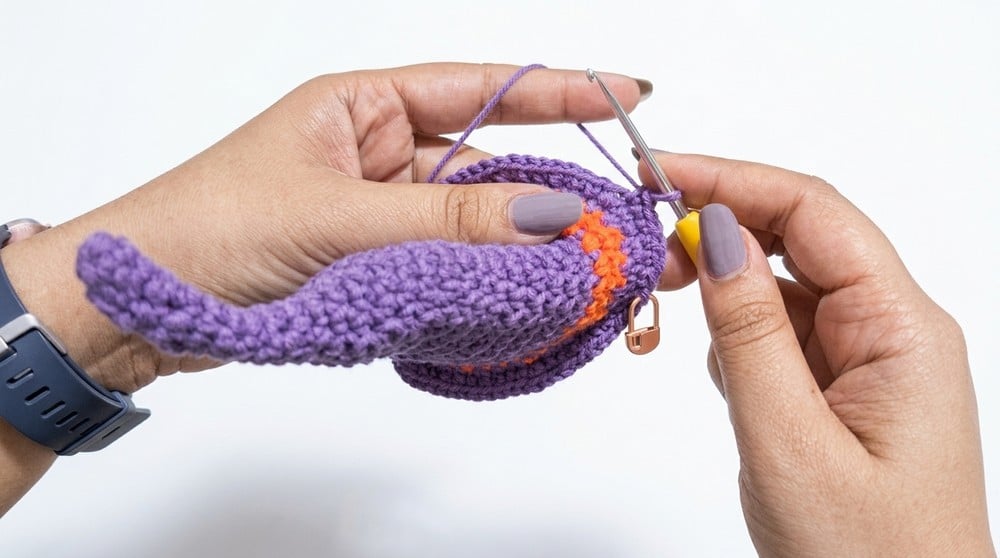
At the last stitch of Round 25, change yarn color to Orange seamlessly by completing the last stitch with the Orange yarn.
Rounds 26 and 27: Work 1 SC in each stitch around with Orange yarn (36 SC). Switch back to Purple yarn at the end of Round 27.
3. The Brim
Round 28: Increase to flare the brim: (1 SC, 1 INC) repeat across all stitches. Total stitches: 54 SC.
Round 29: (2 SC, 1 INC) repeat all the way around. Total stitches: 72 SC.
Rounds 30 to 33: Work 1 SC in each stitch around to finish the brim smoothly. Maintain 72 SC per round.
Assembly
Gently fold and shape the brim for a natural witch hat silhouette. Using Black yarn and your yarn needle, embroider a simple rectangular buckle stitch horizontally across the orange band. Weave in and trim all loose ends neatly. If desired, attach a keychain ring at the top for a portable accessory.
Tips
- Use a stitch marker to track the start of each round to avoid confusion.
- Keep tension consistent throughout the increases to ensure the hat lies flat.
- Change colors seamlessly at the end of rounds for clean transitions without visible knots.
- Weave in ends securely to avoid unraveling, especially if the hat will be handled frequently.
FAQs
Can I use a different yarn weight?
While this pattern is designed for sport weight yarn, you can use other weights by adjusting your hook size. However, the finished size will change, so check your gauge to ensure the hat remains a compact accessory.
How do I make the brim stay flat?
The brim is worked with consistent single crochet stitches after the increase rounds. If the brim curls up, you may need to add an additional round of single crochet or gently block your finished piece.
Is this pattern suitable for absolute beginners?
This pattern is rated for intermediate beginners. It requires knowledge of the magic ring, single crochet, increases, working in rounds, and basic color changes.
Can I use this hat for larger amigurumi?
The finished size is approximately 5 to 6 cm tall, making it ideal for small accessories or standard amigurumi figures. For larger dolls, you may need to scale up the stitch counts.
How do I embroider the buckle?
Use a yarn needle and black yarn to create a simple rectangular outline using backstitch embroidery. Place it horizontally across the orange band for a classic witch hat look.
For more festive Halloween projects, check out our adorable crochet pumpkin trio or this easy mini crochet pumpkin pattern.
Pin This Crochet Pattern!