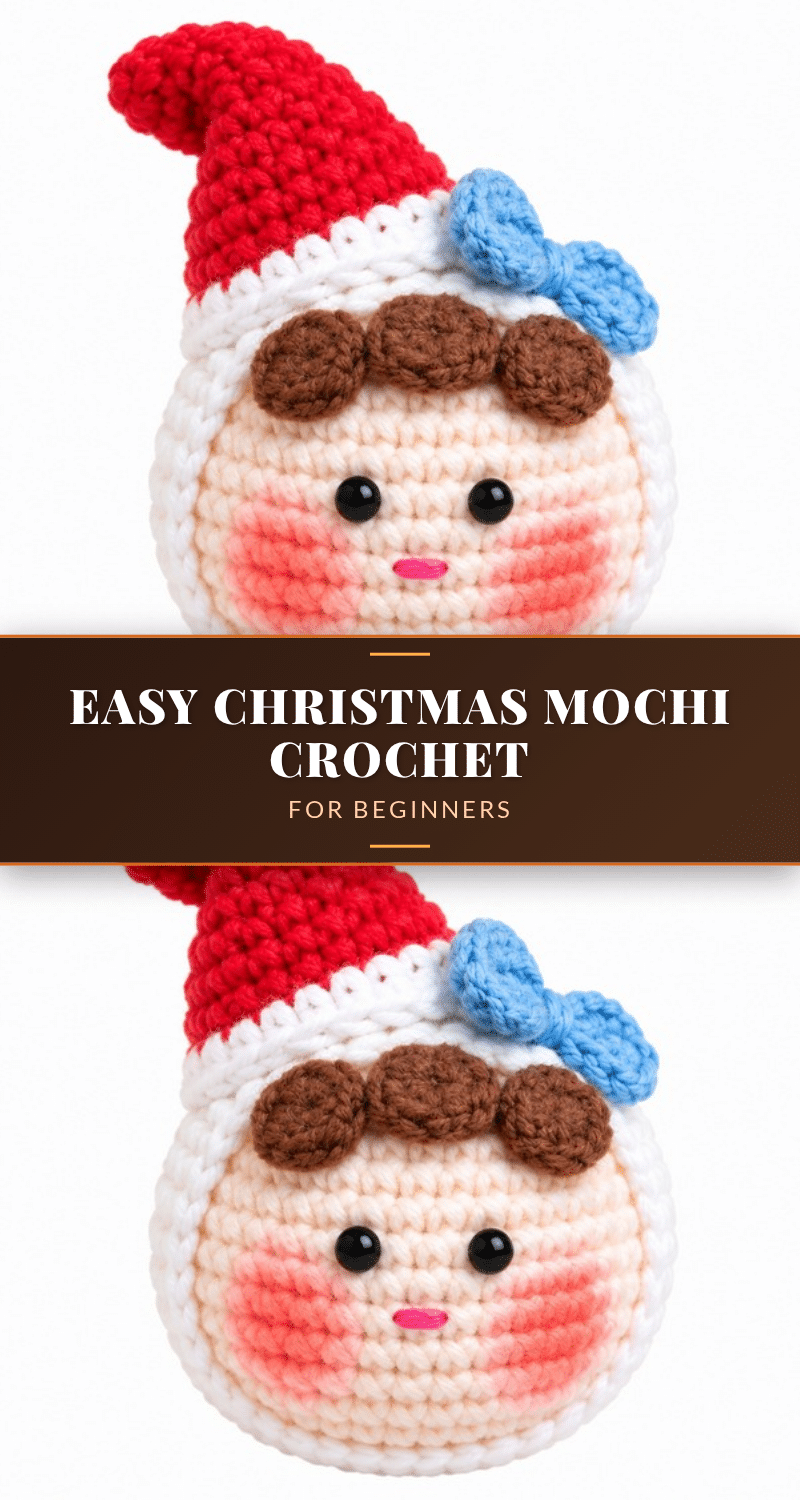
There is something deeply satisfying about the rhythm of single crochet in the round, watching a circle expand into a perfect sphere. This Christmas Mochi pattern captures that magic, combining the tactile pleasure of milk cotton yarn with the precise shaping required for amigurumi. The texture of the stitches, firm yet soft, creates a plush figure that begs to be held. From the initial magic ring to the final fluffy edging of the hat, every round builds toward a charming holiday character that is as delightful to make as it is to display.
Texture and Stitch Notes
The charm of this mochi lies in its simplicity and the way the materials interact. Milk cotton yarn provides a smooth, matte finish that highlights the definition of each stitch, making it easier to see your work as you shape the head and body. The decision to use a 2.5mm hook ensures that the stitches remain tight enough to prevent stuffing from showing, which is crucial for that professional, plush look. The contrast between the smooth single crochet of the mochi base and the textured half-double crochet brim of the hat adds a subtle visual interest that elevates the design from a simple ball to a festive character.
Project Overview
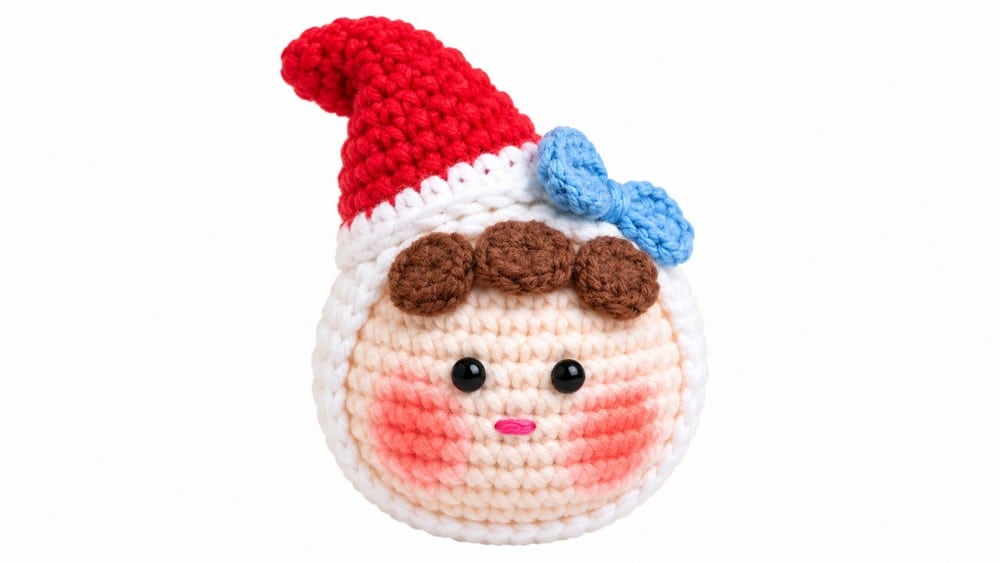
This Christmas Mochi keychain is a compact, festive amigurumi project perfect for holiday gifting or decoration. It features a soft, round mochi base, a red outer shell, tiny hair accents, a classic Santa-style hat with a white brim, and a decorative bow. The project is lightweight and portable, making it ideal for use as a keychain, tree ornament, or stocking stuffer.
Materials
- Yarn: Milk cotton yarn in three colors:
- Skin tone (for mochi base and hair)
- Red (for outer shell and hat)
- White (for hat edging)
- Crochet Hook: 2.5mm hook (ideal for working tight stitches with cotton yarn)
- Stuffing: Fiberfill
- Tools: Scissors, yarn needle for weaving ends and sewing pieces together
- Optional: Stitch markers to track round beginnings
Gauge and Finished Size
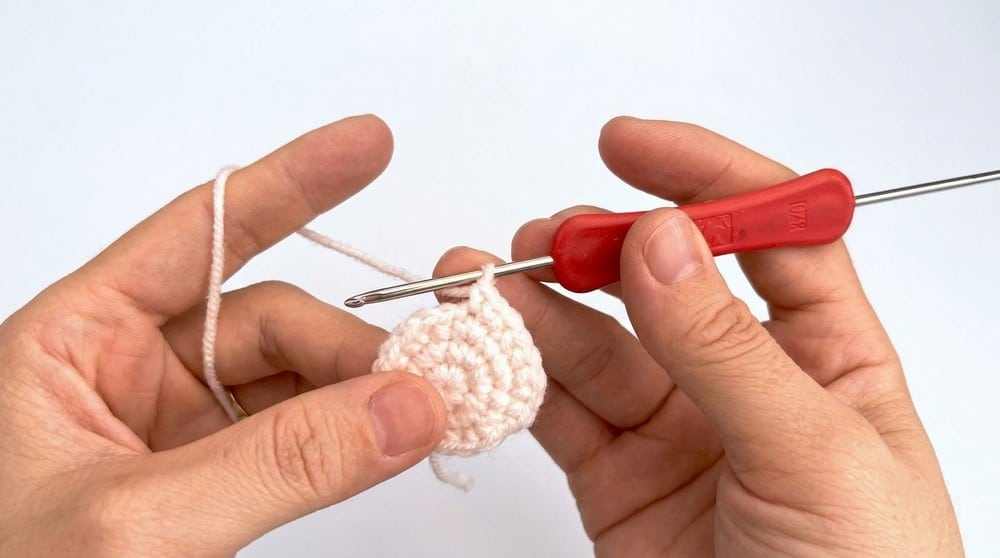
Gauge: Gauge is not critical, but maintaining firm stitches throughout enhances the amigurumi’s structure. The main stitch used is single crochet (sc) worked in rounds. The hat is accented by half-double crochet (hdc) stitches for texture.
Finished Size: The finished mochi keychain height is approximately 8–10 cm (3–4 inches). Size may vary depending on yarn thickness and individual tension.
Abbreviations
- ch: Chain
- sc: Single Crochet
- dc: Double Crochet
- hdc: Half Double Crochet
- sl st: Slip Stitch
- MR: Magic Ring
- inc: Increase (2 sc in one stitch)
- dec: Decrease (crochet two stitches together)
Pattern Notes
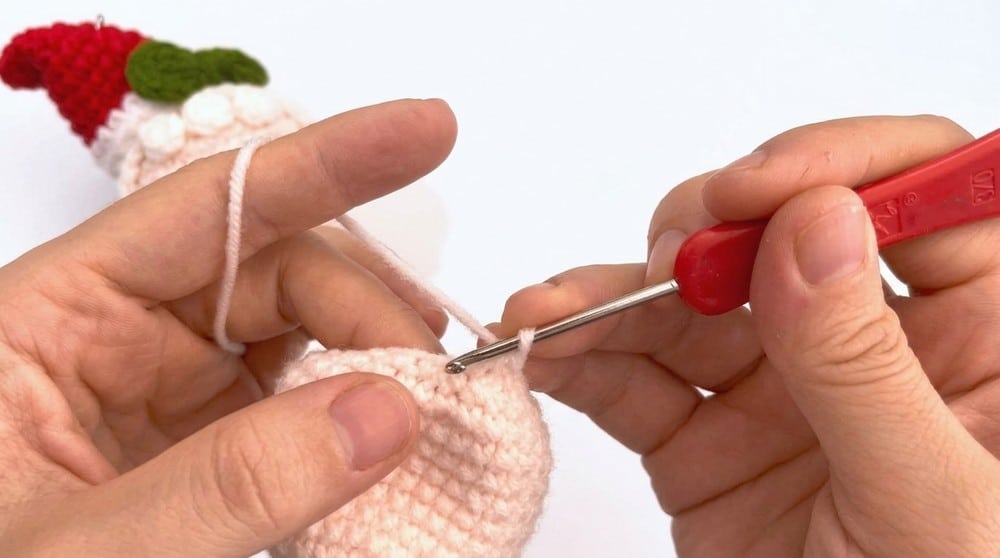
- Work each part with consistent tension for neat shaping and fitting during assembly.
- The combination of milk cotton yarn and a 2.5mm hook creates a firm yet soft texture.
- Use stitch markers to mark round beginnings, especially during increasing and decreasing rounds.
- Stuff the mochi base firmly but evenly for a smooth, rounded finish.
- After crocheting all parts, weave in ends carefully and securely sew pieces together for durability.
- The hat requires switching yarn color from red to white to create the traditional Christmas look.
Pattern Instructions
1. Mochi Base (Head/Body)
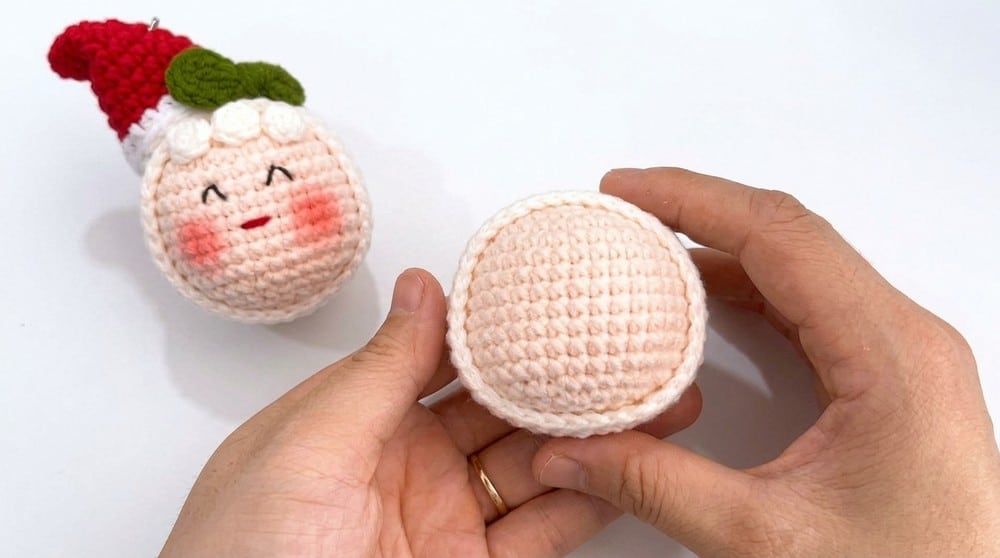
Start with skin color yarn.
Round 1
Create a Magic Ring (MR) and work 6 single crochet (sc) stitches into the ring.
Round 2
6 increases: work 2 sc in each stitch around, totalling 12 stitches.
Round 3
(1 sc, 1 inc) repeat 6 times, for a total of 18 stitches.
Round 4
(1 sc, 1 inc, 1 sc) repeat 6 times, increasing to 24 stitches.
Round 5
(3 sc, 1 inc) repeat 6 times; 30 stitches.
Round 6
(2 sc, 1 inc, 2 sc) repeat 6 times; 36 stitches.
Rounds 7 to 13
Work 36 single crochets (sc) evenly around in each round, maintaining stitch count.
Round 14
(2 sc, 1 decrease (dec), 2 sc) repeat 6 times; decrease to 30 stitches.
Round 15
(3 sc, 1 dec) repeat 6 times; 24 stitches.
Round 16
(1 sc, 1 dec, 1 sc) repeat 6 times; 18 stitches.
Add Stuffing
Stuff the mochi base firmly with fiberfill for shape.
Round 17
(1 sc, 1 dec) repeat 6 times; 12 stitches.
Round 18
Work 6 decreases (dec) around to close, leaving 6 stitches. Fasten off and carefully sew the hole closed.
2. Mochi Outer Shell
Using the same color yarn as the outer shell (red).
Rounds 1 to 13
Follow the same pattern as the Mochi Base rounds 1 to 13, keeping the stitch counts identical.
Round 14
Work 36 single crochets (sc) evenly, no increases or decreases here. Fasten off.
3. Hair Decoration
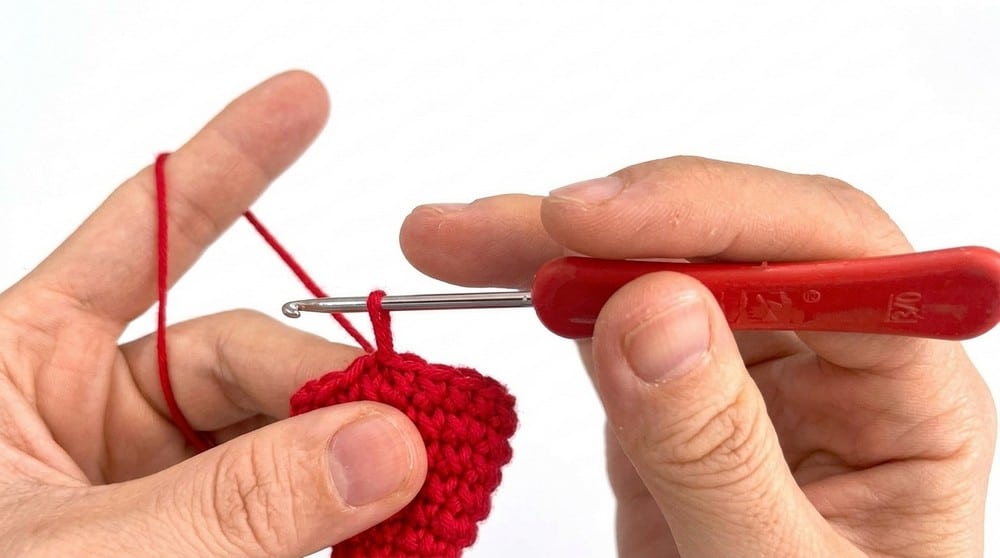
Using the skin color yarn (or desired hair color).
Create a Magic Ring (MR) and work 6 single crochet (sc) stitches. Slip stitch (sl st) to finish. Repeat the above to make 3 identical pieces. These pieces will be sewn onto the mochi head as hair accents.
4. Christmas Hat
Using red yarn; switch to white yarn for edging as instructed.
Round 1
Create Magic Ring (MR), work 6 single crochet (sc) stitches.
Round 2
Work 6 single crochet (sc) stitches evenly.
Round 3
(1 sc, 1 inc) repeat 3 times; 9 stitches total.
Round 4
Work 9 single crochet (sc) evenly.
Round 5
(1 sc, 1 inc, 1 sc) repeat 3 times; 12 stitches.
Round 6
Work 12 single crochet (sc) evenly.
Round 7
(3 sc, 1 inc) repeat 3 times; 15 stitches.
Round 8
Work 15 single crochet (sc) evenly.
Round 9
(2 sc, 1 inc, 2 sc) repeat 3 times; 18 stitches.
Round 10
Work 18 single crochet (sc) stitches evenly.
Round 11
Change to white yarn. Work 18 half-double crochet (hdc) stitches evenly to create a fluffy edging.
5. Bow Accessory
Using red yarn.
Create a Magic Ring (MR). Chain 3, work 3 double crochets (dc), chain 3, then slip stitch (sl st) into the ring to form one petal or wing of the bow. Repeat the petal/wing section once again to create the bow shape with two wings. Secure the middle tightly with yarn to finish the bow.
Assembly
- Stuff the mochi base firmly before closing.
- Sew the outer shell over the stuffed base to add dimension.
- Attach the three hair pieces symmetrically at the top front of the head.
- Secure the Christmas hat atop the mochi head, ensuring proper fit and positioning.
- Sew the bow accessory onto the hat or wherever desired for a festive touch.
- Embroider facial features or embellish further as desired.
Tips
- Work each part with consistent tension for neat shaping and fitting during assembly.
- Use stitch markers to mark round beginnings, especially during increasing and decreasing rounds.
- Stuff the mochi base firmly but evenly for a smooth, rounded finish.
- After crocheting all parts, weave in ends carefully and securely sew pieces together for durability.
FAQs
What type of yarn is best for this pattern?
The pattern recommends milk cotton yarn, which provides a firm yet soft texture ideal for amigurumi. It holds its shape well and creates a smooth finish.
Can I use this pattern for larger or smaller versions?
Yes, the finished size is approximately 8–10 cm (3–4 inches). You can adjust the hook size or yarn weight to create a larger or smaller mochi, though you may need to adjust the number of rounds accordingly.
How do I make the hat fit properly?
The hat is crocheted to match the circumference of the mochi base. Ensure you maintain consistent tension so the hat sits snugly on top of the head without slipping off.
Is this pattern suitable for absolute beginners?
This pattern is suitable for intermediate crocheters who are familiar with working in rounds, using a magic ring, and performing increases and decreases. If you are a beginner, this is a great project to practice those foundational amigurumi skills.
How do I attach the bow to the hat?
Once the bow is completed and the center is secured, use a yarn needle and a length of red yarn to sew the bow securely to the front or side of the hat brim.
For more festive amigurumi ideas, check out our Adorable Crochet Pumpkin Trio or this Easy Crochet Chick with Frog Hat.
Pin This Crochet Pattern!